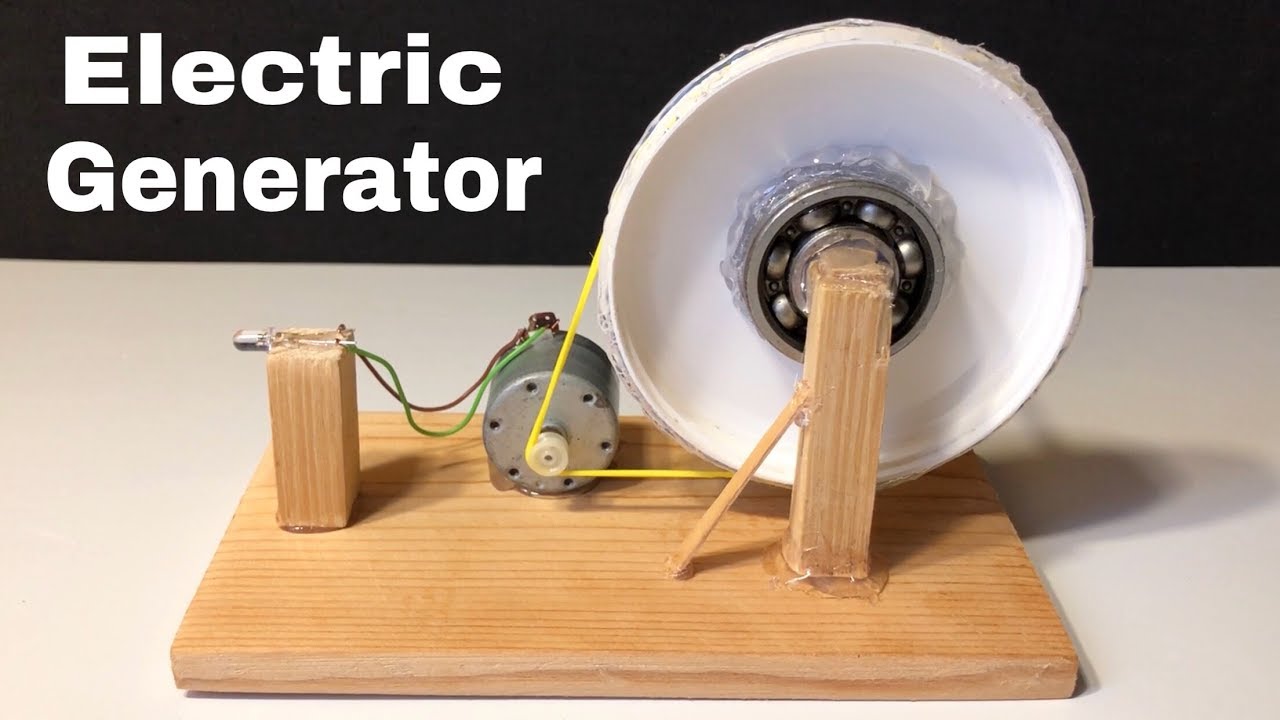
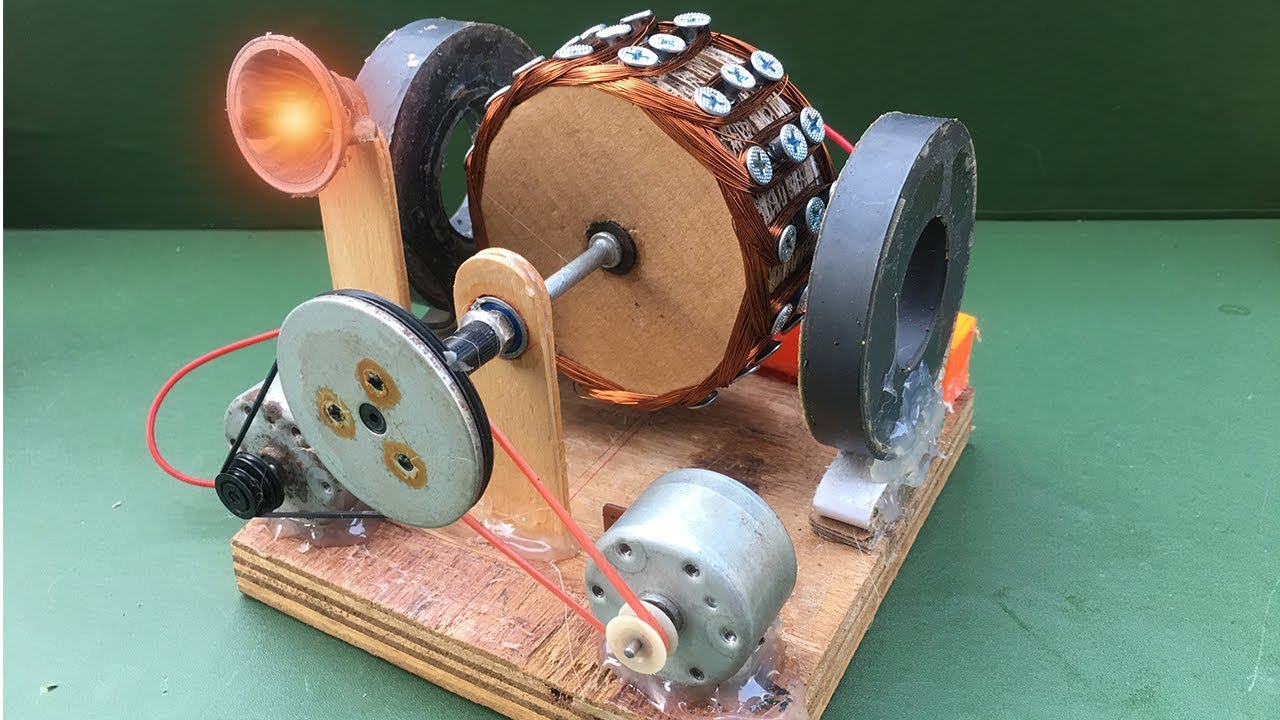
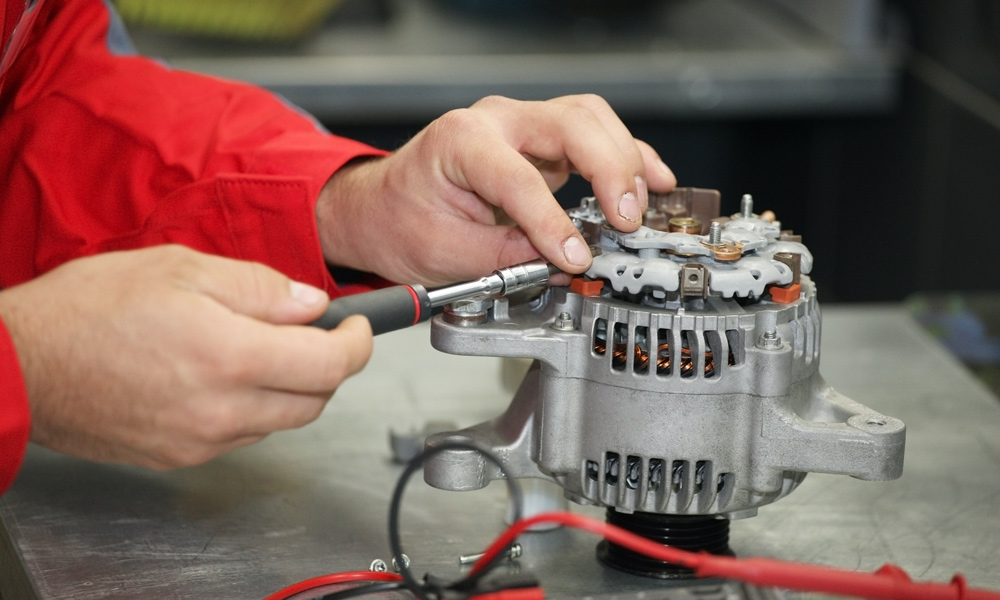
Building a small DIY power generator can be an incredibly rewarding project that not only enhances your self-sufficiency but also teaches you valuable skills along the way. Whether you want to power a few lights during a blackout or charge your devices when you're out in the woods, a small generator can come in handy. Plus, it’s an eco-friendly alternative to relying on traditional power sources. In this guide, we’ll walk you through the essential tools and materials you’ll need to create your very own power generator, making the process as straightforward as possible!
Tools and Materials Needed

Before you dive into the exciting world of DIY power generation, it’s important to gather the right tools and materials. This ensures a smoother building process and better results. Here’s a handy list to get you started:
Tools
- Screwdriver Set: A mix of Phillips and flat-head screwdrivers will be essential for assembling parts.
- Wrench Set: To securely fasten bolts and nuts, having several sizes on hand is crucial.
- Wire Stripper: You’ll need to strip the ends of wires for electrical connections.
- Multimeter: This handy device will help you measure voltage, current, and resistance.
- Drill: A power drill will be used for making holes for screws and bolts, improving efficiency.
- Safety Gear: Don’t forget gloves and safety glasses to protect yourself during the building process!
Materials
| Material | Purpose |
|---|---|
| Generator Kit | This is often the core of your DIY generator; ensure it comes with the necessary components. |
| Batteries | Lead-acid or lithium batteries will store the electricity generated. |
| Inverter | An inverter is required to convert the DC output from the battery into AC, which is commonly used. |
| Copper Wire | You’ll need quality insulated copper wire for connections between components. |
| Fuse or Circuit Breaker | This safety feature protects against overloads, ensuring a safe operation. |
By gathering these tools and materials, you’ll be well on your way to constructing a functional and reliable small DIY power generator. Happy building!
3. Step-by-Step Instructions

Building a small DIY power generator is a fun and rewarding project that can prove to be quite handy for various situations. Follow these straightforward steps to create your own generator:
- Gather Your Materials:
Before you start, make sure you have all the necessary materials. Here’s a quick list:
- DC motor (like a bicycle generator)
- Battery (12V recommended)
- Diode (1N4001 will work well)
- Wire (20-gauge is a good choice)
- Wood or metal base (to hold everything together)
- Switch (to turn the generator on and off)
- Create a Base:
Take your piece of wood or metal and cut it to a manageable size. This will serve as the foundation for your generator. Make sure it’s sturdy enough to hold the other components.
- Attach the DC Motor:
Secure the DC motor to the base using screws or brackets. Position it so that it’s easy to connect to the battery and other components.
- Connect the Diode:
The diode will prevent back current that could damage your battery. Connect the diode to the positive terminal of the motor, ensuring the cathode (striped end) is facing away from the motor.
- Wiring the Battery:
Connect the positive terminal of the battery to the diode. Then, connect the negative terminal of the battery to the DC motor. Be sure to double-check your connections!
- Install the Switch:
Integrate the switch into the positive wire going from the battery to the diode. This will allow you to control when the generator is operational.
- Test Your Generator:
Once everything is connected, give it a spin! You can attach a bicycle pedal to the motor and start pedaling. Use a multimeter to check if power is being generated.
4. Safety Precautions

Safety should always come first in any DIY project, especially when you're dealing with electrical components. Here’s how to stay safe while building your small power generator:
- Wear Protective Gear:
Before you start, put on safety goggles and gloves. This will protect your eyes and hands from any potential hazards during the building process.
- Check for Shorts:
Before connecting any wires or powering up, double-check that there are no short circuits. A short can cause sparks or even a fire, so inspecting your wiring is crucial.
- Avoid Overloading:
Be aware of the output of your generator and avoid connecting devices that exceed its capacity. Overloading can damage the generator or any devices connected to it.
- Work in a Dry Area:
Electricity and water don't mix! Ensure you are working in a dry environment to reduce the risk of electric shock.
- Understand the Components:
Familiarize yourself with each component you’re using. Knowing their functions can help you avoid mistakes and work more confidently.
- Have a Fire Extinguisher Ready:
It might sound extreme, but having a fire extinguisher on hand is a smart safety precaution, just in case something goes wrong.
5. Testing Your Generator
Now that you've put in the hard work to build your small DIY power generator, it’s time for the most exciting part – testing it! This is where you get to see if all your efforts have paid off. Testing is crucial as it not only confirms if everything functions correctly, but also helps identify any potential areas that may need tweaking. Here’s a straightforward process to follow:
- Gather Your Tools: Before you start, ensure you have essentials like a multimeter, safety goggles, and a load tester. Safety first, right?
- Double Check Connections: Go through all your connections to make sure they’re tight and snug. Loose connections can cause issues down the line.
- Start Your Generator: Begin by powering on your generator. Listen for any unusual sounds. A smooth hum is what you want to hear.
- Measure Voltage Output: Use your multimeter to check the voltage. It should match the specifications you were aiming for. Ideally, it should be in the range of what you designed.
- Apply Load: Connect a small appliance or a resistive load to see how well the generator holds up. This simulates real-world usage.
- Monitor Performance: Watch for any fluctuations in voltage or signs of overheating. If everything runs smoothly, you’re golden!
After your testing, take notes on performance. If it operates well, congratulations! You’ve successfully built your own generator. If not, don’t worry – troubleshooting is part of the process.
6. Conclusion
Building a small DIY power generator is not just a fun weekend project; it’s a practical skill that can come in handy for various situations, from camping trips to power outages. By following the steps above, you can create a source of electricity right at home!
Remember, the journey doesn’t end with just building the generator. Regular maintenance is key to ensuring it functions well over time. Here's a quick recap of what you’ve accomplished:
- Understanding the components involved.
- Assembling the generator safely and efficiently.
- Testing your creation to confirm its effectiveness.
Whether you’re doing this for fun, to save money, or to rely less on the grid, you’ve learned and grown through this process. I hope this blog inspires you to experiment further with renewable energy and DIY projects. Keep innovating, and who knows what you might create next!


