Blurring text in an image is a useful skill when you need to hide sensitive information, create focus on other elements, or add an artistic touch. While there are many advanced image-editing programs available, Microsoft Paint provides a simple and free option for basic editing tasks. In this guide, we'll show you how to blur text in an
Step-by-Step Guide to Blurring Text in Paint

Blurring text in Paint can be done with just a few simple steps. It may not offer advanced blur tools like professional software, but with the right approach, you can still achieve a satisfying result. Here’s how you can do it:
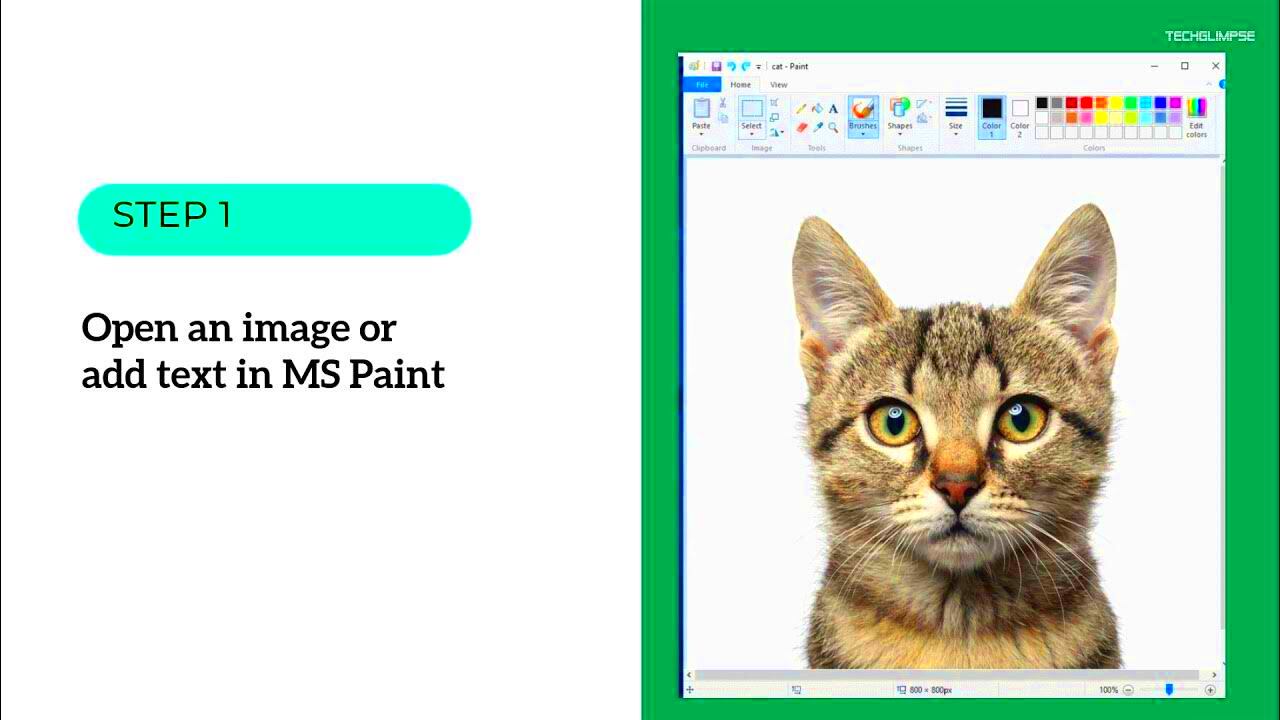
- Open Your Image in Paint: Start by opening Microsoft Paint and loading the image you want to edit. You can do this by right-clicking on the image and selecting “Edit” or by manually opening it from the Paint application.
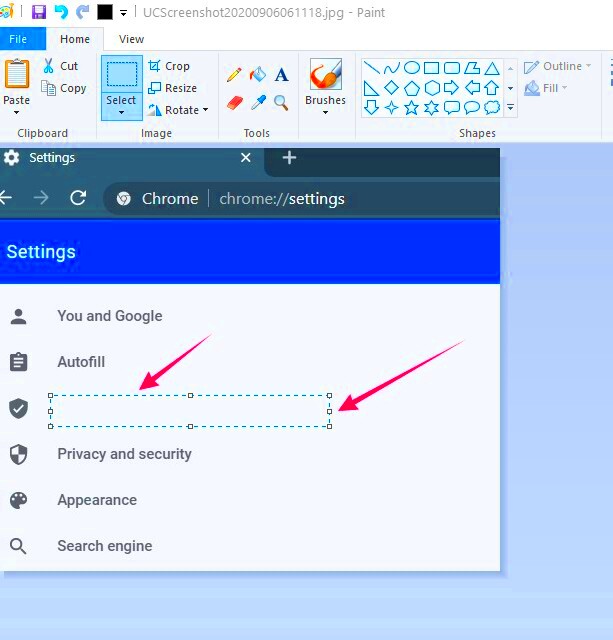
- Select the Text Area: Use the Selection tool (the rectangular selection option) to highlight the area around the text that you want to blur. This will allow you to focus only on the text without affecting the rest of the image.
- Smudge the Text: After selecting the text, use the Smudge Tool to push pixels around the text. This will create a smearing effect, which gives the appearance of blurring. You can adjust the size of the brush to make the effect softer or sharper.
- Fine-Tune the Blur: Continue to smudge the text area until you achieve the level of blur you want. Make sure to experiment with the brush size to get the perfect result.
- Save Your Image: Once you are happy with the blur effect, save your image by selecting “Save As” to keep your original image unchanged.
With these steps, you can blur text in images without using complex editing tools, making this method perfect for quick edits or beginners.
Also Read This: How to Insert an Image into Blender for Advanced 3D Projects
Using the Smudge Tool to Create a Blur Effect

While Paint doesn’t have a dedicated “Blur” tool, the Smudge Tool can be used creatively to mimic a blur effect. This tool is often overlooked, but when used correctly, it can create surprisingly effective results. The Smudge Tool works by moving the colors and pixels in the selected area, giving it a smeared, softened appearance, which is just what you need to blur text.
Here’s how you can use the Smudge Tool to create a blur effect on text:
- Activate the Smudge Tool: Select the Smudge Tool from the toolbar. If you don’t see it, you may need to enable it by clicking on the brush options in the Paint menu.
- Adjust Brush Settings: Before you start smudging, adjust the brush size and opacity. A smaller brush works best for detailed areas, while a larger one can cover more area. You can change the intensity of the effect by adjusting the opacity.
- Smudge Over the Text: Gently click and drag the Smudge Tool over the text you want to blur. You can control the level of blur by smudging more or less. The longer you smudge, the more blended and blurred the text will become.
- Blend the Edges: If needed, blend the surrounding area to make the blur more natural. Be mindful of the edges so that the text doesn’t look out of place with the rest of the image.
- Fine-Tune the Effect: After smudging, you can repeat the process in any areas that need more blurring or adjust the brush settings to get a more refined effect.
The Smudge Tool is an easy way to create a blur effect, even though it doesn’t technically “blur” the pixels like other software. It’s especially useful for simple editing tasks like this when you need a quick solution.
Also Read This: Checking Image Copyrights for Safe Use
Adjusting Brush Settings for Better Results
When blurring text in an image using Paint, adjusting the brush settings is key to achieving the best results. Since Paint doesn’t have a dedicated blur tool, the Smudge Tool becomes your primary option, and fine-tuning its settings can make a significant difference in the final outcome. Here’s how you can adjust the brush settings to improve your blur effect:
- Brush Size: Start by selecting an appropriate brush size. For smaller, more detailed text, a smaller brush will give you more control. Larger brushes are better for blurring larger areas of text. You can adjust the size based on how much area you want to blur at once.
- Brush Hardness: Some versions of Paint may allow you to adjust the hardness of the brush. A softer brush will create a smoother, less defined blur, while a harder brush will provide sharper edges. For a more subtle blur effect, choose a softer brush setting.
- Opacity: The opacity setting controls how intense the brush effect is. Lower opacity will make the smudge less noticeable, allowing you to gradually build up the blur. Higher opacity will give a more dramatic effect with each stroke.
- Brush Spacing: In some versions of Paint, you can adjust the spacing between each stroke of the brush. A smaller spacing provides more control, while larger spacing can create a quicker, more fluid effect.
By experimenting with these settings, you can create a smoother, more natural blur effect. It’s all about finding the right balance of size, opacity, and spacing to match the type of text you’re trying to blur and the overall look you want to achieve.
Also Read This: Simple Tips to Save Images from Google Slides
Alternative Methods for Blurring Text in Paint
While the Smudge Tool is the most straightforward method for blurring text in Paint, there are a few alternative techniques you can try if you’re not satisfied with the results or want to experiment further. Here are some methods to consider:
- Using Shapes and Color Fill: If the text is relatively simple or small, one method is to cover the text with a solid color or shape. You can select the color that blends well with the background and use the Fill Tool to cover the text area. This doesn’t technically blur the text but can effectively hide it if blurring is not a strict requirement.
- Zoom In for Detailed Smudging: Another technique is to zoom in on the image for better precision when using the Smudge Tool. By zooming in, you can more easily target specific areas of the text, allowing you to apply a more detailed blur effect without affecting the surrounding pixels too much.
- Duplicate and Apply Transparency: If the text is placed over a background, you can duplicate the image and apply a transparent layer on top of the text. This allows the text to appear faded and less prominent without the need for direct blurring. Though this method can be more time-consuming, it provides another approach for achieving a blurred effect.
These alternatives offer additional ways to blur or obscure text without using the Smudge Tool, especially if you’re looking for a different effect or need to cover larger areas of text quickly.
Also Read This: Creating Baby Videos Made Easy on Dailymotion
When to Use Blurring for Text in Images
Blurring text in an image can serve many practical purposes, from protecting sensitive information to creating a specific aesthetic. However, it’s important to know when it’s appropriate to use this technique and how it can be beneficial. Here are some common scenarios where blurring text in an image is a good choice:
- Privacy Protection: If an image contains personal or confidential information, blurring the text can help protect privacy. This is especially useful when sharing images online or in public settings, where you want to ensure that sensitive data is not visible.
- Artistic Effect: Blurring text can add a unique, creative touch to an image. It can help to emphasize certain parts of the image by de-emphasizing the text. This is common in design work, where blurring text is part of a larger composition.
- Focusing Attention Elsewhere: Sometimes, the text in an image may distract from the main subject or message. Blurring the text can help draw attention away from it, allowing the viewer to focus on the important visual elements, like a product or a scene.
- Creating a Soft, Dreamy Look: In some images, especially portraits or abstract designs, a blurred effect can create a softer, more ethereal look. Blurring the text or other elements in the background can contribute to this dreamy aesthetic.
While blurring text has its uses, it’s important to strike the right balance. Too much blur can make text unreadable, which could defeat the purpose of including text in the first place. Always consider the context and purpose of the image before applying a blur effect.
Also Read This: Save YouTube Videos Directly to Your Camera Roll on Mobile Devices
Limitations of Blurring Text in Paint
While Paint is a handy tool for basic image editing, it comes with limitations, especially when it comes to blurring text. The absence of advanced editing features means you have to get creative with the available tools, which may not always give you the precise control you need. Here’s a breakdown of some limitations you’ll encounter when trying to blur text in Paint:
- No Dedicated Blur Tool: Unlike professional software like Photoshop, Paint does not have a dedicated blur tool. The closest option is the Smudge Tool, which is more about smearing pixels than blurring them. This can make it harder to achieve a smooth and even blur.
- Limited Brush Settings: While you can adjust brush size and opacity, Paint’s brush settings are quite basic. You don’t have advanced control over brush types or settings, which can limit the effectiveness of the blur.
- Inaccurate Blurring: Achieving a natural, even blur can be tricky, especially if the text is on a complex or textured background. Smudging areas around the text can sometimes cause harsh edges or an uneven effect that may not blend well with the rest of the image.
- Time-Consuming for Large Areas: Blurring large sections of text or entire blocks of text can be very time-consuming in Paint. The smudge tool requires a lot of manual effort, and you might not get consistent results across the entire area.
- No Undo for Smudge Tool: If you over-smudge or make a mistake, there’s no “undo” button for the smudge tool. You’ll need to be careful, as you can’t always reverse the effect once applied.
Despite these limitations, Paint can still be a useful tool for simple text blurring tasks. Just keep in mind that for more professional and precise results, you might need to turn to other image editing software.
Also Read This: Creating Clickable Image Links in Google Slides
FAQ
Here are some frequently asked questions about blurring text in Paint, to help you understand the process better:
- Can I blur the background while keeping the text sharp?
Paint doesn’t have advanced tools for selective blurring. If you want to blur the background and leave the text sharp, you'll need to manually select and blur only the background using the Smudge Tool. - Is there any way to undo a mistake with the Smudge Tool?
Unfortunately, Paint doesn’t have a specific undo option for the Smudge Tool. If you make a mistake, you’ll need to use the “Undo” feature (Ctrl + Z) for the entire image or start over with the smudge process. - Can I adjust the intensity of the blur?
Paint doesn’t allow for fine control over the intensity of the blur. However, you can adjust the opacity and brush size to control how strong the smudge effect is, but it’s a bit trial and error. - Why is my text looking pixelated after blurring?
Blurring with the Smudge Tool can sometimes lead to pixelation, especially if the brush size is too large. To reduce pixelation, try using a smaller brush and applying more strokes to blur gradually. - Can I blur just part of the text?
Yes, you can blur just part of the text by selecting the specific area and smudging only that region. Just be careful around the edges to ensure a smooth and natural blur.
Conclusion: Final Thoughts on Blurring Text in Paint
Blurring text in Paint can be a straightforward process, especially for beginners or those who need to make simple edits. While the lack of advanced editing tools and the limitations of the Smudge Tool may make it harder to achieve a professional blur, Paint still offers a quick solution for basic needs. With a little patience and experimentation, you can effectively blur text and hide sensitive information or add artistic effects to your images.
For users who need precise control or high-quality results, professional software like Photoshop or GIMP might be a better option. However, for quick, no-fuss text blurring, Paint remains a handy, free tool that can get the job done without requiring any extra software installation.
So, if you need to blur text for privacy, design, or any other reason, Paint is a good place to start, as long as you're aware of its limitations and are prepared to work with its simple tools. Happy editing!


