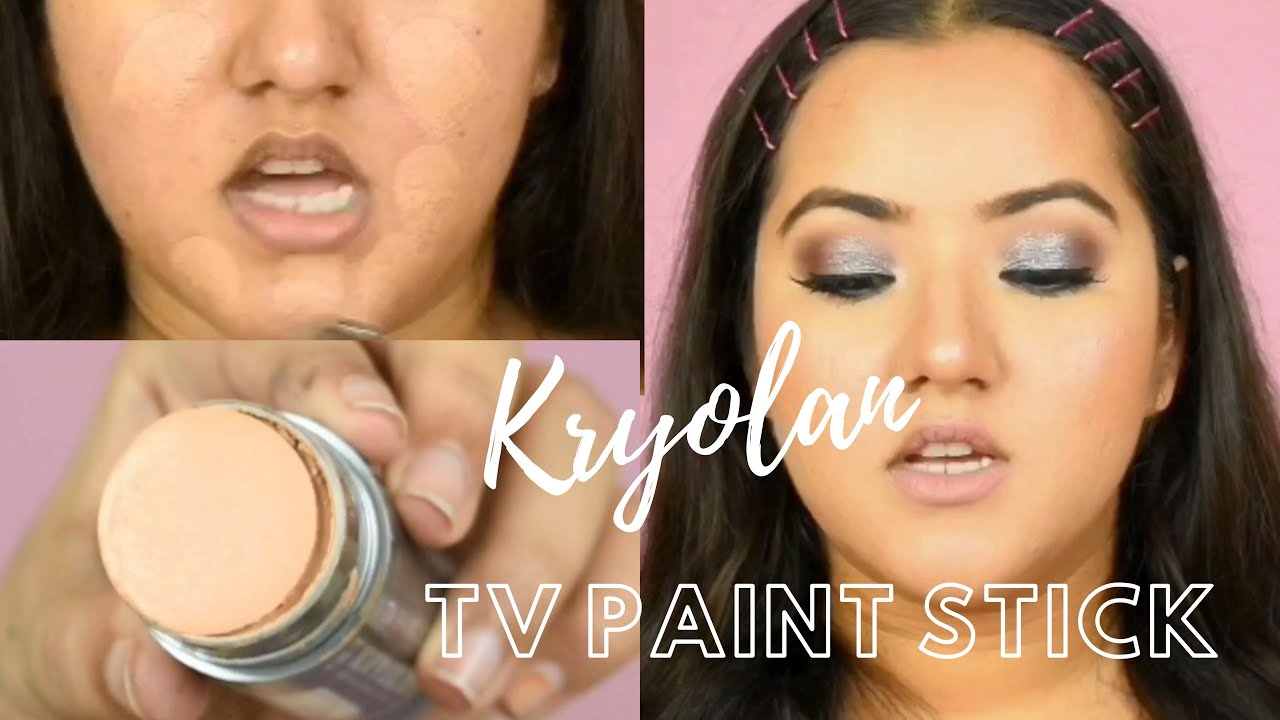
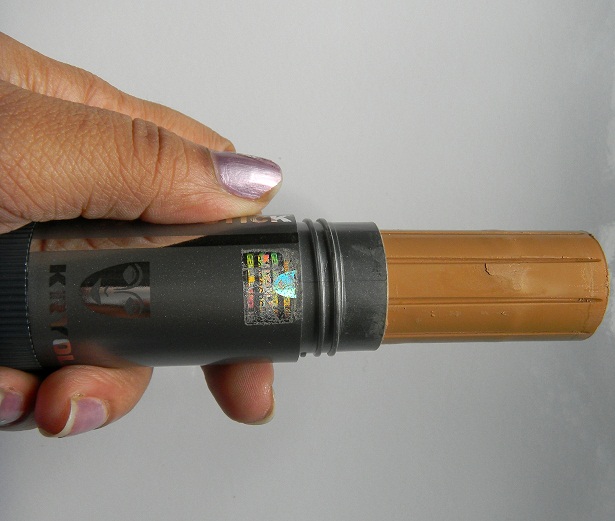
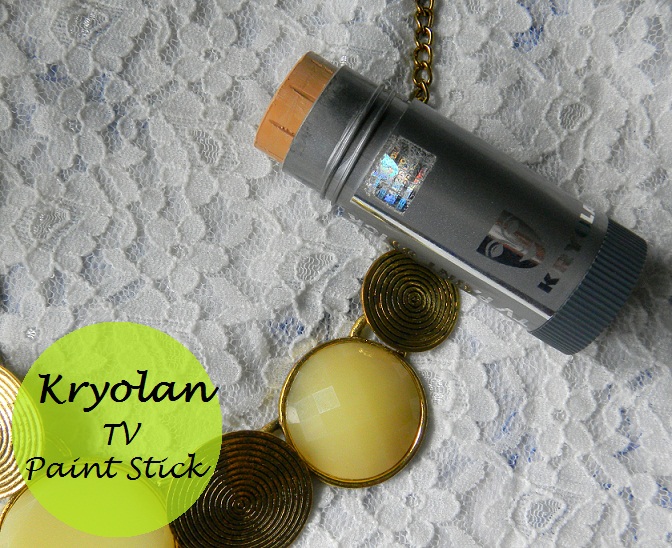
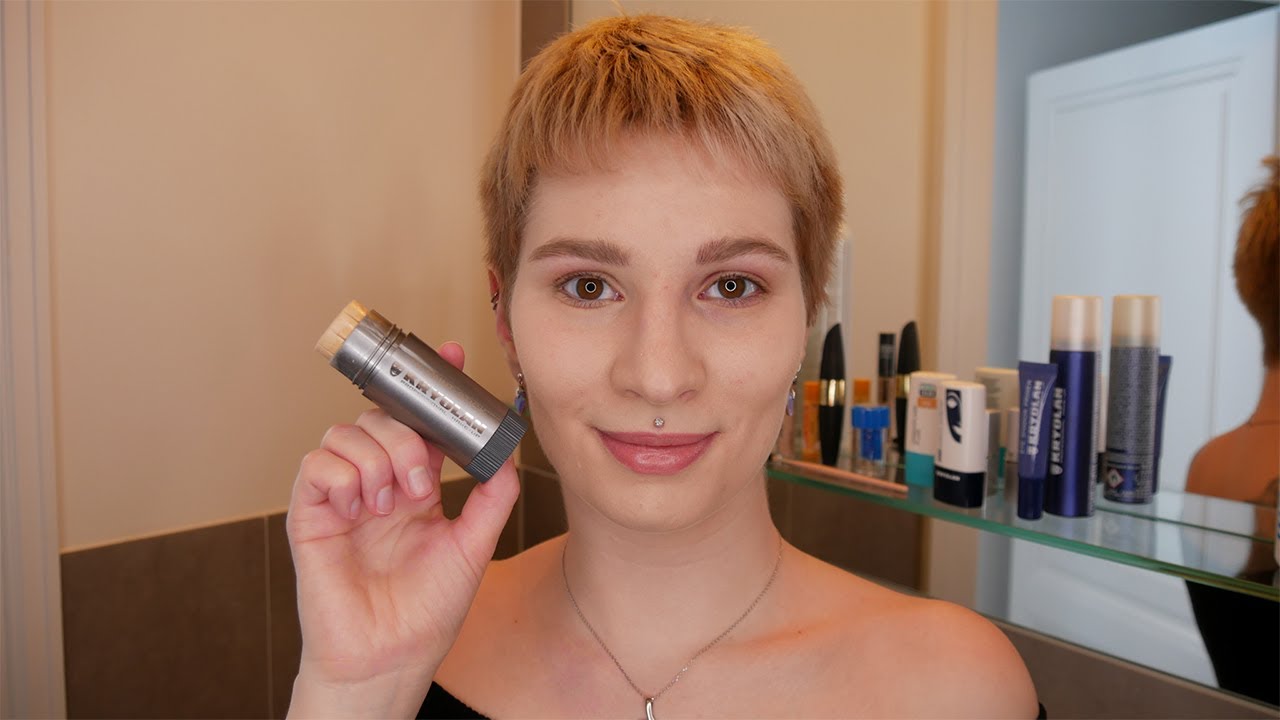
If you're looking for a quick, hassle-free way to achieve a flawless finish on your projects, the TV Paint Stick might just be your new best friend. This versatile tool has been a staple in the world of makeup for years, but it’s not just for hiding blemishes! Artists, DIY enthusiasts, and even professional painters have discovered its magic for various surface applications. Whether you're touching up furniture, working on crafts, or even applying face paint for performances, the TV Paint Stick delivers a smooth and even finish that’s hard to beat.
Benefits of Using TV Paint Stick
So, why should you consider adding the TV Paint Stick to your toolkit? Well, there are several compelling reasons that make it a go-to choice for both amateurs and professionals alike:
- Ease of Use: Its stick form allows for quick application. Just twist, glide, and you’re done! No complicated tools or brushes needed.
- Versatile Application: The TV Paint Stick can be used on various surfaces, from wood to metal to skin. You can use it for home decor, theatrical makeup, or even crafting projects.
- Buildable Coverage: Whether you need sheer coverage or a more opaque finish, the TV Paint Stick allows you to layer it as needed, making it great for covering imperfections.
- Quick Drying: One of the standout features is its fast-drying formula. You won't be left waiting around for hours before applying a second coat or finishing touch.
- Durable Finish: Once dry, the paint stick creates a long-lasting finish that withstands the test of time, helping your projects look fresh for longer.
In addition to these benefits, using the TV Paint Stick can also enhance your creativity. It encourages experimentation with colors and techniques, allowing you to express yourself in ways you might not have considered before. Whether you're embarking on a new home project or getting ready for a performance, the ease and reliability of the TV Paint Stick can make a world of difference. So go ahead, give it a try, and see the transformation unfold!
Also Read This: The Rise and Fall of Certain Content Types on Dailymotion
3. Preparation Steps Before Application
Before you dive into the fun part of applying your TV Paint Stick, it’s essential to prepare properly. Proper prep work ensures that you achieve that smooth and even finish we all desire. Let’s walk through the key steps to set you up for success!
1. Choose Your Workspace Wisely:
Pick a well-ventilated area where you can comfortably work without interruptions. Ideally, this should be an area away from direct sunlight, as it can affect how the paint dries.
2. Gather Your Supplies:
- TV Paint Stick
- Painter's tape
- Drop cloths or old newspapers
- Sandpaper (if needed)
- Clean cloth or sponge
3. Surface Preparation:
Make sure the surface you’re painting is clean and dry. Wipe it down with a damp cloth to remove dust and dirt. If you’re working on wood or a previously painted area, you might want to lightly sand it to create a smooth surface for the paint to adhere to.
4. Tape Off Areas:
If you want clean lines, using painter's tape is a must. Tape along edges, trim, and any areas you don’t want to paint. This will prevent any accidental smudges or marks. Take your time with this step; it can make a big difference in the final outcome!
5. Test Your Paint:
Before you start on your main project, it's a good idea to do a quick test on a small area. This will allow you to see how the paint adheres and dries, plus you can confirm that you really love the color you’ve chosen.
Remember, the preparation stage is vital to perfecting your finish!
Also Read This: Easy Steps to Succeed in Business with Dailymotion Tutorials
4. Applying the TV Paint Stick: A Step-by-Step Guide
Now that you’ve prepped your space and materials, it’s time to get into the application process! Applying the TV Paint Stick is straightforward, and with this step-by-step guide, you’ll be able to achieve that smooth, even finish with ease. Let’s get started!
Step 1: Load Your Paint Stick
Give the TV Paint Stick a good shake to mix the contents well. Then, twist the bottom of the stick to push the paint up through the applicator. Start with a small amount; you can always add more if needed.
Step 2: Begin Painting
Choose a corner of your project to start with, and use gentle, even strokes. It’s generally best to go with the grain if you’re painting wood. With the TV Paint Stick, you’ll want to apply the paint in long, smooth strokes to prevent streaks.
Step 3: Watch for Runs
As you apply the paint, keep an eye out for any drips or runs. If you notice one, simply smooth it out immediately with your applicator or a clean brush. Don’t panic if you make a mistake; that’s part of the process!
Step 4: Cover the Surface
Continue applying the paint stick across the entire area, ensuring you cover the surface evenly. It’s often better to apply multiple thin coats rather than one thick coat. This will help prevent drips and create a smoother finish!
Step 5: Clean Up
Once you’ve finished painting, carefully remove the painter's tape while the paint is still wet or just slightly tacky. This helps prevent any peeling of the paint. Clean your tools and store the paint stick according to the manufacturer’s instructions.
The application of your TV Paint Stick doesn’t have to be intimidating. With these steps, you can master the technique and enjoy transforming your space with a beautiful new finish!
Also Read This: How to Create Eye Makeup Looks on Dailymotion
5. Tips for Achieving a Smooth Finish
So, you’ve decided to use a TV paint stick, and you want to ensure that your finish looks as smooth as possible. Achieving that flawless look takes a bit of technique, but with the right tips, you'll be well on your way! Here are some tried-and-true strategies:
- Prep Your Surface: This is the golden rule! Make sure the surface you're painting is clean, dry, and free of dust, grease, or any previous paint imperfections. A quick sanding can go a long way in providing a good foundation.
- Use the Right Amount of Paint: Overloading the TV paint stick can lead to drips and an uneven coat. Start with a moderate amount and add more as needed. It’s better to do multiple thin coats than one thick one!
- Apply with Consistent Pressure: As you paint, ensure you’re applying uniform pressure on the stick. This way, the paint spreads evenly across the surface. Think of it like drawing a line with a pen; uneven pressure yields an uneven line!
- Maintain a Steady Hand: If you're working on a detailed area, take your time. Move slowly to allow the paint to flow smoothly, and don't rush the process.
- Work in Sections: If your project is extensive, consider dividing it into smaller sections. This can help you keep track of your work and maintain a wet edge, which is crucial for blending.
- Finish with a Light Sanding: Once the paint dries, a light hand sanding (using fine-grit sandpaper) can smooth out any imperfections that may have occurred during application. Just be gentle!
By following these tips, you’ll find that not only will your finish be smoother, but you’ll also enjoy the entire painting process much more. Preparation and technique are the keys to success!
Also Read This: Educational and Fun Videos for Kids Exploring Dailymotion’s Diverse Library
6. Common Mistakes to Avoid
With every DIY project, there are a few pitfalls that many of us tend to fall into—using a TV paint stick is no exception. Let’s go over some common mistakes to avoid so you can save time, materials, and, most importantly, the frustration of redo!
- Skipping Surface Preparation: One of the biggest mistakes you can make is painting over an unprepared surface. This leads to poor adhesion and uneven finishes. Always clean and, if needed, sand your surfaces.
- Not Shaking the Stick: Before you start painting, give your TV paint stick a good shake. This ensures that the paint is well-mixed and prevents clumps or uneven color application.
- Using the Wrong Paint Type: Make sure the paint you’re using is compatible with your TV paint stick. Using the wrong type can lead to clogging or poor coverage.
- Applying Paint Too Thickly: It might be tempting to load up the paint stick, but applying too thick a coat can lead to drips and runs. Remember, thin and even coats are better!
- Neglecting to Clean the Stick: After use, always clean your paint stick according to the manufacturer’s instructions. Residue can affect the application of future coats and ruin your next project.
- Ignoring Drying Times: Patience is crucial! Rushing to add a second coat while the first is still wet can create an uneven finish. Always check the recommended drying times.
Avoiding these common mistakes can help make your painting experience smoother and more enjoyable. With a little practice and mindfulness, you’ll become a pro at using the TV paint stick in no time!
Also Read This: The Timeless Story of The Very Hungry Caterpillar – A Must-Watch on Dailymotion
7. Cleaning Up and Care for Your Tools
When it comes to getting that *smooth and even finish with the TV Paint Stick, proper cleaning and care for your tools are essential. A well-maintained paint stick not only lasts longer but also ensures that your application is always top-notch. So, let’s dive into some tips for keeping your painting tools in pristine condition!
First off, here are the steps to clean your TV Paint Stick:
- Act Quickly! Try to clean your paint stick immediately after you finish painting. Dried paint can be a nightmare to remove and might even damage your tool.
- Rinse with Water: If you were using water-based paint, simply rinse the stick under warm running water. Make sure the water runs through the stick to wash out any remaining paint.
- Use a Brush: For stubborn paint that doesn’t easily come off, grab a small brush (an old toothbrush works wonders) to scrub those hard-to-reach areas.
- Detergent Solution: For oil-based paints, you may need to soak your stick in a detergent solution. Fill a bucket or sink with warm soapy water and let it soak for a bit. Then, scrub it clean with a brush.
- Dry Thoroughly: After cleaning, dry your paint stick completely before storing it. Too much moisture can lead to mold or mildew, which will ruin your stick.
Maintaining your tools goes beyond just cleaning; it also involves storing your TV Paint Stick correctly. Keep it in a cool, dry place, away from extreme temperatures. Storing it horizontally can also prevent any bending or damage to the applicator. And remember, keeping your workspace tidy will not only help in maintaining your tools but also enhance your overall painting experience!
Also Read This: The Role of Platforms Like Dailymotion in Preserving Inspirational Islamic Content
8. Alternatives to TV Paint Stick
While the TV Paint Stick* is a fantastic tool for achieving that flawless finish, it’s always good to know your options! If you’re looking for alternatives, whether due to availability, specific project needs, or simply wanting to try something different, here are some excellent choices:
- Paint Sprayers:
These devices offer a quick and even application, especially for large surfaces. They can handle a variety of paints and are great for achieving a smooth finish. Just be aware that they require a bit more setup and cleanup than the TV Paint Stick. - Rollers:
Paint rollers are a classic choice and are excellent for covering large areas quickly. They also provide a nice finish, especially if you choose the right roller cover for your paint type. Pair them with a brush for edges and details to get the best results. - Brushes:
In some situations, a high-quality brush can be just as effective for achieving a smooth finish, particularly when working on smaller projects or intricate details. A good brush can help with precision, lending itself well to corners and textures. - Pads or Sponges:
For achieving a texture or unique finish, paint pads or sponges can be effective. They are easy to handle and can create a different look, especially for textured paint applications. - Airless Paint Sprayers:
If you want to take things up a notch, an airless sprayer can create a professional finish by eliminating brush strokes. However, they may be an investment worth considering if you're serious about your painting projects.
Each alternative has its pros and cons, and the best choice depends on your specific project, painting experience, and comfort. Don't hesitate to explore these options to find which tool works best for you. After all, painting should be enjoyable and yield great results!
Conclusion and Final Thoughts
Using the TV Paint Stick can greatly enhance your makeup application, providing a smooth and even finish. By following the techniques outlined in this blog post, you can achieve a professional look with ease. Remember the key points:
- Prep Your Skin: Always start with a clean, moisturized base.
- Select the Right Shade: Choosing a color that matches your skin tone is crucial.
- Application Technique: Use a beauty blender or brush to blend for the best results.
- Set with Powder: Finish with a translucent powder for lasting wear and shine control.
In case you encounter any issues, here are some quick solutions:
| Problem | Solution |
|---|---|
| Streaky Finish | Blend more thoroughly with a damp sponge. |
| Too Thick | Add a primer or mix with moisturizer. |
| Oxidation | Seal with a setting spray to minimize color change. |
By incorporating these tips and techniques into your routine, you'll enhance your makeup skills and enjoy the durability and versatility of the TV Paint Stick. With practice, you'll find that you can achieve a flawless look that lasts all day and suits any occasion.
 admin
admin


