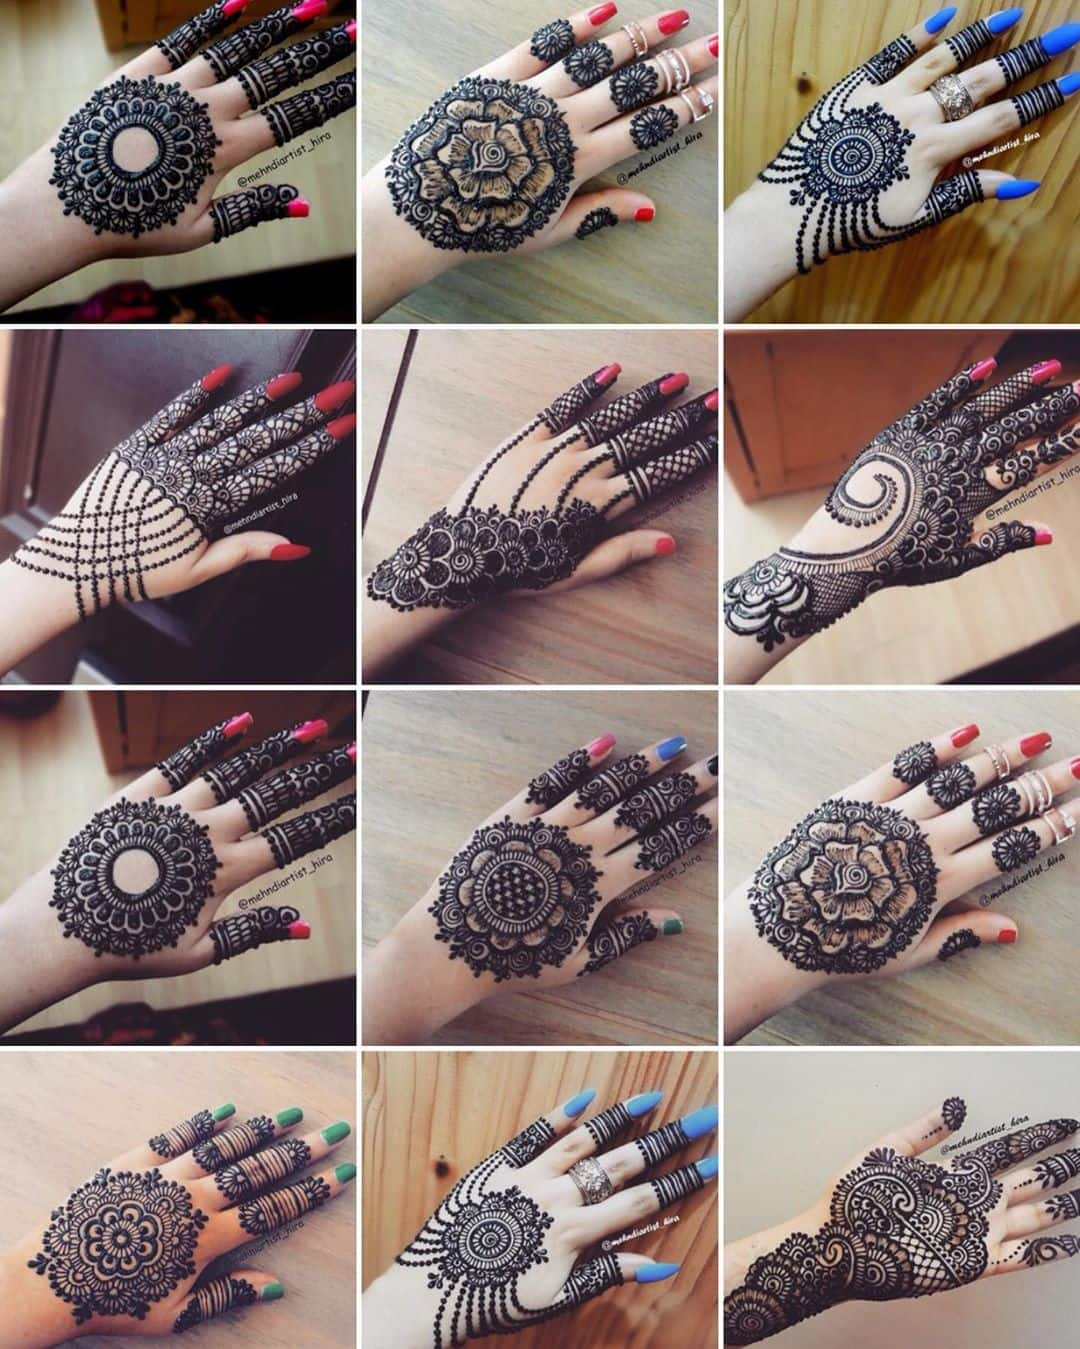
Mehndi, a traditional form of body art, holds a special place in many cultures, particularly in South Asia and the Middle East. This beautiful art form, made from the leaves of the henna plant, has been used for centuries to adorn the hands and feet of brides, festival-goers, and anyone looking to celebrate life’s special moments. But it's not just about looks; mehndi also carries cultural significance, often symbolizing joy, love, and protection. In this guide, we’ll delve into the various aspects of applying mehndi designs for hands, so you can create stunning patterns that express your unique style.
Types of Mehndi Designs

When it comes to mehndi, the designs are as diverse as the cultures that embrace them. Here are some popular types of mehndi designs that you can explore:
- Traditional Indian Mehndi: Characterized by intricate patterns and motifs, traditional designs often feature paisleys, florals, and detailed geometric shapes. These designs can cover a large area of the hand, making them perfect for weddings and festive occasions.
- Arabic Mehndi: Arabic designs are generally bolder and more free-flowing. They often contain large floral patterns, leaves, and dotted accents, which create a lovely contrast against the skin. The designs tend to be less intricate but are visually stunning nonetheless.
- Pakistani Mehndi: Similar to Indian mehndi, Pakistani designs are intricate and usually incorporate similar motifs. However, they may also include styles that are unique to specific regions in Pakistan, such as more open spaces and line designs.
- Modern/Contemporary Mehndi: This style merges traditional designs with modern aesthetics. Think geometric shapes, minimalistic designs, or even bold colors! Modern mehndi is all about personal expression and creativity.
- Gold Mehndi: This is a recent trend where gold or metallic colors are used along with traditional henna. The shimmer adds a touch of glamour, making it ideal for special events.
Each of these styles offers a unique way to express yourself, and understanding the different types can inspire you to experiment with your own mehndi application!
Also Read This: TikTok Tunes: Adding Spotify to Your TikTok Videos – A Creative Touch
Essential Tools and Materials

Before diving into the beautiful world of mehndi designs, it’s crucial to have the right tools and materials at hand. Preparing your workspace will make the application process smoother and more enjoyable. Here’s a list of what you’ll need:
- Mehndi Cone: The star of your show! You can buy pre-filled cones or make your own if you’re feeling adventurous.
- Applicator Bottle: If you prefer more intricate designs, an applicator bottle allows for more precision.
- Scissors: Handy for cutting the tip of the mehndi cone to achieve your desired flow.
- Tape or Stencils: Use these to create uniform designs or to provide a guide for complicated patterns.
- Oil or Moisturizer: Applying oil on your skin before mehndi can help with stain adhesion.
- Cotton Balls: Useful for cleaning up any mistakes during the application process.
- Plastic Wrap or Paper: To cover your designs post-application, helping to keep the mehndi moist.
- Q-tips: Perfect for correcting any small errors delicately.
- Ruler or Measuring Tape: If you're aiming for symmetry, having a ruler can help with spacing and sizing.
Having these essential tools will not only ease your application process but also help you create stunning designs that will leave everyone amazed!
Also Read This: The Fascinating World of Coloring Pages: A Journey Through Types and Styles
Preparing Your Hands for Mehndi

Before you start applying mehndi, it's essential to prep your hands to ensure a vibrant, long-lasting stain. Here are the steps to get your hands ready:
- Clean Your Hands: Start with a thorough wash using soap and warm water. This removes oils and dirt that can interfere with the mehndi.
- Exfoliate: Gentle exfoliation can remove dead skin cells. Use a mild scrub, focusing on areas where you plan to apply the design.
- Moisturize: Apply a light layer of oil or lotion, but don’t overdo it. Excess moisture can prevent the mehndi from staining well.
- Dry Your Hands: Make sure your hands are completely dry before applying mehndi. A fan or towel can speed up this process.
- Choose the Right Timing: Applying mehndi in the evening allows for maximum stain darkening overnight.
By following these preparation steps, you'll create an ideal canvas for your mehndi designs, ensuring they turn out not only beautiful but also last longer!
Also Read This: Step-by-Step Guide to Sketching a Face
5. Step-by-Step Application Process
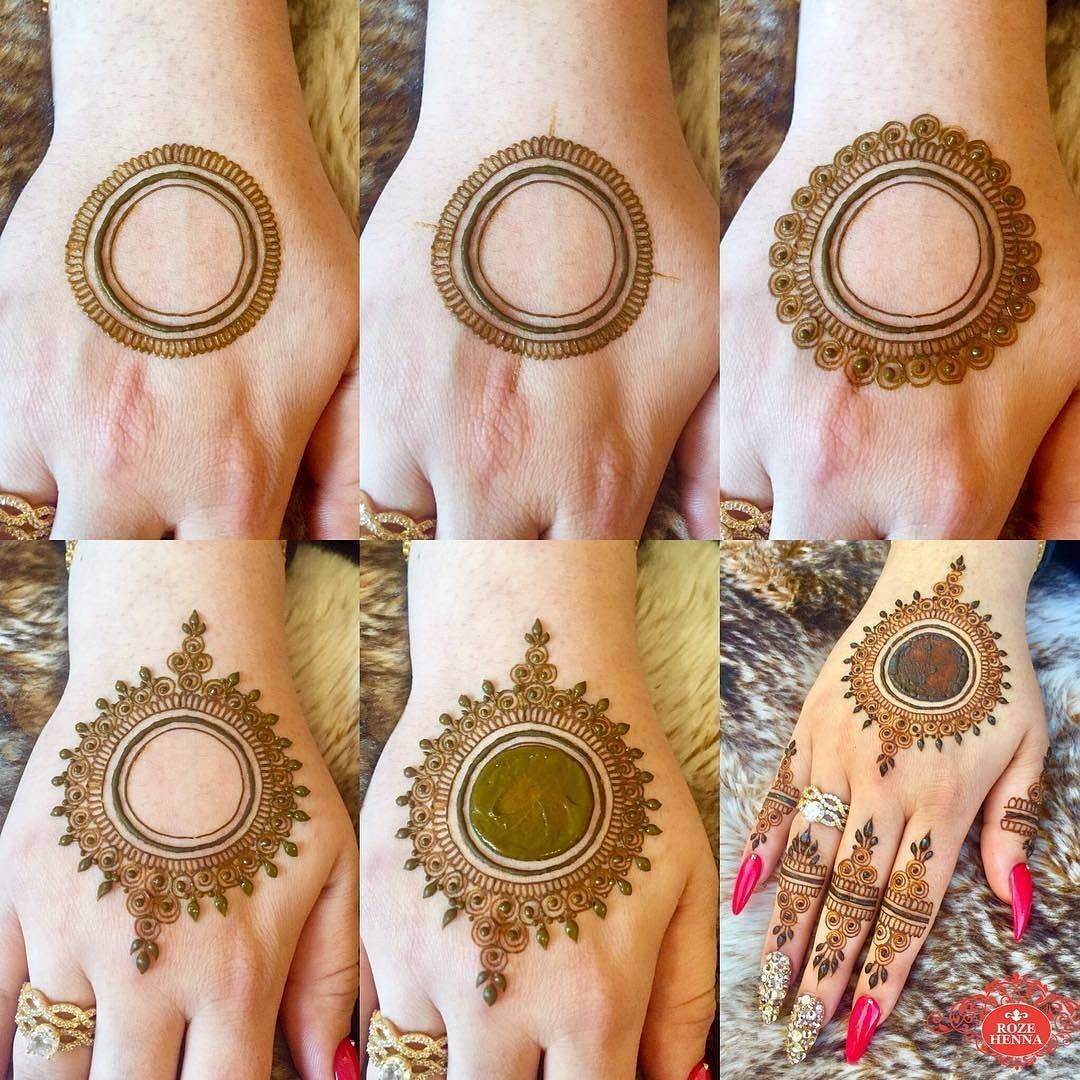
Applying mehndi designs to your hands is an art that can be easily mastered with a little patience and practice. Here’s a straightforward step-by-step process to help you get started:
- Gather Your Supplies: Before you begin, make sure you have all the necessary materials. You’ll need:
- Henna cone or paste
- Design templates (optional)
- Moist cloth or cotton balls
- A pencil or a fine-point pen (for sketching designs)
- Plastic wrap or tape (to cover your design)
- Baby oil or lemon sugar mixture (for sealing)
Also Read This: Creating a New Facebook Account on Dailymotion
6. Tips for Perfecting Your Mehndi Designs
Perfecting your mehndi designs is all about practice and a few handy tips. Here are some tried-and-true ideas that can elevate your mehndi game:
- Practice Makes Perfect: Don’t be discouraged by initial imperfections! Keep practicing different patterns and styles. Simple designs can look stunning when executed well.
- Choose the Right Cone: The quality of your henna can significantly impact the outcome. Opt for a fresh, high-quality henna cone and store it in a cool place to maintain its potency.
- Experiment with Designs: Mix and match different elements. Geometric patterns, florals, or traditional motifs can all be combined to create a unique look.
- Focus on Detail: Take your time when applying intricate details. Smaller designs often appear more elegant, so enjoy the process of adding these delicate touches.
- Manage Your Pressure: Varying the pressure on the cone can change the thickness of the lines. Practice controlling your squeeze to create both thin and thicker lines for added dimension.
- Consider Color: If you want to add some flair to your mehndi, consider using colored henna or applying glitter once the design is dry.
- Hydration Is Key: Keep your hands moisturized before applying mehndi. However, avoid lotions right before application, as they can create a barrier for the henna.
Remember, every artist has their style, so find what works best for you, and most importantly, have fun with it!
Also Read This: Does Roku Have Access to Dailymotion? Streaming Options and Features
7. Removing Mehndi Safely
Ah, the beautiful art of mehndi! You've spent hours applying lovely designs, and now the time has come to remove it. But wait, don't just scrub it off! It's essential to remove mehndi safely to preserve the design and keep your skin healthy. Here’s how you can do it:
- Wait for the Right Time: Allow the mehndi to dry completely, ideally for at least 6 hours. The longer the mehndi stays on, the richer and darker the stain will be.
- Use an Oil-Based Remover: Instead of using soap and water, opt for natural oils like olive oil, coconut oil, or baby oil. These oils help break down the henna without causing irritation.
- Gentle Scrubbing: Take a cotton ball or a soft cloth, dip it in the oil, and gently scrub the mehndi away. Be gentle; you don’t want to irritate your skin.
- Patience is Key: Don’t rush the process. Apply the oil, let it sit for a few minutes, then scrub gently. You may need to repeat this process a couple of times to get all the mehndi off.
- Aftercare: Once removed, wash your hands with mild soap and apply a moisturizer. This will nourish your skin and help maintain its health.
By following these steps, you can safely remove mehndi while keeping your skin happy!
Also Read This: Fun Ideas to Make Millions Before Grandma Passes Away
8. Where to Find Tutorials on Dailymotion
So, you're looking to master your mehndi skills or maybe just want to explore unique designs? Dailymotion is a treasure trove of video tutorials that'll get your creativity flowing! Here’s how you can find those gems:
- Search Bar Magic: Start with the search bar at the top of the Dailymotion homepage. Type in keywords like “mehndi designs,” “mehandi application tutorial,” or “mehndi for beginners.” This will pull up a list of videos to choose from.
- Explore Categories: Dailymotion has various categories. Head over to the ‘Lifestyle’ or ‘Beauty’ sections, where you’re likely to find tons of mehndi-related videos curated for you.
- User Recommendations: Look out for popular channels that specialize in mehndi. Subscribers often give feedback, helping you pinpoint the best educators in the field.
- Playlists: Sometimes, users create playlists of their favorite mehndi tutorials. These can save you time by grouping multiple videos together.
- Engage with the Community: Don’t hesitate to comment on videos! The community is often super helpful, and you might even get recommendations for other great channels or tutorials.
With a little bit of searching, Dailymotion can assist you in becoming a mehndi pro in no time! Happy watching!
How to Apply Mehndi Designs for Hands: Step-by-Step Guide on Dailymotion
Mehndi, also known as henna, is a beautiful form of body art that has cultural significance in many regions, particularly in South Asia and the Middle East. The intricate designs not only enhance beauty but are also a part of various celebrations and rituals. In this guide, we will walk you through the process of applying mehndi on hands, step by step.
Materials Needed:
- Fresh henna cone or henna powder
- Essential oils (like eucalyptus or tea tree oil)
- Plastic wrap or gloves
- Cotton swabs
- Paper towels
- Design templates (optional)
Step-by-Step Applying Mehndi:
- Preparing the Henna: If using henna powder, mix it with water, and essential oils, and let it rest for a few hours.
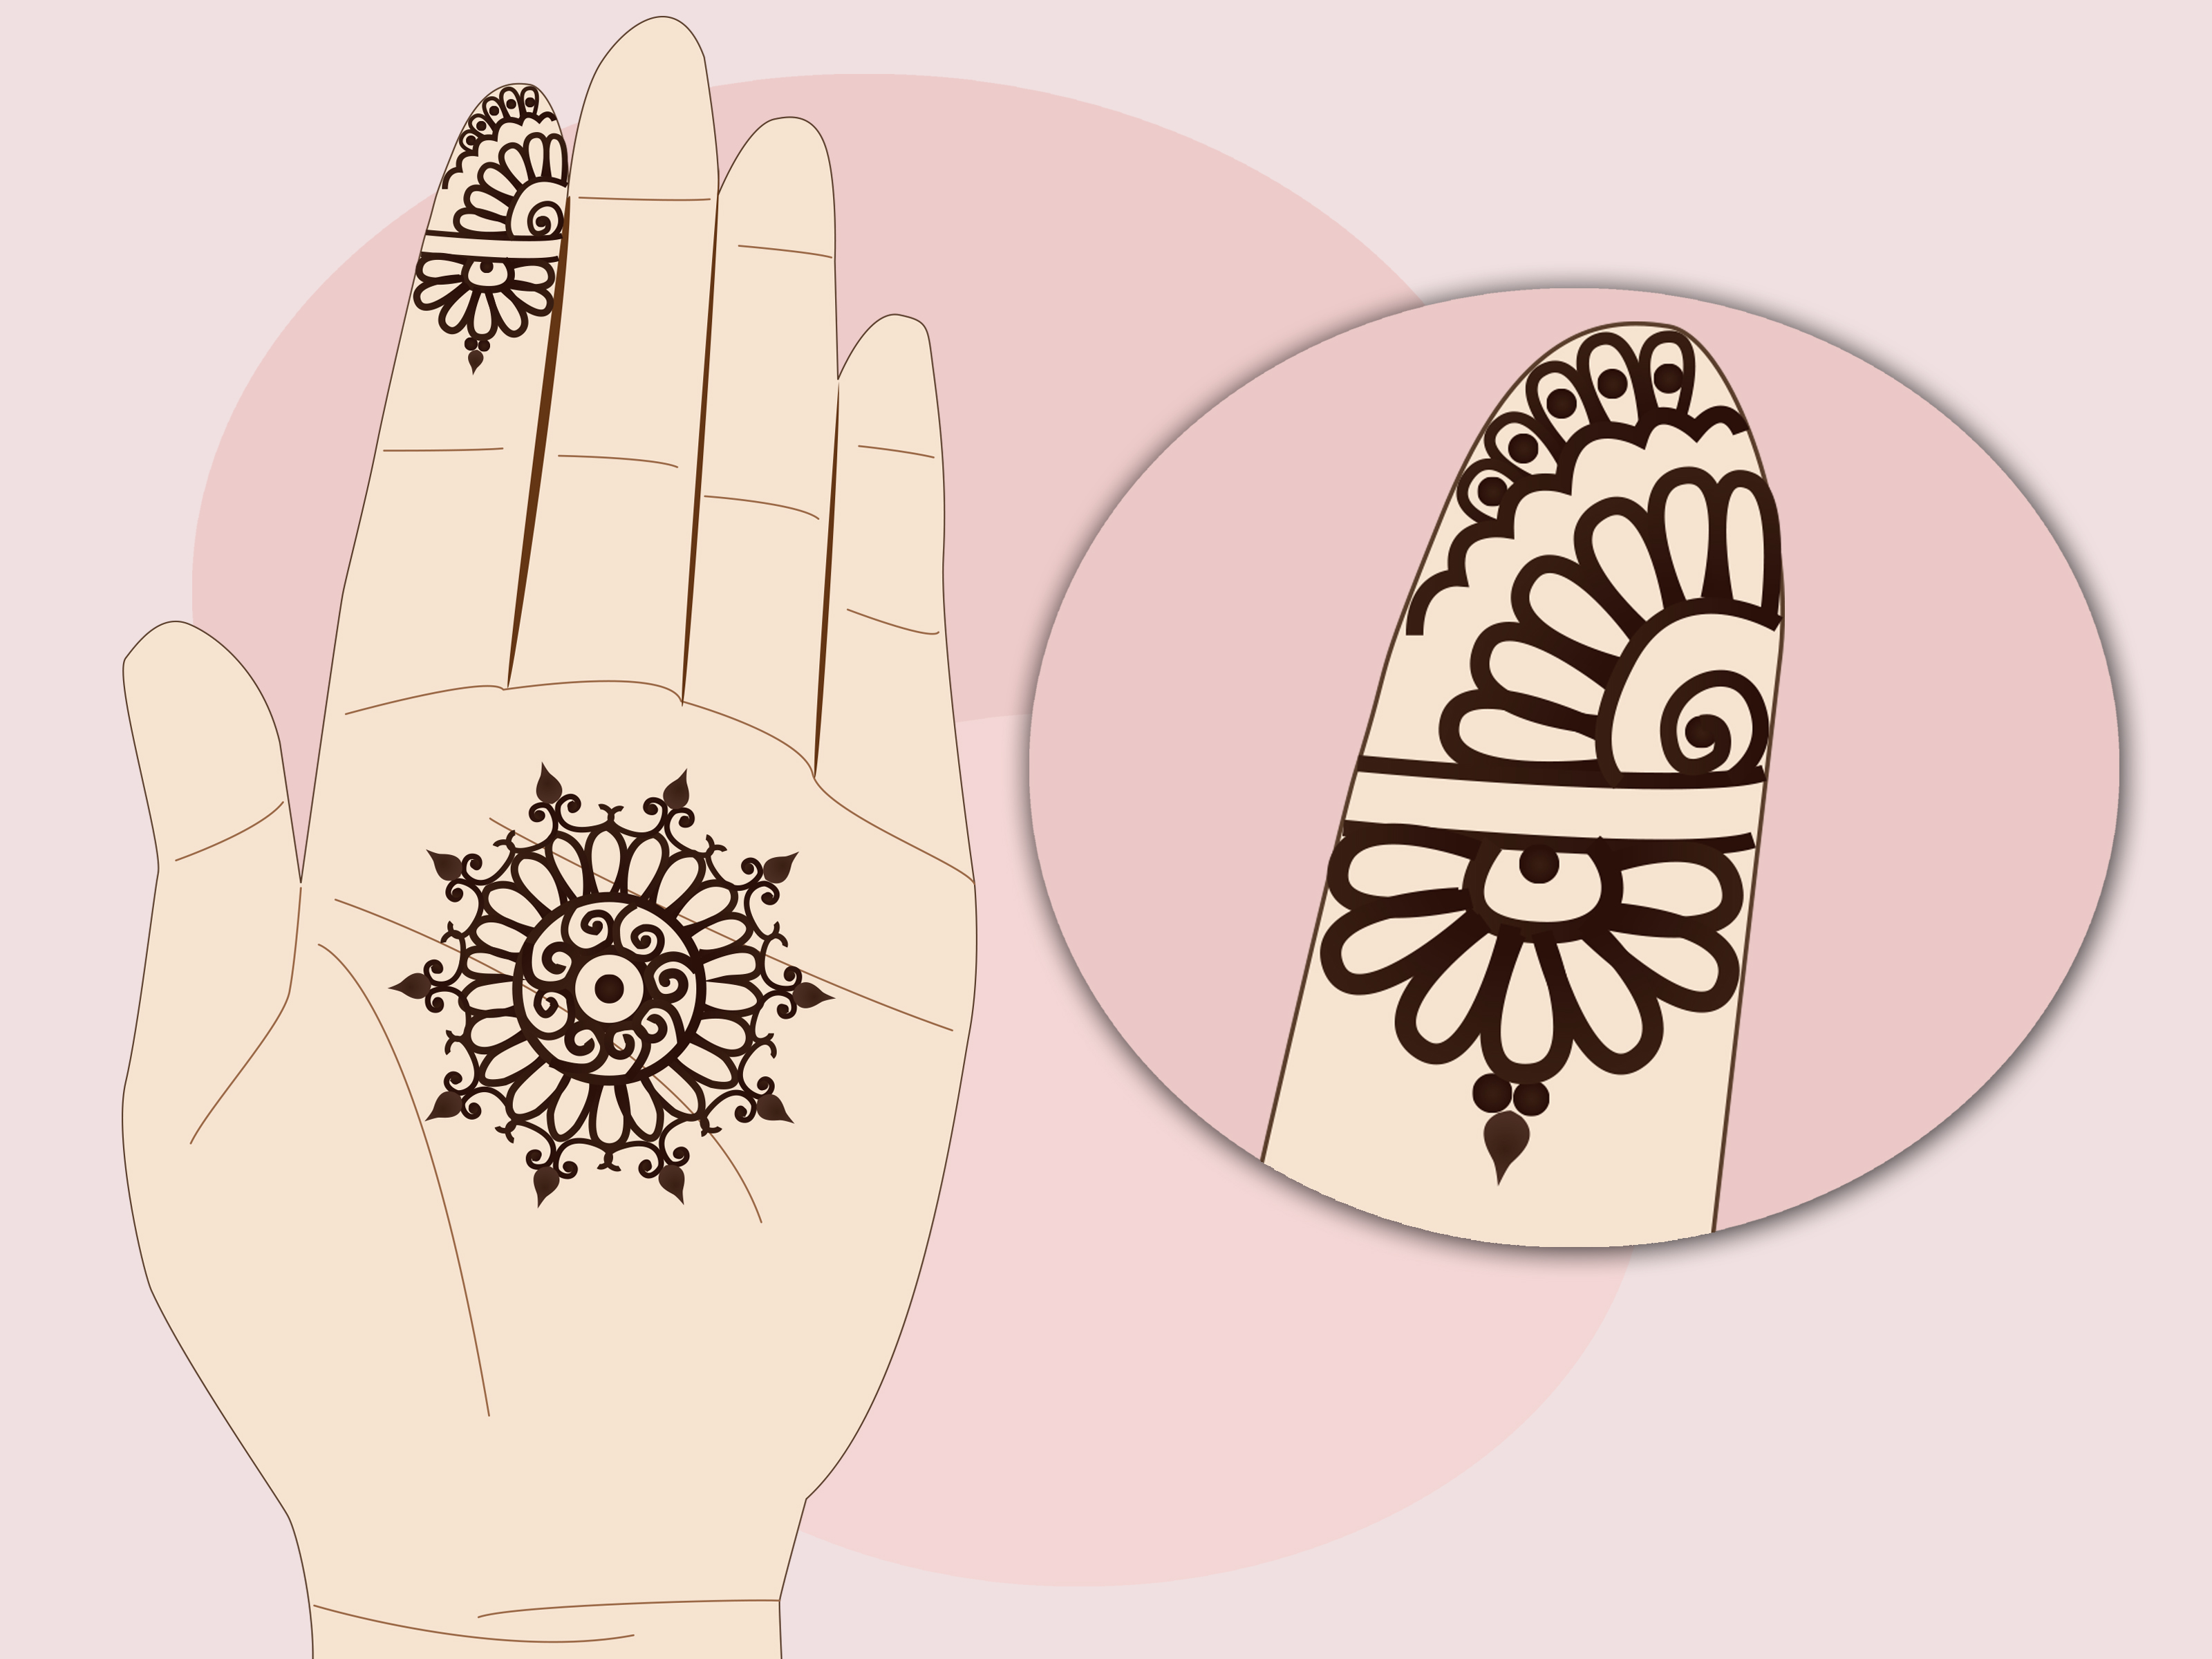
- Choosing a Design: Discuss with your client or decide on a design. Simple patterns are great for beginners, while more intricate designs can be more challenging.
- Preparing the Hands: Ensure the hands are clean and dry. You can exfoliate gently to remove dead skin cells for better mehndi absorption.
- Applying the Mehndi: Squeeze the henna cone to draw your design on the hand. Start from the fingertips and work towards the wrist. Use smooth, controlled movements.
- Drying: Allow the mehndi to dry completely. You may wrap the design lightly in plastic to keep it warm and moist for better color.
- Cleaning Up: After a few hours, remove the dried mehndi by gently scraping it off with a dull object. Avoid water for 24 hours to let the color darken.
Applying mehndi designs can be a rewarding experience, combining art with cultural significance. By following this step-by-step guide, you can master the process and create stunning designs that beautifully adorn hands. With practice and patience, you'll be able to explore various styles and techniques, enhancing your mehndi skills even further.
 admin
admin


