Welcome to the world of vaping! Today, we’re diving into the Eleaf iStick, a popular choice for both beginners and seasoned vapers. This sleek device is known for its compact design and impressive functionality. Whether you’re chasing clouds or savoring flavors, the iStick has got you covered. Let’s explore what makes this device stand out!
The Eleaf iStick series boasts some fantastic features:
- Compact Design: Its small size makes it easy to carry around without compromising performance.
- Variable Wattage: Adjust the wattage to find your perfect vape setting, enhancing flavor and vapor production.
- Built-in Battery: With a powerful built-in battery, you can enjoy longer vaping sessions without frequent recharges.
- User-Friendly Interface: The clear display and simple buttons make it easy to navigate settings, even for newbies.
Additionally, the iStick often comes with various wattage options, allowing you to customize your vaping experience. Plus, it supports different coil resistances, making it versatile for a range of e-liquids. With the Eleaf iStick, you’re not just buying a vaporizer; you’re investing in a customizable vaping experience that can grow with you!
Understanding Volt-Watt Settings
Now that you have a solid overview of the Eleaf iStick, let’s delve into the volt-watt settings. Understanding how these settings work is key to maximizing your vaping experience.
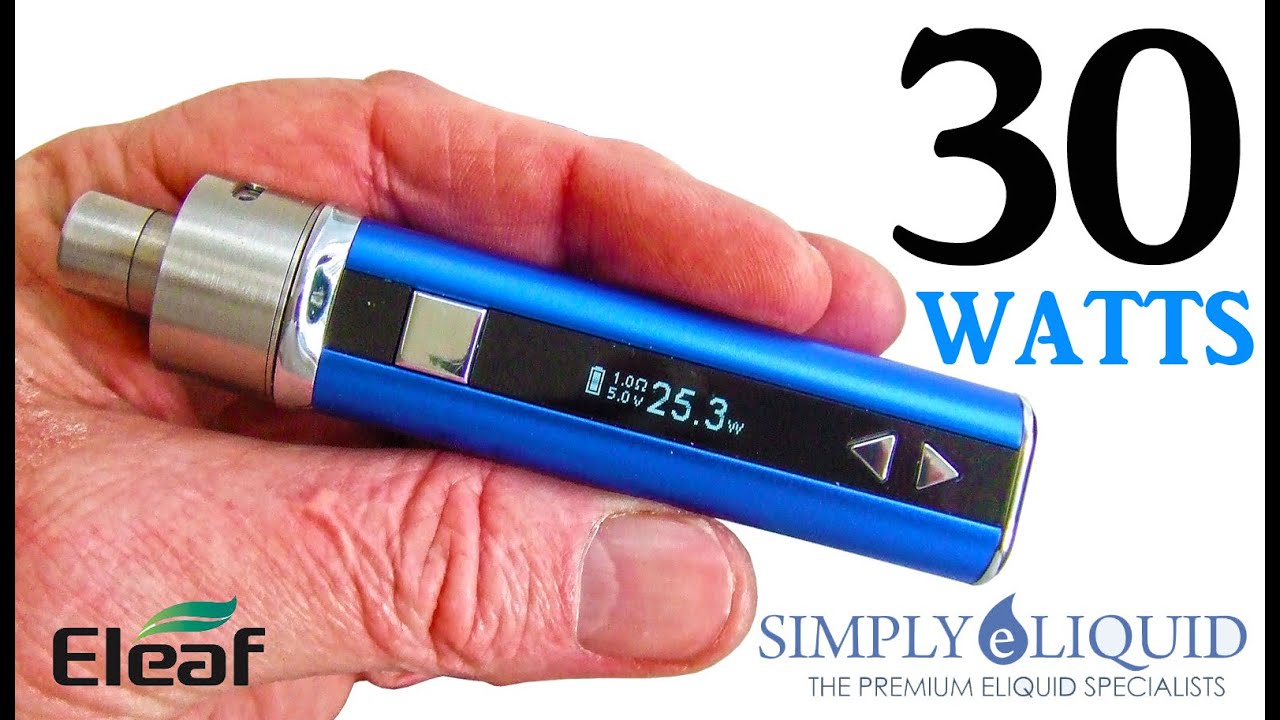
The volt-watt settings on your iStick allow you to control the power output to your coil. But what does that mean for you? It means you can tailor the heat produced by your coil, affecting both flavor and vapor production. Here’s a breakdown:
- Wattage: This measures the power going to your coil. A higher wattage means more heat, resulting in more vapor. However, too much wattage can burn your coil or lead to a harsh vape.
- Voltage: This is the electrical pressure in your device. While it’s essential, most vapers focus more on wattage since it directly influences your vaping experience.
To adjust your settings, simply:
- Power on your iStick by pressing the fire button five times.
- Use the plus (+) and minus (–) buttons to select your desired wattage.
- Find the sweet spot for your preferred e-liquid, usually between 10-30 watts, especially for starters.
For example, if you’re using a high-resistance coil, setting the wattage lower (around 10-15 watts) will enhance flavor without burning your juice. Conversely, for sub-ohm coils, you might crank it up to 30-50 watts for those massive clouds.
Experimenting with these settings not only helps you find your ideal vape but also prolongs the life of your device. Remember, every coil and e-liquid is different, so take some time to play around with your settings. Happy vaping!
Also Read This: Can You Get Accepted to Both iStock and Getty Images? Tips for Contributors
3. Step-by-Step Guide to Adjusting Volt-Watt Settings

Adjusting the volt-watt settings on your Eleaf iStick is a straightforward process, and with this simple guide, you’ll be able to personalize your vaping experience in no time! Let’s break it down step by step:
- Power On Your Device: First things first, ensure your Eleaf iStick is powered on. You can do this by pressing the power button five times quickly. When the screen lights up, you’re good to go!
- Access the Settings: To adjust the settings, click the power button three times. This will allow you to cycle through the different modes available, including variable wattage (VW) and variable voltage (VV).
- Select Your Mode: Once you’re in the settings, use the power button to switch to the desired mode. If you want to change the wattage, make sure you’re in VW mode. If you prefer adjusting the voltage, switch to VV mode.
- Adjusting Wattage: In VW mode, you can increase or decrease the wattage by using the adjustment buttons (usually located below the screen). Press the '+' button to increase the wattage and the '-' button to decrease it. Watch the screen for real-time changes.
- Adjusting Voltage: If you’ve switched to VV mode, repeat the adjustment process using the same buttons. Remember that voltage affects the power output—higher voltage equals more power, and vice versa.
- Lock Your Settings: Once you’ve made the adjustments, you might want to lock them in place. Simply press the power button five times again, and your settings will be saved. You can always repeat the steps if you want to make further adjustments!
And there you have it! Adjusting the volt-watt settings on your Eleaf iStick is as easy as pie. Experiment with different settings to find your perfect vape experience!
Also Read This: Deleting Your iStock Account – A Step-by-Step Guide to Closing Your Profile
4. Common Issues and Troubleshooting Tips
Even the best devices can have their hiccups. If you’re experiencing issues with your Eleaf iStick’s volt-watt settings, here are some common problems and tips to troubleshoot them:
- Device Won’t Turn On: If your iStick won’t power on, ensure that the battery is charged. Try plugging it into a USB charger for a few minutes. If it still doesn’t respond, check if the battery is properly seated.
- Inaccurate Wattage or Voltage Display: Sometimes, the settings might not reflect accurately on the screen. A quick fix is to reset the device. Turn it off, then hold the power button for a few seconds until it resets.
- Settings Keep Resetting: If your settings are reverting back after you’ve adjusted them, it might be a battery issue. Ensure you’re using a good quality battery and that it’s properly installed. If the problem persists, consider replacing the battery.
- Inconsistent Vaping Experience: If you notice that the vape quality is inconsistent, it could be due to the coil. Make sure you’re using the right coil for your settings. A worn-out coil can lead to poor performance.
- Device Overheating: If your iStick feels too hot, it’s a sign to take a break! Overheating can occur if you’re using too high a wattage or voltage. Lower your settings and let the device cool down.
If you encounter any of these issues, don’t fret! Most can be resolved with a little patience and troubleshooting. Remember, the goal is to enjoy your vaping experience, so don’t hesitate to reach out to the Eleaf community or customer service for additional support!
Also Read This: Can You Submit the Same Photos to Shutterstock and iStock? Understanding Exclusivity
5. Benefits of Customizing Your Settings
When it comes to vaping, one size definitely does not fit all. Customizing the volt-watt settings on your Eleaf iStick can elevate your vaping experience in several exciting ways. Let's dive into the key benefits of making these adjustments:
- Enhanced Flavor: One of the most significant perks of tweaking your wattage and voltage is the potential for improved flavor. Different e-liquids react uniquely at various settings. By experimenting, you might discover a sweet spot that brings out the rich notes of your favorite juice that you never knew existed!
- Better Vapor Production: If you're looking for those thick, satisfying clouds, adjusting your settings can help. Higher wattage can create more vapor, but it's essential to find a balance to avoid burnt hits. Customizing your settings allows you to find that perfect balance for your preferences.
- Increased Battery Life: Vaping at lower wattages can conserve battery life. If you're out and about and want your device to last longer, reducing your wattage can be a game-changer. You'll still enjoy your vape without worrying about running out of juice.
- Personalized Experience: Everyone's vaping style is unique! Whether you prefer a cooler or warmer vape, customizing your settings allows you to create a vaping experience that feels tailor-made just for you. This personalization can significantly enhance your enjoyment.
- Safety and Comfort: Understanding how to adjust your settings can help you avoid dry hits or harsh throat hits. By customizing your volt-watt levels, you can find a comfortable range that suits your vaping style and keeps your experience safe.
In short, taking the time to customize your Eleaf iStick's settings can lead to a much more enjoyable and satisfying vaping experience. So don’t be afraid to play around with those numbers; the benefits are well worth it!
6. Conclusion and Final Thoughts
Congratulations! You've made it through the process of adjusting volt-watt settings on your Eleaf iStick. By now, you should have a solid understanding of how these settings work and why they're crucial for a personalized vaping experience.
To recap, customizing your settings allows you to:
- Enhance flavor profiles of your favorite e-liquids.
- Produce more vapor without sacrificing taste.
- Conserve battery life when needed.
- Create a uniquely tailored vaping experience.
- Maintain safety and comfort during each vape.
As you continue your vaping journey, remember that experimentation is key. Don't hesitate to try different settings until you find what works best for you. And keep in mind that each e-liquid may require a different approach, so stay flexible and open to adjustments!
In conclusion, the Eleaf iStick is a versatile device that offers a fantastic range of customization options. By understanding how to adjust your volt-watt settings, you’re not just vaping—you’re creating an experience that’s enjoyable and uniquely yours. Happy vaping!
 admin
admin


