Adding music from YouTube to your iMovie projects can breathe life into your videos, making them more engaging and memorable. However, it's essential to understand both the technical steps involved and the legal implications of using copyrighted music. In this guide, we’ll walk you through the process step-by-step, ensuring you not only create stunning content but also stay compliant with copyright laws.
Understanding YouTube's Copyright Policies
Before diving into the nitty-gritty of adding music to your iMovie projects, it's crucial to comprehend YouTube's copyright policies. YouTube is a hub for creators, but it also has strict rules regarding the use of copyrighted material.
Here are some key points to consider:
- Copyrighted Music: Most songs on YouTube are protected by copyright, meaning you cannot use them without permission. If you do, you risk having your video taken down or receiving a copyright strike.
- Royalty-Free and Creative Commons: Some creators upload music under Creative Commons licenses, allowing for legal use as long as you follow the specific terms outlined. Look for tracks labeled "royalty-free" or "Creative Commons."
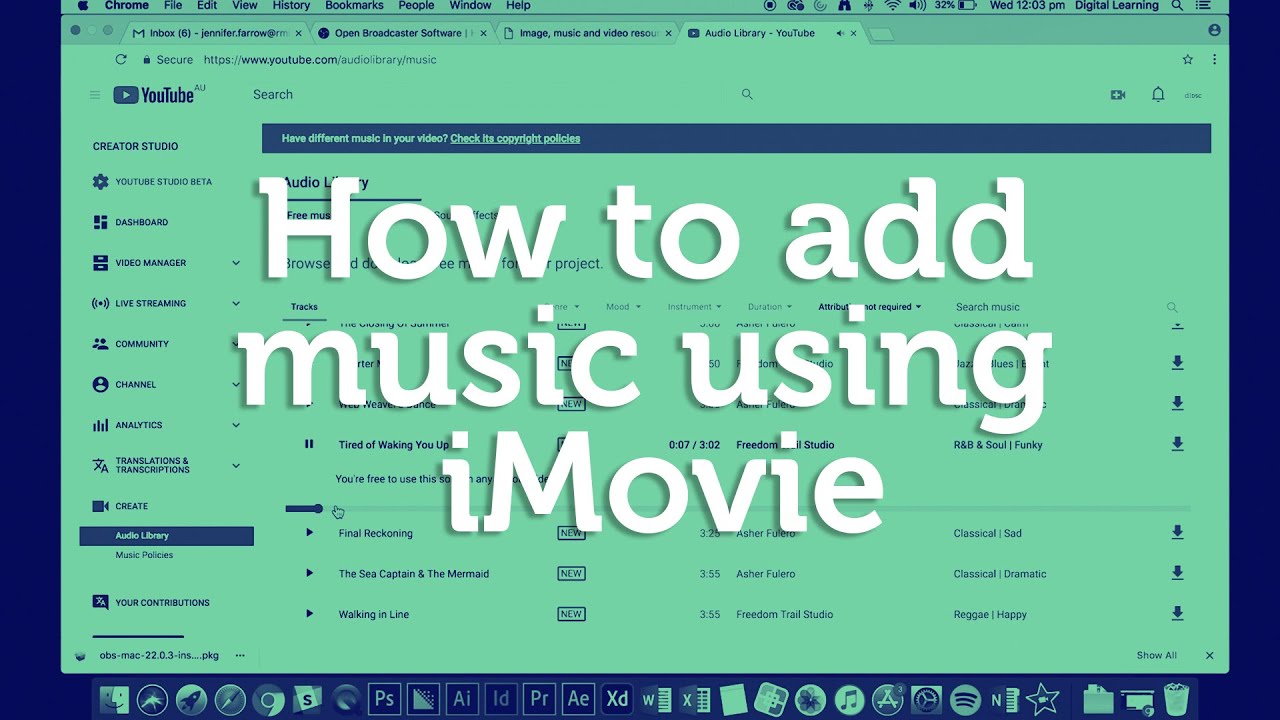
- YouTube Audio Library: YouTube offers an Audio Library filled with free music and sound effects that you can use in your projects. This is a great resource to avoid copyright issues.
- Fair Use Doctrine: This legal principle allows limited use of copyrighted material without permission for purposes like commentary, criticism, or education. However, it’s often gray and subjective.
In summary, while the temptation to use popular songs is strong, it’s essential to respect copyright laws. Always check the music’s licensing and choose wisely to keep your projects safe and sound!
Also Read This: Has the YouTube Algorithm Changed? What Creators Need to Know About Recent Updates
Downloading Music from YouTube
Downloading music from YouTube can seem tricky at first, but it's quite straightforward once you know the steps. There are various tools and methods you can use, so let’s break it down.
First off, it's important to ensure that you have permission to use the music. Many songs on YouTube are protected by copyright, so check if the track is available for download or if it falls under the Creative Commons license.
Here’s a simple way to download music:
- Choose Your Video: Find the YouTube video containing the music you want. Copy the URL from the address bar.
- Select a YouTube to MP3 Converter: There are several online converters like YTMP3, Y2Mate, or 4K Download. Just go to one of these sites.
- Paste the URL: In the converter, paste the URL you copied. Choose your desired format (usually MP3 is best for music).
- Download the File: Click on the convert button, wait for the process, and then download the file to your computer.
Remember, while downloading music for personal use might be acceptable, publishing or using it commercially without permission could lead to copyright issues. Always respect the creators and their work!
Also Read This: Does YouTube TV Include ACC Network Extra for Sports Fans
Importing Music into iMovie
Once you have your music downloaded, importing it into iMovie is a breeze! Let’s walk through the steps to get your audio into your project seamlessly.
Here’s how you can import music into iMovie:
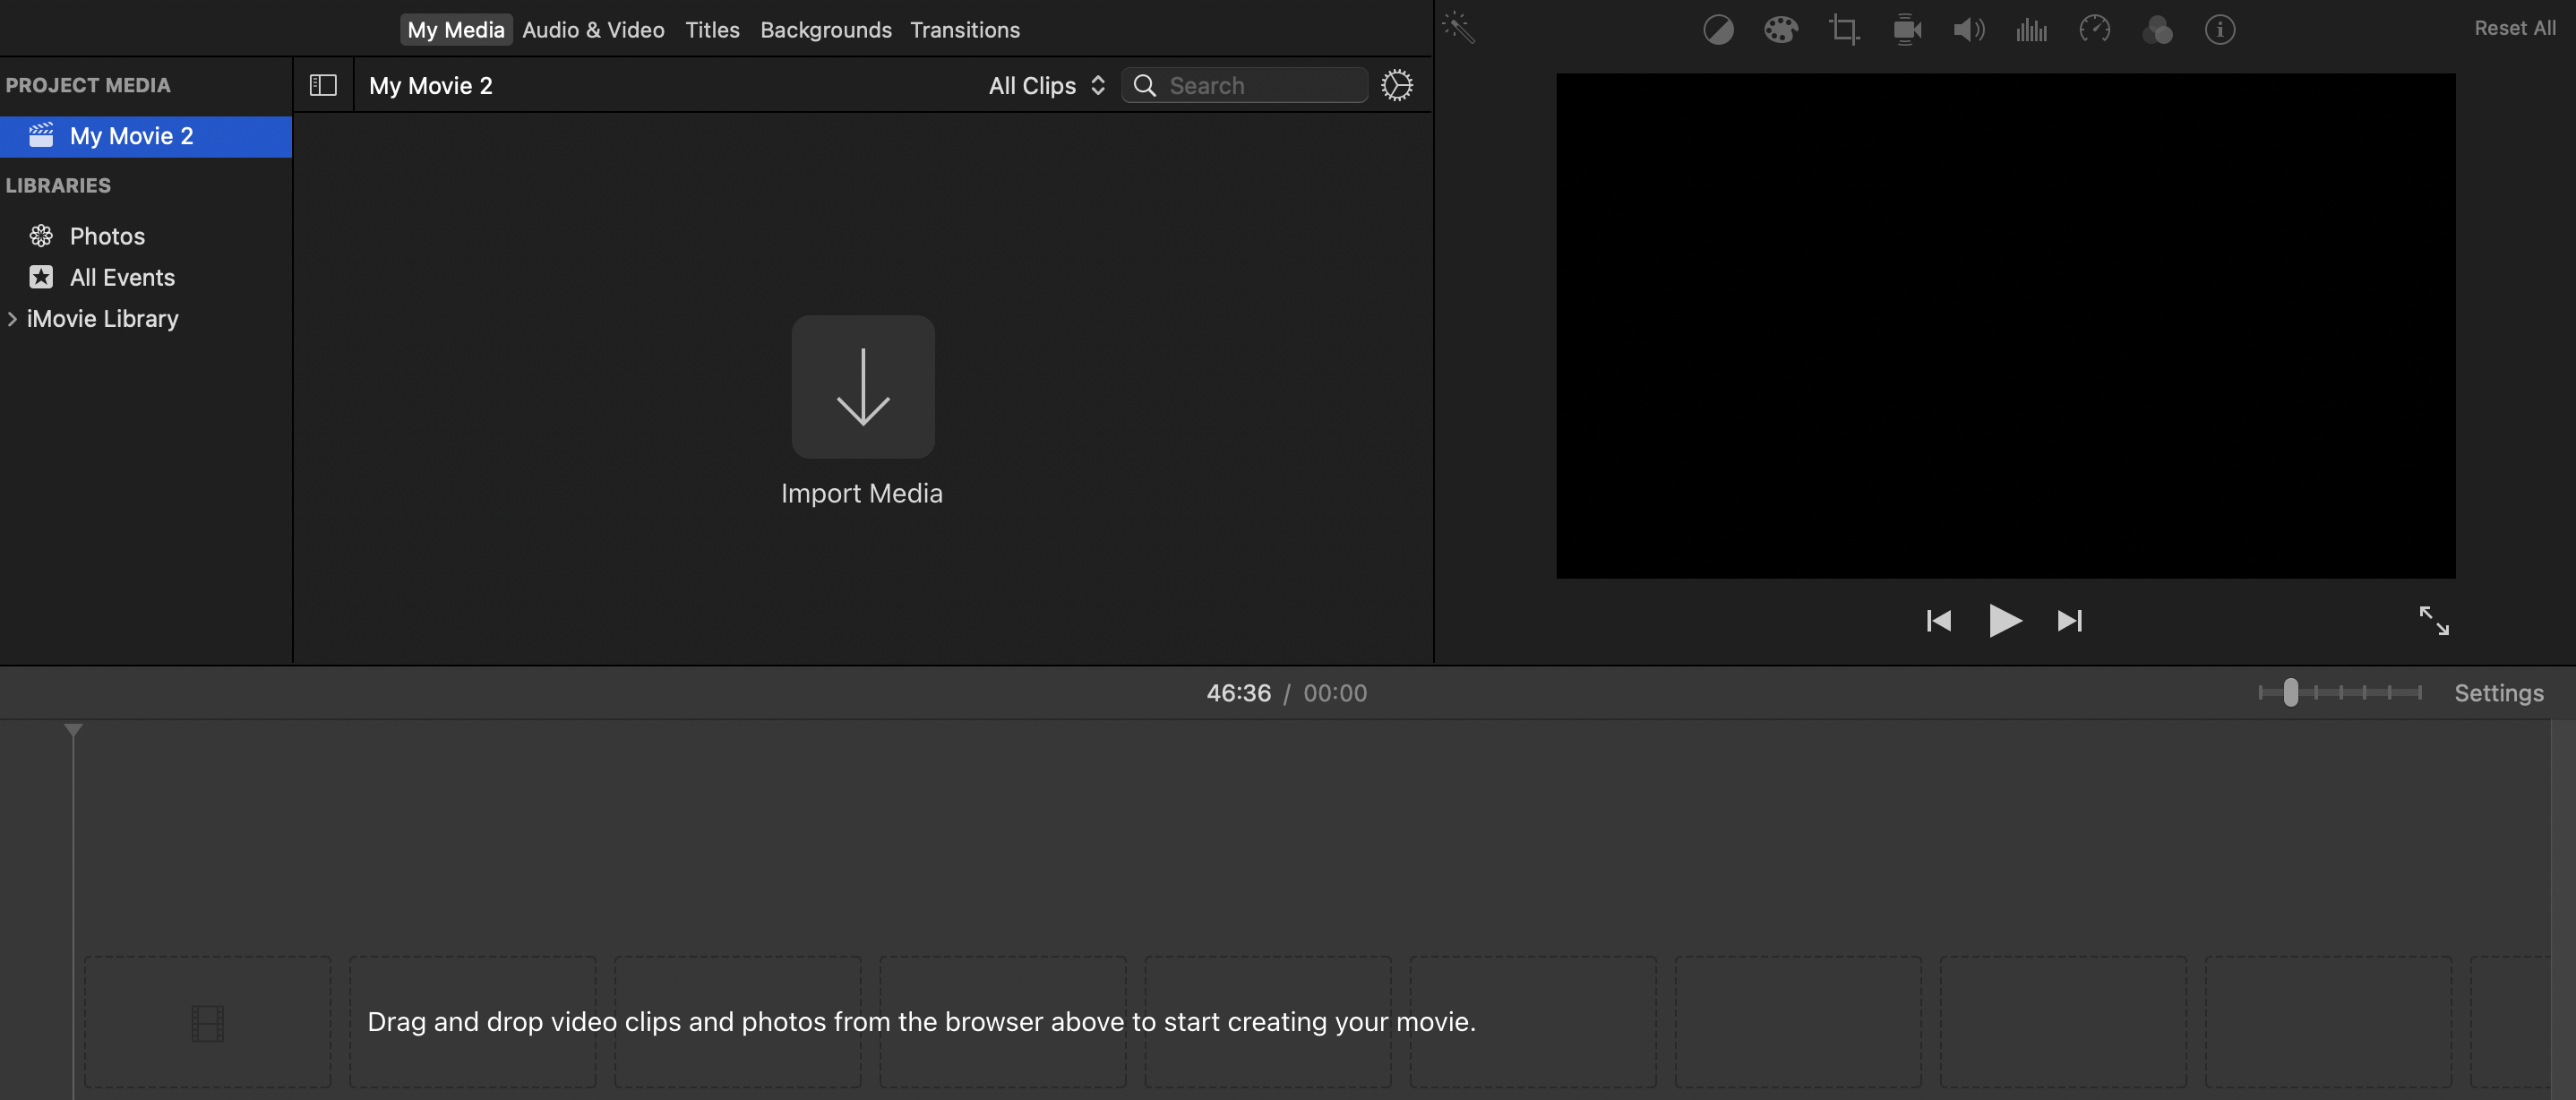
- Open iMovie: Launch the iMovie app on your Mac or iOS device.
- Create or Open a Project: Start a new project or open an existing one where you want to add your music.
- Access the Media Section: Click on the "Media" tab in the top left corner of the iMovie interface.
- Import Media: Click on the "Import Media" button. This will prompt you to navigate to where you saved your downloaded music file.
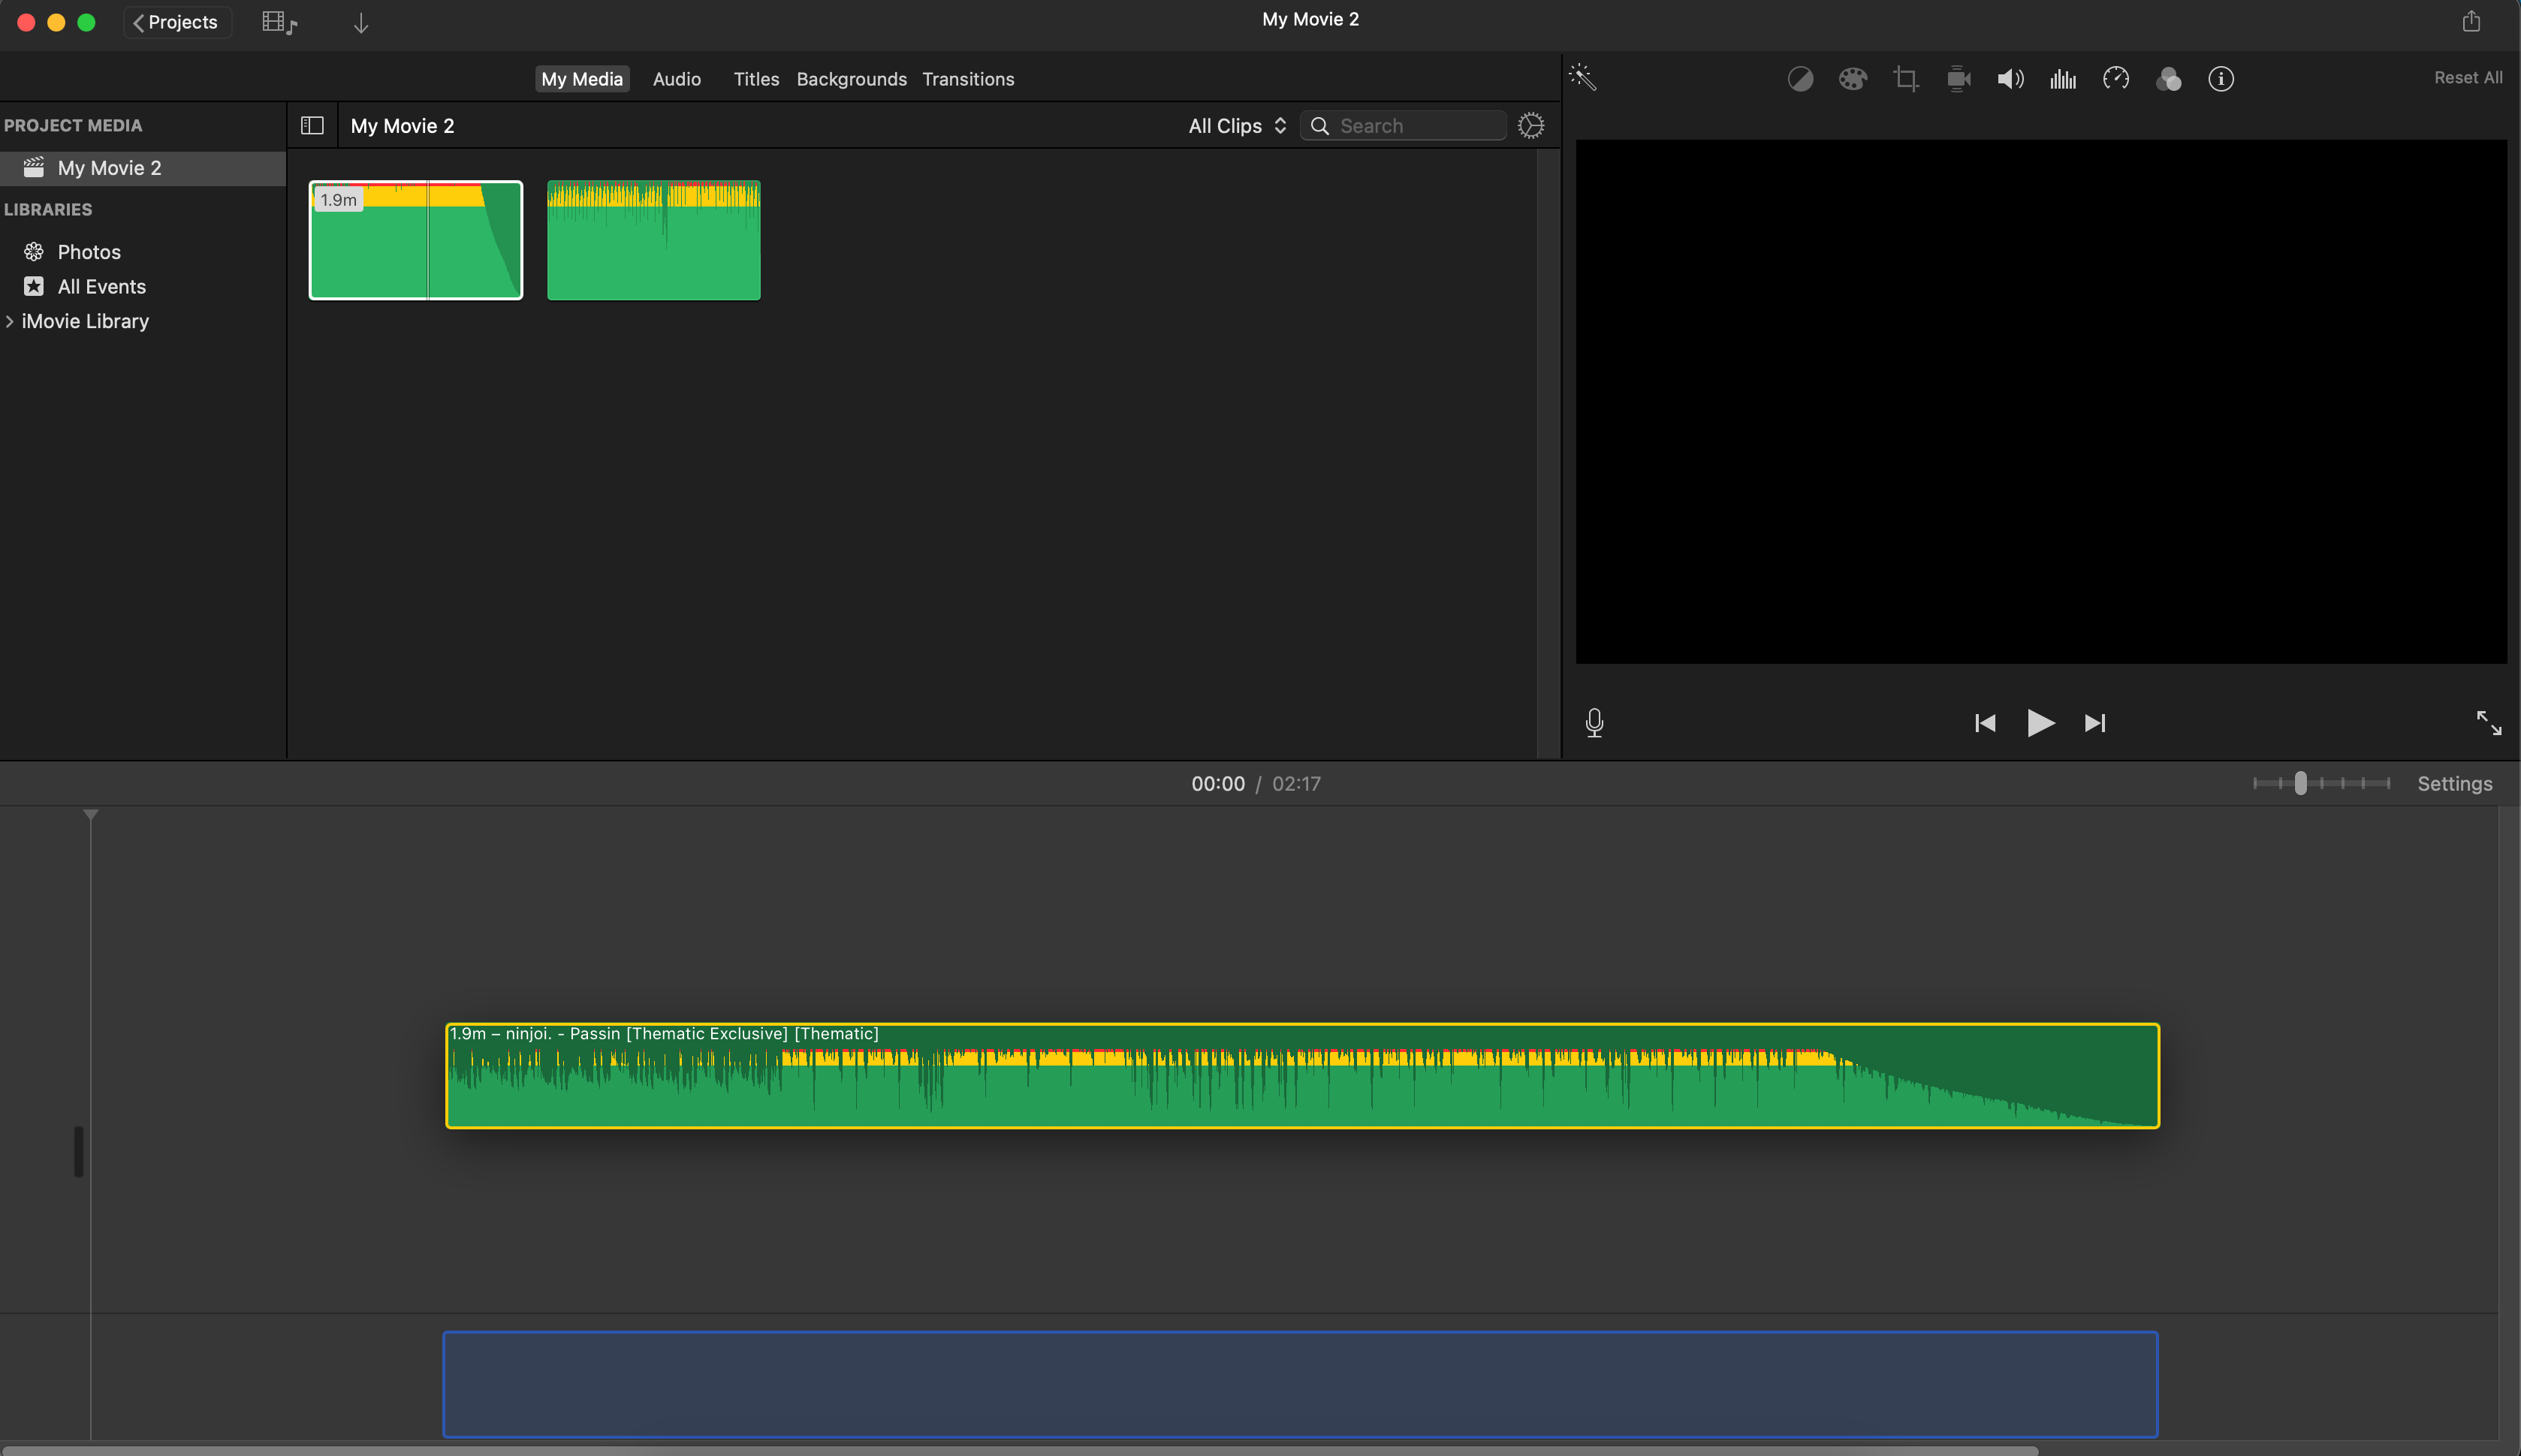
- Select Your Music File: Locate your MP3 file and click "Import Selected." Your music will now be added to the project media.
- Add to Timeline: Drag the imported music file from the media section to your project's timeline. You can adjust its length by dragging the edges.
And that's it! You’ve successfully added music to your iMovie project. Play around with the audio levels and transitions for a polished final product!
Also Read This: How to Download Live Videos from YouTube Online: Methods for Downloading Livestreams
5. Syncing Music with Video Clips
Syncing music with your video clips in iMovie is a crucial step to ensure your project flows seamlessly. It’s about more than just adding background music; it's about creating a harmonious experience that enhances your storytelling. Here’s how you can achieve that:
- Choose the Right Moment: First, identify the points in your video where the music should escalate or fade. Mark these moments in your timeline.
- Adjust Audio Levels: Make sure the music isn’t overpowering the dialogue or other sound effects. You can do this by selecting the audio track and adjusting the volume slider.
- Use Clip Trimming: If your music doesn’t match the length of your video, trim it! Click on the audio track and drag the ends to fit just right.
- Fade In and Out: To make transitions smoother, apply fade-ins and fade-outs at the beginning and end of your music track. This can be done by dragging the small fade handles that appear at the ends of your audio clip.
- Preview Frequently: Regularly preview your project by hitting the spacebar. This helps you understand how well the music syncs with your visuals and adjust as needed.
By syncing your music precisely, you not only enhance the overall quality of your project but also engage your audience on a deeper level.
Also Read This: Can You Use Any Music in YouTube Shorts? Copyright Rules Explained
6. Finalizing Your iMovie Project
Once you’ve added your music and refined your video, it’s time to finalize your iMovie project. This step is all about ensuring everything is polished and ready for sharing. Here’s how to do it:
- Review Your Edits: Take a moment to watch your entire project from beginning to end. Look out for any inconsistencies or areas that may need tweaking.
- Check Audio Levels: Make sure the sound levels are balanced throughout the video. You don't want sudden loud spikes or overly quiet sections.
- Export Settings: When you’re happy with your project, it’s time to export. Click on File > Share > File. Choose the resolution and quality that suit your needs.
- File Naming: Give your project a clear, descriptive name. This helps you easily find it later, especially if you’re working on multiple projects.
- Backup Your Project: Don’t forget to back up your final product! Consider saving it to an external drive or cloud storage, ensuring you won’t lose your hard work.
Finalizing your project ensures that it’s not just finished, but it’s polished and ready for your audience. With these steps, you’re set to create a stunning video that resonates with viewers!
How to Add Music from YouTube to iMovie Projects
Creating captivating videos in iMovie often requires the perfect soundtrack. While iMovie offers a range of built-in audio clips, many users want to incorporate their favorite tracks from YouTube. Here’s a step-by-step guide on how to do just that while ensuring you respect copyright regulations.
Follow these steps to add music from YouTube to your iMovie projects:
- Identify Your Music: Browse YouTube for the song you want to use. Ensure that it’s available for use (look for Creative Commons licenses or royalty-free music).
- Use a YouTube to MP3 Converter: Choose a reputable converter. Some popular options include:
- YTMP3
- 4K Video Downloader
- OnlineVideoConverter
- Download the Track: Copy the YouTube link and paste it into the converter. Select MP3 as the output format and download the file.
- Import the Music into iMovie: Open your iMovie project, navigate to the 'Media' tab, and select 'Import Media'. Locate the downloaded MP3 file and import it.
- Add the Music to Your Timeline: Drag and drop the imported track onto your timeline, adjusting its length to fit your video.
- Adjust Audio Levels: Click on the audio track to adjust the volume and fade in/out options for a polished finish.
Note: Always check the copyright status of the music before using it in your projects, especially if you plan to share them publicly.
In conclusion, adding music from YouTube to iMovie can enhance your video projects significantly, but it’s crucial to do so legally and ethically. By following the steps outlined above, you can create engaging content that resonates with your audience while respecting copyright laws.
 admin
admin


