Adding motion to images is one of the most effective ways to enhance your video projects. In Adobe Premiere, this process can turn static images into dynamic visuals that capture the viewer's attention. Whether you're creating a video for social media, a documentary, or a promotional piece, adding movement to your images can bring them to life and improve the overall flow of your project.
In this guide, we will walk you through the steps to add motion to images in Adobe Premiere, from basic motion effects like panning and zooming to more advanced animations. By the end of this post, you'll be able to create engaging visuals that help tell your story with ease.
Why Motion Matters in Video Editing
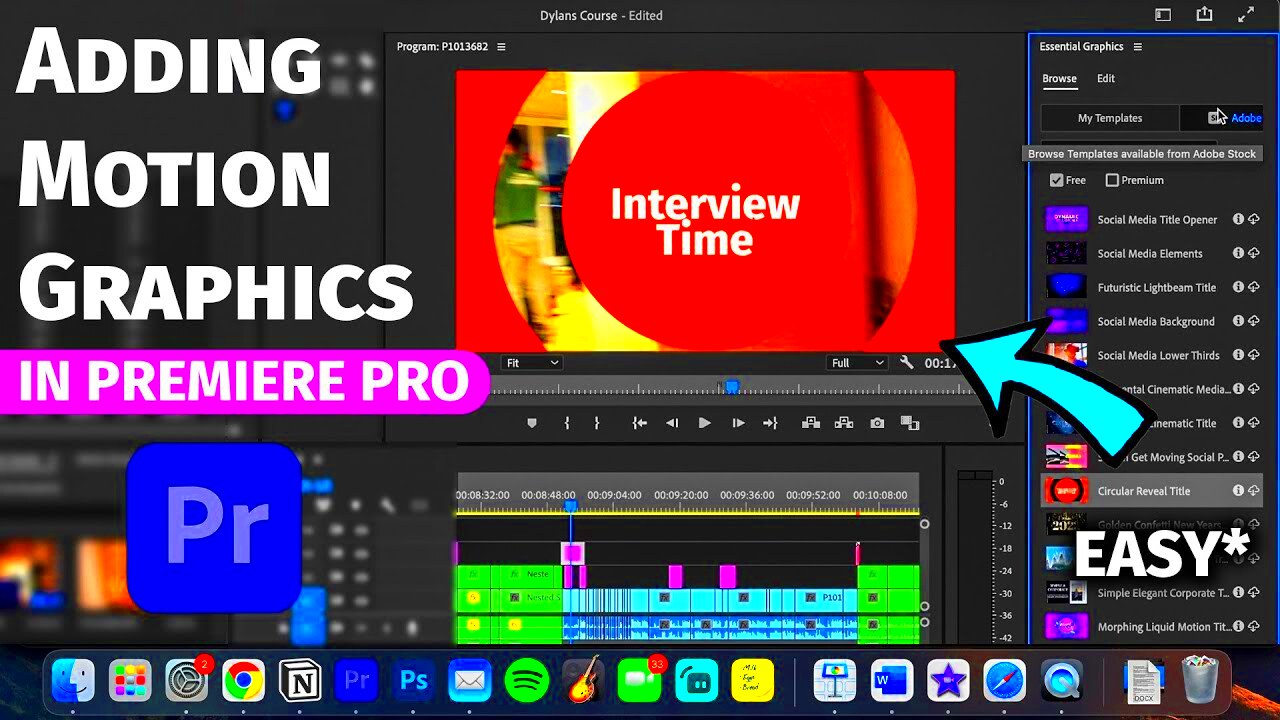
In video editing, motion isn't just about making your footage more interesting – it’s a storytelling tool that helps to guide the viewer’s eye, highlight important elements, and add energy to the scene. Motion can take a still image and transform it into something more captivating, which can make a huge difference in how your audience perceives your work.
Here’s why motion is so important in video editing:
- Draws Attention: Moving images are naturally more engaging than still ones. The eye is drawn to motion, which can help emphasize key elements in your scene.
- Creates Flow: Smooth transitions between static images and moving footage can create a sense of continuity, helping the viewer stay engaged.
- Enhances Emotion: Motion effects can enhance the emotional impact of a scene, whether it’s through slow pans for a calm feeling or fast zooms for excitement.
- Improves Professionalism: Adding motion gives your project a polished, professional look that makes it stand out.
Also Read This: Easy Ways to Subtract Images in PowerPoint
Getting Started with Adobe Premiere for Motion Effects
Before you can add motion to your images in Adobe Premiere, it’s important to get your workspace set up and familiarize yourself with the essential tools. Here’s how to get started:
- Step 1: Install Adobe Premiere – If you don’t already have Adobe Premiere, make sure you install it and open a new project.
- Step 2: Import Your Images – Go to the "File" menu, select "Import," and bring in the images you want to animate.
- Step 3: Organize Your Files – It’s a good idea to keep your media organized in bins, so you can quickly access your images when you need them.
- Step 4: Create a New Sequence – Set up a new sequence that matches your project’s desired resolution and frame rate. This ensures everything will fit together perfectly when editing.
Once your workspace is set up, you can start applying motion to your images using Premiere’s powerful keyframe system. With just a few clicks, you can animate your images, adjust their position, and create movement that will add visual appeal to your project.
Also Read This: Alamy vs Adobe Stock: Comparing Two Prominent Stock Image Providers
Using Keyframes to Add Motion to Images
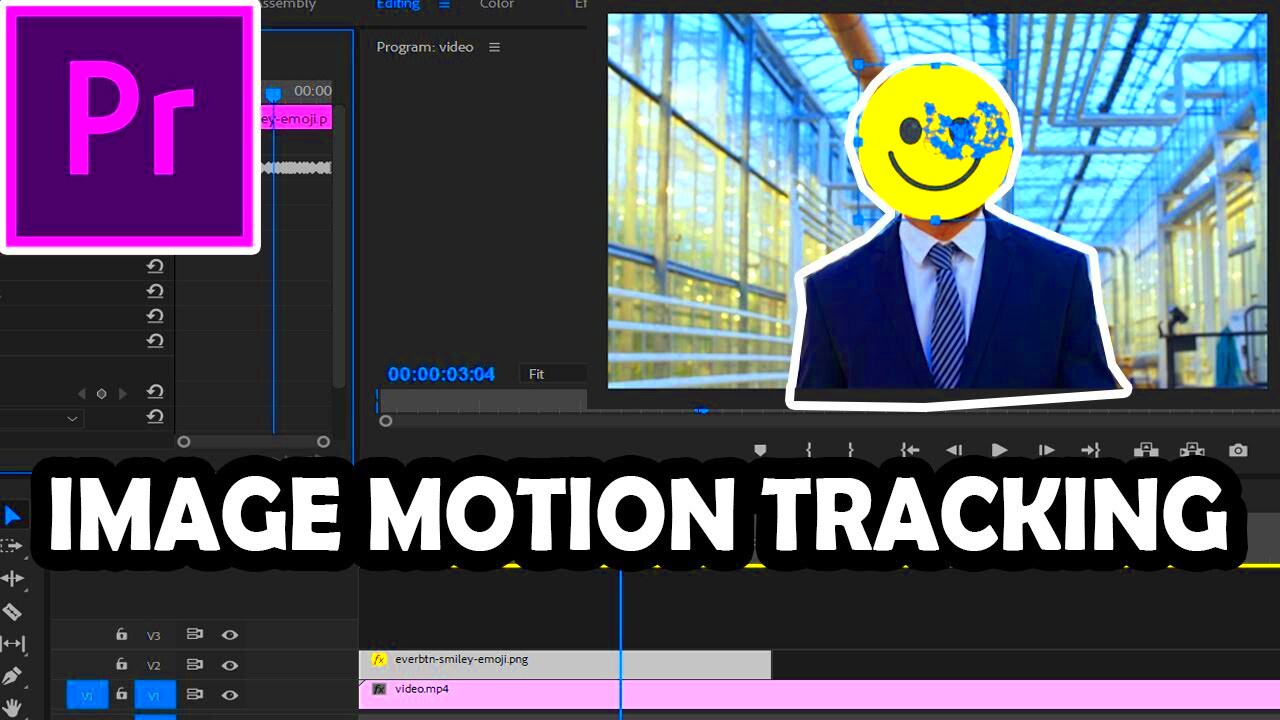
One of the most powerful tools for adding motion to your images in Adobe Premiere is the use of keyframes. Keyframes allow you to define the starting and ending points of an animation, creating smooth transitions between those points. By setting keyframes for different properties like position, scale, and rotation, you can make your images move in any direction or style you desire.
Here’s how to use keyframes to animate your images:
- Step 1: Select Your Image – Drag your image onto the timeline in the desired position.
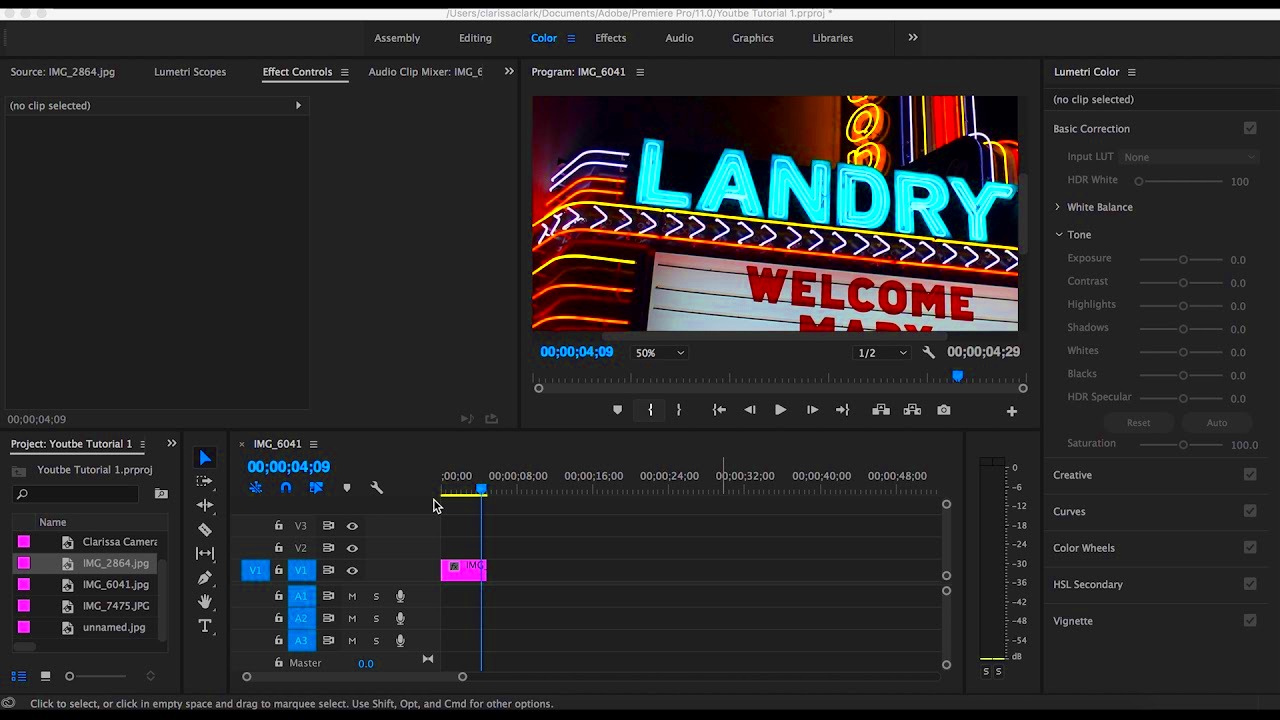
- Step 2: Open the Effect Controls Panel – To access the keyframe options, go to the Effect Controls panel, which will show the properties of the selected image.
- Step 3: Set the First Keyframe – Click the stopwatch icon next to the property you want to animate (e.g., position, scale). This sets the first keyframe.
- Step 4: Move the Playhead – Move the playhead forward on the timeline to where you want the motion to end, then adjust the image’s property (such as scaling up or moving it across the frame).
- Step 5: Premiere Automatically Adds the Second Keyframe – After adjusting the property, Premiere will automatically create the second keyframe, resulting in motion between the two points.
Keyframes offer precise control over how and when the motion happens, making them perfect for both subtle and dramatic image animations. By experimenting with different properties and keyframe intervals, you can create dynamic, professional-looking motion effects.
Also Read This: How to Change Your Job Title on LinkedIn Without Notifying Everyone
Animating Image Movement Using Presets in Premiere
If you’re looking for a quicker way to add motion without manually setting keyframes, Adobe Premiere offers several motion presets that can instantly apply movement to your images. Presets are predefined animations that can be easily applied and customized to fit your project. This is a great option if you want to save time or if you’re new to animating images.
Here’s how to apply and customize motion presets in Premiere:
- Step 1: Open the Effects Panel – In the Effects panel, search for "Motion" under the Video Effects section.
- Step 2: Choose a Preset – Browse through the various motion presets such as "Zoom," "Pan," or "Orbit" and drag the one you like onto your image in the timeline.
- Step 3: Customize the Preset – Once the preset is applied, you can still modify its properties in the Effect Controls panel, such as adjusting speed, direction, or scale.
- Step 4: Fine-Tune the Motion – You can further refine the preset’s timing by adjusting the keyframes it creates or applying additional effects.
Using motion presets is an excellent way to add quick movement to your images, and with just a few tweaks, you can make them feel more personalized and dynamic.
Also Read This: How to Change the Color of a Shutterstock Vector: A Step-by-Step Guide
Working with the Effect Controls Panel for Motion Adjustments
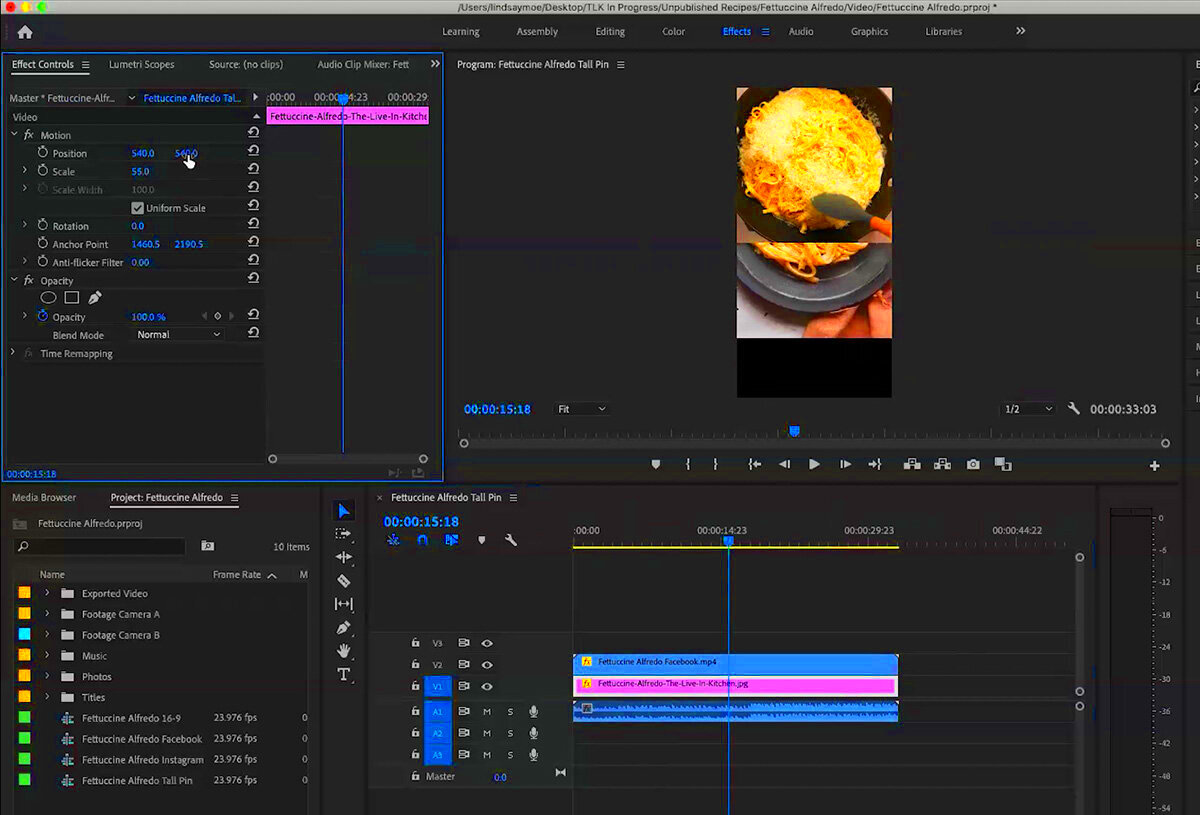
The Effect Controls panel is where you have full control over your image’s motion properties. It’s a key part of the editing process when you want to fine-tune animations and make adjustments to your keyframes. This panel allows you to access and modify the position, scale, rotation, and other motion settings to create smooth and customized animations.
Here’s how to make the most of the Effect Controls panel for motion adjustments:
- Step 1: Access the Effect Controls Panel – After selecting your image in the timeline, open the Effect Controls panel. You’ll see a list of all the effects applied to your clip, including motion properties like position, scale, and rotation.
- Step 2: Adjust Motion Properties – Click on the small triangle next to "Motion" to expand the settings. Here you can adjust:
- Position: Move the image horizontally or vertically.
- Scale: Zoom in or out on the image.
- Rotation: Rotate the image around its center.
- Step 3: Add Keyframes – For each of these properties, you can set keyframes by clicking the stopwatch icon. This allows you to create custom motion effects that change over time.
- Step 4: Refine Your Adjustments – You can drag keyframes along the timeline to adjust the timing, or you can manually adjust the numerical values for position, scale, and rotation for precise control.
The Effect Controls panel gives you the flexibility to make detailed adjustments to your motion effects, ensuring that your image animations are as smooth and engaging as possible. With these tools at your disposal, you can achieve professional-grade motion graphics with ease.
Also Read This: Understanding the Cost of a Standard License in Adobe Stock
Creating Advanced Motion Effects for Enhanced Visual Appeal
Once you're comfortable with basic motion techniques in Adobe Premiere, you can start exploring more advanced motion effects to take your visuals to the next level. Advanced motion effects can add cinematic flair, making your project look more professional and engaging. These effects allow you to simulate camera movements, create 3D effects, and add dynamic transitions that truly captivate your audience.
Here are a few ways you can create advanced motion effects:
- Simulating Camera Movements: You can replicate the feeling of camera zooms, pans, and dolly shots by animating the position and scale properties. For example, a slow zoom in on an image can simulate a camera moving closer to the subject.
- 3D Motion Effects: Premiere allows you to apply 3D motion to your images, creating the illusion of depth and movement. By adjusting the X, Y, and Z axes, you can make images rotate in space, making them feel as if they are moving through a three-dimensional environment.
- Adding Parallax Scrolling: Parallax is the effect where different elements in your image move at different speeds. This is often used in dynamic web design and can add a sense of depth to your video. To create this, you’ll animate various layers of an image separately.
- Using Masking for Focus Effects: You can use masks to isolate parts of an image, applying motion to just that part. For example, you could have an image with a background that stays still while a subject in the foreground moves independently.
By experimenting with these advanced techniques, you can add complexity and richness to your motion effects, making your images feel alive and immersive.
Also Read This: How Much Rumble Pays for 1000 Views and Strategies to Maximize Your Earnings
FAQ Section
1. How do I add motion to images in Adobe Premiere?
To add motion to your images, use the Effect Controls panel. You can adjust properties like position, scale, and rotation by setting keyframes, which will animate the image over time. Premiere will automatically create smooth transitions between keyframes.
2. What are keyframes, and how do they work in Adobe Premiere?
Keyframes are markers that define the start and end points of an animation. In Adobe Premiere, keyframes allow you to animate properties such as position, scale, and rotation. As you move the playhead, Premiere will interpolate the values between keyframes, creating a smooth animation.
3. Can I use motion presets to animate images quickly?
Yes, Adobe Premiere offers several motion presets that apply predefined animations to your images. These presets can be customized in the Effect Controls panel to better suit your project’s needs.
4. How do I create 3D motion effects in Premiere?
To create 3D motion effects, use the Motion properties in the Effect Controls panel. Adjust the X, Y, and Z axes for your image to make it rotate in space or simulate camera movements. This adds depth and dimension to your images.
5. Can I animate multiple parts of an image separately?
Yes, you can use masking to animate different sections of an image separately. By creating multiple layers and applying motion to each, you can achieve effects like parallax or isolated movement in specific parts of the image.
Conclusion: Enhance Your Visuals with Motion Effects in Adobe Premiere
Adding motion to your images is an excellent way to elevate the visual appeal of your videos in Adobe Premiere. Whether you’re just starting with basic keyframe animation or experimenting with more advanced motion effects like 3D rotation and camera simulations, these techniques will help your project stand out. Motion breathes life into your static images, creating a more dynamic and engaging experience for your audience.
With the tools and tips outlined in this guide, you now have the skills to create stunning motion effects that enhance your videos and make them more professional. By mastering motion in Adobe Premiere, you can take your editing to new heights and deliver content that truly captivates your viewers.
 admin
admin


