Adding images into Blender is a crucial part of creating stunning 3D models and animations. Whether you're working with textures, reference images, or backgrounds, images can greatly enhance the realism and detail in your projects. Blender provides several ways to incorporate images, allowing you to work in a variety of creative ways. In this section, we’ll go over why it’s important to add images to your projects and how it can improve your overall workflow. Understanding how to use images effectively will help you create more professional and polished results in your 3D modeling and animation projects.
Preparing Images for Blender

Before you start adding images into Blender, it’s essential to prepare them for the best results. The type of image you use, its resolution, and file format can affect your project’s performance and quality. Here are a few things to keep in mind when preparing your images:
- File Formats: Blender supports various file formats, but the most commonly used ones are PNG, JPEG, and TIFF. PNG is best for transparency, while JPEG is ideal for photographic textures.
- Resolution: The resolution of your image should be appropriate for the project. High-resolution images are great for detailed textures, but they can slow down your workflow if used excessively. Consider resizing large images before importing them into Blender.
- Aspect Ratio: Make sure your images have the right aspect ratio for your project, especially when using reference images for modeling or background textures.
- Image Compression: Compressing your images without losing quality can help keep file sizes smaller and improve Blender’s performance.
By preparing your images correctly, you'll ensure a smoother workflow and better final results in your Blender projects.
Also Read This: Removing Watermark on Adobe Stock: Guidelines and Processes
Different Methods for Adding Images to Blender

Blender offers several methods for incorporating images into your 3D projects. Each method has its unique benefits and use cases, depending on what you're aiming to achieve. Here are the main ways to add images into Blender:
- Adding Images as Textures: This is one of the most common ways to use images in Blender. Textures are applied to 3D models to add realism. You can import an image and map it onto the surface of your 3D object, making it look more detailed and lifelike.
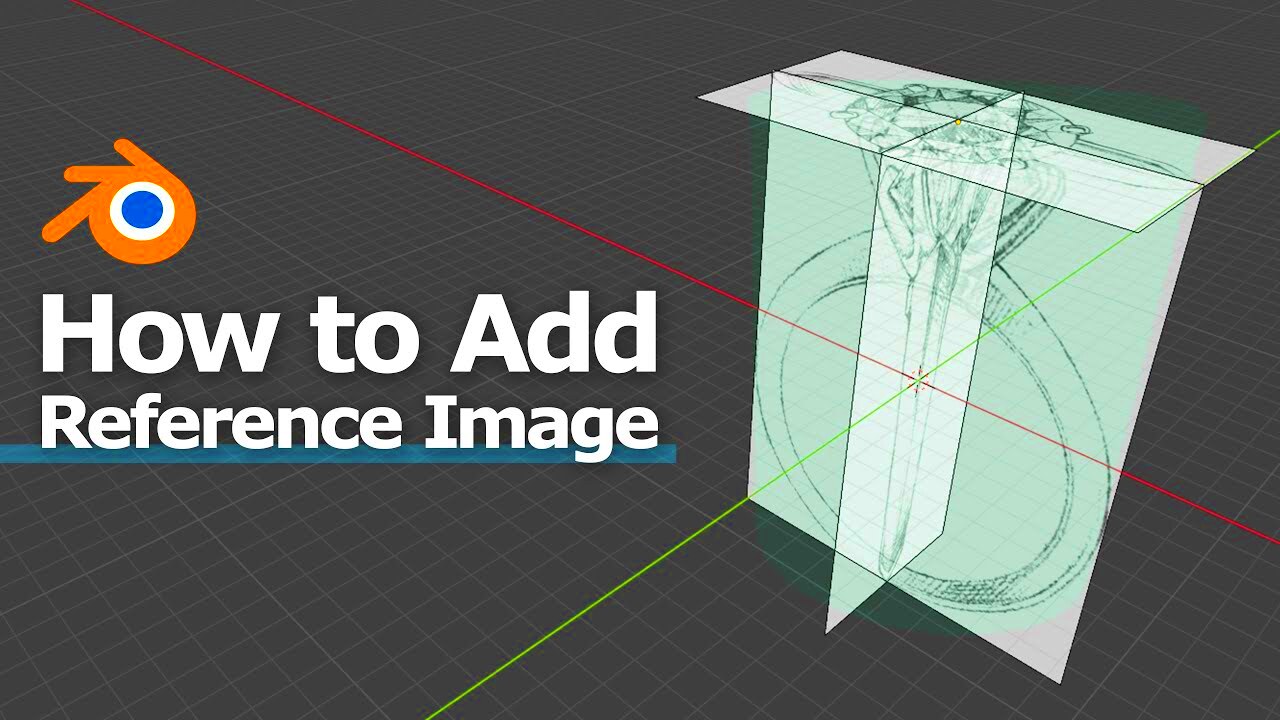
- Reference Images: Reference images are often used during the modeling process. These images are placed in the 3D view to serve as a guide for creating complex shapes. This method is helpful when you need to model something to precise proportions or follow a specific design.
- Background Images: Background images are used in the viewport to provide a visual reference for creating or animating your scene. They can be aligned to the camera or set for specific views (top, side, front), which helps you match the real-world perspective when building 3D objects.
- Image Planes: Image planes allow you to use 2D images as flat surfaces within your 3D environment. These planes can be positioned and rotated, allowing for accurate modeling or setting up scenes based on real-world images.
Each method has its purpose, and choosing the right one depends on the goal of your project. For example, textures are key for adding detail to models, while reference and background images help guide the modeling and animation process.
Also Read This: Rediscover Your Memories: How to Find My Old Photobucket Pictures
Adding Images as Textures in Blender

Using images as textures is one of the most common and powerful ways to add detail and realism to your 3D models in Blender. Textures can represent anything from the skin of a character to the surface of a building or the roughness of a rock. By applying images as textures, you can simulate complex visual effects without having to model every detail. Let’s break down how you can use images as textures in Blender.
- Set Up a Material: To use an image as a texture, first, you need to create a material for your 3D object. In the Shader Editor, add a new material and connect an Image Texture node to the material’s shader.
- Load Your Image: After adding the Image Texture node, you can load the image you want to use. Just click “Open” in the Image Texture node and select your desired image file.
- UV Mapping: To apply the texture correctly, you must UV unwrap the 3D object. UV mapping takes the 3D surface and flattens it into a 2D space, so the image can be mapped onto the object correctly. You can do this by selecting your object, going to the UV Editing workspace, and unwrapping the object.
- Adjust the Texture: Once the image is applied, you may need to adjust it to fit the model properly. This can include tweaking the scale, rotation, and position of the texture on the surface. You can also use shaders like the Principled BSDF to control how the texture interacts with light.
By using images as textures, you can make your models look far more detailed and realistic, all while keeping your scene's geometry simple and optimized.
Also Read This: How to Upload Videos Longer Than 60 Minutes on Dailymotion
Using Images as Reference Images in Blender
Reference images are invaluable tools when modeling in Blender. They provide a visual guide, ensuring that your 3D model stays accurate and proportional to real-world objects or concept art. Whether you're working on a character model or a vehicle, reference images are essential for precision. Let’s see how to use them in Blender.
- Importing Reference Images: To add a reference image, go to the 3D Viewport, press Shift + A, and choose “Image” > “Reference.” Then, select the image file you want to use as a reference.
- Positioning the Image: Once imported, you can position the reference image in the 3D space. You can move, rotate, and scale the image to fit your scene and align it with the 3D objects you're creating. It’s often helpful to place reference images in different views (front, side, top) for better accuracy.
- Transparency: You can make reference images partially transparent, so they don't obstruct your view of the model you’re creating. This can be done in the Image properties under the “Opacity” slider.
- Multiple Reference Images: Often, it’s useful to use multiple reference images in Blender, especially for complex models. You can use a reference image for each view (front, side, back) to ensure that your model’s proportions are accurate from all angles.
By using reference images, you can model with more precision, ensuring that your 3D creations match the vision or real-world object you’re working from.
Also Read This: How Do I Resize an Image in Paint for Simple Editing and Adjustments
Adding Images to the Background in Blender
Background images are often used in Blender to provide context or a point of reference when creating 3D models. These images can serve as guides for your scene or help you match your 3D objects to a real-world background. Blender makes it easy to set up background images for different camera views. Let’s walk through how to add them.
- Adding a Background Image: To add a background image, go to the 3D Viewport and press Shift + A, then select “Image” > “Background.” Choose the image file you want to use, and it will appear in the viewport behind your 3D models.
- Adjusting the Image: You can adjust the background image’s position, scale, and transparency in the Image properties panel. This allows you to fine-tune how the background fits with your scene.
- Setting the Image to Different Views: You can add different background images to each of the standard views in Blender (front, side, top, etc.). This is particularly useful for ensuring that your 3D model matches the real-world perspective from various angles. To do this, you’ll need to change the image settings for each view.
- Camera-Specific Background Images: If you're working with a specific camera angle and want the background image to follow the camera's movement, you can attach the image to the camera. This ensures that the background stays in place as the camera moves within the scene.
Background images help give your 3D models context and make it easier to align your work with real-world visuals, improving the accuracy and realism of your project.
Also Read This: Cost Considerations: How Much Does Photobucket Cost?
Common Issues When Adding Images in Blender and How to Fix Them
When working with images in Blender, you might encounter some common issues that can disrupt your workflow. These problems can range from texture misalignments to performance issues. Don’t worry though—most of these problems are easy to fix once you know what to look for. Let’s go over some of the typical challenges and how to resolve them.
- Texture Misalignment: One common issue is when your image texture doesn’t align properly with the 3D model. This is usually caused by incorrect UV mapping. To fix this, you need to check the UV map and make sure the image is properly unwrapped onto the object. You can re-unwrap the object or adjust the scaling and positioning of the UV map in the UV Editor.
- Incorrect Image Resolution: Another issue is using images with too high or too low resolution. High-resolution images can slow down your project, while low-resolution ones may appear blurry when applied as textures. To fix this, resize the image to a more appropriate resolution for your project needs, ensuring a balance between quality and performance.
- Transparency Issues: If your images have transparency (e.g., PNG images), and you can’t see the transparency in Blender, you may need to adjust the material settings. Make sure that the material uses the Principled BSDF shader and that the “Alpha” channel is enabled. Check the settings to ensure the transparency is displayed correctly.
- Image Not Showing in Viewport: If your image doesn’t show up in the viewport, it might be due to a visibility setting. In the Image properties panel, ensure that the image’s visibility is enabled for the view you’re working in. Also, check if the image is correctly placed in the scene and not hidden behind other objects.
- Background Image Issues: If your background image appears stretched or distorted, it’s usually because the aspect ratio of the image doesn’t match the aspect ratio of the viewport. Make sure to adjust the image’s size or aspect ratio in the Image properties tab.
With a little troubleshooting and by keeping these solutions in mind, you can avoid common image-related issues and keep your workflow running smoothly.
Also Read This: An Easy X Video Download Method for Free
Best Practices for Image Use in Blender Projects
To ensure your Blender projects run smoothly and efficiently, it’s important to follow some best practices when working with images. Proper image management can improve performance, save time, and help you create better 3D models and animations. Here are some tips for using images effectively in your Blender projects:
- Use Appropriate Image Formats: As mentioned earlier, using the correct file format for each type of image is crucial. Use PNG for transparency, JPEG for photographic textures, and TIFF for high-quality, non-compressed images. Choosing the right format can improve project performance and prevent rendering issues.
- Optimize Image Resolution: Avoid using unnecessarily high-resolution images for small details. For instance, using a high-resolution image as a texture for a distant object can negatively affect performance. Always try to balance resolution and performance by resizing images to fit the specific needs of your project.
- Organize Your Image Files: Keeping your image files well-organized is key to a smooth workflow. Store your images in dedicated folders and name them descriptively so you can easily locate the right ones when needed. This is especially helpful for larger projects where you may be working with many different images.
- Use Image Optimization Tools: Before importing images into Blender, consider using image optimization tools like TinyPNG or ImageOptim to reduce file size without losing image quality. This will help maintain Blender's performance and prevent unnecessary slowdowns.
- Set Up Texture Atlas for Large Scenes: When working with large scenes that require many textures, consider creating a texture atlas. A texture atlas combines multiple textures into one large image, reducing the number of textures Blender needs to load, which can improve performance.
- Check the Image's Impact on Scene Performance: Keep an eye on how images affect the overall performance of your scene. If your project becomes slow, try reducing the number of high-resolution images or consider using simpler textures for background elements.
By following these best practices, you’ll optimize your image usage and create better-performing, more efficient Blender projects. Keep these tips in mind for a smoother, more organized workflow!
Also Read This: Easy Ways to Crop Images Using GIMP
FAQ
Here are some frequently asked questions about using images in Blender, along with answers to help you better understand the process:
- What is the best image format for textures? For most textures, PNG is a good choice, especially if you need transparency. JPEG is best for photographic textures, while TIFF is ideal for high-quality, uncompressed images.
- Why are my textures blurry in Blender? Blurry textures are usually a result of using low-resolution images. Try to use higher-resolution images or adjust the texture’s UV map to better fit the surface.
- How do I fix image stretching on my 3D model? Image stretching is often caused by improper UV unwrapping. You may need to adjust the UV map or use a different type of projection to prevent stretching.
- Can I use multiple reference images in Blender? Yes, you can add multiple reference images in Blender, and it’s often helpful to use them from different views (e.g., front, side, top) for better accuracy when modeling.
- How do I make a background image visible in Blender? If your background image isn’t visible, check the visibility settings in the Image properties panel. You may also need to adjust the image’s placement or scale.
If you have more questions, don’t hesitate to explore Blender’s extensive documentation or reach out to the community for additional support!
Conclusion
Adding images to Blender is a fundamental skill for creating high-quality 3D models and animations. Whether you're using images as textures, reference images, or background visuals, they help enhance the realism and accuracy of your projects. By following best practices like optimizing image resolution, choosing the right formats, and keeping your image files organized, you can ensure your Blender projects remain efficient and easy to manage. Troubleshooting common

 admin
admin


