Markdown is a lightweight markup language designed to be easy to write and read. It’s widely used for creating formatted text using a plain-text editor. When working on documentation, websites, or blogs, adding images in Markdown can significantly enhance the visual appeal and help convey your message more clearly. This blog post will guide you through the simple process of adding images to your Markdown documents for better visuals and documentation.
Whether you're writing a technical guide, a blog post, or creating content for a project, Markdown offers an easy and efficient way to embed images without needing complex HTML coding. Let’s dive into how you can make your content more engaging with images!
Understanding the Basics of Markdown Syntax
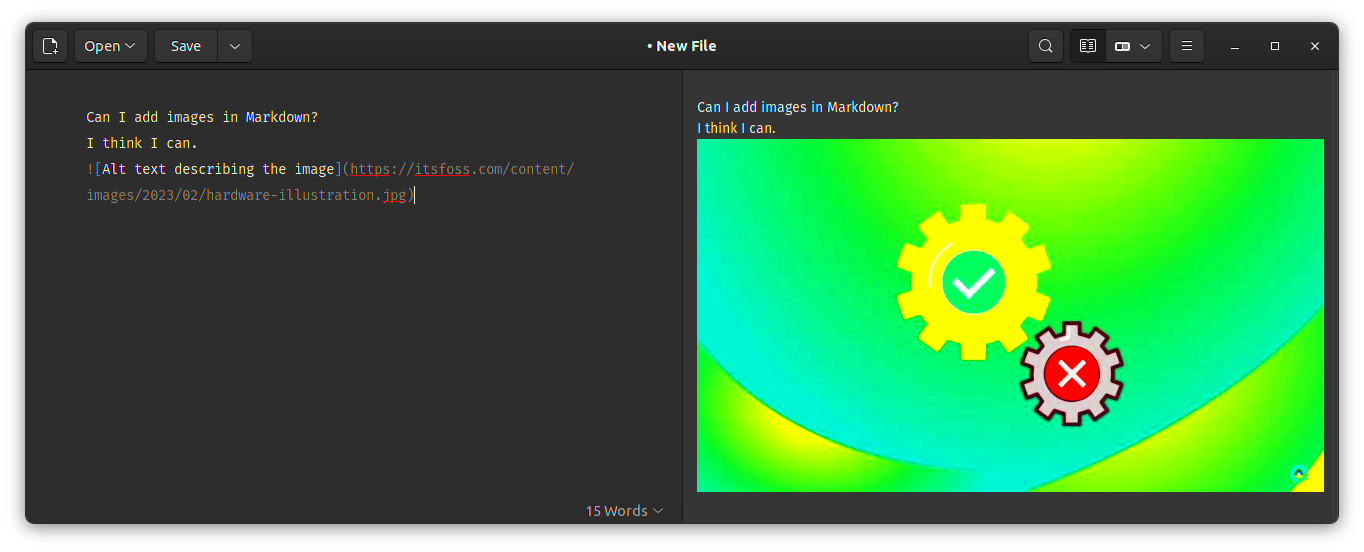
Markdown syntax is quite simple and easy to learn. It uses plain text symbols to format text, links, and images in a document. When it comes to adding images, the syntax is very similar to that of links, with just a slight difference.
Here’s the basic format for adding an image in Markdown:

Let’s break this down:
- ![ ] – This tells Markdown that what follows is an image.
- Alt text – This is a short description of the image, which is shown if the image fails to load or for accessibility purposes.
- ( ) – The parentheses contain the URL or path to the image.
Markdown makes it easy to embed images, keeping your text clean and readable, while still maintaining functionality and visuals. The next step is to see how to use this syntax in practice.
Also Read This: Download Movies from IMDB Free for Windows with This High-Quality Tool
How to Add Images with Markdown Syntax
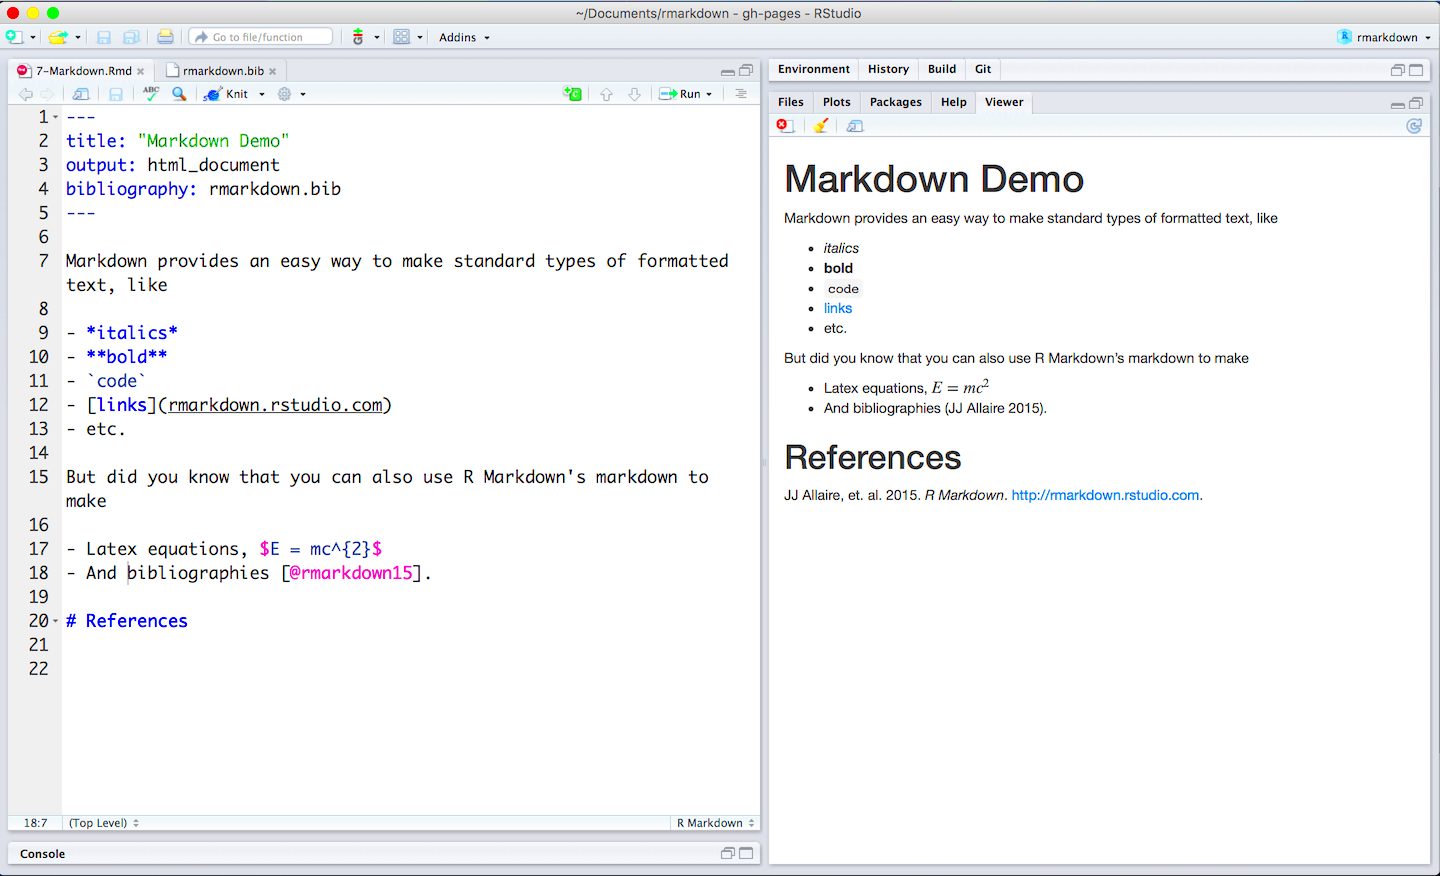
Adding images to your Markdown file is straightforward. All you need to do is use the proper syntax, as we mentioned earlier. Here’s a simple breakdown of how to do it:
- Locate the image URL – First, you need to find the URL or file path to the image you want to use. This could be a URL to an image hosted online, or the relative path if the image is on your local computer or repository.
- Write the Markdown code – Once you have the image URL, insert it into the Markdown syntax. For example:
- Test the image – After adding the image, always check to make sure it appears correctly. If the image does not show up, ensure that the URL is correct, and the image is accessible.

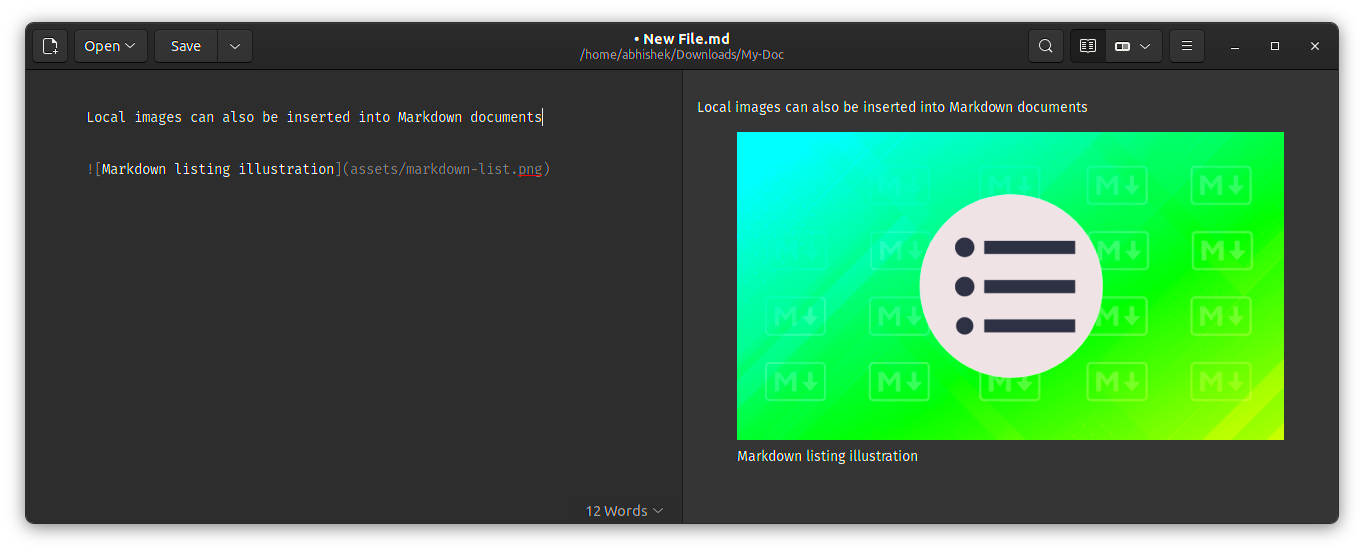
You can also use local images if you’re working offline or in a project where the image is stored within your project’s directory. Just use the relative path instead of a full URL:

Markdown is a fantastic tool for documentation and content creation, allowing for a seamless integration of images without needing to learn complicated HTML.
Also Read This: Can You Download from IMDB? Here is What You Need to Know
Different Ways to Link Images in Markdown
While adding images in Markdown is easy, there are different ways you can link images, depending on where the image is stored and how you want it to be displayed. You can link images from online sources or local directories, making Markdown a flexible tool for various use cases.
Here are the main ways to link images in Markdown:
- Linking to an Online Image: If the image is hosted on a website or image hosting platform, you can use the direct URL. For example:


[](https://example.com)
By combining Markdown and HTML, you can take advantage of both to display and link images as needed, offering a lot of flexibility in how you share and use images in your documents.
Also Read This: Here’s How to Use IMDB Pro to Add a Film with This Method
Best Practices for Using Images in Documentation
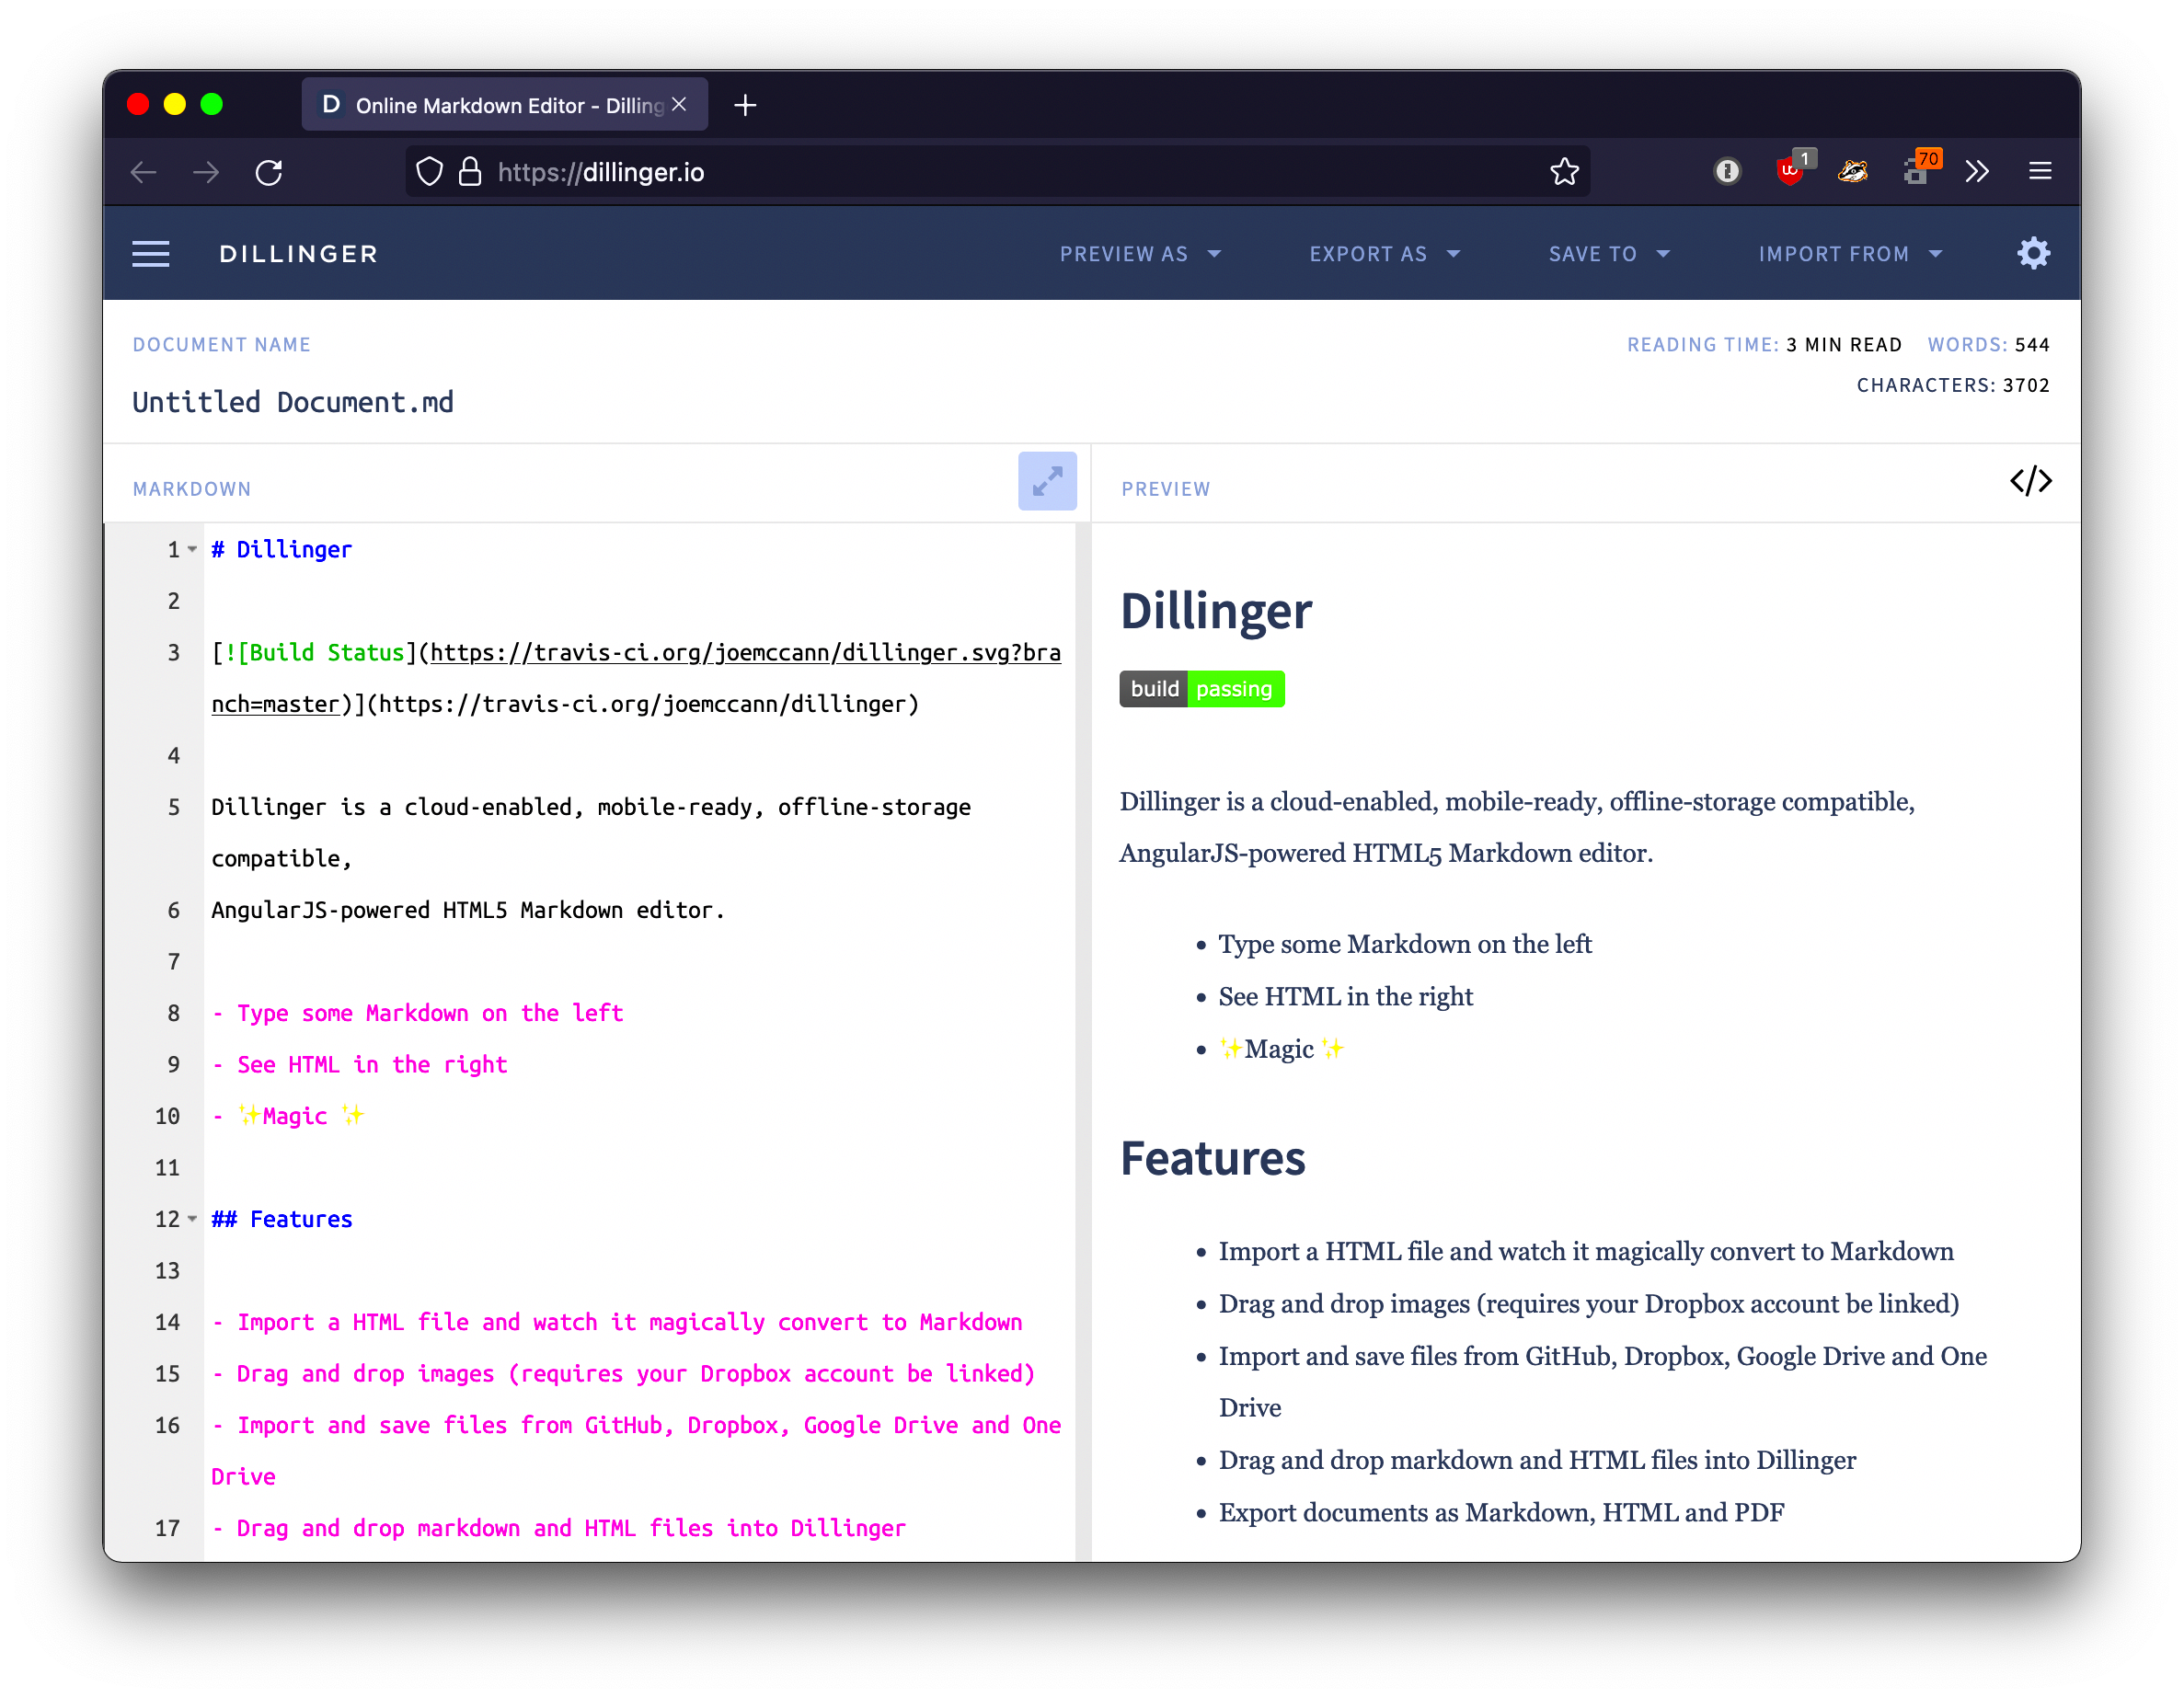
Images can make your documentation more engaging, but it's important to use them thoughtfully to ensure they enhance the content rather than distract from it. Here are some best practices to follow when adding images to your documentation:
- Use Clear and Relevant Images: Ensure the images you add are relevant to the content. Avoid using generic stock photos that don’t add value to the document.
- Optimize Image Size: Large images can slow down loading times. Always resize images to an appropriate size to maintain a balance between quality and performance.
- Provide Alt Text: Always include alt text with your images for accessibility. This helps screen readers describe the image to visually impaired users and also provides context if the image fails to load.
- Use Captions Where Necessary: If an image requires further explanation, use captions to clarify its purpose in your documentation.
- Ensure Image Licensing: Make sure you have the right to use the images, especially if they are from external sources. Look for royalty-free or Creative Commons images if you're unsure.
By following these best practices, you can make sure your images contribute to the content and not distract from the message you're trying to communicate.
Also Read This: Discover How to Cancel IMDB Pro with This Guide
How to Handle Image Sizing and Alignment in Markdown
When it comes to Markdown, image sizing and alignment options are somewhat limited compared to HTML, but you can still manage them with some simple techniques. Here's how to control the size and alignment of images in your documents:
- Resizing Images: While Markdown doesn’t offer direct resizing features, you can use HTML for this. If you need to resize an image, you can include an HTML image tag alongside the Markdown syntax. For example:
This allows you to specify the width and height attributes for the image directly. Keep in mind that resizing images in this way can affect quality, so it's best to use an image editor to resize the
Though these techniques require a mix of Markdown and HTML, they give you the flexibility to adjust image sizes and positioning according to your needs. Always test the alignment and size to make sure it looks good on different devices and platforms.
Also Read This: How Contemporary Photographers Manipulate Digital Images
Optimizing Images for Faster Load Times
In today's fast-paced digital world, website speed is crucial. Images are one of the biggest culprits that can slow down your pages. Optimizing images for faster load times is essential, especially when using Markdown in documentation or websites. By reducing image size without compromising too much on quality, you ensure a smooth user experience and better performance.
Here are some key strategies for optimizing images:
- Compress Your Images: Before uploading an image, use image compression tools to reduce its file size. Tools like TinyPNG or ImageOptim can significantly reduce the size of PNG and JPEG files without affecting the image quality.
- Choose the Right File Format: Use the most appropriate image format. JPEG is great for photographs, while PNG works better for images with transparency or sharp edges. WebP is also an excellent format, offering high quality at smaller file sizes.
- Resize Images: Resize images to the exact dimensions you need on the page. Don’t upload large images and rely on HTML or Markdown to resize them, as this doesn’t reduce the actual file size.
- Use Lazy Loading: Lazy loading is a technique that loads images only when they come into the viewport (visible part of the screen). This helps with performance by delaying image loading until necessary.
By following these strategies, you can make sure that your images are optimized for the web and contribute to faster page loading times. This not only improves the user experience but can also have a positive impact on SEO and search engine rankings.
Also Read This: IMDb Credit for Short Films: Earning Recognition
Common Issues and How to Fix Them When Adding Images in Markdown
Adding images in Markdown is simple, but sometimes things don’t go as planned. Whether it's an image not displaying correctly or problems with links, understanding the common issues and how to fix them is important. Let’s go through a few common problems you might encounter and how to solve them.
- Image Not Displaying: This is one of the most common issues. It can happen if the image URL or file path is incorrect. Double-check that the URL is correct, and if you’re using a local file, make sure the path is relative and points to the correct folder.
- Broken Links: If you're linking to an image from an external source, the image might be removed or the URL might change. Always ensure the URL is live and pointing to the correct image. If you're using a local image, ensure the file hasn’t been moved or renamed.
- Wrong Image Format: Markdown supports common formats like JPG, PNG, GIF, and SVG. Ensure the image format is compatible with your Markdown editor or platform. Some platforms may not support certain formats, like WebP.
- Incorrect Image Sizing: If the image appears too large or too small, you might need to adjust the size using HTML. Markdown alone doesn’t provide options for resizing images, so you’ll need to use HTML attributes to control the image's size or resolution.
- Missing Alt Text: While not strictly an error, missing alt text can cause accessibility issues. It’s important to always include descriptive alt text for images, especially if your content will be accessed by people using screen readers.
By troubleshooting these common issues and knowing how to resolve them, you can ensure that your images display correctly and enhance the quality of your Markdown content.
Also Read This: Must-Attend Technology Conferences Scheduled Across the USA
FAQ
1. Can I add images from my computer in Markdown?
Yes, you can add images stored locally on your computer by using a relative file path. For example:

This allows you to link images directly from your project folder or local directory.
2. Why is my image not showing in Markdown?
If your image isn't displaying, check the following:
- Ensure the URL or file path is correct.
- If you're linking to an external image, verify that the URL is still active.
- Make sure your image format is supported (JPEG, PNG, GIF, etc.).
3. How can I resize an image in Markdown?
Markdown does not support resizing images directly, but you can use HTML for resizing. Here’s an example:
This HTML tag will let you set the image dimensions as needed.
4. What is alt text and why is it important?
Alt text (alternative text) is a short description of an image. It’s crucial for accessibility, as it helps visually impaired users understand the content of the image through screen readers. It also serves as a fallback if the image cannot be loaded.
5. Can I use Markdown to center images?
Markdown doesn’t provide native support for centering images, but you can use HTML to center an image, like this:
This will center the image within the container.
Conclusion
Incorporating images in Markdown is a powerful way to enhance your documentation, blog posts, or any written content. By following the steps outlined, you can easily add, optimize, and manage images to improve the overall experience for your audience. Whether you're linking to images hosted online or adding local files, the process is straightforward and flexible. Remember to always optimize images for faster load times, follow best practices for accessibility, and handle common issues efficiently. With these tips, you'll be able to use Markdown to its full potential, making your content more visually appealing and informative.

 admin
admin


