Printing edible images at home can be a fun and rewarding experience. With the right equipment and materials, you can create custom designs that add a personal touch to your cakes. This process can seem daunting, but it’s actually quite straightforward once you get the hang of it. Here’s how you can do it:
To print edible images, you will need:
- Edible Ink Printer: Invest in a printer designed for edible inks. Many standard printers won’t work with edible ink cartridges.
- Edible Ink Cartridges: These are specially made to be food-safe. Make sure to get cartridges that are compatible with your printer.
- Edible Paper: Choose between wafer paper and frosting sheets. Wafer paper is thin and ideal for detailed designs, while frosting sheets are thicker and more durable.
Once you have your supplies ready, follow these steps:
- Design Your Image: Use design software or online templates to create your image.
- Print Settings: Set your printer to the appropriate settings for edible ink.
- Print the Image: Load your edible paper into the printer and print your design.
- Let It Dry: Allow the printed image to dry for about 10-15 minutes to prevent smudging.
With a bit of practice, you’ll be able to create beautiful edible images right from the comfort of your home, making your cakes stand out even more.
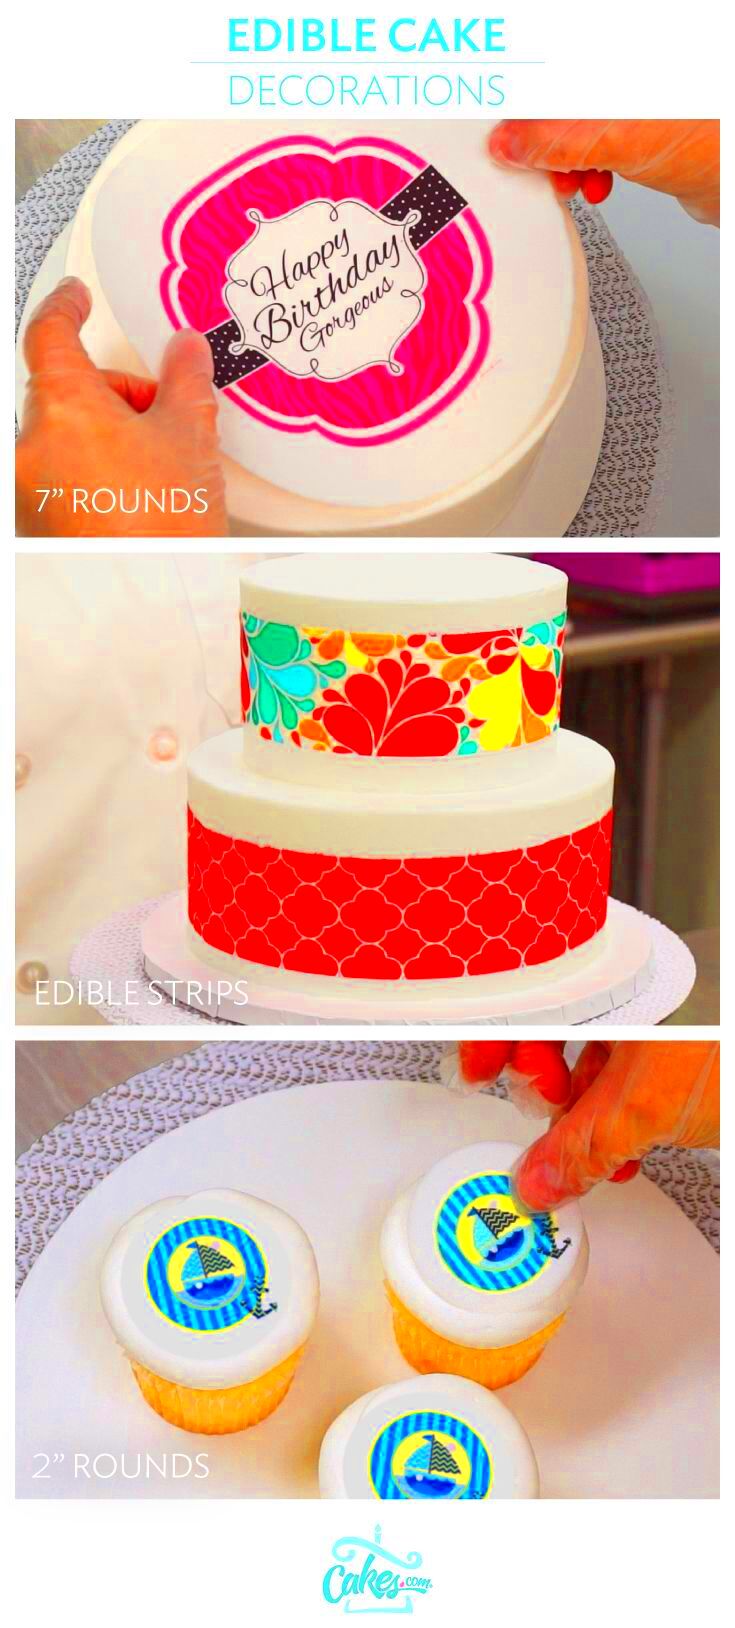
Applying Edible Images to Your Cake
Applying an edible image to your cake is a crucial step that can elevate your cake's appearance. Here’s how to do it correctly to ensure it looks professional and appealing:
Follow these steps for a seamless application:
- Prepare the Cake: Make sure your cake is fully frosted and chilled. A cold, smooth surface is ideal for applying the image.
- Moisten the Back of the Image: Use a small brush or spray bottle to lightly moisten the back of the edible image. This helps it stick better to the cake.
- Center the Image: Carefully position the image on the cake, starting from the center and working your way outwards. This prevents air bubbles from forming.
- Press Gently: Use a clean, dry cloth or your hands to press down on the image gently, ensuring it adheres to the frosting.
- Let It Set: Allow the cake to sit for a few minutes before moving it to avoid disturbing the image.
By following these steps, you’ll ensure a smooth application that enhances the overall look of your cake.
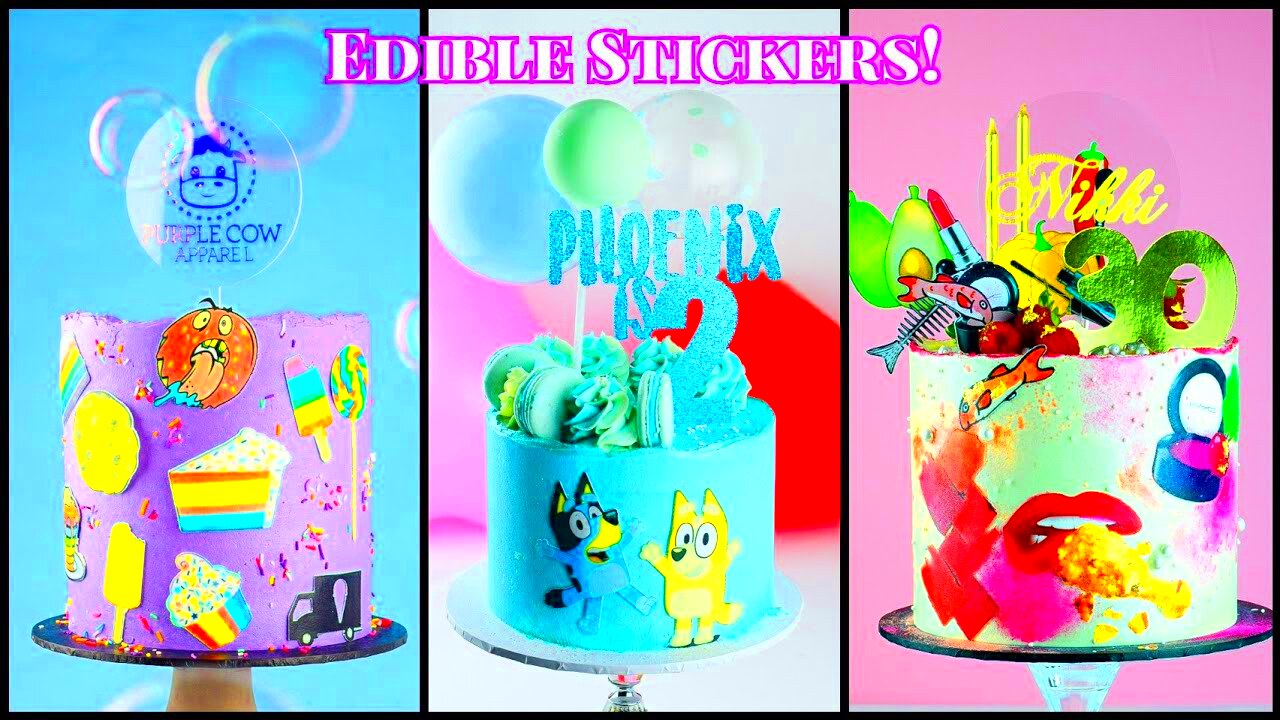
Tips for Enhancing Your Cake with Edible Images
Edible images can transform a simple cake into a stunning centerpiece. Here are some tips to make the most of your edible images and enhance your cake:
- Complement with Decorations: Use additional decorations like edible glitter, sprinkles, or fondant accents that match your image to create a cohesive look.
- Consider Layering: For a more dynamic design, place an edible image between layers of frosting. This can create depth and interest.
- Match the Flavor: Choose edible images that reflect the flavor of the cake. For example, fruity images pair well with fruit-flavored cakes.
- Use a Border: Adding a decorative border around the image can help it stand out and look more finished.
By applying these tips, you can elevate your cake decorating game and create visually stunning desserts that will impress your guests. Remember, the key is to be creative and have fun with it!
Common Mistakes to Avoid When Using Edible Images
Using edible images can elevate your cake designs, but there are some common pitfalls to watch out for. Knowing these mistakes can help you achieve the best results and avoid any mishaps that might detract from your cake's appearance. Here are some key mistakes to avoid:
- Skipping the Chilling Step: Not chilling your frosted cake before applying the image can lead to slippage or smudging. Always chill your cake for at least 15-30 minutes.
- Using Low-Quality Images: Printing images with low resolution can result in blurry or pixelated designs. Always choose high-resolution images to ensure clarity.
- Neglecting to Moisten: Failing to moisten the back of the edible image before application can cause it to lift or bubble. A light mist or brush of water helps it adhere.
- Applying Too Much Pressure: Pressing too hard while smoothing out the image can cause tearing or smudging. Be gentle and use a light touch.
- Not Allowing to Dry: Rushing the drying process can lead to smudged colors. Allow the printed image to dry completely before applying it to the cake.
By avoiding these common mistakes, you can ensure that your edible images look stunning and contribute to a beautiful cake design.
Frequently Asked Questions
When it comes to using edible images, many people have questions about the process. Here are some frequently asked questions that might help clear up any confusion:
- Are edible images safe to eat? Yes, edible images are made from food-safe materials and are safe to consume.
- How long do edible images last? When stored properly, edible images can last for several months. Keep them in a cool, dry place away from sunlight.
- Can I use a regular printer for edible images? No, you need a printer specifically designed for edible inks to safely print edible images.
- How do I store leftover edible images? Keep them in an airtight container to prevent them from becoming stale or damaged.
- What types of cakes work best with edible images? Edible images can be used on almost any type of cake, but they work especially well on buttercream and fondant-covered cakes.
If you have more questions, don’t hesitate to reach out to cake decorating communities or forums for advice!
Wrapping Up Your Cake
Decorating a cake with edible images can be a delightful and creative process. It allows you to express your personality and make your cakes truly special for any occasion. As we wrap up, here are some final thoughts to consider:
- Practice Makes Perfect: Don’t be discouraged if your first few attempts don’t turn out perfectly. Like any skill, cake decorating takes practice!
- Be Creative: Experiment with different designs, colors, and combinations to find what works best for you. The sky's the limit!
- Enjoy the Process: Remember to have fun while decorating. It’s all about enjoying the creative journey and sharing your delicious results with loved ones.
- Showcase Your Work: Share your cake creations on social media or with friends and family. You never know who might be inspired by your work!
With these tips and insights, you’ll be well on your way to creating beautiful, edible masterpieces that everyone will love.
 admin
admin


