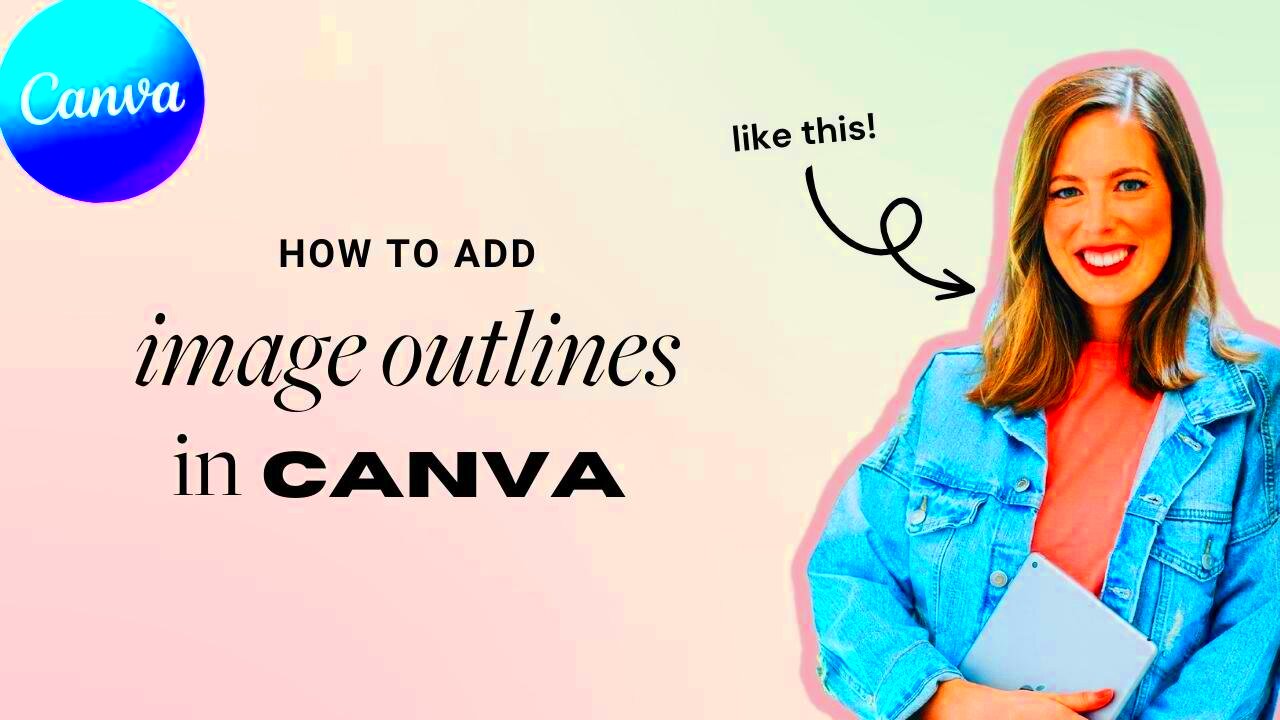
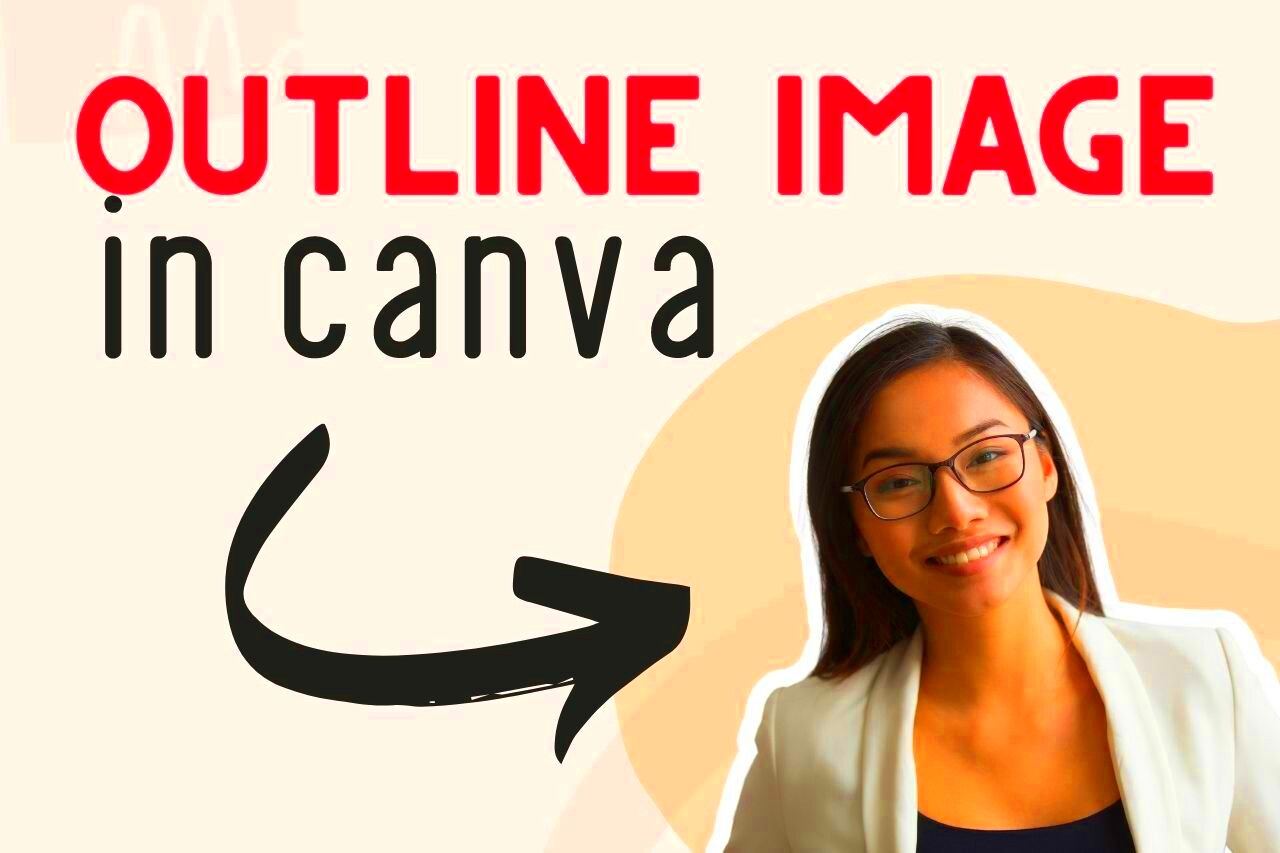
Have you ever wondered how some designs manage to grab your attention instantly? One of the secrets lies in outlining key elements, and Canva makes it easy for anyone to add outlines to images. Whether you're creating social media posts, presentations, or flyers, outlines can give your visuals a professional edge.
This guide will walk you through everything you need to know about adding outlines in Canva, from understanding why they matter to learning step-by-step how to apply them. Let’s dive in and create designs that truly stand out!
Why Adding Outlines to Images is Important

Outlines aren’t just decorative—they serve multiple purposes in design. Here are some reasons why adding outlines to images can make a difference:
- Emphasis: Outlines help highlight key parts of an image, drawing attention to where you want your audience to focus.
- Contrast: If your background is busy or colorful, an outline ensures your image doesn’t get lost in the design.
- Professionalism: A well-placed outline can give your design a polished and cohesive look.
- Brand Identity: Consistent use of outlines in specific colors or styles can strengthen your brand’s visual identity.
Whether you’re a beginner or a pro, adding outlines can elevate your design game and help you communicate more effectively.
Also Read This: Downloading an Image on a Chromebook
Steps to Add an Outline to an Image in Canva
Here’s a simple guide to adding an outline to your images in Canva:
- Upload or Choose an Image: Start by uploading your image or selecting one from Canva’s library.
- Access the Effects Panel: Click on your image and find the "Effects" option in the top toolbar.
- Select the Outline Feature: Look for the outline effect. It might be labeled as "Shadow" or "Glow" depending on your Canva version.
- Adjust the Outline Settings: Use the customization options to change the outline's thickness, color, and transparency. For example:
- Set a thicker outline for bold emphasis.
- Choose a color that contrasts with your image for visibility.
- Adjust transparency for a softer look.
- Finalize Your Design: Once you’re happy with the outline, position your image within the design and save your work.
By following these steps, you can create designs that are not only visually appealing but also highly effective in communicating your message.
Also Read This: Could You Survive the Rumbling Exploring the Concept of Survival in Fiction
How to Customize the Outline Style
Customizing the outline style in Canva allows you to add a personal touch to your designs. Canva offers a variety of tools and options to make your outlines unique and suitable for different design purposes. Let’s explore how to tweak your outlines to perfection:
- Adjust the Thickness: Use the slider to make the outline thicker for bold emphasis or thinner for a subtle effect.
- Change the Color: Select a color that complements your design. Use Canva’s color picker or enter a hex code for precise branding.
- Explore Gradient Effects: Instead of a solid color, you can opt for gradient outlines to add depth and a dynamic feel.
- Experiment with Line Styles: Choose from solid, dashed, or dotted lines for a creative look that matches your theme.
- Add Shadow or Glow: Combine outlines with shadow or glow effects to give your design a 3D appearance.
These customization options ensure that your outlines don’t just highlight your image—they become a seamless part of your overall design aesthetic. Play around with the settings until you achieve the desired look!
Also Read This: Is YouTube Profitable for Google and How Does Its Business Model Work
Tips for Creating Eye-Catching Designs with Outlines
Adding outlines to images can instantly enhance your design, but a few strategic choices can make them truly eye-catching. Here are some tips to keep in mind:
- Stick to a Color Palette: Use outline colors that align with your design's color scheme for a cohesive look.
- Pair with Bold Fonts: Combine outlined images with bold, legible typography to create a balanced visual hierarchy.
- Use Negative Space: Leave room around your outlined elements to avoid clutter and enhance focus.
- Combine with Shapes: Encircle your outlined image with additional geometric shapes for an extra layer of creativity.
- Test on Different Backgrounds: Ensure your outline stands out equally well on light and dark backgrounds.
With these tips, your designs will not only capture attention but also effectively communicate your message.
Also Read This: How to Know the Pixel Size of an Image
Common Mistakes to Avoid When Adding Outlines
While outlines can enhance your design, a few common mistakes can detract from their impact. Avoid these pitfalls to ensure your work looks polished and professional:
- Using Clashing Colors: Avoid outline colors that compete with or overwhelm your image. Opt for harmonious or contrasting colors that complement the overall design.
- Overloading the Design: Too many outlined elements can make your design look busy. Focus on key elements to maintain balance.
- Neglecting the Background: Ensure your outline doesn’t blend into the background. Choose colors that provide clear separation.
- Ignoring Alignment: Misaligned or uneven outlines can make your design appear amateur. Use Canva’s alignment tools for precision.
- Overusing Thickness: Extremely thick outlines can overpower your image and reduce clarity. Adjust thickness to match the overall aesthetic.
By steering clear of these mistakes, you can maximize the impact of your outlined designs and create visuals that are both effective and visually appealing.
Also Read This: Tracing Images in Canva: A Step-by-Step Tutorial
FAQs About Adding Outlines to Images in Canva
Here are some common questions and answers to help you better understand how to add and customize outlines in Canva:
-
Can I add outlines to any image in Canva?
Yes, Canva allows you to add outlines to most images. Simply upload your own images or use one from Canva’s extensive library. The outline feature works seamlessly with both.
-
Do I need Canva Pro to use the outline feature?
The basic outline feature is available in Canva’s free version, but some advanced options, like gradient or custom effects, may require a Canva Pro subscription.
-
How do I change the outline color?
Go to the outline settings after selecting the "Effects" panel. From there, you can use the color picker or input a hex code to set the outline to your desired color.
-
What file formats can I use for outlined images?
After adding outlines, you can download your design in popular formats like PNG, JPG, or PDF. For transparent backgrounds, choose the PNG format (available in Canva Pro).
-
Can I remove the outline later?
Yes, Canva allows you to edit or remove outlines at any time. Simply click on the image, access the "Effects" panel, and reset the settings.
These FAQs should help you confidently add and customize outlines in Canva while exploring its creative possibilities.
Conclusion
Adding outlines to images in Canva is a simple yet impactful way to enhance your designs. By learning the basics, avoiding common mistakes, and exploring customization options, you can create visuals that stand out and communicate effectively. Start experimenting today to bring a professional touch to your projects!


