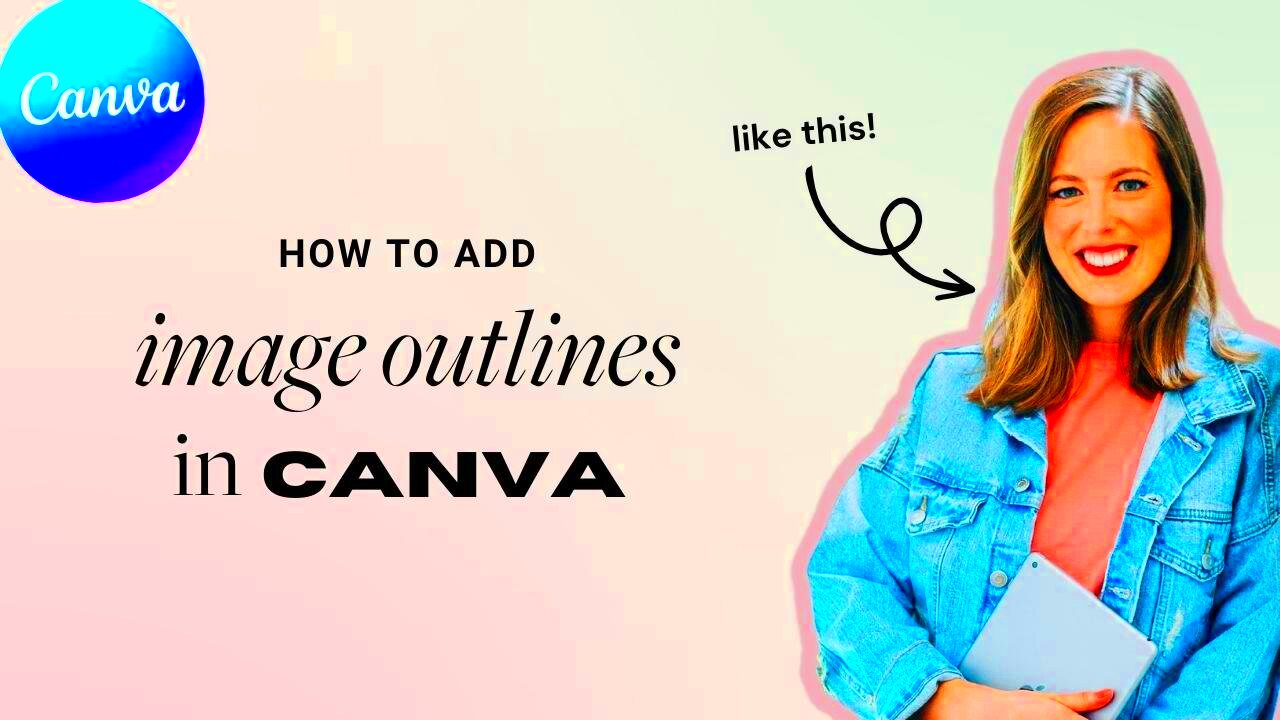
Images can greatly benefit from outlines in their visual development. They work by providing a boundary that helps define outlines and highlight other elements. Outlines can assist you in sending your message across effectively, whether you are designing marketing materials, presentations or even social media posts. Below are several reasons for their significance:
- Improved Visibility: Outlines help images stand out against backgrounds, especially in busy designs.
- Enhanced Focus: They guide the viewer’s eye, directing attention to the most important parts of your design.
- Visual Balance: Outlines create a sense of structure, adding balance to your images.
- Brand Identity: Custom outlines can reflect your brand’s style and personality.
In brief, outlines have the prowess of transmuting just any kind of image into an attention grabbing one while at the same time enhancing communication.
Steps to Add an Outline to Your Image in Canva
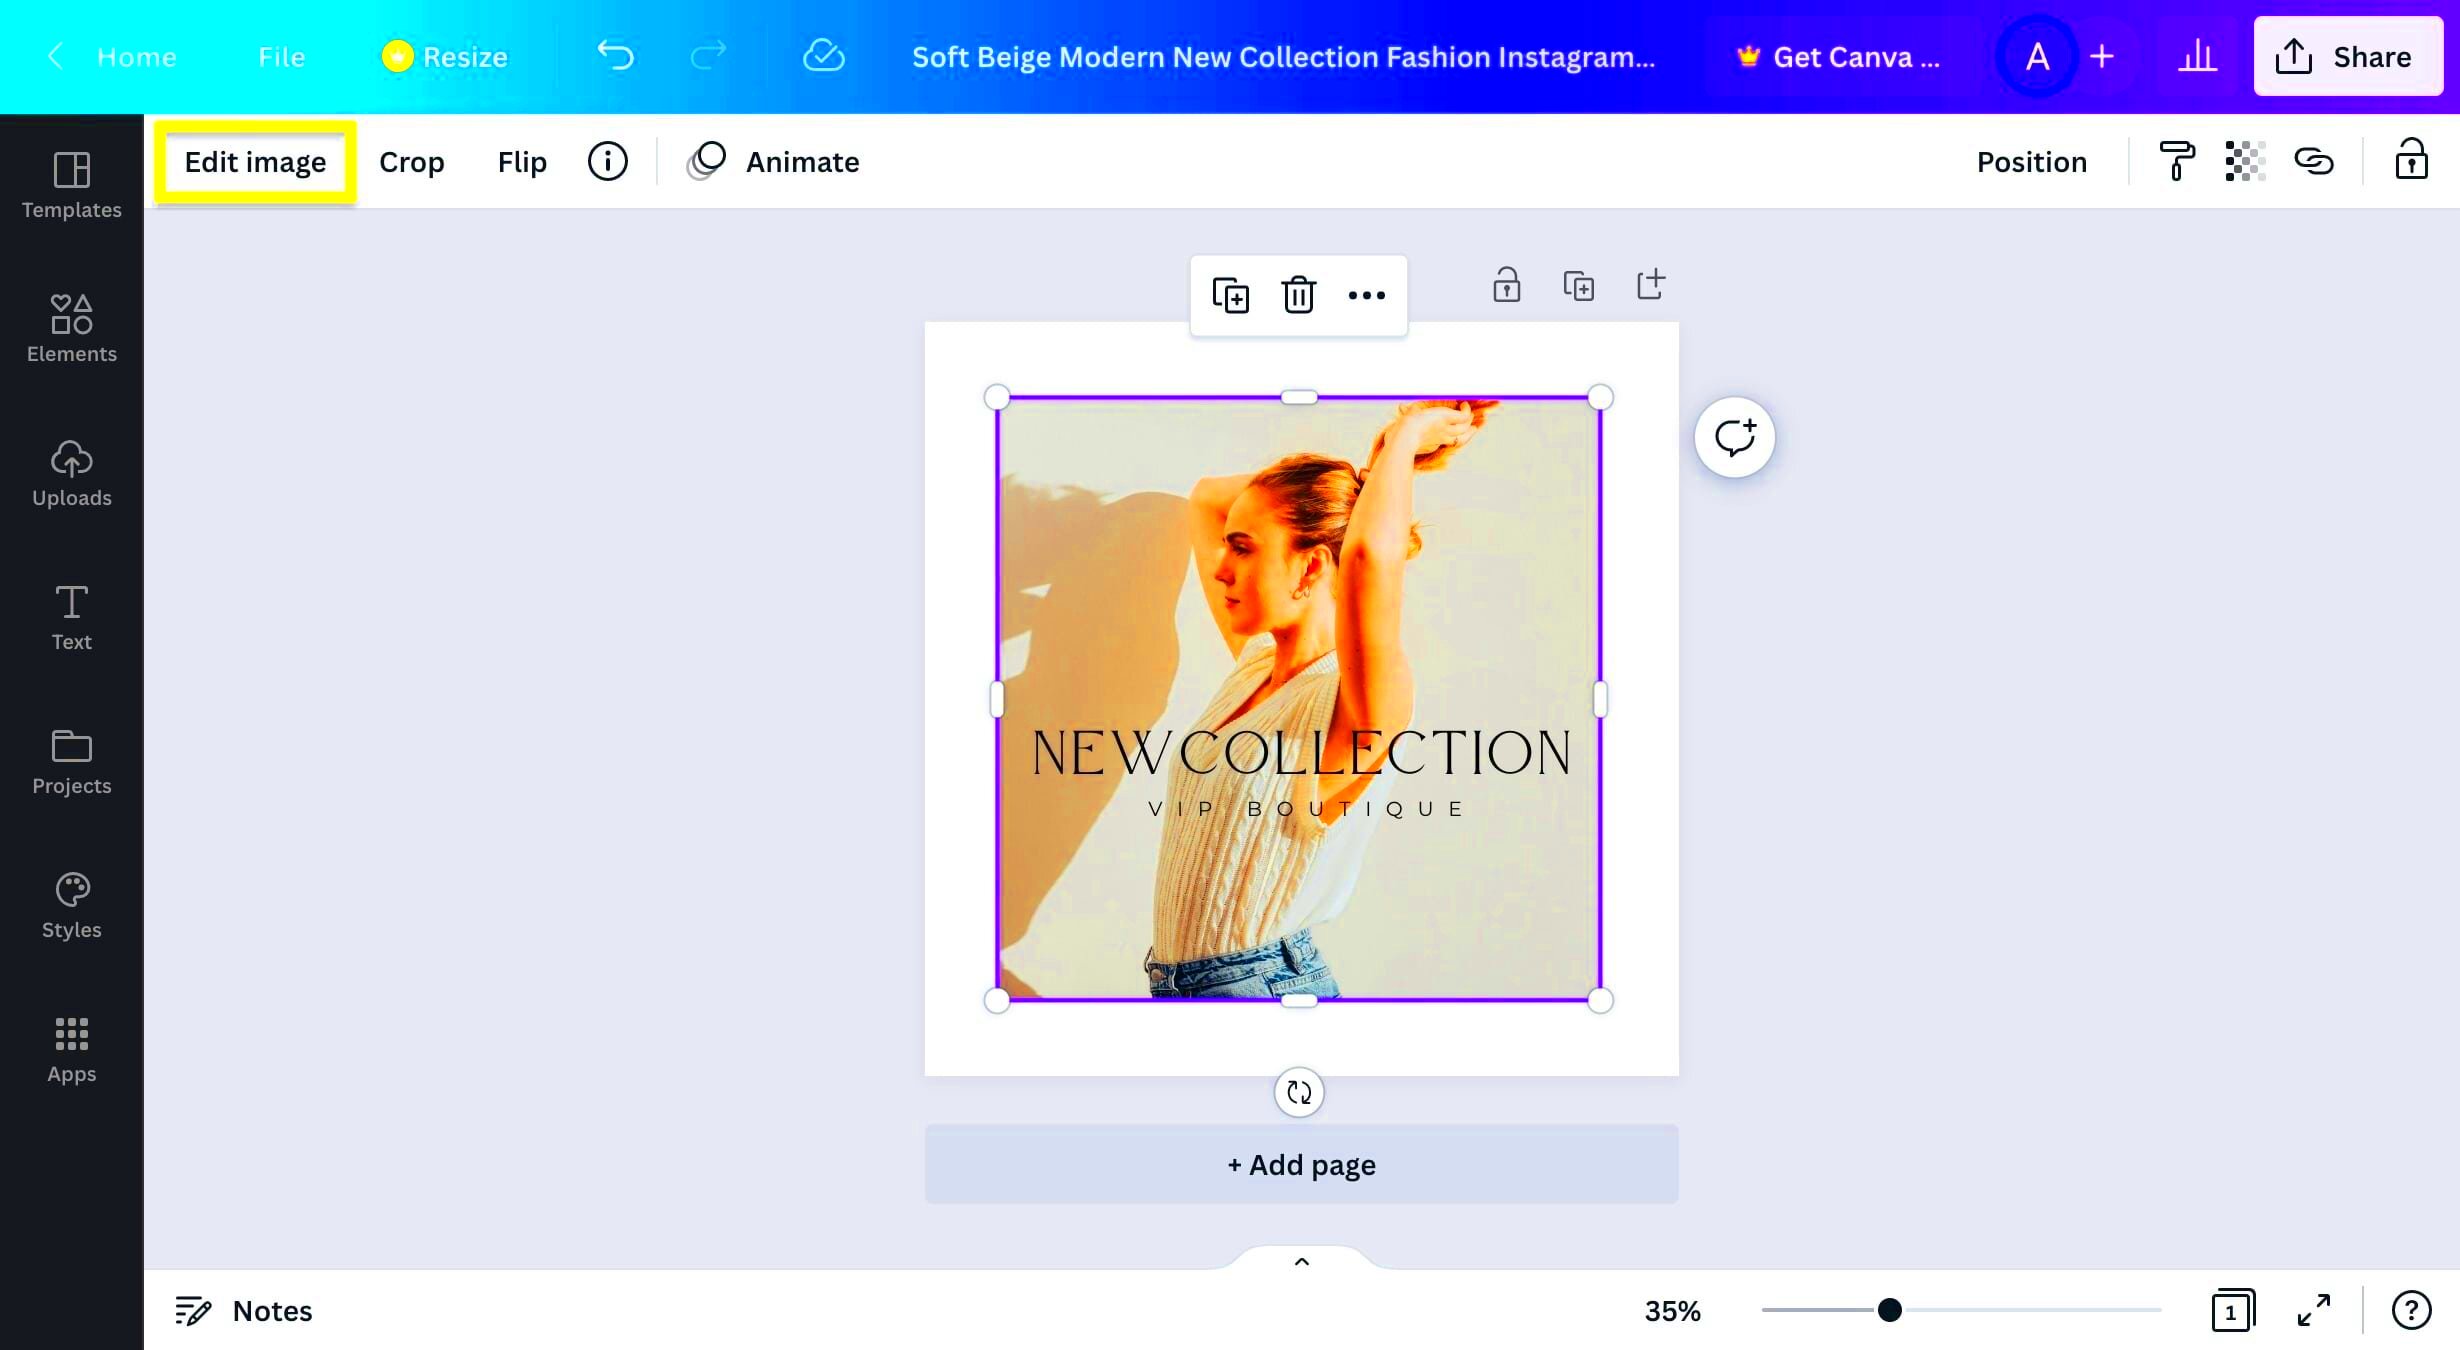
It’s really easy to put an outline on your picture in Canva. Just follow these simple steps:
- Open Your Design: Start by opening your Canva design project.
- Select Your Image: Click on the image you want to outline.
- Access Effects: Look for the “Effects” option in the top toolbar.
- Choose Outline: Select the “Outline” effect from the list of available options.
- Customize Outline: Adjust the outline’s color, thickness, and style to suit your design.
- Save Your Changes: Once satisfied, save your design.
In order to make your images stand out and be more eye-catching, these steps can add a touch of professionalism.
Also Read This: Linking a Video to Your Dailymotion Channel
Choosing the Right Outline Style for Your Image
The outline style you opt for has a lot of impact on the total appearance of your design. Some styles to reflect on include:
- Solid Outlines: Simple and effective, solid outlines work well for most images.
- Dotted Outlines: These can add a playful touch, perfect for casual designs.
- Double Outlines: A double line can create a more intricate look, adding depth.
- Shadow Outlines: Shadows can add dimension and make your image pop.
Within your process of selecting an outline style, you should take into account the following:
| Style | Best For |
|---|---|
| Solid | Professional presentations |
| Dotted | Children's content |
| Double | Artistic designs |
| Shadow | High-impact visuals |
Choosing an appropriate outline style will boost our picture's message as well as conforming its overall design objective.
Also Read This: How to Achieve Smokey Eyes Step by Step Expert Makeup Guide on Dailymotion
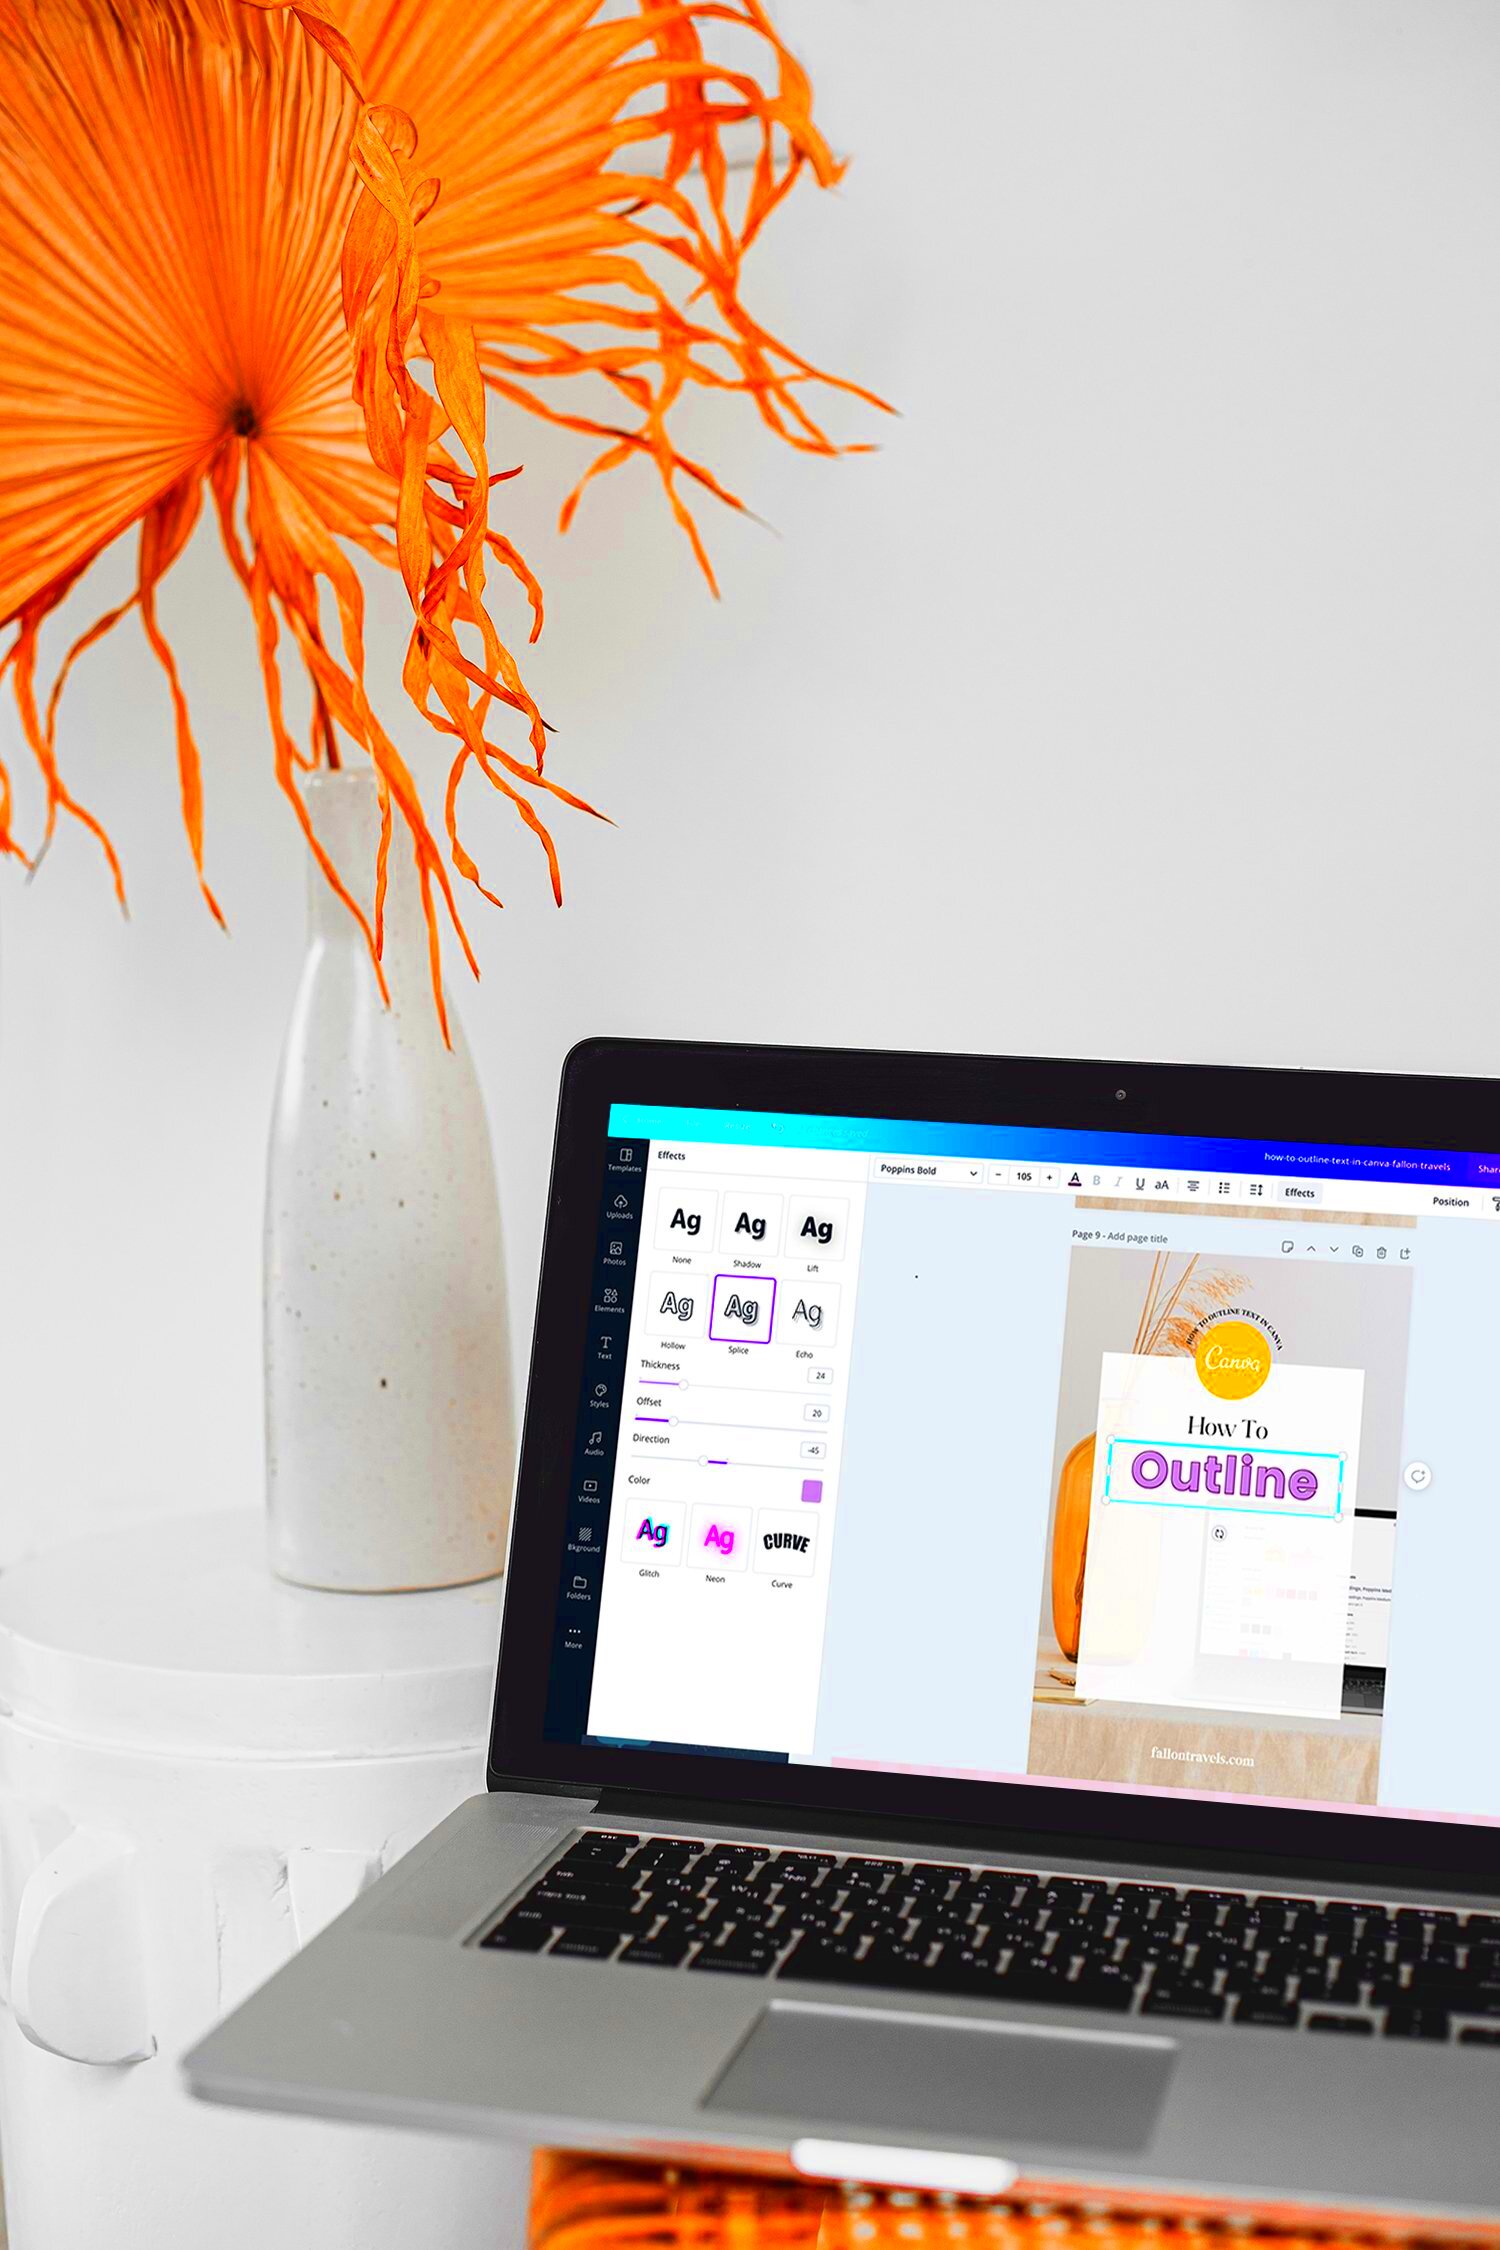
Adjusting the Thickness and Color of the Outline

Having a good outline thickness and color can really change how an image appears. A good outline emphasizes your design, making sure it pops out and delivers the required message. These aspects are easily adjustable on Canva. An example of how to increase or decrease your outline’s thickness and change its color.
- Select Your Image: Click on the image you want to work on.
- Open the Effects Menu: Look for the “Effects” option in the top toolbar.
- Find the Outline Settings: Once in the Effects menu, locate the outline settings.
- Adjust Thickness: Use the slider to increase or decrease the outline thickness until it looks just right.
- Change Color: Click on the color box to select a new color. Consider using colors that complement your image.
Considerations for Color Choices:
- Contrast: Choose a color that stands out against the background.
- Brand Colors: If applicable, use your brand colors for consistency.
- Test Different Combinations: Experiment with various thicknesses and colors to see what works best.
These considerations can be fine-tuned to produce a framework that increases your picture's attractiveness and performance.
Also Read This: Creative DIY Room Decoration Ideas from Dailymotion
Applying Outlines to Different Image Types
Not every image is made the same way; furthermore, outlining is contingent upon what type of image it is. Here are tips for applying outlines on different kinds of images:
- Photographs: For photos, a subtle outline can help separate the subject from the background without overwhelming the image.
- Illustrations: Bold outlines can enhance illustrations, giving them a defined look that draws attention.
- Logos: Ensure your logo has a clear outline for visibility, especially when placed on different backgrounds.
- Text: Outlining text can improve readability, especially on busy backgrounds.
Keep these aspects in mind when using outlines:
| Image Type | Recommended Outline Style |
|---|---|
| Photographs | Thin, subtle outlines |
| Illustrations | Thick, bold outlines |
| Logos | Clear, defined outlines |
| Text | Contrasting outlines |
When you use different images, you will be able to create outlines that are attractive and understandable based on the type of image you want.
Also Read This: How to Put an Image on a T-Shirt
Common Mistakes to Avoid When Adding Outlines
How to Avoid Common Design Pitfalls by Adding Outlines.
- Using Too Thick Outlines: Outlines that are too thick can overpower your images, making them look unprofessional.
- Choosing Inconsistent Colors: Using colors that clash with your image or overall design can be distracting. Stick to a cohesive color palette.
- Ignoring Background Contrast: Ensure your outline is visible against the background. A light outline on a light background will disappear.
- Overusing Outlines: Applying outlines to every element can create visual clutter. Use them strategically.
Here’s a convenient cheat sheet to assist you to recall those blunders:
| Common Mistake | How to Avoid |
|---|---|
| Too Thick Outlines | Test different thicknesses |
| Inconsistent Colors | Use a consistent palette |
| Poor Background Contrast | Check visibility against backgrounds |
| Overusing Outlines | Apply outlines where they matter |
By not making these common mistakes, you will be able to dominate with more attractive creations within Canva.
Also Read This: Mastering Adobe Stock Motion Graphics Templates
How to Remove an Outline from Your Image
At times, it is possible that the outline is not appropriate with your design or you might prefer a tidy appearance. With Canva, removing an outline from a picture is very easy and fast. Let’s see how to go about getting rid of that outline:
- Select Your Image: Click on the image that has the outline you want to remove.
- Open the Effects Menu: Navigate to the top toolbar and find the “Effects” option.
- Locate the Outline Settings: In the Effects menu, look for the outline options.
- Disable the Outline: Simply toggle off the outline feature. This will instantly remove the outline from your image.
There are some other recommendations as well: In case you need to retrieve the outline once again, all you have to do is retrace your steps and turn it on.
- Preview Your Changes: After removing the outline, take a moment to assess how your image looks without it.
- Check for Consistency: Ensure that removing the outline doesn’t affect the overall design of your project.
- Save Changes: Don’t forget to save your project after making adjustments!
A better way to make your designs easier and more functional is removing the outlines.
Also Read This: Editing Text in an Image
FAQs About Adding Outlines in Canva
If you are new to this tool, it can be a little confusing when it comes to how to add outlines in Canva. So here are some frequently asked questions:
- Can I customize the outline style? Yes, Canva allows you to customize the thickness, color, and style of the outline to suit your design needs.
- Are there any limitations on outline effects? While Canva provides a variety of outline options, some styles may only be available to Pro users.
- Can I add outlines to text as well? Absolutely! You can apply outlines to text in the same way as images to enhance visibility.
- What if I want to apply outlines to multiple images? You can select multiple images and apply the outline settings simultaneously for consistency.
In case you have additional inquiries it’s possible that the Canva help center may offer further details and tricks!
Conclusion on Using Outlines in Your Canva Images
You are skilled with the information until on the last month of 2023.In summary, embellishing your photos in Canva by including outlines is an uncomplicated but potent technique for improving your designs. The outlines make them more visible, enable a directed view and give an impression of neatness. By learning about thickness and color modification, applying outlines on various types of images and sidestepping usual blunders, outlines can in effect lift your designs.
Balance is key when it comes to this. Whether you go for strong lines in illustration or even softer ones in photography, the idea is really about complementing your picture rather than making it too much. Thus, do not shy away from trying various techniques and asking for different things.
You will manage to create amazing visuals that arouse curiosity of people and your message will be delivered to them effectively through practice. Happy designing!
 admin
admin


