Adding images to your IntelliJ IDEA project can enhance the visual aspect of your application, whether it's a web project or a desktop application. But if you’re new to IntelliJ IDEA, this can seem a bit tricky at first. Don’t worry! In this blog post, we'll guide you through the straightforward steps to effectively add images, making your coding experience smoother and more enjoyable.
Understanding IntelliJ IDEA Project Structure

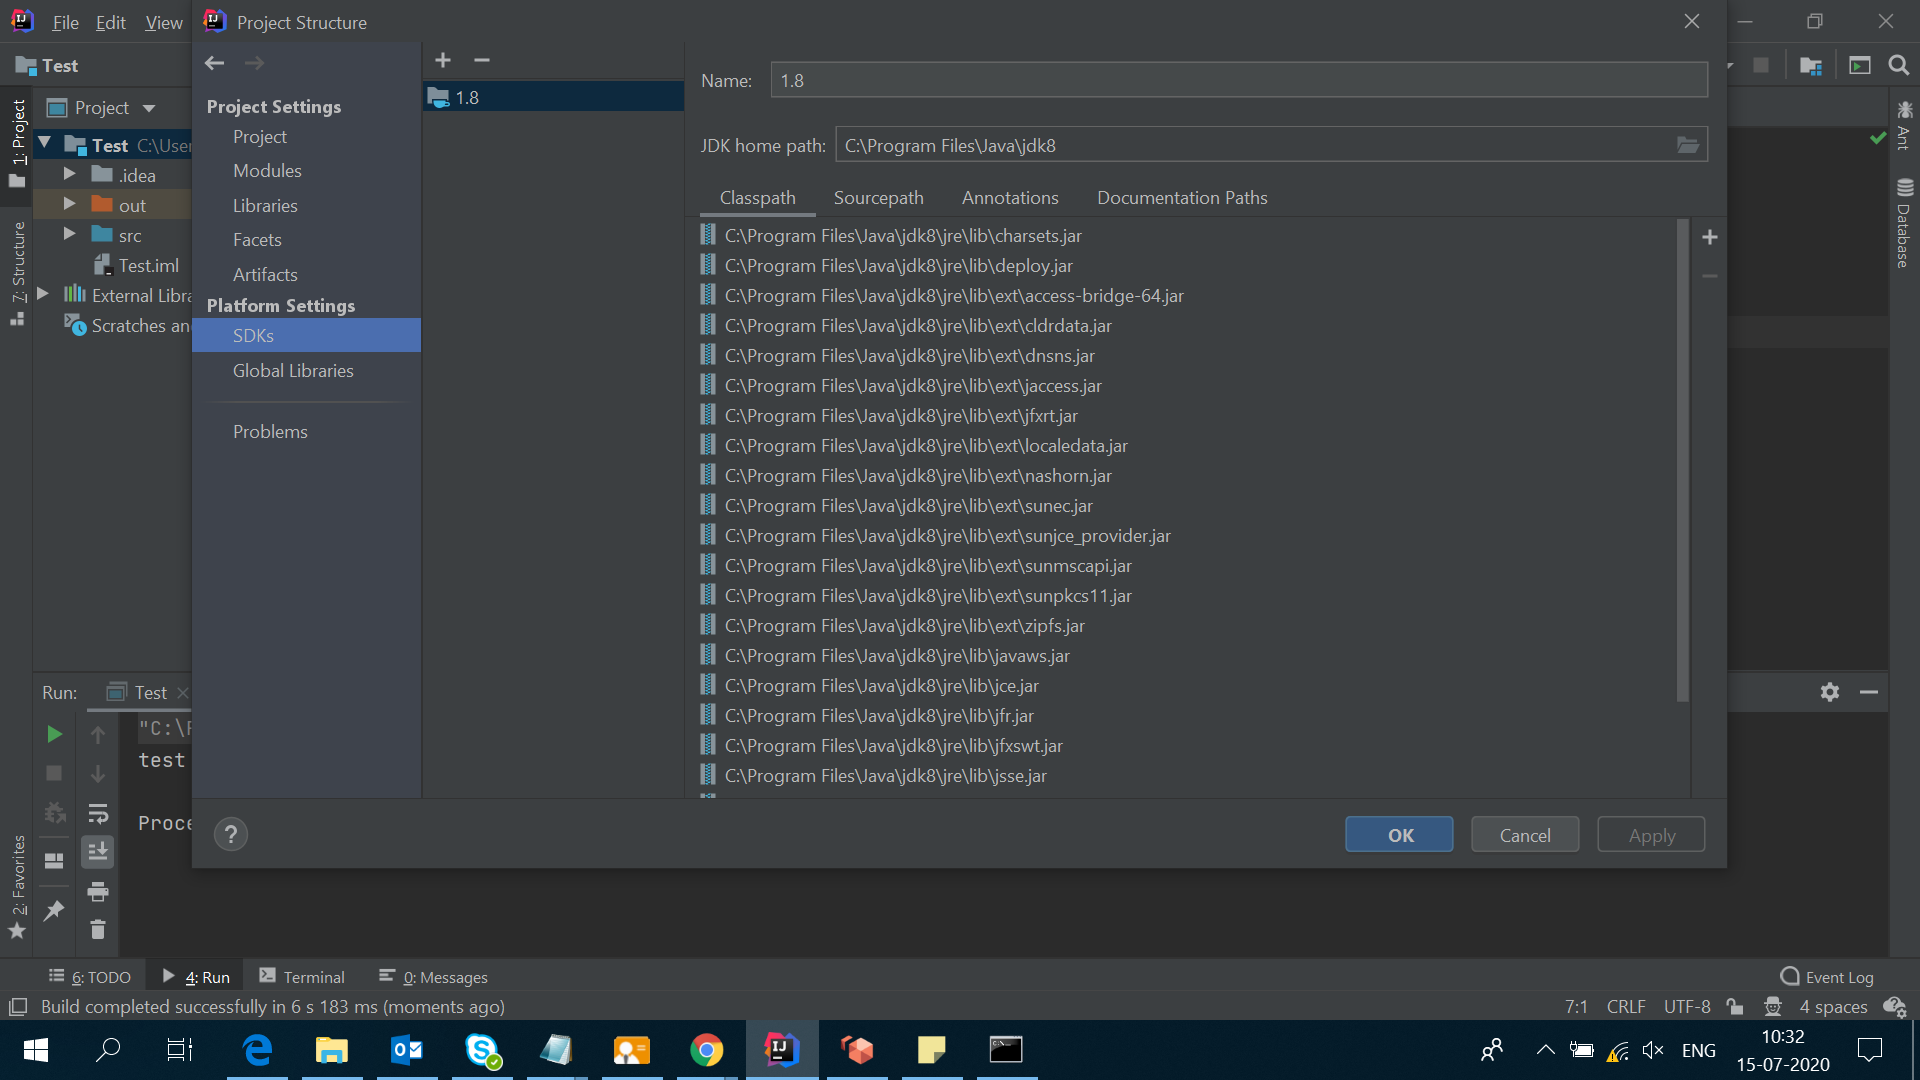
Before you dive into adding images, it's crucial to grasp how IntelliJ IDEA organizes projects. Understanding the project structure will make it easier to locate where your images should go, ensuring they are accessible to your application.
Every project in IntelliJ IDEA is divided into modules, which can further contain various types of resources, like source files, libraries, and configurations. The key components of the project structure include:
- Project Root: This is the top-level directory of your project. It contains all the modules, resources, and configuration files.
- src Directory: This is typically where your source code resides. It’s a common practice to keep non-code resources like images here as well.
- Resources Folder: If your project structure follows Maven or Gradle conventions, you'll often find a ‘resources’ folder within ‘src’. This is an ideal place to store your images and other static files.
- Out Directory: This is where compiled classes and resources are placed during the building phase of your project. It’s essential to remember that any images you want to display must be referenced properly so that they are pulled from this location during runtime.
So, before you add an image, familiarize yourself with these project layers! Knowing where to put your files and how IntelliJ IDEA expects to access them will save you a headache later on when you need to reference those visuals in your application.
Steps to Add an Image to Your Project

Adding an image to your project in IntelliJ IDEA is a straightforward process! Follow these simple steps to get it done:
- Open Your Project: Start by launching IntelliJ IDEA and opening the project where you want to add the image.
- Locate the Resource Directory: Navigate to the 'src' directory or any specific resource folder where you want to keep your image. It's a good practice to organize your resources in a dedicated folder, like
resources/images. - Add the Image: Right-click on the target folder, select New, and then choose File. This will prompt you to name the file. You can also drag and drop the image file directly into the folder.
- Verify the Addition: Once you’ve added the image, check the project view to confirm that it appears in your folder. It should show up just like any other file.
- Refresh the Project: Sometimes, IntelliJ IDEA may not immediately recognize the newly added files. Simply right-click on your project and select Refresh to see your image appear.
And just like that, your image is part of your project! You can now use it in your application.
Configuring Image Paths
After adding an image to your project, the next step is to configure the image paths correctly so that your application can access these images without a hitch. Here’s how to do it:
Typically, you’ll want to use relative paths to locate your images. This is how you can do it:
- Identify the Image Path: Determine where your image is stored within your project structure. For instance, if you saved an image named
myImage.pngin theresources/imagesfolder, the path would beresources/images/myImage.png. - Set the Path in Code: When you reference the image in your Java or HTML code, make sure to use the correct relative path. For example:
ImageIcon icon = new ImageIcon("resources/images/myImage.png");Using relative paths not only keeps your project portable but also avoids common issues that come with absolute paths. By keeping these tips in mind, you’ll have no trouble integrating images into your IntelliJ IDEA projects!
Using Images in Your Application
When it comes to enhancing your application with visual elements, images play a significant role. They not only make your user interface more appealing but can also convey information more effectively than text alone. In IntelliJ IDEA, integrating images into your application can be a straightforward process if you keep a few key points in mind.
First off, you need to ensure that your images are in a compatible format. The most commonly used formats are:
- JPEG - Best for photographs and images with many colors.
- PNG - Supports transparency, making it great for logos and icons.
- GIF - Suitable for animations and simple graphics.
To add an image, you typically follow these steps:
- Place the image in your project's resources folder. This makes it accessible when you run your application.
- Use the appropriate code to load the image in your application. For example, in Java, you might use:
- Finally, set the icon to a component, like a JLabel, using:
ImageIcon icon = new ImageIcon(getClass().getResource("/path/to/image.png")); label.setIcon(icon); Don't forget to test your application after adding images. It’s important to ensure that the images display correctly across different resolutions and screen sizes. This attention to detail can vastly improve the user experience!
Troubleshooting Common Issues
Even seasoned developers can run into hiccups when adding images to their applications in IntelliJ IDEA. Here are some common issues and how to troubleshoot them.
- Image Not Found: If your application throws a “File not found” exception, double-check your file path. Ensure the image is in the correct resources directory and that your path is relative to the resources folder.
- Wrong Format: Sometimes, the image might not render correctly because it’s in an unsupported format. Stick to JPEG, PNG, or GIF and verify the file type.
- Visibility Issues: If your image loads but isn’t visible, check its size and the layout of your components. Make sure there’s enough space for the image to render.
- Resource Bundling: If you’re using Maven or Gradle, ensure that your image files are correctly bundled into your JAR, as sometimes resources can be excluded.
In addition to these, always keep IntelliJ IDEA updated. Sometimes, compatibility issues arise from using outdated versions. If you encounter persistent problems, check the IntelliJ IDEA community forums or documentation for more troubleshooting tips.
How to Add an Image to IntelliJ IDEA
Integrating images into your project in IntelliJ IDEA can enhance your application's user interface and provide valuable visual elements. Whether you are working on a Java Swing application, JavaFX, or a web-based project, there are straightforward methods to add images. Below is a detailed guide on how to accomplish this.
Here are the steps you should follow:
- Prepare Your Image:
Ensure that your image is in the correct format (JPG, PNG, GIF, etc.) and located in a designated directory within your project structure.
- Importing an Image File:
To add an image, you need to do the following:
- Right-click on the
resourcesfolder or the specific package in which you want to store your image. - Select New > File from the context menu.
- Choose your image file to upload it into the project.
- Right-click on the
- Using the Image in Code:
After importing your image, you can access it in your Java code. Here's how:
Image image = new Image(getClass().getResourceAsStream("/path/to/image.png"));
Additional Best Practices:
- Maintain a clear directory structure for better organization.
- Optimize images for web use to reduce loading times and enhance performance.
By following these steps, you can successfully add images to your projects in IntelliJ IDEA, boosting your application’s appeal and functionality.
In conclusion, adding images to IntelliJ IDEA is a simple yet essential process that enhances your project's visual presentation, making your application more engaging and user-friendly.
 admin
admin


