Adding images to your Shopify store is a great way to make your store stand out and create a unique shopping experience for your customers. When you add images directly to your Shopify code, you can have full control over how and where your images appear on your website. Whether it's a product image, a banner, or a custom graphic, learning how to add images to Shopify code allows you to take your store's design and functionality to the next level.
In this guide, we'll walk you through the process of adding images to your Shopify store using code, including uploading images to Shopify files, editing Liquid files, and troubleshooting common issues. By the end, you'll have the knowledge to make your store look more professional and appealing to your visitors.
Why Customization is Important for Your Shopify Store

Customization plays a crucial role in making your Shopify store stand out from the competition. A unique and well-designed store gives customers a reason to stay longer, browse more, and ultimately make a purchase. Adding images through code allows you to go beyond the basic themes and create a store that reflects your brand's personality and style.
Here are some reasons why customization is important:
- Brand Identity: Customized images help you establish your brand's visual identity, making your store instantly recognizable.
- Enhanced User Experience: A well-designed store with relevant images makes it easier for customers to navigate and find what they're looking for.
- Increased Conversion Rates: Studies show that visually appealing stores with high-quality images lead to higher conversion rates.
- Better SEO: Custom images can also improve your store's SEO, helping it rank higher in search engines.
Ultimately, when your Shopify store is tailored to fit your business, it creates a more engaging experience for your customers, leading to better results for your business.
Also Read This: The Secret to Downloading Private TikTok Videos That No One Tells You
Types of Images You Can Add to Shopify Code

Shopify gives you the flexibility to add various types of images through your code, each serving a different purpose in your store's design. Whether you're showcasing products, adding banners, or using images for social proof, the possibilities are endless. Here's a breakdown of the most common types of images you can add:
- Product Images: The most common images you'll use are product photos. These images show customers exactly what they're buying and are crucial for driving sales.
- Logo Images: Your store's logo is an essential part of branding. It typically appears in the header or footer of your site.
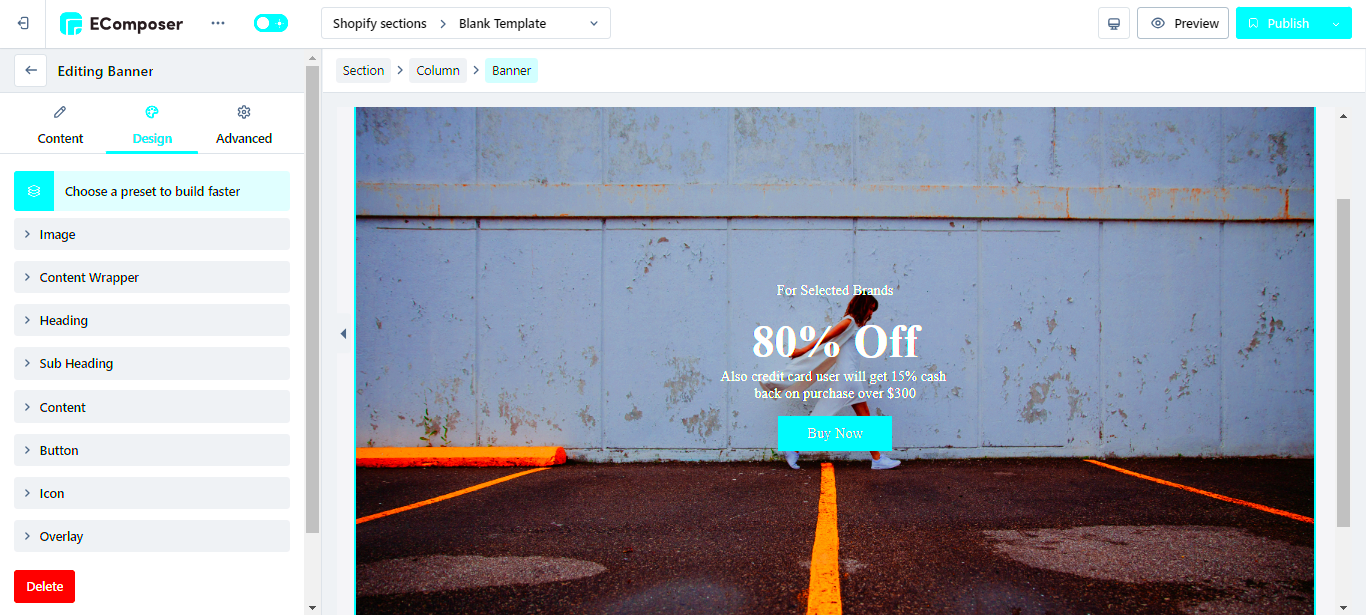
- Banner Images: Banners are large images placed at the top of your homepage or on specific collection pages. They can be used for promotions, sales, or to highlight special offers.
- Custom Graphics: Custom graphics, like icons or design elements, help you create a visually appealing and cohesive design throughout your store.
- Background Images: You can also add background images to your website's sections for a unique and engaging appearance.
Each type of image serves a different purpose, but together they help enhance the overall look and feel of your Shopify store, making it more professional and engaging for customers.
Also Read This: how to fill a shape with an image in canva
Steps to Add an Image in Shopify Code

Adding images to your Shopify store code might seem a bit intimidating at first, but once you break it down into manageable steps, it becomes much easier. Here’s a simple process that you can follow to get started:
- Choose the Right Image: First, select the image you want to add. Ensure it's in a web-friendly format like JPG, PNG, or GIF for optimal loading speed.
- Upload the Image to Shopify Files: Before you can add the image to your Shopify code, you'll need to upload it to Shopify’s file storage. This ensures the image is accessible through a URL.
- Edit Your Theme’s Liquid Files: Once your image is uploaded, the next step is to edit your Shopify theme files. This involves adding a small snippet of code to the relevant Liquid file to display the image.
- Preview the Image: After adding the code, preview the changes to ensure the image displays correctly in the intended section of your store.
- Save Your Changes: Once everything looks good, save your changes and refresh your store. Your image will now be visible to customers.
With these steps, you can easily add images to your Shopify code, improving the look of your store and enhancing customer experience. Always make sure to check the image size and loading speed to avoid any issues with page performance.
Also Read This: A Complete Guide to Creating AI Images of Celebrities
How to Upload Images to Shopify Files

Uploading images to Shopify files is an essential part of the process when you want to use those images in your store's code. Shopify allows you to store images on their servers, ensuring that they are easily accessible whenever needed. Here’s how you can upload images to Shopify Files:
- Go to Your Shopify Admin: Start by logging into your Shopify admin panel and navigating to the "Settings" section.
- Access Files Section: Under the "Files" tab, you’ll find the option to upload files. Click on "Upload Files" to begin.
- Select Your Image: Choose the image from your computer that you want to upload. Make sure the file format is supported, such as JPG, PNG, or GIF.
- Upload and Save: After selecting the image, click the "Upload" button. Shopify will then store the image in your file section, providing you with a URL for the image.
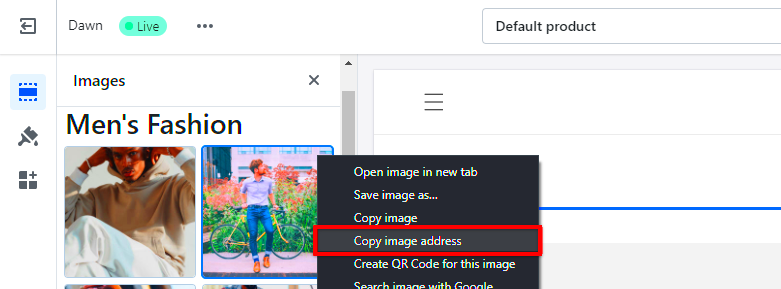
- Use the Image URL: Once the image is uploaded, you can use the URL provided by Shopify in your theme files or anywhere else you need to display the image.
Uploading images to Shopify files is an easy process that helps you organize and manage all your store’s images. With these steps, you can quickly get your images ready for use in your Shopify code.
Also Read This: How to Sell Your Images to Magazines
Editing Shopify Liquid Files to Add Images
Once your images are uploaded to Shopify, the next step is to edit the Shopify Liquid files to display those images on your store. Shopify uses Liquid, a templating language, to render content on your pages. Here’s how you can add an image using Liquid code:
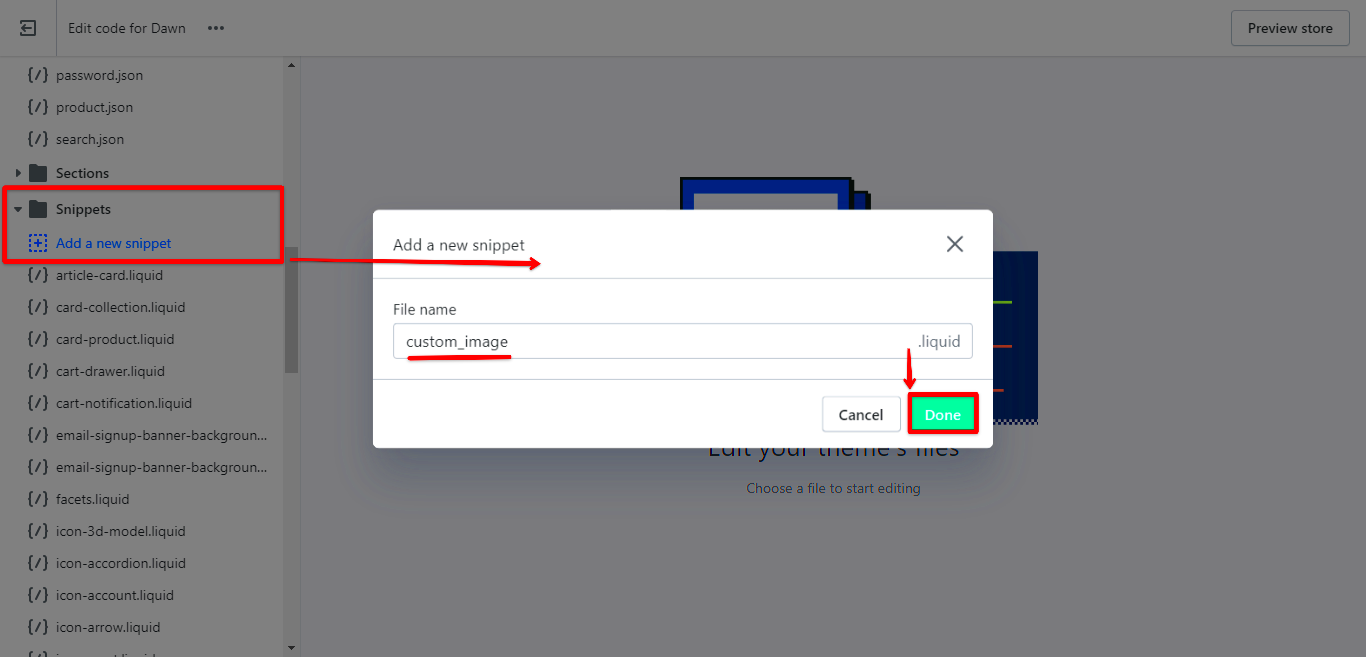
- Find the Liquid File to Edit: In your Shopify admin, go to "Online Store" and then "Themes". Click on "Actions" and select "Edit Code". This will bring up the list of theme files you can edit.
- Locate the Section or File Where You Want to Add the Image: Depending on where you want the image to appear, you’ll need to find the correct Liquid file. For example, if you want to add an image to your homepage, you would edit the "index.liquid" or "theme.liquid" file.
- Insert the Image Code: To add the image, use the following Liquid code snippet:
{% asset_url 'image-name.jpg' %}or{% file_url 'image-name.jpg' %}, replacing "image-name.jpg" with your actual image filename. - Use HTML to Display the Image: To display the image, wrap the Liquid code with an HTML
tag, like this:

- Save Your Changes: After inserting the code, click "Save" to apply the changes. Refresh your store to see the image in action.
Editing Liquid files to add images gives you complete control over the placement and presentation of images on your Shopify store. With these simple steps, you can easily integrate images into any part of your store and enhance its visual appeal.
Also Read This: Steps to Rotate an Image in Google Drive
Common Issues You May Face and How to Solve Them
While adding images to Shopify code is a straightforward process, there are some common issues that store owners may encounter. Thankfully, most of these problems have easy solutions. Here are a few of the issues you might face when working with images in Shopify and how to resolve them:
- Image Not Displaying: If the image doesn't show up on your store, first check if the URL is correct. Ensure that the image file is uploaded to the "Files" section and that you’re using the correct path in your Liquid code.
- Broken Links: A broken image link usually happens when the file name is misspelled or the image is not properly uploaded. Double-check the file name for any errors, and re-upload the image if necessary.
- Slow Image Loading: Large image files can slow down your store’s loading speed, negatively affecting customer experience. Compress your images before uploading them to Shopify to reduce file size without sacrificing quality.
- Image Placement Issues: Sometimes, the image doesn’t appear in the right location. This could be due to incorrect Liquid code or CSS issues. Review your code to make sure the image is placed correctly within the HTML structure.
- Incorrect Image Size: Ensure that the images you're uploading are the correct size for their intended purpose. A banner image that's too small will appear pixelated, while a product image that's too large could slow down your website.
If you run into any of these issues, don’t panic. With a little troubleshooting and some careful adjustments, you’ll be able to fix them and get your images displaying perfectly in no time.
Also Read This: Adding Images in Blender: A Guide to Including Visuals in Your Designs
Tips for Optimizing Images in Shopify
Optimizing your images for Shopify is crucial for both performance and SEO. Large, unoptimized images can slow down your site, which may cause visitors to leave before making a purchase. Here are some tips to help you optimize images on your Shopify store:
- Resize Images: Ensure that your images are not larger than necessary. Use an image editor to resize them before uploading, keeping in mind the dimensions of the space where they will be displayed.
- Compress Images: Use compression tools like TinyPNG or ImageOptim to reduce file sizes without sacrificing quality. Smaller image files will load faster, improving the user experience.
- Choose the Right Format: For most images, JPG is ideal for photos and complex images, while PNG works best for simple graphics and transparent images. WebP is another modern format that offers good quality with smaller file sizes.
- Use Descriptive Alt Text: Alt text helps improve SEO by describing your images to search engines. Use clear and relevant descriptions that include keywords related to your products or brand.
- Leverage Shopify’s Image CDN: Shopify automatically serves your images through a content delivery network (CDN), which speeds up image loading times by storing them in multiple locations around the world. Make sure you’re taking advantage of this by uploading images in the correct format and size.
By following these image optimization tips, you’ll improve both the performance of your Shopify store and its visibility in search engines, providing a better experience for your customers.
Also Read This: How to Add a Link on Behance Project for Your Portfolio
FAQ
1. How do I upload images to my Shopify store?
You can upload images to Shopify by going to your admin panel, clicking on "Settings," then "Files," and using the "Upload Files" button to select and upload your images.
2. What is the ideal image size for Shopify?
For product images, Shopify recommends using images that are at least 800x800 pixels for square images, and for banners or headers, a width of 1200px or more is ideal. Always keep the file size under 1MB for faster loading.
3. Can I add images to my Shopify code using Liquid?
Yes, you can add images to your Shopify code using Liquid. Once your image is uploaded to Shopify Files, you can reference it in your Liquid template files with the correct code.
4. How can I fix slow image loading on Shopify?
To speed up your Shopify store, optimize your images by resizing, compressing them, and choosing the right file format. You can also leverage Shopify’s content delivery network (CDN) to serve images more efficiently.
5. Can I use custom image formats in Shopify?
Shopify supports several image formats, including JPG, PNG, GIF, and WebP. It's best to stick to these formats for compatibility and performance reasons.
Conclusion
Adding images to your Shopify store using code is a powerful way to customize your site and enhance the overall shopping experience. By uploading images to Shopify files and editing Liquid files, you gain full control over the appearance of your images, making your store stand out and reflect your unique brand identity. Remember to optimize your images for speed and SEO to ensure that your store runs efficiently and ranks well in search results. Troubleshooting common issues like broken links or slow loading times is a normal part of the process, but with the right knowledge, you can easily resolve them. Ultimately, mastering the art of adding and optimizing images in Shopify will help you create a visually appealing and user-friendly store that keeps customers coming back. With the tips and techniques provided, you're well on your way to building a successful online store with a professional and customized look.

 admin
admin


