Adding a YouTube video to iMovie can enhance your creativity and help you produce captivating content. For beginners, this process may seem daunting at first, but don’t worry! We're here to simplify it for you. In this guide, we'll walk through everything you need to know to seamlessly integrate YouTube videos into your iMovie projects. Let’s dive right in!
Understanding iMovie and YouTube Compatibility
Before we get into the nitty-gritty of adding videos, it’s essential to understand how iMovie and YouTube work together. iMovie is Apple’s user-friendly video editing software designed for macOS and iOS devices. It allows users to create, edit, and enhance videos with a myriad of features. On the other hand, YouTube is a vast platform for sharing videos and entertainment, hosting countless user-generated content.
Here's what you need to keep in mind:
- File Formats: iMovie supports various file formats like MP4, MOV, and AVI, while YouTube primarily uploads MP4 formats. This means most YouTube videos can be imported into iMovie, but only if you download them correctly.
- Copyright Issues: It's vital to respect copyright laws when using YouTube content. Use videos that are either in the public domain, covered under Creative Commons, or from videos where you have permission from the creator.
- Quality Matters: The video resolution can change depending on how you download it. iMovie allows editing of high-definition videos, so aim to download the best quality available.
Understanding these aspects will pave the way for smooth integration and editing of YouTube videos in your iMovie projects. Now that you're familiar with compatibility, let’s proceed to the steps to add a YouTube video to iMovie!
Also Read This: How to Print Multiple Images on One Page
Step-by-Step Process to Download YouTube Videos
Downloading YouTube videos can seem daunting, but it’s relatively straightforward if you follow the right steps. Here’s a simple guide to help you through the process:
- Choose a Video Downloader: First and foremost, you'll need a reliable tool. There are plenty of downloading websites and software available like Y2mate, SaveFrom, or dedicated software like 4K Video Downloader.
- Copy the Video Link: Go to YouTube, find the video you want to download, and copy the URL from the address bar. Simply right-click on the URL and choose “Copy” or press Ctrl + C (or Command + C on Mac).
- Paste the Link: Open your chosen downloading tool, and look for a text box or a similar option where you can paste the link. Click in that space and paste your URL by right-clicking and selecting “Paste” or pressing Ctrl + V (or Command + V).
- Select Format and Quality: Most downloaders will give you an option to choose the format (like MP4, MOV, etc.) and quality (720p, 1080p, etc.) for your video. Select the ones that suit your needs best.
- Download the Video: Finally, hit the download button. Wait for a few moments while the video downloads to your device. Voilà! You now have the YouTube video saved on your computer.
And that's it! You’re ready to move on to the next step—importing your video into iMovie!
Also Read This: How to Change Text in an Image Using Different Tools
Importing the Downloaded Video into iMovie
Now that you’ve successfully downloaded your YouTube video, importing it into iMovie is a breeze. Let’s walk through the steps you need to follow:
- Open iMovie: Start by launching the iMovie application on your Mac. Once opened, you’ll be met with a clean interface to get started on your project.
- Create a New Project: Click on the “Create New” button and select “Movie” to start fresh. This will open a new project window where you can start editing.
- Import Media: In the toolbar, click on the “Import Media” button or you can simply press Command + I. This will open your file browser.
- Locate Your Video: Navigate to the folder where your downloaded video is saved. Select the video by clicking on it, then hit the “Import Selected” button.
- Drag and Drop to Timeline: After importing, your video will appear in the media section. Just drag and drop it into the timeline at the bottom of the screen. You can position it wherever you need it.
And there you have it! Your YouTube video is now successfully imported into iMovie, ready for you to edit and enjoy! If you've got any questions along the way, don’t hesitate to ask or explore! Happy editing!
Also Read This: Tips for Growing on Rumble and Building a Stronger Audience
5. Editing the Video in iMovie
Once you’ve successfully added your YouTube video to iMovie, it’s time to roll up your sleeves and start editing! iMovie is user-friendly, and with just a few clicks, you can create a polished video that’s ready to impress your audience. Here’s how you can get started:
- Trimming Clips: You may want to cut out certain parts of the video. Just click on the clip in the timeline, then drag the yellow handles to trim it down. This is great for removing unwanted segments or making your video flow more smoothly.
- Adding Transitions: Smooth transitions enhance the viewer's experience. Click on the “Transitions” tab and drag your preferred transition style between clips. There’s a variety to choose from, so feel free to experiment!
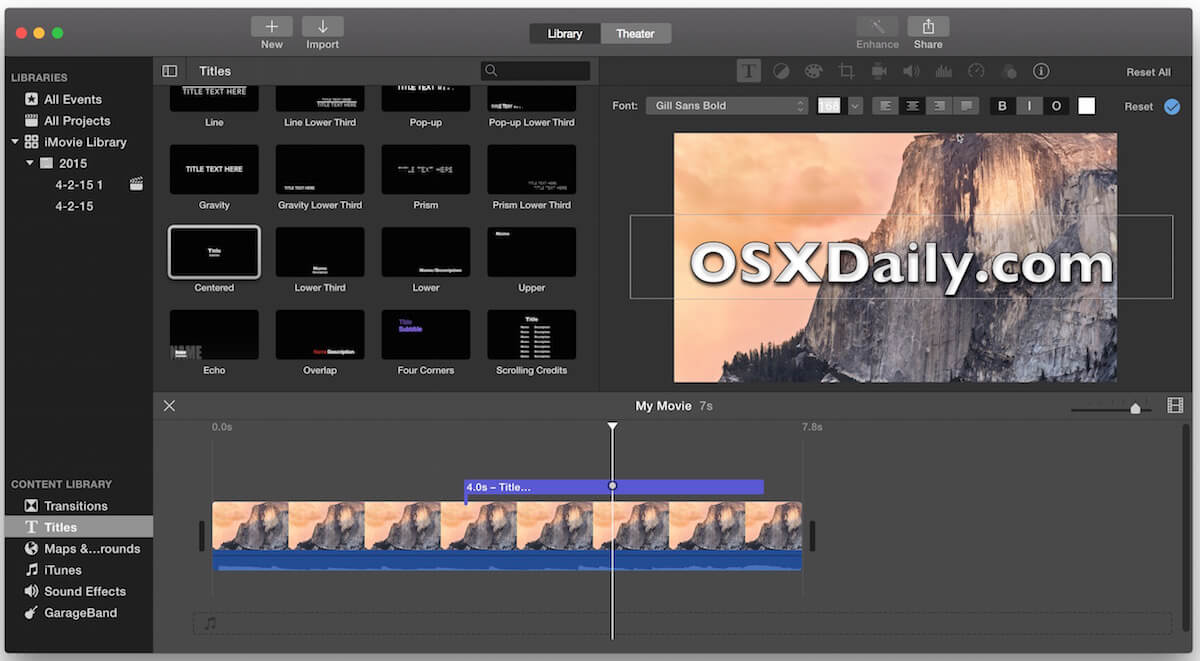
- Incorporating Text: Want to add a title or some text? Click on the “Titles” tab, select a style, and drag it onto the timeline. You can customize the font, size, and color to match your video’s theme.
- Including Music and Sound Effects: Don’t forget about the audio! You can add background music or sound effects by accessing the “Audio” tab. Just drag your chosen audio track directly to the timeline, and position it how you like.
- Adjusting Video Settings: Click on the clip in the timeline to access options like color correction, cropping, and speed adjustments. These tools help you refine your video’s look and feel.
Take your time experimenting with these features! The more you play around, the more comfortable you’ll become with the editing process.
Also Read This: Crediting 123RF Images: Understanding Attribution Requirements
6. Exporting and Sharing Your Project
After you’ve finished editing your video masterpiece in iMovie, it’s time to share it with the world! Exporting your project might seem daunting, but it’s quite straightforward. Here’s a step-by-step guide to help you through the process:
- Exporting Your Video: Click on the “File” menu at the top left corner, then select “Share,” and finally click on “File.” This opens a dialogue box where you can adjust various settings.
- Choosing File Settings: In the export settings, you can choose:
- Resolution: Select the resolution (720p, 1080p, etc.) based on where you plan to share your video.
- Quality: Choose ‘High’ for better visual quality, or ‘Better Quality’ for a smaller file size.
- Compress: Select ‘Better Quality’ or ‘Faster’ based on your priority.
- Saving the File: Once you’re happy with the settings, click on “Next,” then choose a location on your computer to save your video. Give it a memorable name so you can easily find it later.
- Sharing Your Video: You can upload your video directly to YouTube or other platforms by using the sharing options within iMovie. Just click on the YouTube icon and log into your account to start the upload process.
And voilà! Your video is now ready to be shared with friends, family, or the entire world! Enjoy showcasing your creativity, and don’t hesitate to revisit your project for future improvements and updates.
Also Read This: Exploring YouTube Boat Vlogs on Pontoon Boating
How to Add a YouTube Video to iMovie for Beginners
Adding a YouTube video to iMovie can be a great way to enhance your personal projects or films. However, it requires a few specific steps to ensure you do it correctly. Whether you want to use clips for a new video or create a montage, follow these simple steps to get you started.
Here’s a step-by-step guide on how to add a YouTube video to iMovie:
- Download the YouTube Video:
Before you can import the video into iMovie, you need to download it. You can use online tools like:
- Y2Mate
- SaveFrom.net
- 4K Video Downloader
- Export Video to Your Computer:
Once you’ve downloaded the video, choose the appropriate format, typically MP4, and save it to a location on your computer.
- Open iMovie:
Launch iMovie on your Mac. You can find it in your Applications folder or through Spotlight search.
- Create a New Project:
Select "Create New" and choose a project type that fits your needs, such as Movie or Trailer.
- Import the Video:
Click on the "Import Media" button, navigate to where you saved the downloaded video, select it, and click "Import Selected."
- Edit as Desired:
Once the video is imported, you can drag it onto the timeline and make any necessary edits such as trimming, adding effects, or sound.
After you've completed your edits, you can export your project for sharing or archiving.
Conclusion
By following these steps, you can easily add a YouTube video to iMovie and create engaging content without hassle. Remember to respect copyright and permissions when using videos from YouTube.
 admin
admin


