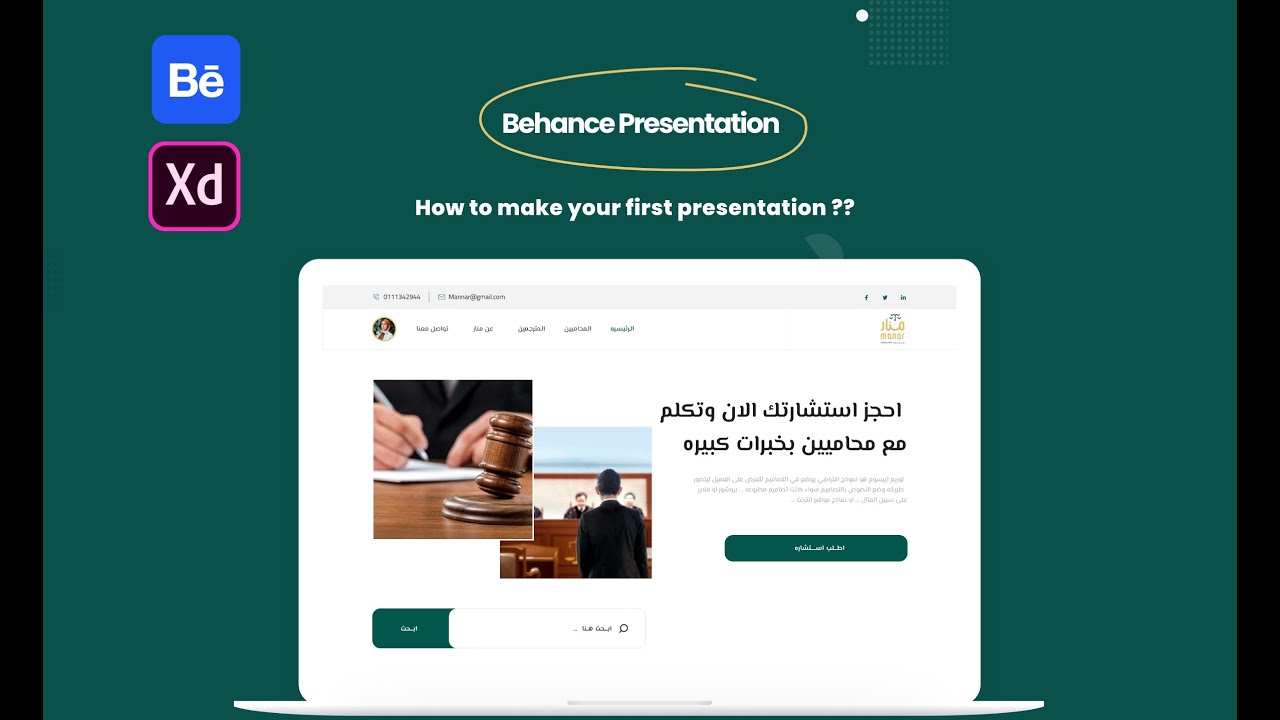
Are you ready to take your Behance projects to the next level? Adding videos can be a game changer! In a visually-driven world, showcasing your work through dynamic video content can better capture your audience's attention. Whether you're displaying a design process, a product demo, or an animated piece, videos let you tell your story in a more engaging way. Let’s explore how to easily incorporate videos into your Behance portfolio and why it’s worth the effort!
Benefits of Including Videos in Your Behance Projects

Including videos in your Behance projects offers a multitude of benefits that can significantly enhance your presentations. Here are some compelling reasons to consider:
- Enhanced Engagement: Videos hold viewers’ attention longer than static images. A well-made video can draw people in, encouraging them to interact more with your project.
- Deeper Storytelling: Video allows you to narrate your project journey. You can explain your vision, the challenges faced, and the solutions you implemented. This storytelling aspect adds a personal touch that static images alone can’t convey.
- Showcase Your Process: A time-lapse video of your design process or a behind-the-scenes look at your workflow can provide insight into your skills and creativity. It sets you apart as a designer who values transparency and craftsmanship.
- Versatile Formats: You can use videos for a variety of content types, from tutorials and walkthroughs to animated graphics and client testimonials. This versatility allows you to cater to different audience preferences.
- Improved SEO: Videos can enhance your project’s searchability. When users search for relevant content, having video can boost your visibility, potentially bringing more traffic to your Behance profile.
- Professional Presentation: A polished video can elevate the overall quality of your project. It shows that you’re willing to invest time and effort into your presentation, which can impress potential clients or collaborators.
In summary, incorporating videos into your Behance projects not only makes your work more appealing but also allows you to communicate your narrative more effectively. With the right approach, you can transform your portfolio into a rich multimedia experience that resonates with viewers on a deeper level.
Also Read This: How to Create a Stunning Portfolio on Behance to Showcase Your Work
3. Step-by-Step Guide to Uploading Videos on Behance

Ready to showcase your creative projects with videos on Behance? It’s a straightforward process that can elevate your presentations significantly. Let’s walk through it step-by-step:
- Create or Log into Your Behance Account: If you don’t have an account yet, sign up for free at Behance.net. If you already have one, simply log in.
- Start a New Project: Click on the “Create a Project” button located on your profile page. This will direct you to a new project page.
- Add a Cover Image: Before diving into videos, choose a compelling cover image. This sets the visual tone for your project. Think of it as your project’s first impression!
- Upload Your Video: Click on the “Upload Files” button. You can drag and drop your video files or browse your computer to select them. Behance supports MP4, MOV, and AVI formats for video uploads.
- Customize Your Video Settings: After uploading, you can adjust settings such as video title, description, and tags. Make sure to add relevant tags to enhance visibility.
- Arrange Your Content: Behance allows you to arrange your multimedia elements. Drag your video to the desired position within your project layout. You can also add images or text that complement your video!
- Add a Project Description: Writing a captivating description can entice viewers. Share the story behind your project and what they can expect from the video.
- Preview Your Project: Before hitting that publish button, preview your project to see how it looks. Make sure everything is in place and that your video plays smoothly.
- Publish Your Project: Happy with your project? Click the “Publish” button! Your project will now be live for the world to see.
And just like that, you’ve added videos to your Behance project! Now, let’s make sure your videos are optimized for the best viewing experience.
Also Read This: How to Join Behance Served Sites and Get Featured on Behance’s Curated Platform
4. Tips for Optimizing Your Video for Behance

Uploading a video is just the beginning; optimizing it is key to ensuring your audience engages with your content. Here are some handy tips:
- Keep It Short and Sweet: Aim for videos that are between 1 to 3 minutes long. This length is ideal for maintaining attention without overwhelming viewers.
- High-Quality Visuals: Ensure your video is shot in high resolution. A clear, vibrant video stands out in a sea of content and reflects your professionalism.
- Engaging Thumbnails: Capture attention with an eye-catching thumbnail. This is what viewers will see before they click, so make it as compelling as your video!
- Add Captions: Not everyone watches videos with sound. Including captions can help convey your message to a broader audience.
- Include a Call-to-Action: At the end of your video, encourage viewers to comment, follow you, or check out other projects. A simple “Let me know what you think!” can boost engagement!
- Optimize for Mobile: Many users browse Behance on their phones. Ensure your video looks good on smaller screens, maintaining clarity and sound quality.
- Test Before You Publish: Always preview your video to check for any issues. Ensure that audio levels are balanced and the video plays without glitches.
By following these tips, you'll enhance the impact of your videos on Behance, making your projects even more compelling and memorable to your audience!
Also Read This: How to Change Language in Behance Updating the Display Language on the Platform
5. Common Issues When Uploading Videos and How to Solve Them

Uploading videos to Behance can significantly enhance your project presentations, but it's not always a smooth process. Here are some common issues you might face and tips on how to tackle them:
- File Size Limitations: Behance has a file size limit for video uploads, typically around 200 MB. If your file exceeds this limit, you’ll need to compress it. Consider using tools like HandBrake or Adobe Video Compressor to reduce file size without sacrificing quality.
- Format Issues: Behance supports specific video formats such as MP4 and MOV. If your video is in a different format, convert it using software like CloudConvert or Zamzar. This ensures compatibility and a smoother upload experience.
- Slow Upload Speeds: A slow internet connection can be frustrating when trying to upload videos. If you experience long upload times, consider uploading during off-peak hours or using a wired connection instead of Wi-Fi for better stability.
- Video Not Displaying: Sometimes, a video may not appear after uploading. This could be due to caching issues. Try refreshing your browser or clearing your cache. Additionally, ensure your video settings are configured correctly in the Behance project editor.
- Permissions and Privacy Settings: If you’ve uploaded your video to a platform like YouTube or Vimeo, check the privacy settings. Ensure it is set to public or unlisted so that it can be viewed on your Behance project. Otherwise, it won’t display correctly.
By being aware of these common issues and knowing how to solve them, you can make your video uploads to Behance much smoother and more efficient. This not only saves you time but also enhances the viewer's experience of your project.
6. Conclusion: Enhancing Your Behance Portfolio with Videos
Incorporating videos into your Behance portfolio can truly elevate your project presentations and engage your audience in ways static images cannot. We’ve explored various benefits, from showcasing your creative process to providing a dynamic overview of your work. By following best practices for video creation and addressing common upload challenges, you’ll set yourself apart in a competitive creative landscape.
As you move forward, remember:
- Quality Over Quantity: It’s better to have a few well-crafted videos than numerous low-quality ones. Focus on storytelling and clarity.
- Regularly Update Your Portfolio: As your skills evolve, so should your portfolio. Regularly upload new videos that reflect your latest work and techniques.
- Engage with Your Audience: Encourage feedback on your videos and respond to comments. This builds community and can provide valuable insights for future projects.
In conclusion, videos are an invaluable tool for showcasing your creativity and process on Behance. By effectively using this medium, you can not only enhance your portfolio but also connect more deeply with potential clients and collaborators. So, get out there, create, and let your videos tell your story!
 admin
admin


