Adding links to images is a simple yet powerful way to make your content more engaging. By linking images, you can direct users to specific pages, products, or other relevant content with just a click. This method is widely used across websites, blogs, and social media platforms to increase interactivity and enhance user experience.
In this post, we’ll explore how adding links to images can transform your content and why it’s a useful strategy for building a more interactive online presence.
Why Adding Links to Images is Important for Interactive Content
Interactive content is designed to encourage users to engage with the material, and adding links to images is a key component of this. Here are a few reasons why linking images is important:
- Improves User Experience: Users are more likely to click on images that lead them to additional valuable content, enhancing their experience.
- Increases Traffic: Linking images to other pages on your site or external resources can drive more visitors and increase page views.
- Boosts Engagement: Interactive elements like clickable images encourage users to explore more of your site, keeping them engaged for longer periods.
- Enhances Visual Appeal: A well-placed link within an image can draw attention to key information or products in a visually appealing way.
By embedding links within images, you can guide users to related content, promote products, or even encourage social sharing—all of which contribute to a more interactive experience.
Also Read This: Creative DIY Room Decoration Ideas from Dailymotion
Understanding the Process of Adding Links to Images
Adding links to images is a straightforward process, but it can be done in various ways depending on your platform and tools. Here’s a simple overview of the process:
- Choose the Image: Select the image you want to add a link to. This could be an image of a product, a blog post, or a call-to-action button.
- Embed the Link: Using HTML, you can wrap the image tag within an anchor tag. This is the basic HTML format:
<a href="URL"><img src="image.jpg" alt="description"></a> - Test the Link: Before publishing, it’s crucial to test the link to ensure it leads to the correct destination and works properly.
If you're using a website builder or CMS like WordPress, the process is even easier. Most platforms allow you to add links directly from the image settings without needing to write any code.
In the next sections, we’ll dive deeper into how you can optimize this process and avoid common mistakes.
Also Read This: Step-by-Step Tutorial for Applying Base on Face with Dailymotion
Tools You Need to Add Links to Images
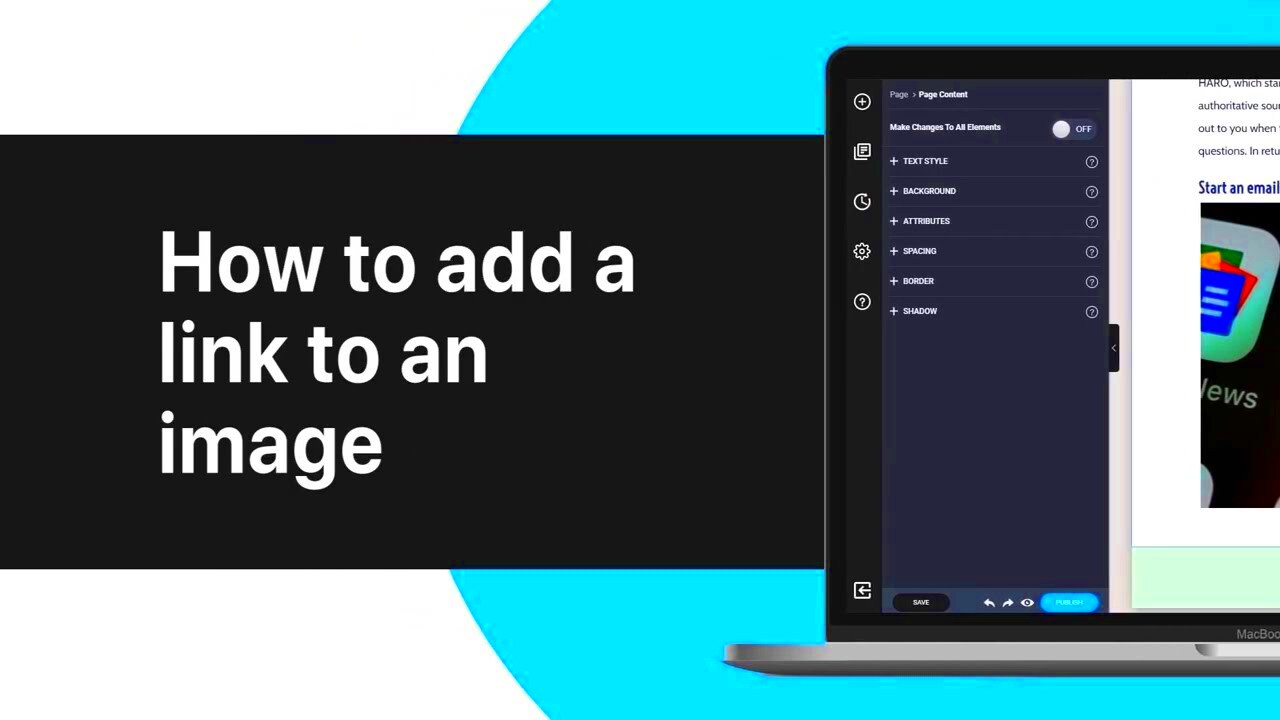
To add links to images, there are several tools available that make the process easy and efficient. Whether you’re working on a website, a blog, or a social media post, choosing the right tool can save time and improve the outcome. Here are some popular tools you can use:
- HTML Code Editor: If you’re comfortable with coding, a simple HTML editor like Sublime Text or Visual Studio Code is perfect for manually adding links to images by embedding HTML code.
- WordPress: WordPress has a built-in editor that allows you to easily add links to images without writing any code. Simply upload the image, click on it, and use the link option to add your destination URL.
- Canva: If you want to design images with links embedded directly into them (like for marketing purposes), Canva is an excellent choice. Canva allows you to create clickable image designs and export them for online use.
- Wix or Squarespace: Website builders like Wix and Squarespace make it simple to add links to images. Their drag-and-drop interfaces let you upload images and easily link them to any web page or external URL.
- Google Web Designer: For more advanced users, Google Web Designer helps create interactive HTML5-based content, allowing you to add links to images in banner ads, landing pages, or other designs.
These tools cater to different skill levels and needs. Whether you are a beginner or an expert, there’s a tool for everyone to help you add links to your images quickly and efficiently.
Also Read This: how to skew an image in canva
Best Practices for Linking Images in Interactive Content
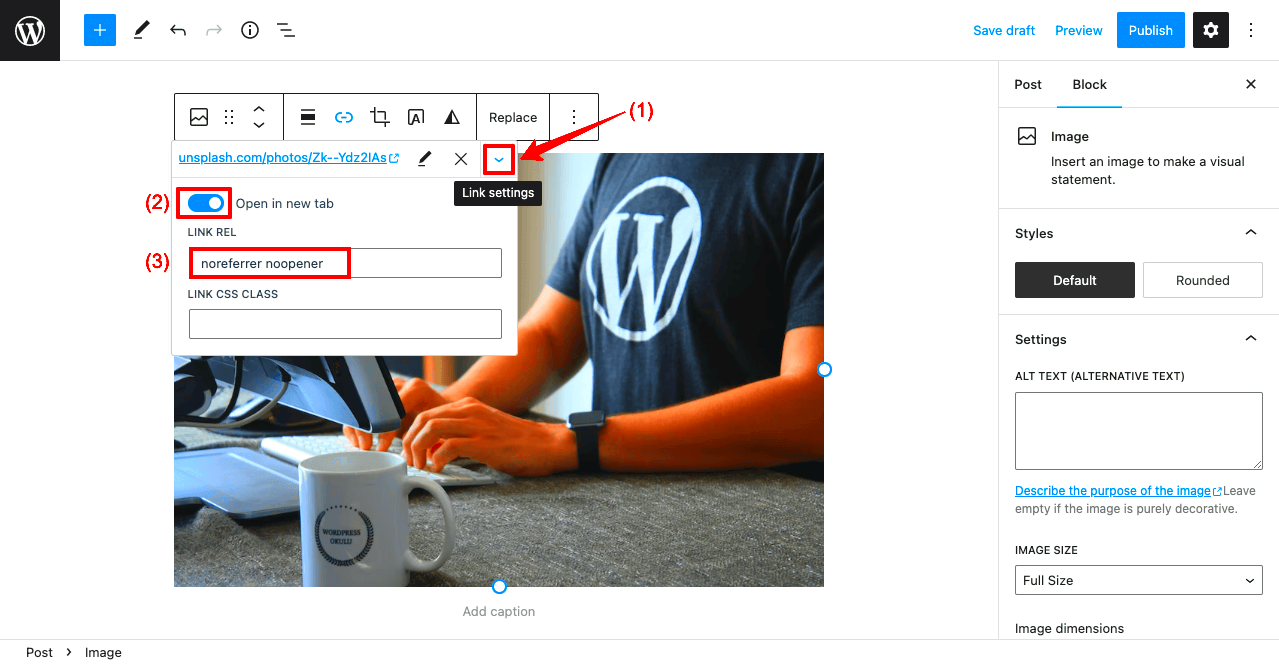
While adding links to images can enhance user experience, doing so effectively requires following best practices. Here are some tips to ensure your linked images are functional and beneficial:
- Use Clear Visual Indicators: Make sure the linked image is visually distinct, such as by using hover effects or icons that suggest interactivity. This helps users understand that the image is clickable.
- Keep Links Relevant: Always ensure that the link you add is directly related to the content of the image. Linking an image of a product to its detailed page, for example, makes perfect sense.
- Test Links Regularly: Regularly check that your image links are working correctly. Broken links can frustrate users and harm your site’s SEO.
- Avoid Overloading Images with Links: Don’t overwhelm users by adding too many links to a single image. Focus on the most important actions you want them to take.
- Use Alt Text for SEO: For accessibility and SEO, always add relevant alt text to your images. This also helps search engines index your images and provides context when the image cannot be displayed.
By following these best practices, you can ensure that your image links enhance interactivity without distracting or frustrating your audience.
Also Read This: How to Link an Image in Google Slides for Interactive Presentations
How to Add a Link to an Image in HTML
Adding a link to an image using HTML is simple and effective. Whether you're working on a personal website or a larger content project, HTML allows you to easily link your images. Here's a step-by-step guide on how to do it:
- Open Your HTML File: First, open your HTML file in a text editor like Notepad, Sublime Text, or any HTML editor you prefer.
- Write the Basic HTML Structure: Use the anchor tag
<a>to wrap the image tag<img>. The anchor tag defines the destination URL, while the image tag defines the image itself. Here’s the basic structure: - Customize the Link: Replace
https://www.example.comwith your desired link, andimage.jpgwith the image URL you want to use. You can also add more attributes to the image tag, such as width or height, to adjust the image size. - Test the Link: Save your file and open it in a web browser to check that the image is clickable and leads to the correct destination.
<a href="https://www.example.com"><img src="image.jpg" alt="Description of image"></a>If you’re using a content management system like WordPress or Wix, the process is even simpler, as they provide easy-to-use image editors with built-in linking options. However, knowing how to manually add links in HTML is still an essential skill for customizing your content.
With these basic steps, you’ll be able to link images effectively in your HTML projects and create a more interactive experience for your visitors.
Also Read This: How to Flip an Image in PowerPoint
Common Mistakes to Avoid When Adding Links to Images
Adding links to images can be a powerful tool, but there are a few common mistakes that can lead to problems, such as broken links or a poor user experience. Let’s take a look at some of the most frequent errors and how you can avoid them:
- Using Incorrect or Broken Links: One of the biggest mistakes is linking to an incorrect or broken URL. Always double-check the destination URL to ensure that it is correct and that the page is live. A broken link leads to frustration and lost trust.
- Not Optimizing Image Size: Images that are too large can slow down page load times, especially on mobile devices. Always optimize your images for web use by compressing them without sacrificing quality.
- Overloading Images with Too Many Links: Avoid the temptation to add multiple links to a single image. Too many clickable areas can overwhelm users. Keep it simple, focusing on the most important link.
- Neglecting Accessibility: It’s important to add alt text to your images. This ensures accessibility for visually impaired users who rely on screen readers, and also helps improve SEO. Without alt text, your image might be ignored by search engines.
- Not Testing Links: After adding links to your images, always test them before going live. A quick click-through will help you identify any issues and ensure that users are directed to the right page.
By avoiding these common mistakes, you’ll ensure that your linked images enhance the user experience rather than cause frustration or confusion.
Also Read This: How to Combine Images in Inkscape for Layered and Complex Designs
FAQ
Here are some frequently asked questions about adding links to images that might help clarify any doubts:
- How do I add a link to an image without coding?
Many website builders and content management systems like WordPress or Wix allow you to add links to images directly through their visual editors. Simply upload your image and click the link option to add the destination URL. - Can I add links to images in emails?
Yes, you can add links to images in emails by embedding the HTML code. Most email marketing platforms like MailChimp or Constant Contact also provide an easy interface to add clickable images. - What’s the best image format for adding links?
JPEG, PNG, and GIF are the most commonly used formats for images with links. The format depends on your specific use case (e.g., JPEG for photos, PNG for images with transparency). - Is it important to use alt text for every image?
Yes, adding alt text is essential for both accessibility and SEO. Alt text describes the image for users who cannot see it and helps search engines understand the content of the image.
Conclusion
Adding links to images is an effective way to increase interactivity and drive more engagement on your website or content. By following the right process and avoiding common mistakes, you can create a smooth and enjoyable experience for your users. Remember to test your links regularly, keep your images optimized, and always prioritize accessibility.
With the tools and best practices we’ve discussed, you’re now ready to add links to your images with confidence. Whether you're coding by hand or using a platform that simplifies the process, linking images is an easy and impactful way to improve your content’s performance.
