Photoshop offers a wide range of tools and techniques to enhance your images, and one of the most eye-catching effects is the curved effect. Whether you're designing a logo, a social media post, or a website graphic, adding a curved effect can give your image a more dynamic, professional look. This effect makes the image appear as though it's bending or warping, creating depth and visual interest.
If you're new to Photoshop or just looking to add a creative touch to your images, this guide will show you how to easily add a curved effect. We'll break down the process step-by-step, making it simple for you to follow along and start experimenting with your designs. So, let's dive in and discover how you can add a unique curve to your images.
Understanding the Curved Effect in Photoshop

The curved effect in Photoshop refers to the manipulation of an image's shape or form, making it look like it is bending or curving in space. It’s often used to create a more dynamic or 3D look for flat images. This effect can be used for a variety of design purposes, including:
- Creating a sense of movement or flow in the design
- Adding depth to otherwise flat images
- Enhancing the visual appeal of images for social media, websites, and more
In Photoshop, the curved effect is typically applied using tools like the Warp tool, the Liquify filter, or the Distort options. These tools allow you to bend, twist, and adjust the shape of your image to achieve the desired look. By understanding how the curved effect works, you can start incorporating it into your designs to make them stand out and capture the viewer's attention.
Tools You Will Need to Add a Curved Effect in Photoshop

To add a curved effect to your images in Photoshop, you'll need to familiarize yourself with a few essential tools. Here's a list of the most important ones that will help you get started:
- Warp Tool: This tool lets you adjust the shape of an image or layer by dragging control points to bend it in any direction. It's great for subtle or dramatic curves.
- Liquify Filter: This tool works like a digital airbrush, allowing you to push and pull parts of your image to create smooth, curving effects.
- Transform Tools: The basic transform tools like Distort, Skew, and Perspective can also help add curved effects to your image by changing its shape and perspective.
- Path Selection Tools: If you're working with vector images or shapes, the Path Selection and Direct Selection tools can help manipulate curves and lines to create a smooth, flowing effect.
- Smart Filters: When using the Liquify filter or any other effect, applying them as Smart Filters allows you to make adjustments later without permanently altering your original image.
With these tools, you’ll be able to create smooth and creative curved effects that will elevate your designs. If you haven’t used these tools before, don't worry—each one is fairly easy to learn and can make a big difference in the quality of your work.
Step-by-Step Guide to Add a Curved Effect to Your Image

Adding a curved effect to your image in Photoshop is easier than you might think. With just a few simple steps, you can transform a flat image into something more dynamic and engaging. Here’s a step-by-step guide to help you get started:
- Open Your Image: Start by opening the image you want to work on in Photoshop. Go to File > Open and select your image.
- Select the Layer: Make sure the layer you want to apply the effect to is selected. If you're working with multiple layers, choose the correct one.
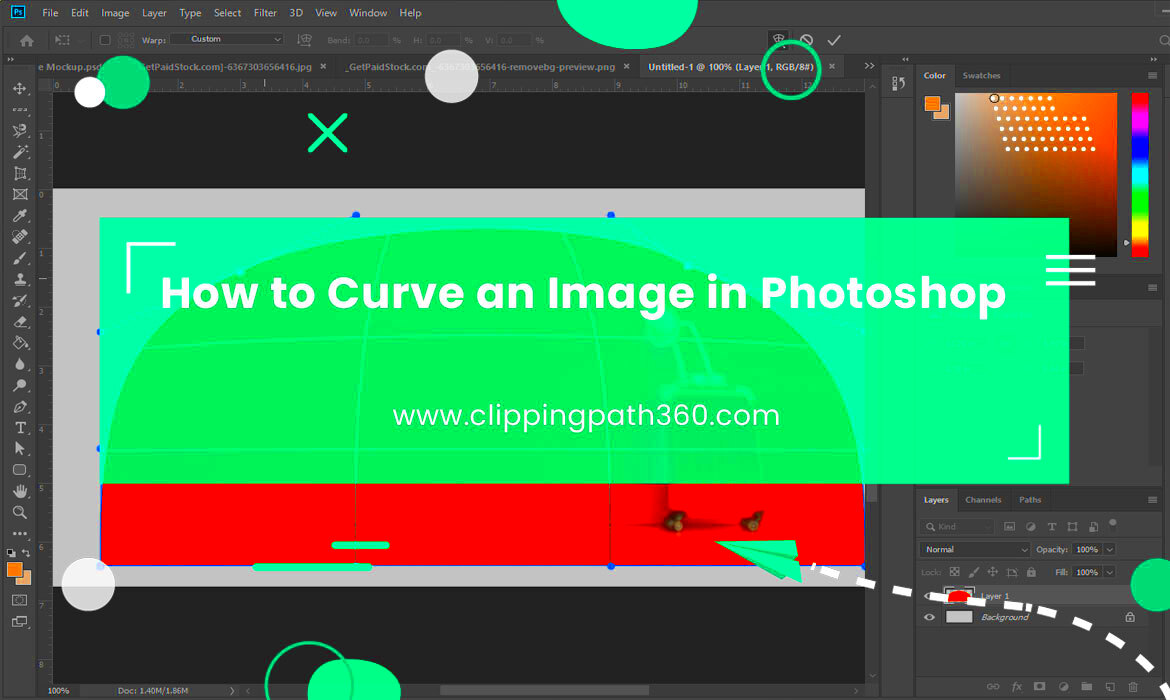
- Apply the Warp Tool: With the layer selected, go to Edit > Transform > Warp. You’ll see a grid appear over your image with control points that you can move.
- Adjust the Grid: Click and drag the control points on the grid to create curves. You can bend the image in any direction to create the effect you want.
- Refine the Curve: Continue adjusting the control points until you’re happy with the curve. Use the handles to refine the bend, making sure it looks smooth and natural.
- Finalize Your Changes: Once you're satisfied with the effect, press Enter to confirm the transformation. If necessary, apply additional adjustments like brightness or contrast to enhance the final look.
And that’s it! You've successfully added a curved effect to your image. You can now experiment with different images, layers, and curves to create even more unique designs.
Adjusting the Curve for a More Realistic Look
While the warp tool allows you to create a curved effect, the next step is making sure that the curve looks realistic. A well-adjusted curve can make your image appear more natural, giving it a professional touch. Here’s how you can refine your curve for a better effect:
- Use Subtle Adjustments: Avoid going overboard with the curve. Subtle bends often look more realistic. Start with a small curve and adjust as necessary.
- Align with Image Features: If your image has specific lines or shapes, make sure the curve flows in a way that aligns with those features. For example, if you're curving a landscape image, let the horizon line follow the curve.
- Apply the Liquify Tool: For fine-tuning, the Liquify filter is a great option. Go to Filter > Liquify, then use the Forward Warp Tool to gently push areas that need more adjustment.
- Focus on Proportions: Ensure that the proportions of the image remain balanced. A drastic curve can distort parts of your image, making it appear unnatural.
- Check in Different Views: After adjusting, take a step back and view your image from different angles. Zoom out to see how the curve fits with the overall composition.
These simple steps can help you adjust the curve to create a more realistic and appealing effect. Take your time and experiment until you achieve the look you want.
Using Filters for Extra Style with the Curved Effect
Once you’ve added a curved effect to your image, you can take it to the next level by applying filters for added style. Photoshop’s filters give you endless possibilities for enhancing your designs, adding texture, depth, and flair. Here are some filters that work great with a curved effect:
| Filter | Effect |
|---|---|
| Gaussian Blur | Adds a soft blur to your image, creating a smooth transition in areas where the curve bends. |
| Motion Blur | Creates the illusion of speed, especially useful if the curve is part of a dynamic, action-packed design. |
| Distort | Warps your image further, adding a unique and creative texture to the curved effect. |
| Liquify Filter | Gives you precise control over the curve, allowing you to push and pull areas of your image for a more dramatic effect. |
Here’s how to apply a filter to enhance your curved effect:
- Apply the Curved Effect: First, create your curved effect as described in the previous steps.
- Choose a Filter: Go to Filter > Filter Gallery or Filter > Liquify to choose the filter you want to apply.
- Adjust the Settings: Play with the filter settings to get the desired effect. You can adjust the intensity, radius, and other options to fine-tune the look.
- Finalize and Apply: Once you're happy with the filter effect, click OK to apply the filter. You can always undo the changes or try different filters to see what works best.
Filters can add a layer of depth and style that makes your curved image stand out even more. Whether you go for a subtle touch or a bold, dramatic effect, filters are a great way to enhance your creative vision.
Common Mistakes to Avoid When Adding a Curved Effect
Adding a curved effect to your images in Photoshop can be a fun and creative way to enhance your designs. However, it's easy to make mistakes that can negatively affect the final result. To help you avoid those pitfalls, here are some common mistakes and tips for getting it right:
- Overdoing the Curve: One of the most common mistakes is applying too much curvature. Excessive bending can make the image look unrealistic or distorted. It's best to keep the curve subtle, especially for more natural designs.
- Ignoring Image Proportions: When adding a curved effect, ensure that the proportions of the image remain consistent. Curving the image too much in one area can lead to unbalanced proportions and make the image feel out of place.
- Not Using Layers: Working directly on the image layer can make it harder to adjust the curve later. Always duplicate your image layer before applying the curved effect so you can easily go back and make adjustments if needed.
- Forgetting to Preview the Effect: Before finalizing the curve, it’s important to preview the effect on your image. Sometimes, a curved effect might look great in one area but appear odd in others. Take time to zoom out and view the image from different angles.
- Not Refining the Edges: Curved effects can leave the edges of the image looking rough. Use tools like the Smudge Tool or Feathering to smooth the edges and blend them into the background for a seamless look.
Avoiding these common mistakes will help you achieve a more polished, professional-looking curved effect that complements your design instead of overwhelming it. Take your time and experiment, and don't be afraid to tweak your curves until you’re happy with the result.
Why Adding a Curved Effect is Beneficial for Unique Designs
The curved effect in Photoshop isn’t just about adding a visual twist—it can also help you create designs that stand out from the crowd. Whether you’re working on a website, social media content, or a digital ad, incorporating curved effects can offer a range of benefits. Here’s why adding a curved effect can take your designs to the next level:
- Increases Visual Interest: A curved image can immediately catch the viewer's eye, making the design feel more dynamic and engaging. This added movement can make your work more memorable.
- Creates Depth and Dimension: Flat, static images can sometimes appear dull. Curved effects add a sense of depth, making your designs feel more three-dimensional and visually exciting.
- Enhances Brand Identity: Adding curves can help convey your brand’s unique style and personality. For instance, smooth, gentle curves could work well for a luxury brand, while more dramatic curves might be ideal for an action-based or creative brand.
- Supports Storytelling: The direction and intensity of the curve can evoke certain emotions or set the tone for your design. A soft curve can imply calmness or elegance, while a sharp curve can indicate energy or action.
- Provides Flexibility: Whether you're working with text, images, or shapes, the curved effect can be adapted to a wide range of design elements, giving you more creative freedom in your projects.
By using the curved effect thoughtfully, you can breathe new life into your designs and create something truly unique. It adds flair, movement, and energy—perfect for designs that need to stand out in a busy, visual world.
FAQ
Here are some frequently asked questions about adding a curved effect to images in Photoshop:
- How do I make the curve look more natural? To make the curve look more natural, apply subtle changes, and adjust the image in small increments. Using the Liquify tool can help you fine-tune areas that need more attention, and always check your work by zooming out to see the overall effect.
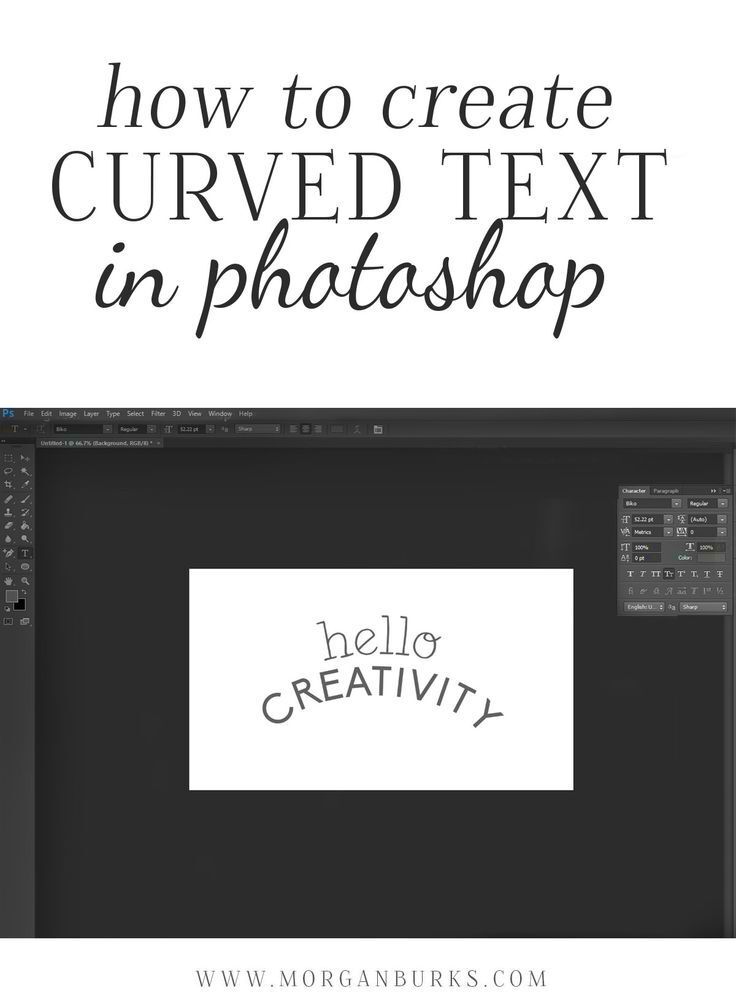
- Can I apply the curved effect to text as well? Yes! You can use the same methods to apply a curved effect to text in Photoshop. Simply convert your text to a smart object or rasterize it, and then use the Warp tool to create curves.
- Is it possible to undo the curved effect if I don't like it? Yes! If you’ve used a non-destructive method like working on a duplicate layer or applying a smart filter, you can easily undo the effect. Just select the layer and press Ctrl + Z (or Cmd + Z on Mac) to undo the changes, or adjust the settings as needed.
- Can I use the curved effect with all types of images? Most images can benefit from a curved effect, but it works best with high-quality images that have a lot of visual detail. Very low-resolution or overly compressed images might not give the best results when distorted.
- What other effects can I combine with a curved effect? You can combine the curved effect with other Photoshop tools, such as blur filters, shadows, and textures, to create even more dynamic and creative results. Just make sure the effects complement each other to maintain visual harmony.
Conclusion
Incorporating a curved effect into your images in Photoshop is a fantastic way to add depth, creativity, and uniqueness to your designs. By following the simple steps outlined in this guide, you can easily transform flat images into dynamic, eye-catching visuals. Whether you're using it for website graphics, social media posts, or print designs, the curved effect can help you create a professional, polished look that stands out.
Remember to experiment with different tools and techniques, and don’t hesitate to refine the curve to make it look as natural as possible. With practice, you'll master the art of applying curved effects and learn how to make your designs truly one-of-a-kind.

 admin
admin


