Rotating an image in Google Docs is a breeze! Whether you want to adjust the orientation of a photo for a report or creatively position an illustration in your project, this guide has got you covered. In just a few simple steps, you’ll have your images looking exactly how you want them. Let’s dive into the process and make your documents more visually appealing!
Accessing Google Docs
First things first, you need to access Google Docs. Here’s how to get started:
- Open Your Browser: Launch your preferred web browser such as Chrome, Firefox, or Safari.
- Visit Google Docs: Type https://docs.google.com/ into the address bar and hit Enter. This will take you directly to the Google Docs homepage.
- Sign In: If you aren’t already signed in, enter your Google account credentials. Don’t have an account? No worries! You can create one for free.
- Create or Open a Document: You can either start a new document by clicking on the blank document icon or access an existing one from your Google Drive.
Once you’re in, you’ll see a clean interface with a toolbar at the top. This is where the magic happens! To add an image, simply click on the Insert menu, then select Image. You can upload images from your device, use your camera, or even select images from Google Drive or the web.
Now that you know how to access Google Docs, you’re ready to add your images and start rotating them to fit your creative vision. Stay tuned for the next steps in this guide, where we’ll explore how to actually rotate those images!
Also Read This: Find Out How Hard It Is to Get Approved as a Shutterstock Contributor
3. Inserting an Image
Before we can rotate an image in Google Docs, we first need to insert it into our document. It’s a straightforward process, and in just a few clicks, you can have your image ready for rotation. Here’s how you can do it:
- Open your Google Docs document: Start by navigating to the document where you want to insert the image.
- Click on “Insert”: At the top of your document, you’ll see a menu bar. Click on the Insert option.
- Select “Image”: Hover over the Image option in the dropdown menu. Here, you will see several ways to insert your image:
- From Upload: Choose this option if you want to upload an image from your computer.
- By URL: If the image is available online, you can paste the URL here.
- Google Drive: You can also select an image saved in your Google Drive.
- Camera: If you're feeling adventurous, take a new picture using your webcam!
And there you have it! Your image is now inserted into the document, and you're almost set to make it perfectly aligned with your content. But wait, let’s move on to the fun part—rotating that image!
Also Read This: how do i add a hyperlink to an image
4. Rotating the Image
Now that you have your image inserted into your Google Docs document, it’s time to rotate it to get just the right angle. This is where you can really get creative! Here’s how you can rotate your image:
- Click on the image: Start by clicking on the image you want to rotate. You should see a blue border appear around it, indicating that it’s selected.
- Locate the rotation handle: At the top of the selected image, you will notice a circular handle (it looks like a small circle). This is your rotation handle!
- Rotate the image: Click and hold the rotation handle, then drag it left or right. You’ll notice the image begins to rotate. Keep an eye on it until it reaches the desired angle.
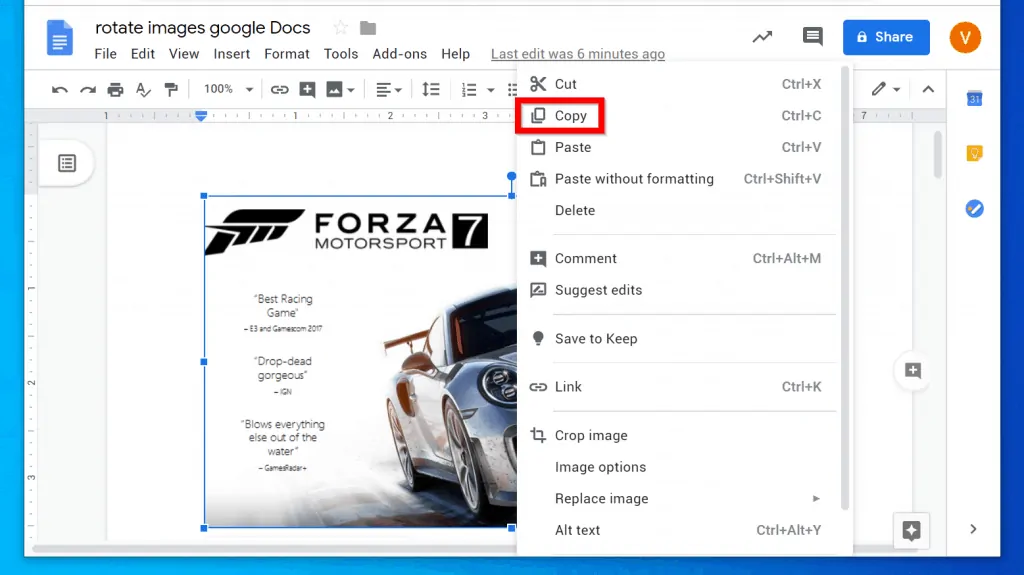
- Fine-tuning: If you want to rotate the image to a specific angle, you can also use the Image options menu. Simply right-click on the image, select Image options, and look for the Rotation section where you can enter a degree value for a precise rotation.
And that’s it! Your image is now rotated, and you can position it exactly how you want in your document. Whether you’re creating a visually appealing report, a presentation, or simply enhancing your notes, rotating images can add that perfect touch. Now, go ahead and experiment with different rotations to see what pairs best with your text!
Also Read This: A Step-by-step Guide on How to Become a Digital Creator on Facebook
5. Using the Format Options
Alright, let’s dive into the fun part—using the Format Options to rotate your image in Google Docs! This feature not only allows you to rotate your images but also opens up a world of customization. Whether you want a slight tilt or a complete flip, Google Docs has got you covered.
First, make sure your image is selected. You’ll know it’s selected when you see those little squares (or handles) around the edges. Once you have your image highlighted, follow these simple steps:
- Click on the Format menu at the top of your document.
- From the dropdown, hover over Image.
- You’ll see an option for Image options; click on it. This will bring up a sidebar on the right side of your screen.
In the Image Options sidebar, look for the Size & Rotation section. Here, you’ll find a rotation box where you can manually input the degree of rotation you desire. For instance, if you want to rotate your image 90 degrees, simply type in 90 and hit Enter. Voilà! Your image is now rotated!
You can also rotate your image by dragging the circular handle above the image itself. Just click and hold the handle, then move your cursor to rotate the image freely. This is perfect if you’re looking for a more dynamic and visual way to see how your image will look once rotated.
Don’t forget to check out the other options in the sidebar, like adjusting the transparency, brightness, and contrast. These options can make your rotated image pop even more, making your document visually attractive!
Also Read This: How to Upload Pictures on Google Using Dailymotion Interface
6. Saving and Exporting Your Document
Once you’ve rotated your image just the way you like it, the next step is to save and export your document. This is essential, especially if you plan to share your work or access it offline. Luckily, Google Docs makes this process straightforward!
To save your document, Google Docs automatically saves your changes in real-time. You’ll notice that it shows “All changes saved in Drive” at the top of your screen. This means that you don’t need to worry about losing your work unless there’s a major internet issue.
If you want to download your document for offline use or share it in a different format, here’s how:
- Go to the File menu.
- Hover over Download to see various formats available.
- You can choose from Microsoft Word (.docx), PDF Document (.pdf), Plain Text (.txt), and more.
For most users, downloading as a PDF is a popular choice because it preserves the layout and is easily shareable. Just click on PDF Document (.pdf), and your file will start downloading!
Lastly, if you want to share your document with colleagues or friends directly, you can use the Share button in the top-right corner. Enter their email addresses and set permissions, like whether they can edit or just view the document. This way, everyone can see your beautifully rotated images in context!
And that’s it! Now you’re all set to rotate, save, and share your stunning images in Google Docs like a pro.
Also Read This: Understanding Imago Images Licensing Terms for Hassle-Free Use
Troubleshooting Common Issues
While rotating images in Google Docs is generally straightforward, you may encounter a few pesky issues along the way. Don’t worry, though! Here are some common problems and their solutions to help you get back on track.
1. Image Won't Rotate
If you find that your image isn't rotating as expected, it could be due to a few reasons:
- Ensure the image is selected. Sometimes a simple click might miss the selection.
- Check if the image is grouped with other elements. If so, ungroup them by right-clicking and selecting Ungroup.
- Try refreshing the page or re-uploading the image if it still doesn’t rotate.
2. Rotation Options Not Available
If the rotation options are greyed out or not available, it might be because:
- The image is locked or placed in a header/footer. Move it to the main document body.
- Confirm that you are using the latest version of your browser. Updated versions tend to have better compatibility.
3. Image Quality Issues After Rotation
Sometimes, you might notice a decline in image quality after rotation. Here’s how you can address that:
- Save the original image at a higher resolution before uploading it to Google Docs.
- Consider using image editing software for rotations that need precision and clarity, then re-upload the edited image.
If you run into any issues not covered here, the Google Docs Help Center is a fantastic resource. Just remember, troubleshooting is part of the process, and with a little patience, you'll have your images just the way you want them!
Conclusion
Rotating an image in Google Docs is a simple yet effective way to enhance your documents. Whether you're working on a presentation, a report, or a creative project, the ability to adjust images can make a significant difference in how your content is perceived.
By following the steps outlined in this guide, you can easily rotate images to fit your layout perfectly. Remember, the key to successful image integration is a bit of experimentation and, of course, creativity!
So go ahead, play around with those images, and don’t be afraid to try new angles—literally! If you do encounter any issues, the troubleshooting tips provided will help you quickly resolve them and keep your project moving forward.
Happy documenting! With these tips at your fingertips, you're well on your way to creating stunning documents that stand out.
 admin
admin


