Printing a mirror image is an essential technique for many craft, shirt, and photography projects. This method involves flipping an image horizontally so it appears as a mirror reflection. It's especially useful when transferring designs onto surfaces like t-shirts, mugs, or canvas. If you’ve ever wanted to print a design for heat transfer or printing on fabric, you may have come across the term "mirror
In this guide, we’ll explain why mirror image printing is important and how you can easily do it at home. Whether you’re creating custom shirts or enhancing a photography project, mastering this technique will take your creativity to the next level.
Understanding Mirror Image Printing for Crafts
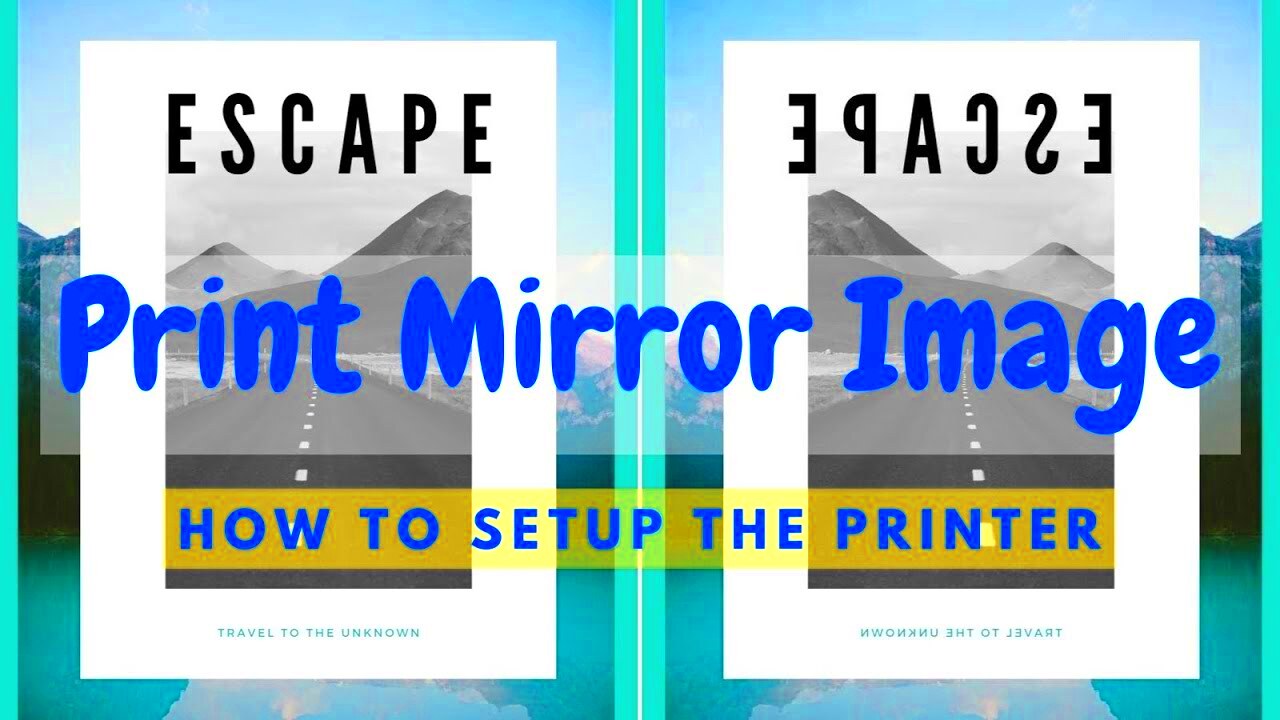
Mirror image printing is commonly used in crafts, especially for DIY projects like card making, scrapbooking, and heat transfers. The basic idea is to flip the design so it’s reversed, which is necessary when you're transferring it onto a surface like fabric or paper. For example, when using heat transfer paper for a t-shirt design, the print needs to be mirrored so that it appears correct when transferred onto the fabric.
Here’s why mirror image printing is important for crafts:
- Correct Orientation for Transfer: When applying designs to materials like fabrics or glass, you need to flip the image to ensure it aligns correctly after transfer.
- Prevents Reversed Text: Mirror printing is especially important for text-heavy designs to prevent words from appearing backward when applied.
- Better Design Layout: It ensures that intricate patterns or images appear exactly as you want them after transfer.
Many craft enthusiasts use programs like Adobe Illustrator or Photoshop, or even online tools to mirror their designs before printing. This step is crucial to ensure your design turns out exactly as you envision it.
Also Read This: Proven Strategies for Gaining More Facebook Likes with Dailymotion Content
Why Mirror Image Printing is Important for Shirts
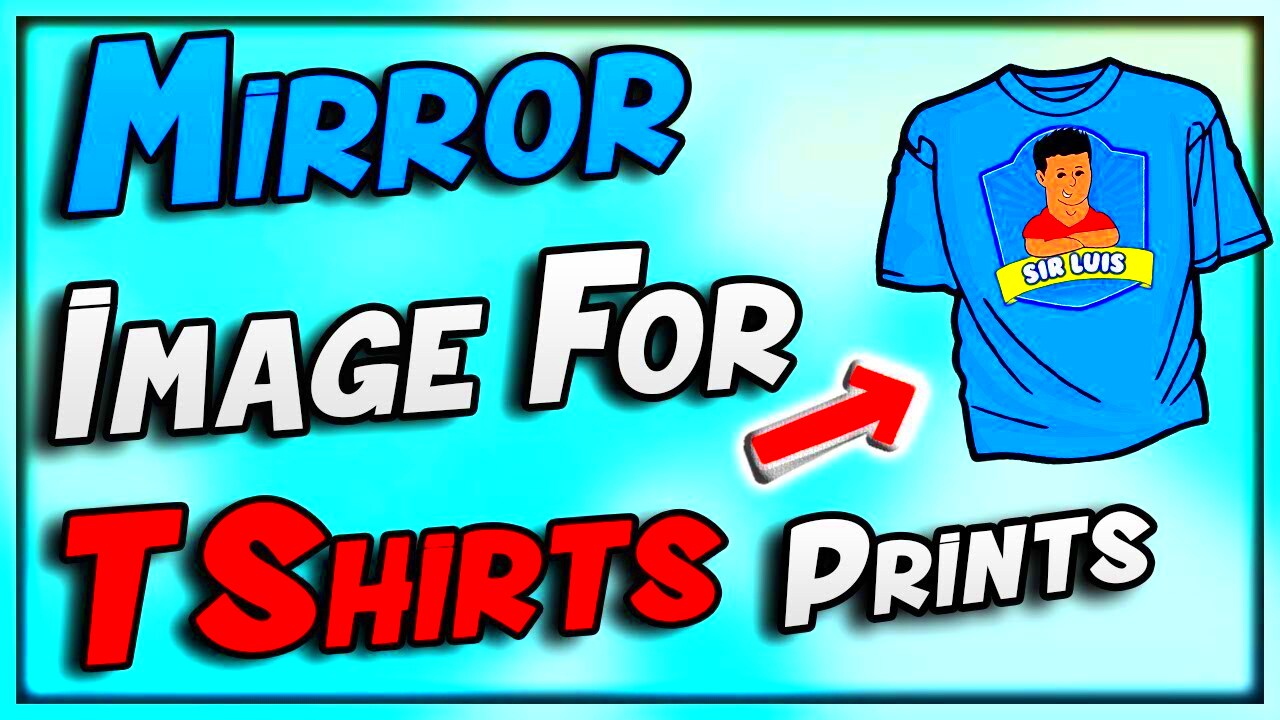
When creating custom t-shirts, one of the most important steps is ensuring your design is printed in the correct orientation. Mirror image printing comes into play when you're transferring an image or text onto fabric, especially using methods like heat transfer vinyl or iron-on transfers. If the design is not mirrored, it will appear backward once applied to the shirt, which is not the desired effect!
Here’s why mirror image printing matters for shirts:
- Ensures Proper Alignment: When printing logos, graphics, or text, the design must be reversed so it’s correctly placed on the shirt after application.
- Prevents Distorted Designs: Without mirroring, fine details may get misaligned, and the overall design might not fit as intended.
- Perfect for Heat Transfers: Heat transfer methods require a mirrored image to ensure the design will look crisp and aligned when transferred onto fabric.
Whether you’re making a shirt for personal use or a custom project for a client, using mirror image printing will make sure your design looks great when worn. Taking a few extra minutes to flip your image can save you a lot of hassle later on and ensure the finished product looks just as expected.
Also Read This: How to Flip a PDF Image for Perfect Orientation
How to Print a Mirror Image for Photography Projects
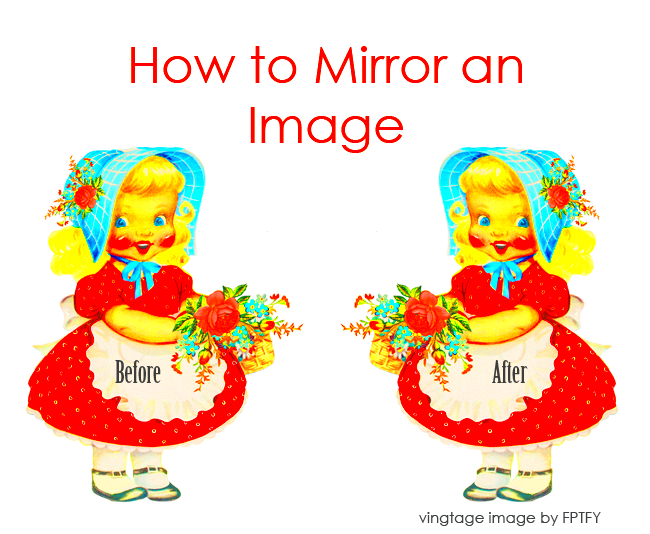
Mirror image printing is a valuable technique in photography, especially when creating stunning prints or preparing images for projects like photo collages or custom art pieces. Whether you’re printing an image for a photo book, a canvas print, or creating a mirrored effect for a photography project, flipping the image is essential to get the desired result.
Here’s how you can print a mirror image for photography projects:
- Use Photo Editing Software: Software like Adobe Photoshop or Lightroom allows you to flip your image horizontally with just a few clicks. This is especially useful when creating symmetrical designs or reflecting subjects.
- Online Tools: If you don’t have access to photo editing software, there are many free online tools that can help you mirror your image quickly. Websites like Fotor or Canva offer simple interfaces to flip your photos.
- Printing on Special Media: If you’re printing your mirrored image on special materials like canvas or fabric, make sure your printer supports these media types. Some printers have settings specifically for transferring photos onto fabric, which requires a mirrored print.
Mirroring an image can also add a creative twist, particularly for portrait photography. It can create a reflection effect, giving your project a unique, artistic look. Experiment with different techniques and print styles to see what works best for your project.
Also Read This: how much is adobe stock monthly
Tools Needed for Mirror Image Printing
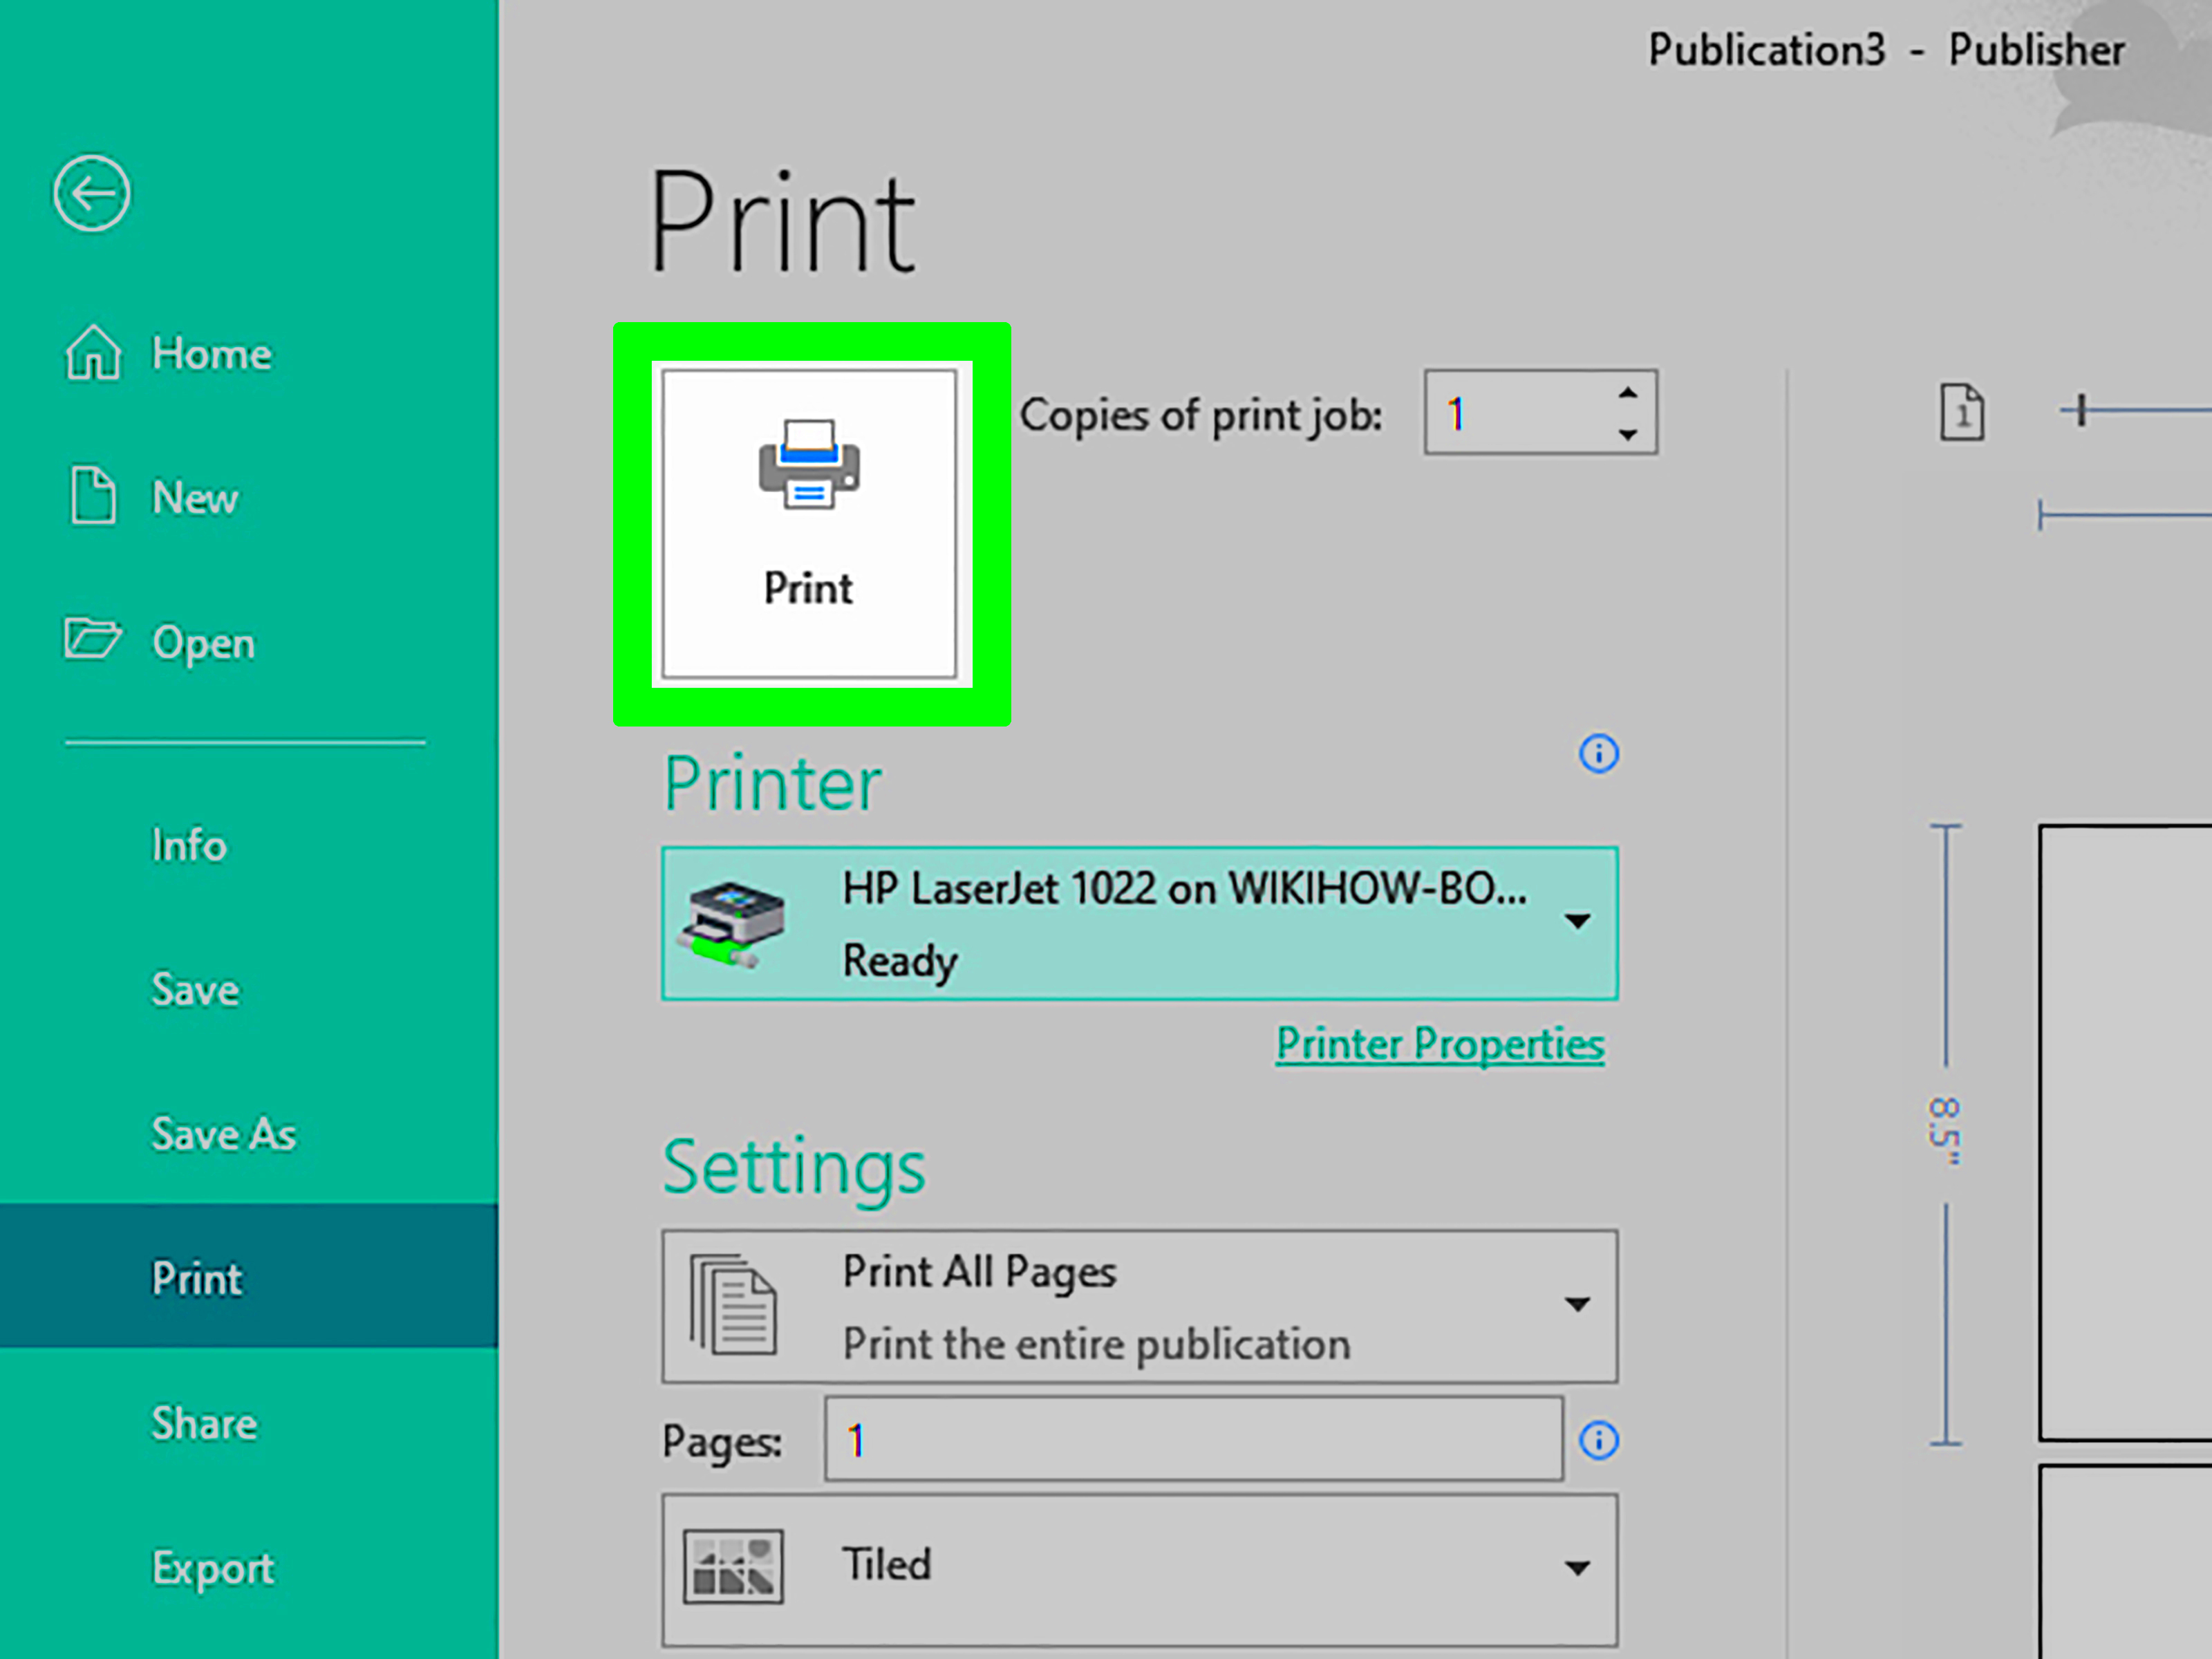
To print a mirror image, you’ll need a few basic tools to ensure the process goes smoothly. Some tools are essential for photo editing and others for the physical printing process. Having everything you need will make the process quicker and easier.
Here’s a list of tools that can help you with mirror image printing:
- Photo Editing Software: Programs like Adobe Photoshop, GIMP, or even basic editing tools that allow for flipping or rotating the image.
- Printer: A good quality printer that supports your media type, whether it’s paper, fabric, or canvas. Inkjet and laser printers are the most commonly used for this purpose.
- Heat Transfer Paper: If you're transferring the image to a fabric or other surface, heat transfer paper is essential for creating a durable and high-quality print.
- Iron or Heat Press: If using heat transfer paper, an iron or heat press is necessary to apply the design onto fabric or other surfaces.
- Online Tools: If you don’t want to use software, online tools like Fotor, Canva, or PicMonkey allow you to quickly flip your image for free.
Having these tools on hand will make mirror image printing much more efficient, whether you’re working on crafts, t-shirts, or photography projects. Don’t forget that preparation is key – double-check your settings and ensure your printer is ready for the task at hand!
Also Read This: Effortlessly Add YouTube Videos to Your Canva Designs
Step-by-Step Guide to Print a Mirror Image
Now that you understand why mirror image printing is essential and what tools are required, let’s walk through the step-by-step process of printing a mirror image. Whether you're a beginner or an experienced crafter, this guide will ensure you can achieve the perfect mirrored design every time.
Here’s how to print a mirror image:
- Step 1: Choose Your Image: Select the image you want to print. This could be a photo, artwork, or graphic. Make sure the image is high-resolution for the best quality print.
- Step 2: Flip the Image: Open your image in photo editing software. Use the “Flip Horizontal” option to reverse the image. If you’re using online tools, look for a “mirror” or “flip” feature in the editor.
- Step 3: Check Orientation: Ensure that your flipped image looks correct, especially if it includes text or detailed designs. Text, for example, should be reversed to avoid it being printed backward.
- Step 4: Prepare Your Printer: Make sure your printer is set up with the appropriate paper or transfer media. If you’re using transfer paper, place it in the printer with the correct side facing up.
- Step 5: Print the Image: Print the image on your chosen medium. If you’re using heat transfer paper, make sure to use the correct printer settings for the material you’re printing on.
- Step 6: Apply the Design (Optional): If you’re transferring the print to fabric or another surface, use an iron or heat press to apply the design. Follow the manufacturer’s instructions for the best results.
- Step 7: Final Check: Once the image is printed or transferred, check for alignment and clarity. Make sure the mirrored design is exactly what you intended.
With this simple step-by-step guide, you can easily create mirror image prints for all your projects. Take your time and experiment with different designs and materials to get the best results every time.
Also Read This: Adding a Transparent Image in Google Slides
Common Issues and Troubleshooting Tips
When printing a mirror image, you might run into a few issues along the way. Don’t worry, though! These are common problems that can easily be fixed with a bit of know-how. Whether it’s alignment issues, poor image quality, or transferring errors, there are simple solutions to keep your project on track.
Here are some common issues and tips for troubleshooting:
- Image Not Mirrored Properly: Double-check that the "flip" function has been applied correctly. In some cases, the software might not automatically save the mirrored version. Re-open the file and confirm it’s reversed before printing.
- Poor Image Quality: If your image is blurry or pixelated after printing, it could be due to a low-resolution file. Always use high-quality, high-resolution images (300 DPI or higher) for the best results.
- Transfer Paper Issues: If you’re using transfer paper, make sure to print on the correct side. Some transfer papers have a glossy side for printing and a matte side for transferring. Always check the instructions before you print.
- Alignment Problems: Misaligned designs can occur, especially when using transfer methods. Ensure that the design is centered on the paper or fabric before you begin the transfer process. You can use rulers or grid lines for better precision.
- Faded or Uneven Print: Faded prints could be due to insufficient ink levels or printer settings. Make sure your printer is set to the highest print quality and check the ink levels before printing.
By identifying these common issues and following these troubleshooting tips, you can ensure your mirror image printing projects go smoothly every time.
Also Read This: Can You Edit LinkedIn Posts and Messages?
Alternatives to Mirror Image Printing for Your Projects
While mirror image printing is a popular technique for many projects, it’s not always the best solution for every situation. Depending on your project, there may be alternative methods that can produce better results or save time. Here are some alternatives to consider:
- Reverse Image Transfer: Instead of printing a mirrored image, you can directly reverse the design when transferring onto surfaces like fabric using heat transfer materials. This process often gives a clearer and more accurate transfer.
- Stencil or Screen Printing: If you’re creating designs for shirts, you could consider stencil or screen printing. These methods don’t require the image to be flipped and are great for creating multi-colored prints or larger designs.
- Direct-to-Garment (DTG) Printing: DTG printing doesn’t require a mirror image because it directly prints the design onto fabric. This method is perfect for complex images or when you want to skip the mirroring step altogether.
- Heat Press Transfers: Some heat press machines allow you to print directly onto fabric or other materials using digital designs, which eliminates the need for mirroring, especially when working with text and logos.
- Photo Editing Effects: If you want a mirrored effect but don’t want to print a mirror image, you can use digital editing tools to create mirrored or reflection effects directly on your image before printing. This is great for artistic projects or photo-based designs.
Each of these alternatives can be useful depending on your project goals. If mirror image printing feels too complicated or doesn’t fit the style you’re after, consider these methods to achieve the best result with less effort.
Also Read This: A Complete Guide to Selecting Stock Photos That Align with Your Brand
FAQ
What is a mirror image?
A mirror image is a reflection of an image that has been flipped horizontally. This technique is commonly used when transferring designs to ensure they appear correctly on the final surface, especially when working with text or intricate graphics.
Why do I need to print a mirror image for t-shirts?
When you transfer a design onto a t-shirt, the image needs to be mirrored so it aligns properly on the fabric. Without mirroring the design, especially text, the image will appear backward once transferred.
Can I print a mirror image on any printer?
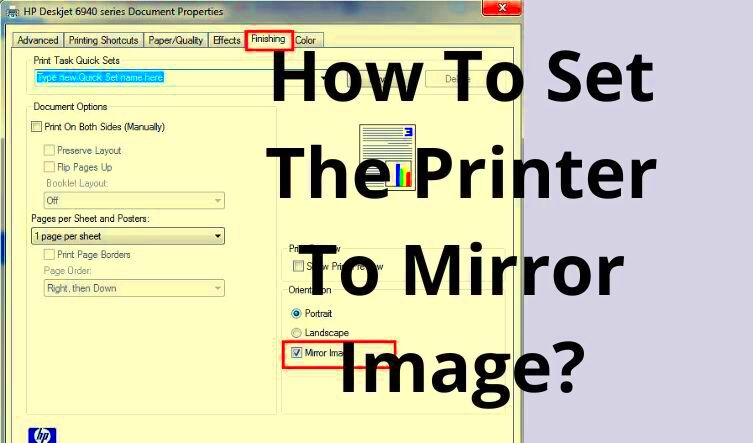
Most home inkjet or laser printers can handle mirror image printing, but make sure your printer settings are adjusted to print the image correctly. For heat transfers, ensure your printer supports transfer paper and set it to the highest print quality.
What if my printer isn’t printing the image correctly?
If your printer is not printing the image as expected, check the printer settings. Make sure the right paper type is selected and that the printer is set to the highest quality. Also, ensure your image is properly mirrored in the photo editing software before printing.
Do I need special software to print a mirror image?
While you can use software like Adobe Photoshop or GIMP to mirror images, there are also free online tools that can easily flip your image for you. Online editors like Canva and Fotor can help you reverse an image quickly without needing advanced software.
Can I use the same method for printing on different materials?
Yes, the process for printing a mirror image is largely the same, whether you’re printing on paper, fabric, or other materials. However, different surfaces may require different types of transfer paper or settings on your printer. Always follow the manufacturer's guidelines for the specific material you’re working with.
Conclusion
Mastering mirror image printing is an essential skill for anyone working with crafts, shirts, or photography projects. Whether you're transferring designs to fabric or creating custom prints, ensuring that your images are flipped correctly can make all the difference in achieving professional results. By understanding the steps involved, troubleshooting common issues, and exploring alternatives, you can confidently approach any project that requires this technique.
Remember to choose the right tools, such as photo editing software, transfer paper, and a reliable printer, to ensure the best outcomes. While mirror image printing is crucial for specific applications like t-shirt designs or photo transfers, there are other methods available if you prefer a different approach. By experimenting with these techniques, you’ll find the perfect solution for your creative projects.
 admin
admin


