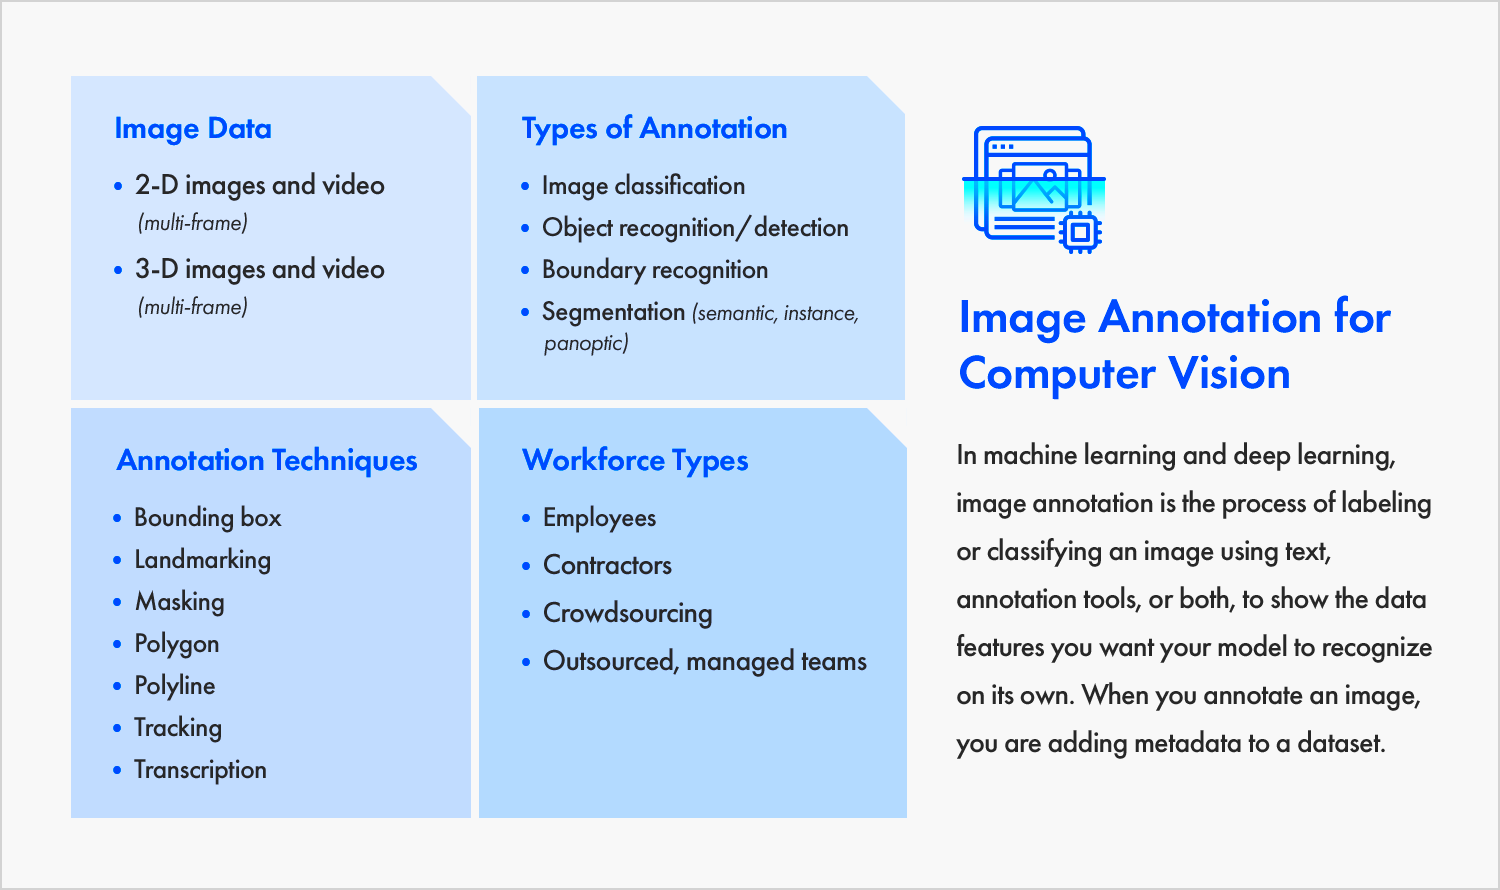
Annotating images is a powerful way to add context and clarity to visuals. Whether you're explaining complex data, giving instructions, or simply providing additional insights, annotations can make your message easier to understand. By adding text, arrows, or other markers, you can highlight key areas of an image, guiding the viewer’s attention to what’s important. This practice is especially useful in fields like education, design, marketing, and research, where visuals play a crucial role in communication.
In this post, we’ll explore why annotations matter and how to use them effectively. We’ll also take a closer look at the tools and techniques you can use to add meaningful annotations to your images.
Why Annotation Is Important for Image Explanations

Annotations help transform simple images into powerful tools for communication. Instead of leaving your audience to interpret an image on their own, annotations provide the context they need to understand it fully. Here’s why annotations are essential:
- Clarification of Complex Ideas: Images often convey complex data or ideas. By adding annotations, you can break down complicated concepts into easily digestible pieces.
- Increased Engagement: An annotated image grabs attention and invites the viewer to engage with the content more deeply.
- Guidance for Viewers: Annotations guide the viewer's eye to the most important parts of the image, making it easier for them to focus on key details.
- Better Retention: Adding explanatory text to an image helps the viewer remember the information better than just showing the image on its own.
In sum, annotations improve understanding and make your visuals more impactful, whether you’re teaching, presenting, or just sharing information.
Also Read This: How to Make a Behance Presentation – A Step-by-Step Guide for Designers
Types of Image Annotations

There are various ways to annotate an image, and choosing the right method depends on the purpose of your explanation. Below are some common types of image annotations:
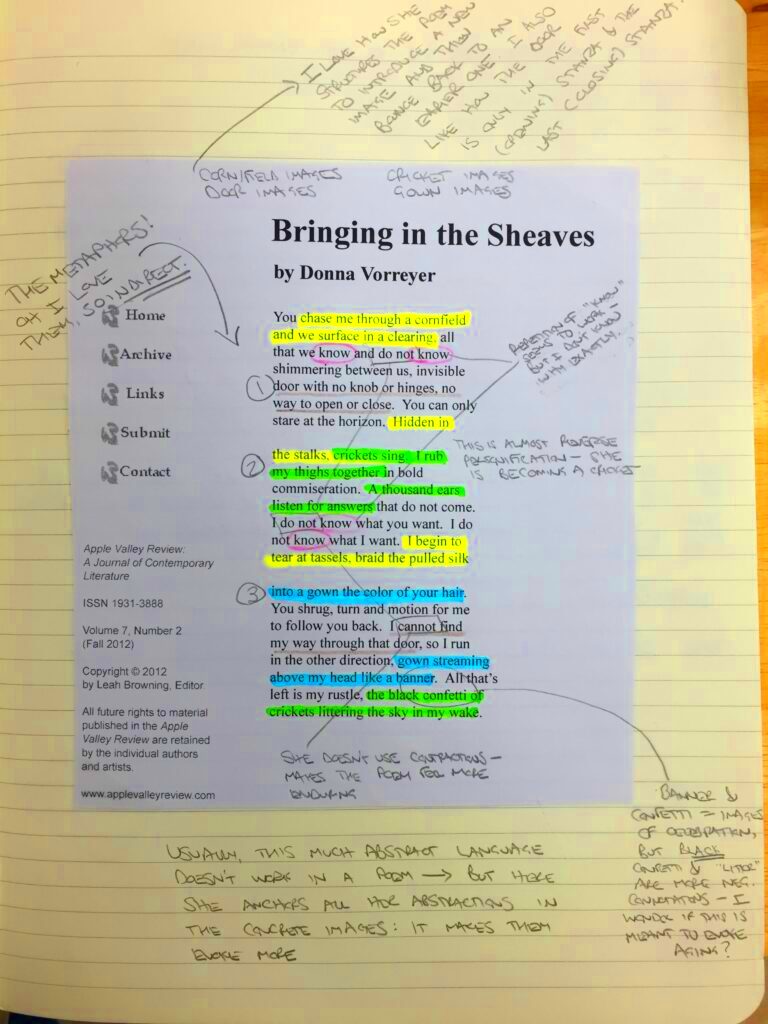
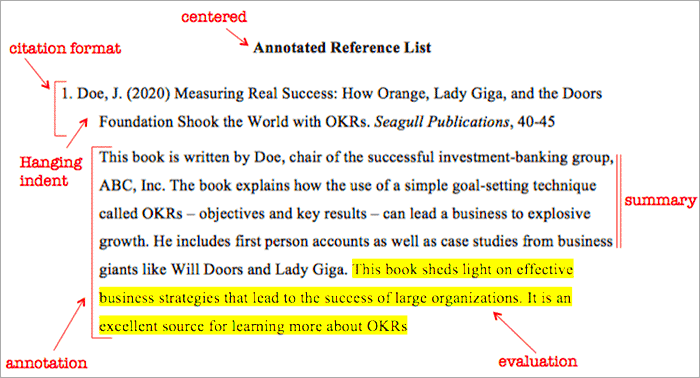
- Text Labels: These are the most common annotations, where you add short descriptions or explanations next to specific parts of the image.
- Arrows and Lines: Arrows or lines are often used to point out specific areas or elements within the image. They help direct the viewer’s attention precisely where it’s needed.
- Shapes: Adding shapes like circles or rectangles around important elements in an image can make them stand out. These shapes help draw focus and organize the visual content.
- Highlights: Highlighting areas of an image with color can draw immediate attention to a certain area, providing clarity to the viewer.
- Callouts: Callouts are larger text boxes that contain additional information. They can be placed anywhere on the image to provide more detailed explanations.
Depending on the image, you might choose one or a combination of these types of annotations to get your message across effectively. Using different annotation types helps in creating a balanced and informative visual presentation.
Also Read This: Understanding the Process of Selling Adobe Stock Photos
Tools for Annotating Images Effectively
When it comes to annotating images, having the right tools can make all the difference. The right tool can save time, provide greater precision, and enhance the overall quality of your annotations. Here’s a look at some of the best tools available to help you annotate images effectively:
- Adobe Acrobat: Known for its powerful editing features, Adobe Acrobat allows users to annotate PDFs and images with ease. You can add text, shapes, lines, and even comments to your images.
- Canva: Canva is a popular online tool that offers a simple and intuitive interface for adding annotations to images. You can add text, shapes, and even create custom illustrations to highlight key elements.
- Skitch: Skitch, by Evernote, is a user-friendly app that’s perfect for quick and easy annotations. It allows you to draw, add text, shapes, and arrows on your images and share them instantly.
- Markup Hero: Markup Hero is an online tool designed specifically for annotating images. It offers a range of annotation tools, including text boxes, arrows, and highlighting, and it works on any device.
- Snagit: Snagit is a screen capture tool that also allows you to annotate images with various shapes, text, and callouts. It’s great for professional use, especially for instructional materials.
Each tool offers unique features, so choose the one that best fits your needs. Whether you're looking for something simple or feature-rich, there’s a tool out there to help you annotate your images with precision and ease.
Also Read This: How to Steal Images from Getty Understanding Copyright and Legal Consequences
Best Practices for Clear and Concise Annotations
Effective annotations don’t just add extra details to an image; they make the content more digestible and easier to understand. To make sure your annotations are clear and concise, follow these best practices:
- Be Brief: Avoid long-winded explanations. Use short and simple sentences to convey your message. The key is clarity and brevity.
- Stay Focused: Only annotate what’s important. Don’t overwhelm the viewer with too much text or unnecessary information.
- Use Clear Fonts: Ensure the font you choose is legible, especially when your image will be viewed at different sizes. Sans-serif fonts like Arial or Helvetica are great choices.
- Choose Contrasting Colors: Make sure your annotations stand out from the background. Use contrasting colors for text and highlights to ensure visibility.
- Be Consistent: Use consistent symbols, fonts, and colors throughout your annotations. This creates a cohesive look and makes it easier for the viewer to follow along.
- Position Annotations Wisely: Place annotations in a way that doesn’t clutter the image. Ensure they don’t overlap important elements and keep the viewer's focus where it’s needed.
By following these best practices, you can create annotations that are not only easy to read but also enhance the overall effectiveness of your visuals.
Also Read This: How to Download Beats from YouTube to BandLab for Music Production
How to Add Annotations Using VSCO Downloader
If you’re using the VSCO Downloader to download images, you might want to annotate those images for more context or explanations. Here’s a step-by-step guide on how to add annotations to your VSCO images:
- Step 1: Download the image using the VSCO Downloader tool. Ensure you have the right to use and edit the image before proceeding.
- Step 2: Open the downloaded image in your preferred image editing tool. If you’re using an online tool like Canva or Skitch, simply upload the image to the platform.
- Step 3: Choose the annotation tool you want to use. You can add text, shapes, arrows, or even highlights, depending on the software or tool you are using.
- Step 4: Position your annotations on the image. Be mindful not to cover important details. Use concise and clear text to explain or highlight the key elements of the image.
- Step 5: Review your annotations for clarity. Ensure that the annotations add value to the image and make it easier for the viewer to understand the message.
- Step 6: Save your annotated image. You can now share or upload the annotated image wherever you need it.
Using VSCO Downloader in combination with a good image annotation tool allows you to create informative and engaging visuals that are ready for any purpose. Whether you’re creating educational content or designing marketing materials, annotating your images can make a big difference.
Also Read This: How to Submit to Getty Images Key Steps for Photographers and Creators
Common Mistakes to Avoid While Annotating Images
Annotating images is a skill that requires precision and attention to detail. While it's an effective way to communicate, many people make mistakes that can hinder the clarity and effectiveness of their annotations. Here are some common mistakes to avoid when annotating images:
- Overloading with Text: One of the biggest mistakes is adding too much text. Long paragraphs can overwhelm the viewer. Stick to brief, clear points that convey the key message.
- Cluttered Layout: Annotations that are too close together or overlap can make the image look messy and confusing. Be mindful of spacing and placement to ensure clarity.
- Inconsistent Style: Using different fonts, colors, or annotation styles throughout the image can make it look unprofessional. Ensure consistency in your annotations to maintain a cohesive look.
- Too Much Highlighting: Over-highlighting or overusing bold text can distract the viewer. Use highlights sparingly and only for the most important elements.
- Not Using Contrast: If your annotations blend into the background, they’ll be hard to read. Always use contrasting colors for text and highlights to ensure visibility.
- Ignoring the Audience: Always consider who will be viewing your annotated image. Make sure your annotations are tailored to the knowledge level and needs of your audience.
Avoiding these common mistakes will help you create clear, effective, and professional annotations that enhance the value of your images.
Also Read This: Easy and Effective Techniques for Step-by-Step Bridal Makeup
Benefits of Using Annotated Images in Different Fields
Annotated images serve as valuable tools in various fields, from education to marketing. Adding context, explanations, and visual cues to an image makes it more engaging and informative. Here are some of the benefits of using annotated images across different sectors:
- In Education: Annotated images can help break down complex ideas or processes, making them easier to understand. They are widely used in textbooks, online courses, and presentations to enhance learning.
- In Design: Designers often use annotated images to explain design concepts, color schemes, or layouts. These annotations help clients and collaborators understand the rationale behind design decisions.
- In Marketing: Marketers use annotated images to highlight product features or showcase a process. By adding annotations to product images or infographics, brands can communicate key selling points clearly.
- In Research: Researchers annotate images to explain findings, showcase data trends, or clarify concepts. Annotated graphs, charts, and diagrams make data easier to interpret.
- In Technical Support: Annotated screenshots are essential for troubleshooting or guiding users through a process. They provide visual steps, making it easier for users to follow along and understand instructions.
Overall, annotated images improve communication, making them indispensable tools in many fields. Whether you’re teaching a concept, selling a product, or explaining research, annotations help you get your message across effectively.
Also Read This: The Science of Viral TikTok Videos: What Makes Them So Addictive
FAQ
Q1: What tools can I use to annotate images?
A1: There are several tools available for annotating images, including Adobe Acrobat, Canva, Skitch, Markup Hero, and Snagit. Each tool offers different features, such as text boxes, shapes, arrows, and more. Choose one that best fits your needs.
Q2: How do I add annotations to images downloaded from VSCO?
A2: To add annotations to images from VSCO, first download the image using the VSCO Downloader tool. Then, open the image in an editing tool like Canva or Snagit, and use the annotation features (such as text, arrows, and shapes) to highlight important areas of the image.
Q3: Can I add multiple annotations to the same image?
A3: Yes! You can add as many annotations as needed. Just make sure they are spaced out appropriately and don’t overwhelm the viewer. Focus on the key points and make sure your annotations are clear and concise.
Q4: How do I ensure my annotations are visible?
A4: To ensure your annotations stand out, use contrasting colors for text and shapes. Also, choose a readable font and avoid using too many colors or styles that might make the annotations blend into the image.
Q5: Can I annotate images for commercial purposes?
A5: Yes, as long as you have the right to use and modify the images. If the image is copyrighted, ensure you have permission to annotate it for commercial use.
Conclusion
In conclusion, annotating images is an effective way to add clarity, context, and meaning to visuals. Whether you're using images for educational purposes, marketing, or technical support, annotations can enhance understanding and make your content more engaging. By following best practices and avoiding common mistakes, you can create clear, concise, and visually appealing annotations that help convey your message effectively. Whether you're working with images from tools like VSCO or creating your own, the right annotations can significantly improve communication. So, take the time to annotate thoughtfully, and watch your images come to life with added clarity and purpose.

 admin
admin


