Resizing an image simply means altering its dimensions—either making it smaller or larger—without changing its content. This process is crucial for various tasks, such as optimizing images for web use, adjusting pictures for social media, or ensuring they fit specific print dimensions. While resizing, you can choose to maintain the image’s aspect ratio, which keeps the proportions consistent, or adjust the width and height independently.
When resizing, it’s important to remember that enlarging an image too much can lead to pixelation, where the image appears blurry or grainy. This happens because the software has to "guess" the missing details. On the other hand, downsizing an
Resizing tools, like those in Paint, are user-friendly and suitable for quick adjustments. Understanding the basics helps you get the best results without compromising quality.
Steps to Open an Image in Paint

Opening an image in Paint is the first step toward editing. Follow these simple steps to get started:
- Launch Paint: Open the Paint application on your computer. You can find it by typing “Paint” into the search bar on your Windows device.
- Select the Image: Click on the “File” menu in the top left corner and choose “Open.”
- Browse to the folder where your image is stored. Select the file and click “Open.”
Once the image is open, you can start making adjustments, including resizing, cropping, or adding text. Paint’s intuitive interface makes it a great tool for beginners.
Also Read This: Ultimate Guide to Downloading YouTube Audio
How to Resize an Image Using the Resize Tool
Resizing an image in Paint is quick and easy. Here's how you can do it:
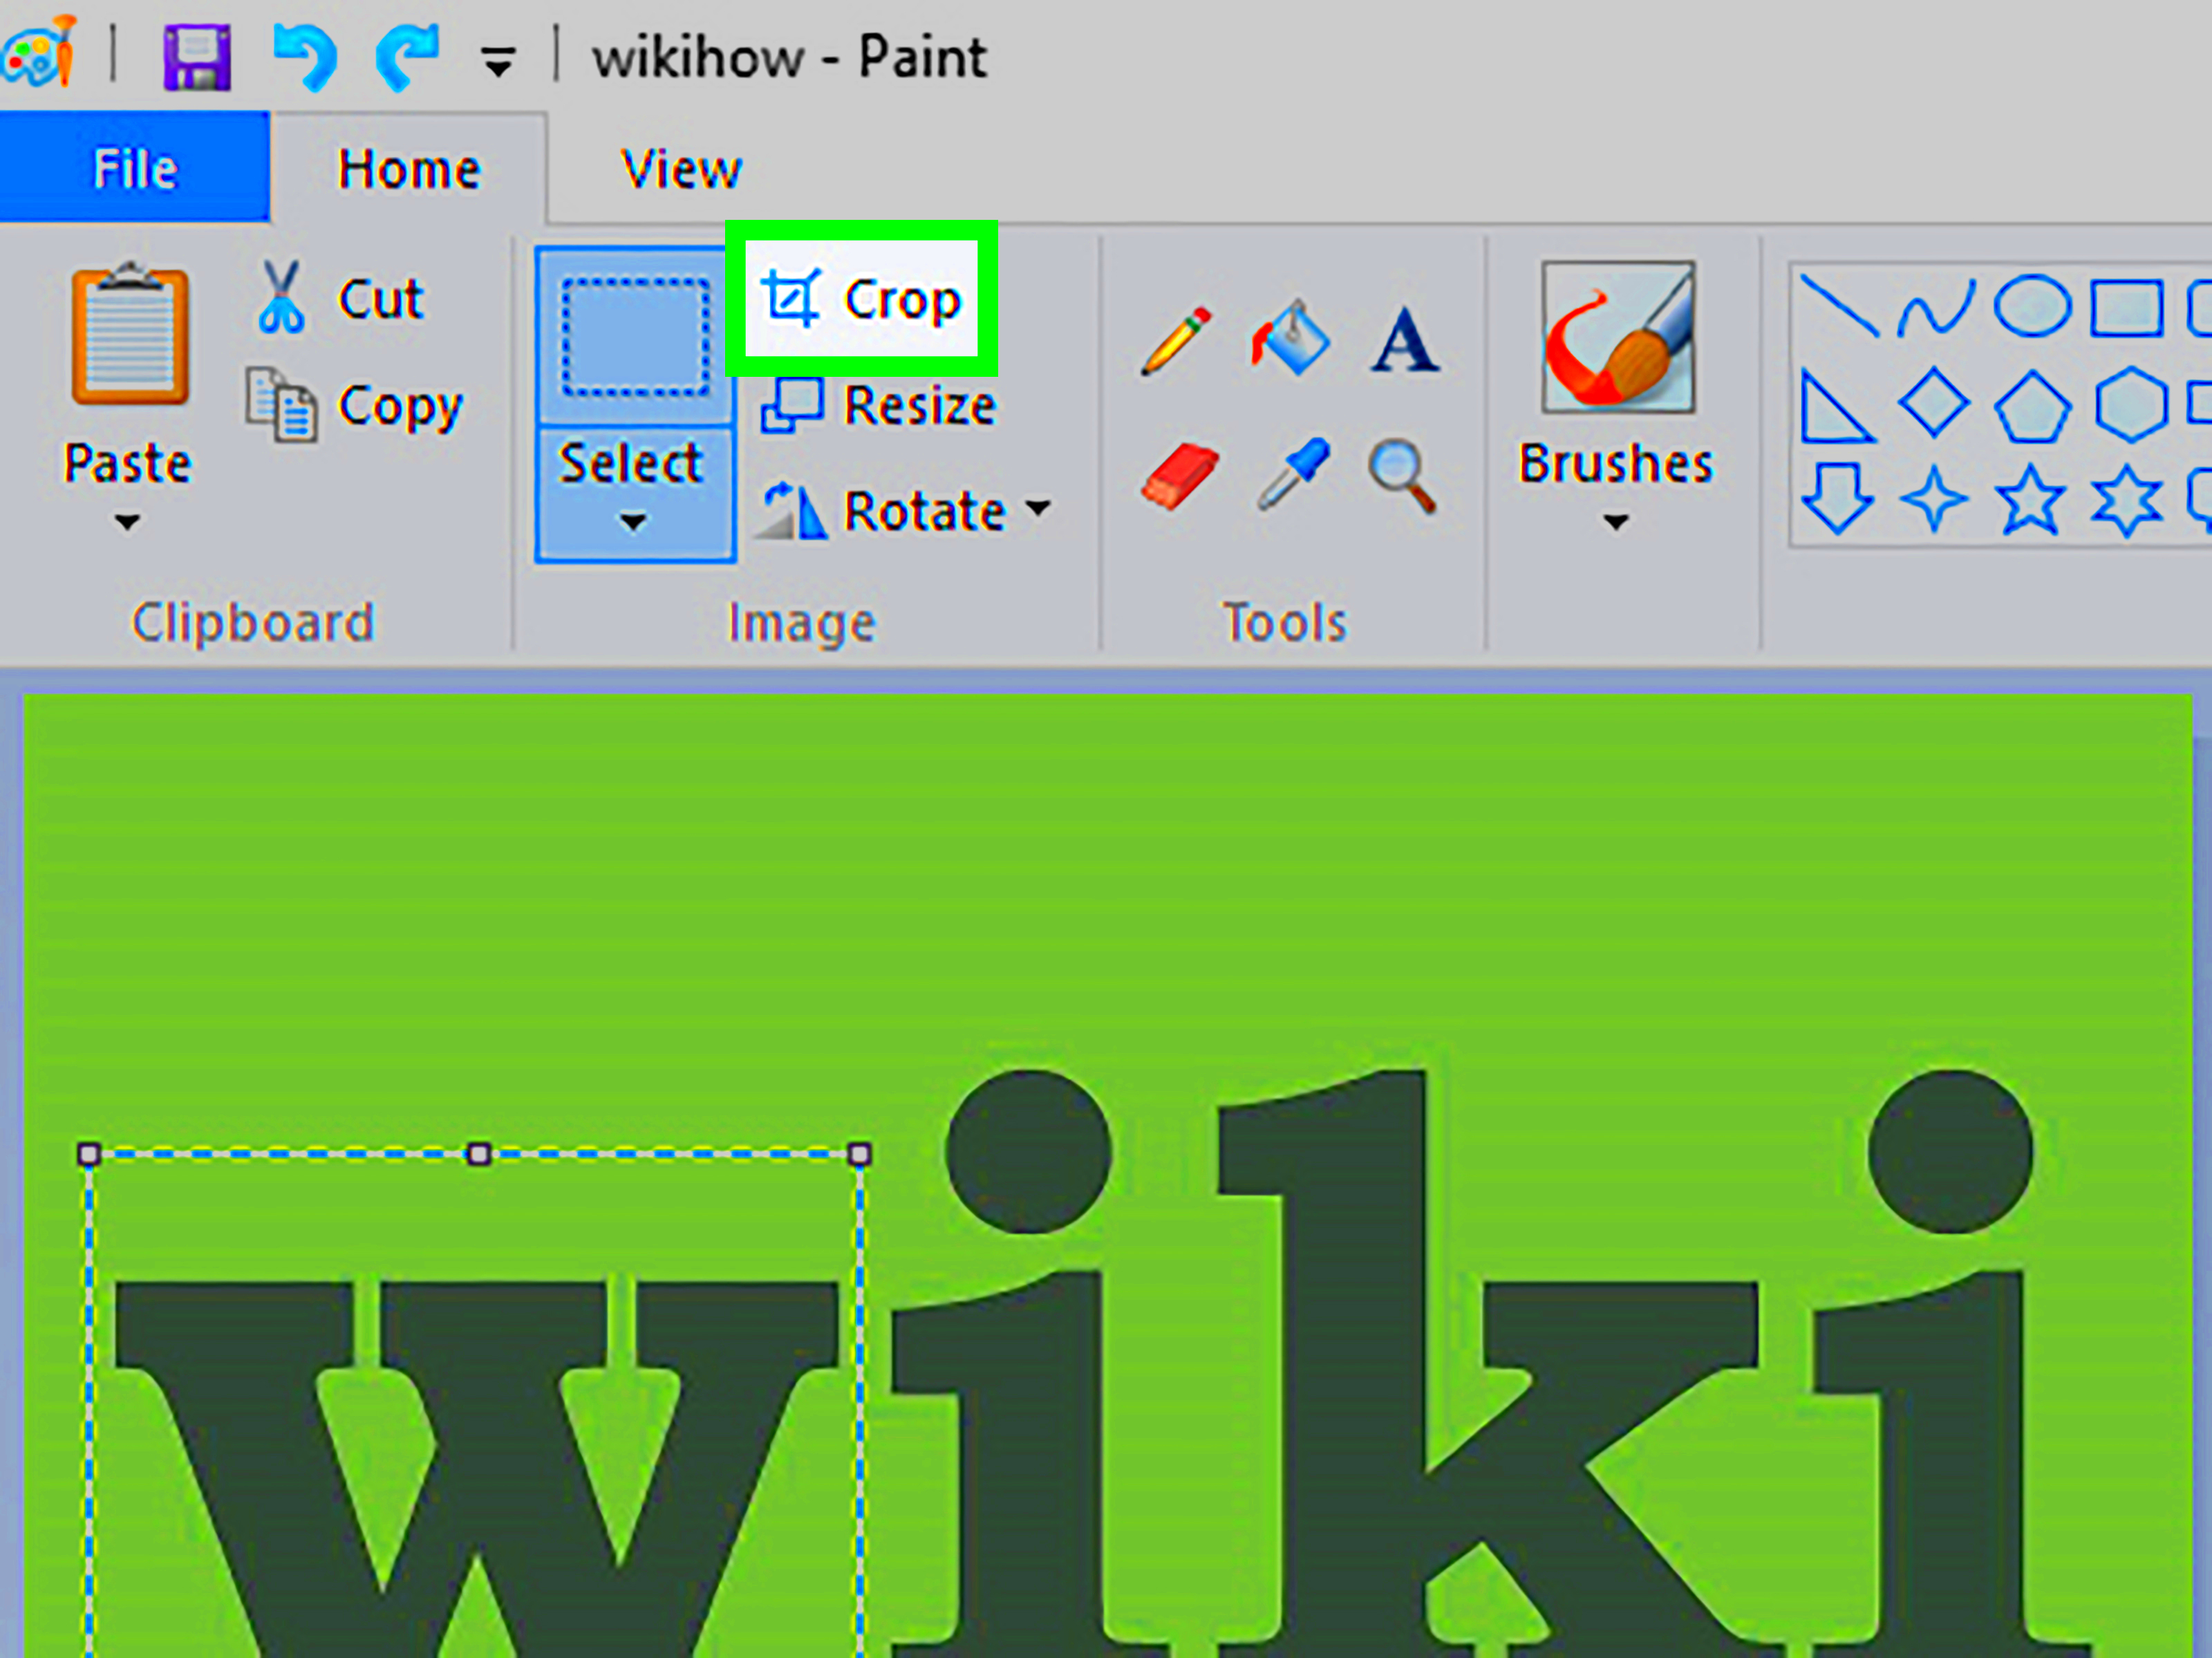
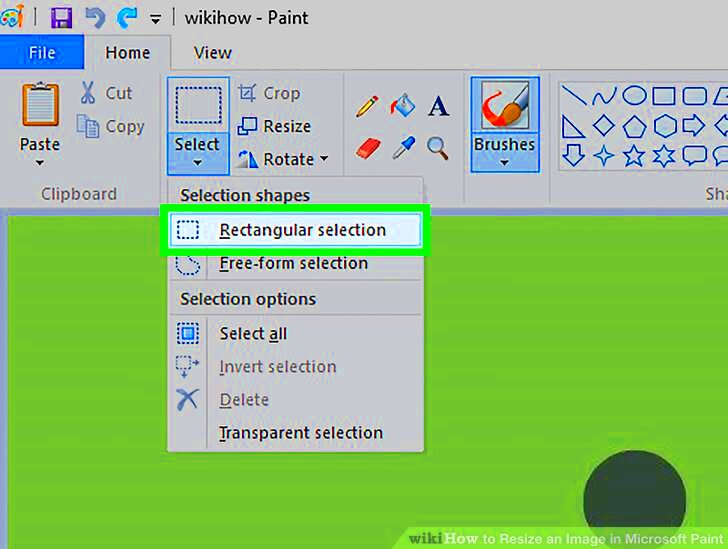
- Select the Resize Option: With your image open, click on the “Resize” button in the toolbar. This opens the Resize and Skew window.
- Choose the Resize Method: You can resize by percentage or by specifying pixel dimensions. For percentage, input a value to scale the image proportionally. For pixel resizing, enter the desired width and height.
- Maintain Aspect Ratio: To avoid distortion, check the “Maintain aspect ratio” box. This ensures the width and height adjust proportionally.
- Apply Changes: Click “OK” to apply the changes. Your image will resize based on your inputs.
If the result isn’t what you expected, you can always undo the changes using the Ctrl+Z shortcut. Resizing with the Paint tool is straightforward and ensures you can achieve the desired dimensions with minimal effort.
Also Read This: how to insert image in instagram comment
Adjusting Dimensions with Percentage and Pixels
When resizing an image in Paint, you have two primary options: resizing by percentage or by pixels. Each method is useful depending on your needs and the level of precision required. Let’s break it down:
Resizing by Percentage:
- This method is ideal when you want to make a relative size change, such as reducing the image to 50% of its original size.
- It’s quick and doesn’t require you to know the exact dimensions of your image.
- For instance, if your original image is 1000x800 pixels, resizing it to 50% will result in dimensions of 500x400 pixels.
Resizing by Pixels:
- Pixel resizing is more precise and often used for creating images that fit specific size requirements, like a profile picture or banner.
- You manually input the desired width and height in pixels.
- Make sure to check the “Maintain aspect ratio” box to avoid distortion unless you intentionally want to stretch or compress the image.
Both methods are straightforward, and Paint allows you to preview the changes instantly. Choosing the right method depends on whether you need precision (pixels) or a general size adjustment (percentage).
Also Read This: Save YouTube Videos Directly to Your Camera Roll on Mobile Devices
Tips to Maintain Image Quality While Resizing
Maintaining image quality while resizing can be tricky, especially when enlarging. Here are some tips to help you preserve clarity:
- Resize Down, Not Up: Reducing the size of an image usually retains better quality than enlarging it. Enlarging can cause pixelation or blur.
- Use High-Resolution Originals: Start with the highest quality image available. Higher resolution files handle resizing better.
- Keep Aspect Ratio: Always check the “Maintain aspect ratio” box in Paint. This prevents the image from looking stretched or squished.
- Avoid Excessive Resizing: Constantly resizing an image back and forth can degrade its quality. Try to resize once and save the result.
- Choose the Right File Format: For preserving quality, save your image in formats like PNG rather than JPEG, as PNG is less prone to quality loss.
By following these tips, you can ensure your resized images look sharp and professional, no matter the dimensions.
Also Read This: Tips for Maintaining Privacy by Hiding Activity on LinkedIn
Saving the Resized Image Without Losing the Original
Once you’ve resized your image, it’s important to save it correctly so you don’t overwrite the original file. This way, you can always go back to the original if needed. Here’s how to save the resized image without losing the original:
- Use “Save As” Instead of “Save”: After resizing, go to the “File” menu and select “Save As.”
- Choose a New Name: Give the resized image a unique name. For example, if the original file is named photo.jpg, you could name the resized file photo_resized.jpg.
- Select a Different Folder: If you prefer, save the resized image in a different folder to keep it organized.
- Pick the Right Format: Depending on your use, choose an appropriate file format. PNG is great for quality, while JPEG is good for smaller file sizes.
Following these steps ensures your original image remains untouched while giving you a resized version ready for use. It’s a small step that can save you a lot of trouble later.
Also Read This: How to Submit Photos to Getty Images for Beginners
FAQs About Resizing Images in Paint
Resizing images in Paint is a straightforward process, but it’s natural to have questions. Here are answers to some of the most common queries:
1. Will resizing affect the quality of my image?
Yes, resizing can impact quality, especially when enlarging an image. Enlarging often leads to pixelation or blur because Paint has to interpolate new pixels. However, reducing size usually retains most of the quality.
2. How can I resize multiple images at once?
Paint doesn’t support batch resizing. To resize multiple images, you’ll need to process them one by one or use dedicated software designed for batch processing.
3. What is the “Maintain Aspect Ratio” option, and why is it important?
The “Maintain Aspect Ratio” checkbox ensures that your image’s proportions stay consistent when resizing. This prevents distortion, keeping the image’s width and height in the same relative scale.
4. Can I undo resizing if I make a mistake?
Yes, you can use the undo function by pressing Ctrl+Z immediately after resizing. However, if you’ve saved the resized image, you won’t be able to revert to the original using Paint.
5. Which file format should I use to save my resized image?
If quality is a priority, save the image as a PNG. If you need a smaller file size, choose JPEG, but note that it may slightly reduce image quality.
Having clarity on these questions can make your resizing experience smoother and help you achieve better results with Paint.
Conclusion
Resizing images in Paint is an easy-to-learn skill that lets you adjust dimensions quickly for various purposes. By following the steps outlined in this guide, understanding key options like percentage versus pixels, and applying tips to maintain quality, you can achieve professional-looking results while preserving your original files for future use.


