Are you tired of switching between apps to enjoy your favorite tunes? If you love YouTube Music but want to keep your playlists organized in iTunes, you're in the right place! In this guide, we'll show you how to easily download your favorite music from YouTube Music and add it to iTunes. It’s simpler than you might think, and soon you’ll have all your beats in one spot!
Understanding YouTube Music and iTunes Compatibility
YouTube Music is a fantastic platform that allows users to explore a vast library of songs, music videos, and playlists. However, when it comes to integrating YouTube Music with iTunes, there are some important things to consider. Let’s break it down!
1. Streaming vs. Downloading
YouTube Music primarily operates as a streaming service, which means music is played online rather than stored locally. This can create a hassle if you want to access your favorite tracks offline or in iTunes. To bridge this gap, you’ll need to download your music first.
2. File Formats
iTunes accepts a variety of file formats, but the most common ones are:
- MP3
- M4A
- WAV
YouTube Music typically provides audio in formats like MP3 or M4A when using a downloader, making it compatible with iTunes. Always check the format before transferring!
3. Legal Considerations
While it’s tempting to download music for offline use, it’s crucial to understand copyright laws. Ensure that you have the right to download the music or use a service that complies with legal standards. Many users prefer using converters designed specifically for this task to avoid any legal issues.
4. Tools for Downloading
There are many tools available that can help you download YouTube Music easily. Some popular options include:
- 4K Video Downloader: A user-friendly option that allows you to download entire playlists or just single tracks.
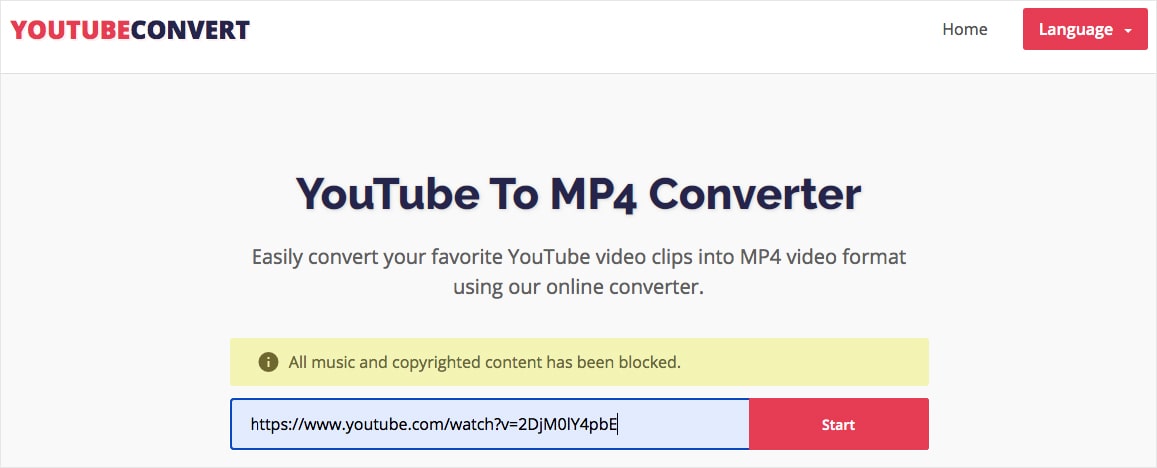
- YTMP3: A simple online converter that turns YouTube videos into MP3 files.
- Any Video Converter: Not only does it convert videos, but it also allows batch downloading.
Choose a tool that suits your needs, keeping in mind the ease of use and file quality.
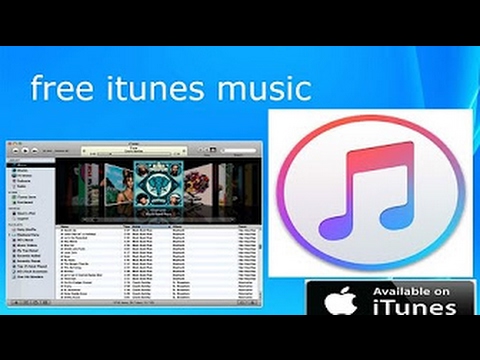
5. Transferring to iTunes
Once you have downloaded your desired tracks, it’s time to get them into iTunes. Here’s how:
- Open iTunes on your computer.
- Locate the downloaded music files on your device.
- Drag and drop the files directly into the iTunes window or use the “File” menu and select “Add to Library.”
- Organize your music into playlists to keep everything tidy!
And that’s it! With just a few simple steps, you can enjoy your favorite YouTube Music tracks seamlessly integrated into your iTunes library. Happy listening!
Also Read This: How Much Is 50 Gifted Members on YouTube? Understanding the Cost and Impact of Gifted Memberships on YouTube
3. Tools You Will Need for Downloading Music
Before diving into the process of downloading YouTube Music to iTunes, it’s essential to gather the right tools. Having the appropriate software can make all the difference in ensuring a smooth and efficient download experience. Here’s a list of the tools you’ll need:
- YouTube Music Premium Account: While there are ways to download music without a subscription, having a Premium account allows you to access music offline legally and easily. It’s a worthwhile investment if you love music!
- Music Download Software: You’ll need reliable software to convert YouTube Music to a downloadable format. Popular options include:
- 4K Video Downloader
- YTD Video Downloader
- Allavsoft
- iTunes Installed on Your Computer: If you haven’t already, make sure you have iTunes installed. This will serve as your music library where you’ll transfer the downloaded songs.
- Good Internet Connection: Ensure your internet connection is steady. A slow connection can lead to interrupted downloads and frustrating delays.
Once you've gathered these tools, you're well on your way to downloading your favorite tracks. Each tool plays a specific role in the process, making it easier to transfer music from YouTube Music to iTunes seamlessly.
Also Read This: How Much Does Garden Answer Earn from YouTube? Insights
4. Step-by-Step Guide to Downloading YouTube Music

Now that you have the necessary tools, let’s break down the process into simple steps. Follow this guide closely, and you’ll be downloading your favorite music from YouTube Music to iTunes in no time!
- Launch Your Music Download Software: Open the software you chose from the list above. For this example, let’s say you’re using 4K Video Downloader.
- Copy the YouTube Music Link: Go to YouTube Music and find the song or playlist you want to download. Click on the share button and copy the URL.
- Paste the Link into the Software: In 4K Video Downloader, click the “Paste Link” button. The software will automatically detect the content and prepare it for download.
- Select Your Desired Format and Quality: Choose the format you prefer for the download. MP3 is a popular choice for music. Select your quality—higher quality means bigger file sizes!
- Choose the Download Location: Set a destination folder where you want the downloaded music to be saved. Make it easy to find later!
- Hit the Download Button: Click the download button and let the software do its magic. It’ll convert and download the music file for you.
- Open iTunes: Once the download is complete, open iTunes. You can either drag and drop the downloaded files into your iTunes library or use the “File > Add to Library” option to import the music.
- Sync Your Music: If you’re using an iPhone or iPad, sync your music library with your device to enjoy your new tracks on the go!
And there you have it! With these simple steps, you're ready to download and enjoy YouTube Music directly on iTunes. Happy listening!
Also Read This: Does YouTube Offer ESPN+? Exploring Sports Streaming Options
5. How to Transfer Downloaded Music to iTunes
So, you’ve successfully downloaded your favorite tracks from YouTube Music, and now you’re eager to add them to your iTunes library. Let’s walk through the steps to make that process smooth and hassle-free!
First, ensure that your downloaded music files are in a compatible format for iTunes, such as .mp3 or .m4a. If you’re ready, follow these steps:
- Open iTunes: Launch the iTunes application on your computer. If you don’t have it installed, you can download it from the Apple website.
- Locate Your Music Files: Navigate to the folder where your downloaded music files are saved. This could be your Downloads folder or a specific folder you created for your music.
- Add Files to iTunes: You can add your music to iTunes in a couple of ways:
- Drag and drop the files directly into the iTunes window.
- Or, you can go to the menu bar, click on File, then select Add to Library. Locate your music files and select them to add.
And just like that, your downloaded music is now a part of your iTunes library! You can sync it to your devices and enjoy your tunes anytime, anywhere.
Also Read This: How to Download Private Videos from YouTube for Personal Use
6. Tips for Managing Your iTunes Library
Managing your iTunes library effectively can enhance your listening experience significantly. Here are some handy tips to keep your library organized and enjoyable:
- Regularly Update Your Library: Make it a habit to update your iTunes library regularly. Add new downloads, delete duplicates, and remove any tracks you no longer listen to. This keeps your library fresh and relevant.
- Create Playlists: Organize your music into playlists based on mood, genre, or activity. For instance, you could have a “Chill Vibes” playlist for relaxing evenings and a “Workout Beats” playlist for energizing gym sessions.
- Utilize the ‘Get Info’ Feature: If you find missing album artwork or incorrect song information, right-click on the track and select Get Info. You can edit details like song title, artist, album, and even add album artwork to enhance your library's appearance.
- Use Smart Playlists: iTunes allows you to create Smart Playlists that automatically update based on specific criteria, such as play count or recently added tracks. This is a great way to discover music you may have forgotten about!
- Backup Your Library: Regularly back up your iTunes library to avoid losing your precious music collection. You can do this by exporting your library or copying the iTunes folder to an external drive.
By following these tips, you’ll keep your iTunes library organized and easy to navigate, making your listening experience even more enjoyable. Happy listening!
Also Read This: How to Sign Out of YouTube on Your TV: A Simple Guide
7. Common Issues and Troubleshooting
When you're downloading YouTube Music to iTunes, you might run into a few bumps along the way. Don’t worry; this is pretty normal! Here are some common issues you may face and how to tackle them:
- Download Errors: Sometimes, the download could fail due to poor internet connection or issues with the software. If you encounter this, check your Wi-Fi and try restarting the application.
- Format Incompatibility: iTunes only supports specific audio formats like MP3, AAC, and WAV. If your downloaded music is in a different format, use a converter tool to change it to a compatible one.
- Metadata Issues: If your songs are missing album art or artist information, you can edit metadata manually in iTunes. Right-click on the song, select 'Song Info,' and fill in the details.
- Syncing Problems: If you can’t find your downloaded music in iTunes, ensure that your library is synced properly. Go to the preferences and check the sync settings.
- Insufficient Storage: Sometimes, your device might not have enough space to download music. Clear some unwanted files or apps to free up space.
If you encounter any of these issues, take a deep breath and methodically check through each point. Most problems have simple solutions, and you’ll be back to enjoying your playlists in no time!
8. Conclusion
Downloading YouTube Music to iTunes doesn’t have to be a daunting task. With the right tools and a step-by-step approach, you can easily grow your music library and enjoy your favorite tracks offline. Here’s a quick recap:
- Choose a reliable downloader that supports YouTube Music.
- Follow the steps to download and convert your music to a compatible format.
- Make sure to troubleshoot any common issues that arise.
By following this guide, you can seamlessly integrate your YouTube Music into your iTunes library and have access to all your favorite tunes at your fingertips. So go ahead, explore new music, and enjoy the convenience of having everything in one place!
Remember, music should be enjoyable, so don’t stress too much about the technical side. Happy listening!
 admin
admin


