Replacing an image in Adobe Illustrator can seem daunting if you’re not familiar with the software's nuances. But fear not! This guide will take you through the process step-by-step, making it easy for you to update your designs. Whether you’ve found a better image or simply need to modify your existing artwork, understanding how
Understanding Image Replacement in Adobe Illustrator

Before we jump into the actual process of replacing an image in Adobe Illustrator, it’s important to understand how the application handles images. Unlike traditional raster graphics editors, Illustrator is primarily a vector-based program. This means that when you work with images, they are often embedded or linked in your design. Here’s what you should know:
- Embedded Images: These are images that are directly saved within your Illustrator file. When you embed an image, it becomes part of the document, allowing you to move it around without worrying about the source file.
- Linked Images: These images remain external to the Illustrator file. If you move or delete the original image, the link will break, and you’ll see a placeholder instead. Linked images can keep your file size smaller but require a bit more management.
When you need to replace an image, the method you use may vary based on whether the image is embedded or linked. Here's a quick look at how to determine which type of
| Image Type | Characteristics | When to Use |
|---|---|---|
| Embedded | Part of the Illustrator file; larger file size | When you want to keep everything in one document |
| Linked | External file; smaller file size | When you want to manage space or update images frequently |
By understanding these nuances, you’ll set yourself up for a smoother experience when it comes time to replace images in your projects. Ready to learn how to do this? Let’s continue!
Also Read This: How to Create 1×1 Images
3. Step-by-Step Process to Replace an Image

Replacing an image in Adobe Illustrator is a straightforward process once you know your way around the software. Let’s dive into the step-by-step breakdown to make this as easy as pie!
- Open Your Document: Start by launching Adobe Illustrator and opening the file containing the image you want to replace. Simply go to File > Open, and navigate to your desired document.
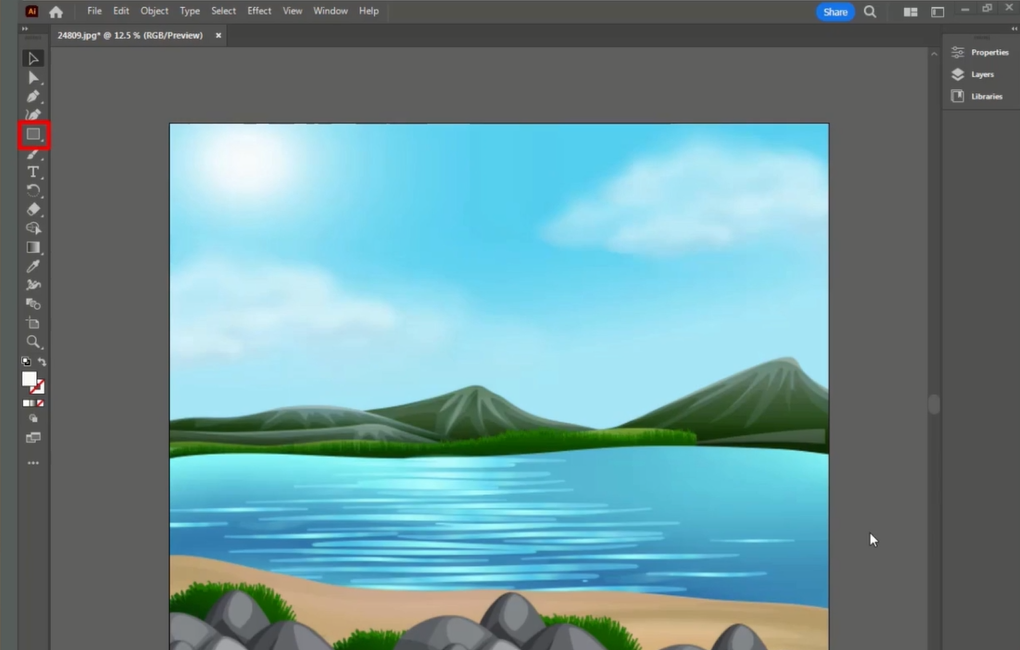
- Select the Image: Use the selection tool (the black arrow) from the toolbar on the left. Click on the image you wish to replace. You’ll know it’s selected when you see the bounding box around it.
- Replace the Image: With the image selected, go to File > Place. Here, you can choose the new image you want to use. Browse through your files and select it.
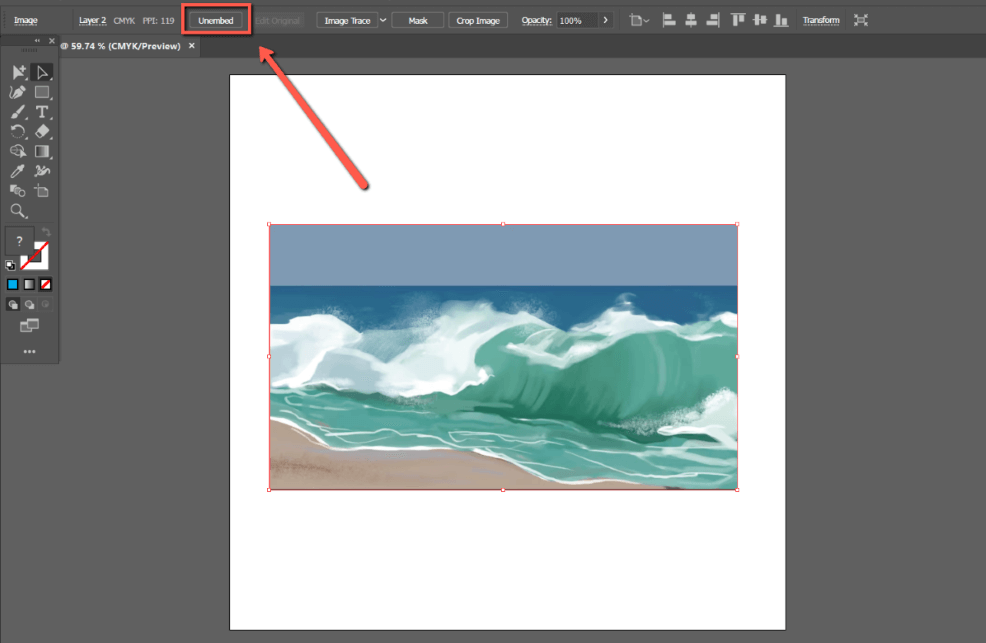
- Embed the New Image: After placing the new image, it’s essential to embed it. You can do this by selecting the newly placed image and then clicking Embed from the top options menu. This ensures the image is part of your document.
- Adjust Size and Position: Once the new image is in place, you might want to resize or reposition it. Use the corner handles to maintain the image’s proportions while dragging to resize.
- Save Your Work: Don’t forget the last step – save your changes! Click File > Save or Save As if you want to keep the original version intact.
And there you have it! Replacing an image in Illustrator is as simple as following these steps. Enjoy bringing new visuals to life in your project!
Also Read This: how to stretch image capcut
4. Tips for Managing Images in Illustrator

Managing images effectively in Adobe Illustrator can elevate your design game to new heights. Here are some handy tips that can help streamline your workflow:
- Organize Your Layers: Keep different images on separate layers. This organization makes it easier to select, move, or edit multiple images without confusion.
- Utilize Image Linking: Instead of embedding all images directly into your document, consider linking them. This saves memory and allows you to update the image file externally without rerouting it in Illustrator.
- Use the Swatches Panel: If you frequently use colors or image patterns, save them in the Swatches panel. It’ll make accessing and applying them to new images much quicker.
- Optimize Images Before Import: Before bringing images into Illustrator, optimize them for size and resolution. This aids in maintaining speed and performance while working on complex projects.
- Regular Backups: Always keep backups of your images and files. Utilize a cloud storage service or an external hard drive to prevent loss in case something goes awry.
- Experiment with Transparency: Play around with transparency levels in images for unique effects. Using the transparency panel, you can set different blending modes that can enhance your visual storytelling.
By implementing these tips into your design routine, you’ll find it much easier to handle images in Adobe Illustrator, allowing you to focus more on creativity and less on logistical headaches!
Also Read This: Exploring the Different Uses of Adobe Stock
Troubleshooting Common Issues

You might be cruising along smoothly in Adobe Illustrator, feeling like a design wizard, and then suddenly hit a bump in the road when trying to replace an image. Don’t sweat it! Most issues can be resolved with a bit of troubleshooting. Here are some common hiccups you might encounter and how to fix them:
- Image Not Updating: Sometimes, even after you've replaced the image, it might not appear updated. Make sure to check the Links Panel (Window > Links) to see if there are any broken links. If your new image isn't listed, you probably need to link it again.
- Resolution Problems: If your new image looks pixelated or blurry, it could be that it’s a low-resolution file. Always try to use high-resolution images, ideally 300 DPI for print or at least 72 DPI for digital work.
- Layer Visibility: Sometimes, your new image is hiding beneath other layers or objects. Use the Layers Panel to ensure that your image layer is on top or select it to bring it forward.
- Wrong Color Profile: After replacing an image, it may appear with incorrect colors. Check your color settings in Illustrator (Edit > Color Settings) and make sure they are compatible with your image file.
- File Format Issues: If the image doesn't import at all, verify that it’s in a format supported by Illustrator (.JPEG, .PNG, .AI, etc.). If not, you might need to convert it first.
By addressing these common issues, you should be back on track in no time!
Conclusion
In the world of graphic design, knowing how to replace images in Adobe Illustrator is an essential skill. Whether you’re refining a logo, creating a stunning brochure, or updating social media graphics, the process is relatively straightforward if you follow the steps carefully. Here’s a quick recap of what we covered:
- Selecting Your Image: Understanding how to choose the right image for your project is key.
- Using Links Effectively: Always try to link your images rather than embedding them to keep your file sizes manageable.
- Image Replacement Steps: We walked through the precise technique to replace images without losing your design work.
- Troubleshooting: Common issues can be fixed with simple checks and adjustments as outlined above.
Remember, like any tool, Adobe Illustrator has its quirks, and practice makes perfect. The more comfortable you get with these processes, the more confident you'll feel about tackling complex projects. So go ahead, replace that image, and let your creativity shine! Happy designing!
 admin
admin


