Welcome to our guide on installing Windows XP from a CD! Whether you’re looking to revive an old computer or you simply enjoy tinkering with classic operating systems, this step-by-step process will help you navigate through the installation with ease. While Windows XP may seem like a relic in this age of advanced operating systems, it still holds a special place in many hearts. So, grab your installation CD, and let's dive into this journey together!
Prerequisites

Before we get started with the installation process, it's crucial to gather all the necessary items and ensure that your system meets the requirements. Here’s what you’ll need:
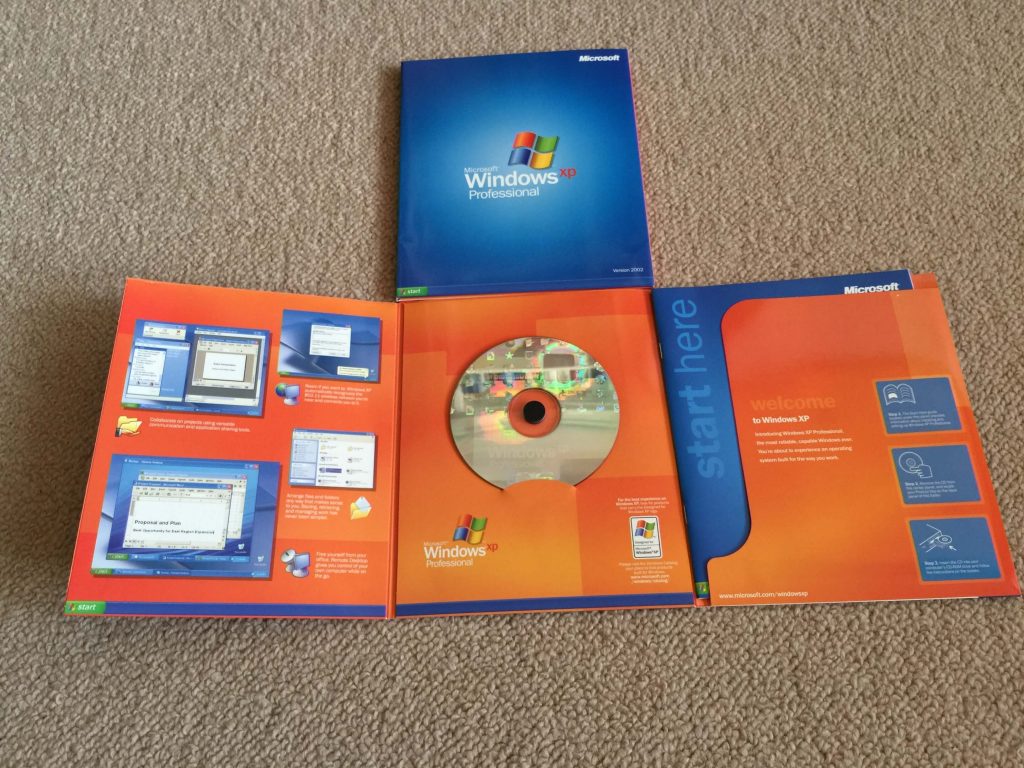
- Windows XP Installation CD: Ensure you have a valid copy. This could be an original disc or a valid ISO image if you’re using a virtual machine.
- Bootable CD/DVD Drive: Your computer needs to be equipped with a CD/DVD drive that can boot from the disc. If your laptop or desktop doesn’t have one, consider using an external USB CD/DVD drive.
- Computer Compatibility: Check that your computer meets the minimum system requirements for Windows XP, which are:
| Requirement | Minimum Specification |
|---|---|
| Processor | 300 MHz or faster |
| RAM | 128 MB (256 MB recommended) |
| Hard Drive Space | 1.5 GB of free space |
| Graphics | Super VGA (800 x 600) or higher-resolution video adapter |
Once you’ve checked these prerequisites off your list, you’re ready to proceed with the installation. It’s all about preparation, and we want to make sure you're set up for success! Don’t worry if you're a beginner; we'll walk you through each step with clear instructions.
3. Preparing the CD and Computer

Before diving headfirst into the installation process, you need to make sure that your CD and computer are ready to go. This step is crucial to ensure a smooth installation of Windows XP without any hiccups.
Firstly, let's talk about the CD. If you have a physical CD of Windows XP, take a moment to inspect it. Make sure the disc is clean and free of scratches or smudges. A dirty or damaged disc can lead to installation errors, which can be frustrating. If it looks a bit dirty, give it a gentle wipe with a soft, lint-free cloth, moving from the center to the edge to avoid any scratches.
If you don't have a physical CD, you might consider creating a bootable USB drive using the Windows XP ISO file. This method is especially useful for modern computers that may not have CD drives. You would need software like Rufus to create the USB drive. Just plug in your USB, select the ISO file, and follow the prompts. Easy-peasy!
Next, let's prepare your computer:
- Backup Your Data: Before you start, ensure that you back up all important files. You don't want to lose anything during the installation.
- Check System Requirements: Make sure your computer meets the minimum requirements for Windows XP.
- Disable Antivirus Software: Temporarily disable antivirus programs to avoid any conflict during installation.
Taking these steps will set you up for success. You’ll feel much more at ease knowing you’ve prepared everything correctly!
4. Booting from the CD

Now that your CD and computer are ready, it’s time to boot from the CD. This step is where the magic happens, as it allows your computer to begin the installation process of Windows XP.
Here’s how to do it:
1. *Insert the CD: Place your Windows XP CD into the CD/DVD drive of your computer.
2. Restart your Computer: A simple restart will trigger the boot process. If the CD is recognized, the computer will boot from it instead of the hard drive.
3. Access Boot Menu: If your computer doesn’t automatically boot from the CD, you might need to enter the Boot Menu. This is usually done by pressing a specific key (like F12, Esc, or F2) right after you power on your PC. Check your manufacturer’s instructions if you're unsure.
4. Select CD/DVD Drive:* From the Boot Menu, select your CD/DVD drive as the boot device. This tells your system to load Windows XP from the CD.
Once you have done this, you should see the Windows XP setup screen loading. If everything is in order, congratulations—you’re on your way to installing a classic operating system! Just follow the prompts, and before you know it, you'll have Windows XP running on your machine.
5. Installing Windows XP
Alright, so you’ve got your Windows XP CD ready and you’re fired up to get this installation going. Let’s break it down step by step to make the process smooth sailing!
First, pop your Windows XP CD into the CD drive and reboot your computer. You’ll need to ensure your system is set to boot from the CD. If you're unsure how to do this, you can usually press a key like F2, F10, or DEL during the startup to enter your BIOS settings and change the boot order.
Once your computer boots from the CD, you’ll see a prompt saying “Press any key to boot from CD.” Go ahead and press a key!
Now, after a few moments, the Windows XP setup will begin. You’ll initially be greeted with the Welcome screen. Simply click Enter to set up Windows XP. If you need to read through the End User License Agreement, you can hit F8.
Next, you’ll select the partition where you want to install Windows XP. It’s generally a good idea to choose the primary drive (usually C:). If you want to reformat the drive, this is where you’ll select that option and choose NTFS or FAT32 as your file system.
After this, the actual installation will begin. This could take a bit of time, so grab a coffee and relax! Your computer may reboot a couple of times during this process. Each time it restarts, ensure you don’t press any keys to boot from the CD again.
Once installation is complete, you’ll be prompted to set up various configurations like regional settings, product key, and user names. Follow the on-screen instructions to finish up. That’s it—you’re well on your way to using your new Windows XP!
6. Post-Installation Steps
Congratulations on successfully installing Windows XP! Now that the system is up and running, there are a few essential post-installation steps to ensure everything is set up properly and securely.
First things first, it's crucial to install any necessary drivers for your hardware. Without proper drivers, certain components like your graphics card, sound card, or network adapter might not function correctly. Here’s how you can do that:
- Visit the manufacturer's website for your computer or its hardware components.
- Find the Support or Downloads section.
- Download and install the appropriate drivers.
Next, you’ll want to ensure that Windows XP is running the latest updates. Even though XP is an older operating system, there might still be some necessary updates available. Here’s how:
- Click Start > All Programs > Windows Update.
- Follow the prompts to search for and install any available updates.
Security is other vital consideration, especially for an older OS. Make sure to install an antivirus program. A good antivirus will help keep your system protected against malware and other potential threats.
Finally, customize your settings. From desktop background to taskbar options, make your experience cozy and tailored to your liking!
In summary, after installation, focus on:
- Installing drivers
- Running Windows Update
- Installing antivirus software
- Customizing settings
With these steps complete, you’re all set to dive into the world of Windows XP and enjoy the ride!
Troubleshooting Common Issues
Installing Windows XP can seem simple, but sometimes, things don't go as planned. Let's discuss some common issues you might encounter during your installation process and how to resolve them.
1. Boot Failure: If your system won’t boot from the CD, check the following:
- Is the CD properly inserted into the drive?
- Have you changed the boot order in the BIOS settings to prioritize CD/DVD or USB devices?
- Is the CD scratched or damaged?
If you’ve confirmed that everything is in order and it’s still not booting, try using another CD drive or another Windows XP installation CD if available.
2. Setup Freezing: If the installation setup freezes, it might be due to one of the following:
- Check RAM and ensure all modules are properly seated.
- Disconnect any non-essential peripherals (USB devices, printers) that might interfere.
- Ensure your hard drive is error-free by running a diagnostic scan prior to installation.
3. "Missing or Corrupt Files" Error: If you encounter this error message, it could indicate a bad CD or corrupted files:
- Try cleaning the CD gently with a soft cloth.
- If the problem persists, consider creating a bootable USB drive or using a different installation CD.
In troubleshooting, patience and a methodical approach go a long way. Document any error codes or messages you see, as this information is crucial for seeking additional help or guidance.
Conclusion
Congratulations on reaching the end of your guide to installing Windows XP from a CD! Whether it’s nostalgia, compatibility with legacy software, or simply curiosity driving your decision, installing an older operating system can be an enjoyable experience. Remember, preparation is key.
From gathering the necessary materials to handling potential snags during installation, being well-informed makes the process smoother. Always ensure you have backups of your data—just in case something goes awry. With careful planning and a little troubleshooting, you'll soon have your Windows XP system up and running.
The tech world has moved on significantly since XP, but its charm and reliability keep it alive in the hearts of many users. If you ever face challenges beyond what we discussed, don't hesitate to reach out to online forums, as there are numerous enthusiasts who share similar experiences and insights.
Enjoy your time exploring the features of Windows XP. Happy computing!
 admin
admin


