If you're diving into the world of Cricut crafting, you might be wondering how to cut large images for your projects. Whether you're working on wall art, signs, or custom decals, cutting big images can seem like a tricky task. But with the right tools and a little know-how, it becomes much easier. In this guide, we'll walk you through the steps to cut large images successfully using your Cricut machine. So, let's get started and make those large designs come to life!
Why Cutting Large Images is Important for Cricut Projects
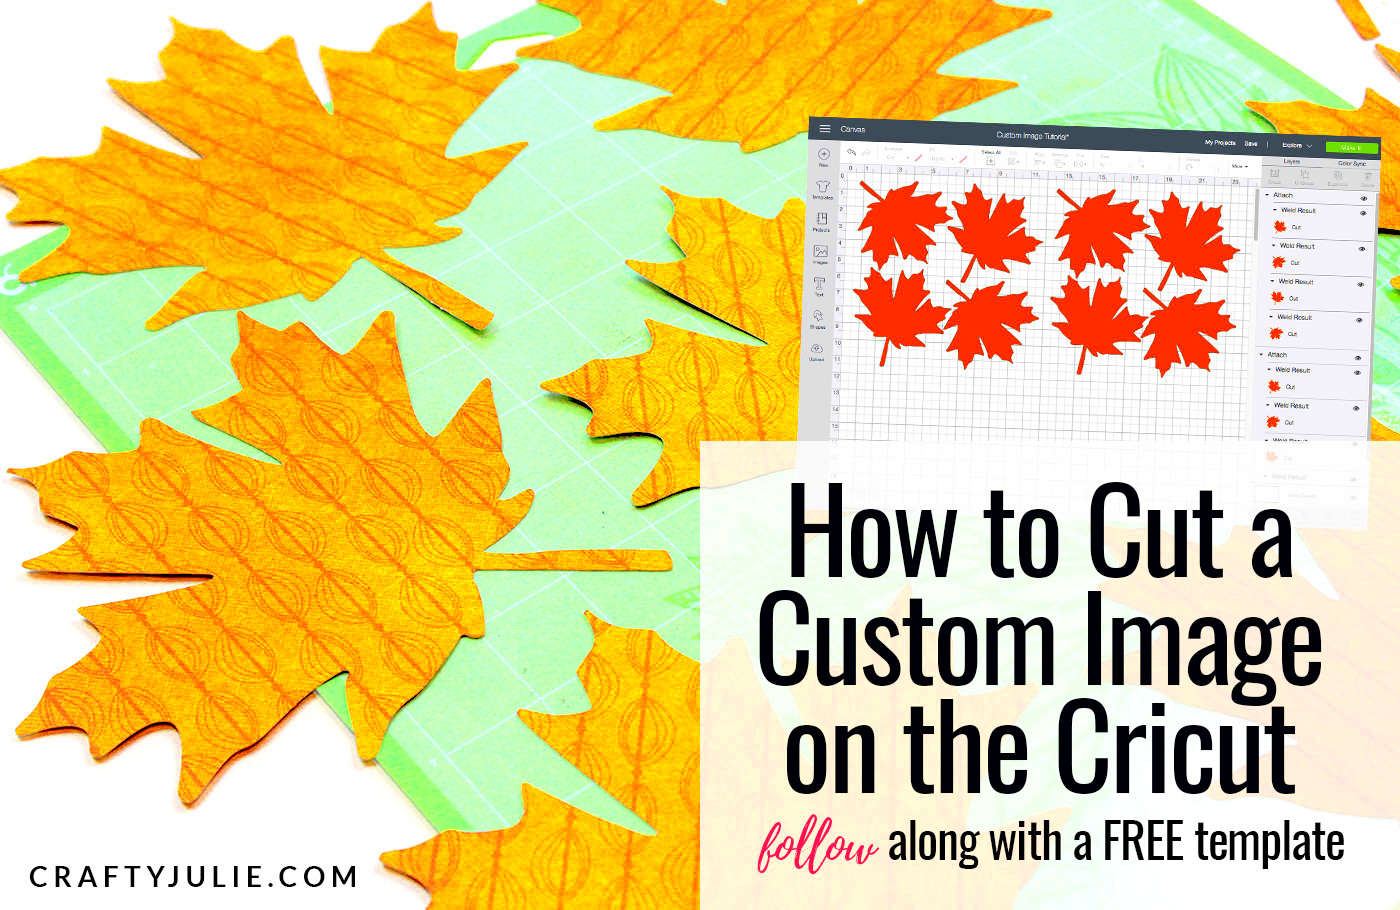
Cutting large images for Cricut projects offers many creative possibilities. Here’s why it’s so important:
- Enhanced Design Flexibility: Large images give you more space to incorporate intricate details and bold designs into your projects.
- Professional-Looking Results: A clean cut of a large image adds a professional touch to your projects, whether you're making personalized gifts or business signage.
- Versatility in Project Types: Whether you're creating a banner, large stickers, or custom apparel, the ability to cut large images opens up a range of project ideas.
- Cost Efficiency: Instead of buying pre-made large designs, you can create your own, saving money on ready-made items.
While cutting large images can seem challenging at first, the results are definitely worth the effort. With Cricut’s ability to handle intricate and large designs, the sky’s the limit for what you can create.
Also Read This: How Hard Is It to Get Approved as a Getty Images Contributor?
Choosing the Right Image for Cricut Cutting
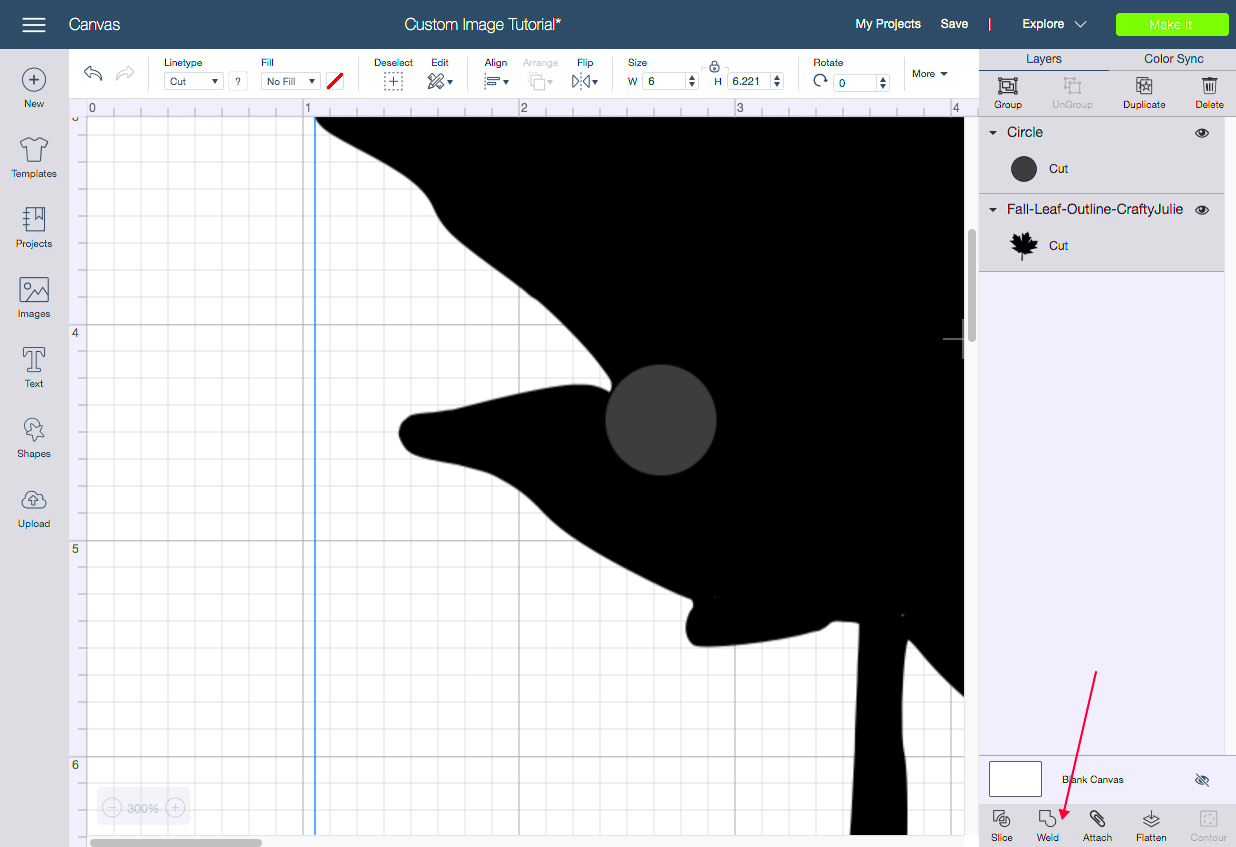
Not all images are suitable for Cricut cutting, especially when you’re working with large files. Choosing the right image is crucial to ensure it’s both cuttable and visually appealing. Here’s what to look for:
- Resolution: High-resolution images are key. Low-quality images might turn pixelated once resized or cut, leading to disappointing results. Always opt for images that are at least 300 dpi (dots per inch).
- File Format: Cricut Design Space supports various file types like PNG, JPG, SVG, and DXF. SVG files are the best choice for cutting because they retain their quality and can be resized without losing sharpness.
- Simple Designs: While Cricut can handle intricate designs, the more complex the image, the harder it is to cut. Choose images with clean lines and minimal details for easier cutting.
- Contrast and Clarity: Images with clear contrast between the design and background are easier for the Cricut machine to follow. Avoid images with too much detail in the background.
Taking the time to choose the right image will save you frustration later on and ensure your Cricut project is a success. Whether you're designing for fun or creating a business project, this step is crucial for achieving clean, sharp cuts.
Also Read This: How Imago Images Revolutionizes Affordable Visuals for Small Businesses
Preparing Your Image for Cutting in Cricut Design Space
Before you can start cutting a large image with your Cricut machine, you need to properly prepare it in Cricut Design Space. This is an essential step to ensure that the image is ready for cutting, and everything is aligned just right. Whether you're uploading a new
- Upload Your Image: Start by uploading your image to Cricut Design Space. Click on “Upload” and select the image file you want to use. Cricut supports various formats like PNG, JPG, and SVG, but SVG is often preferred for cutting.
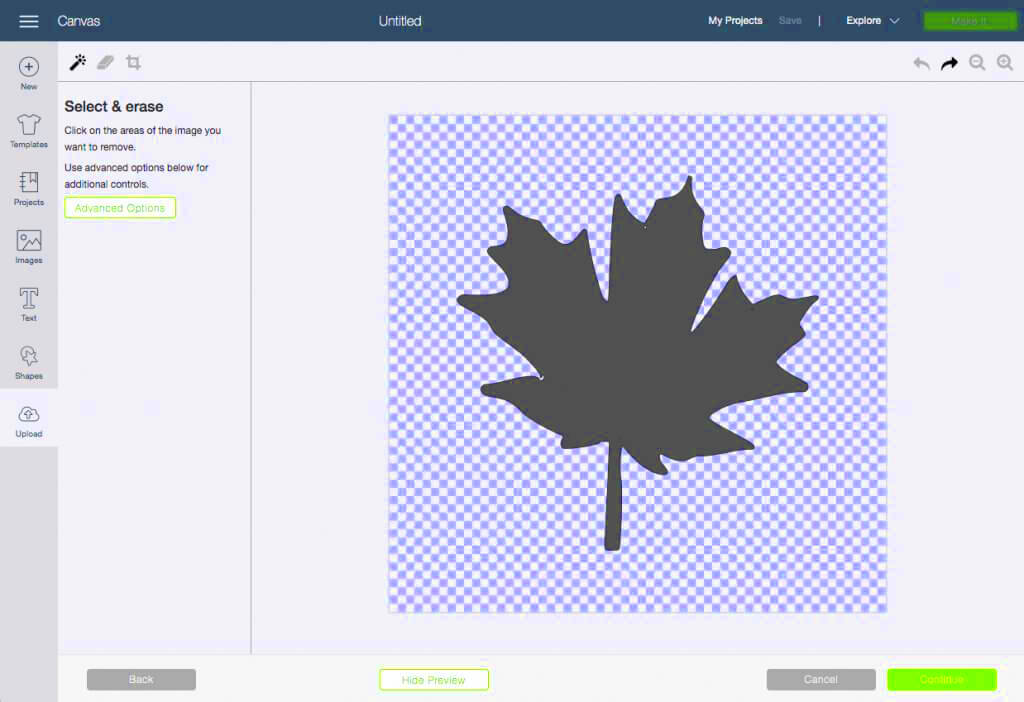
- Remove the Background: If your image has a background you don’t need, use the “Erase” tool to remove it. This is especially useful for photos or complex images. Cricut's software allows you to easily erase unwanted areas for a cleaner cut.
- Choose Your Image Type: Cricut Design Space gives you options to select your image type: Simple, Moderately Complex, or Complex. Choose “Simple” if the image has clean lines and minimal detail. For detailed images, select “Complex” for better editing options.
- Preview and Edit: Once your image is uploaded, preview it to make sure everything looks good. You can make minor adjustments, like adjusting the brightness or deleting any extra details that won’t look good when cut.
By taking these steps, you ensure that the image is prepared in a way that allows Cricut to make the cleanest, most accurate cuts possible. Proper preparation is the key to creating professional-looking projects every time!
Also Read This: How to Delete Mixes on YouTube
Steps to Resize and Crop the Image for Cricut Projects
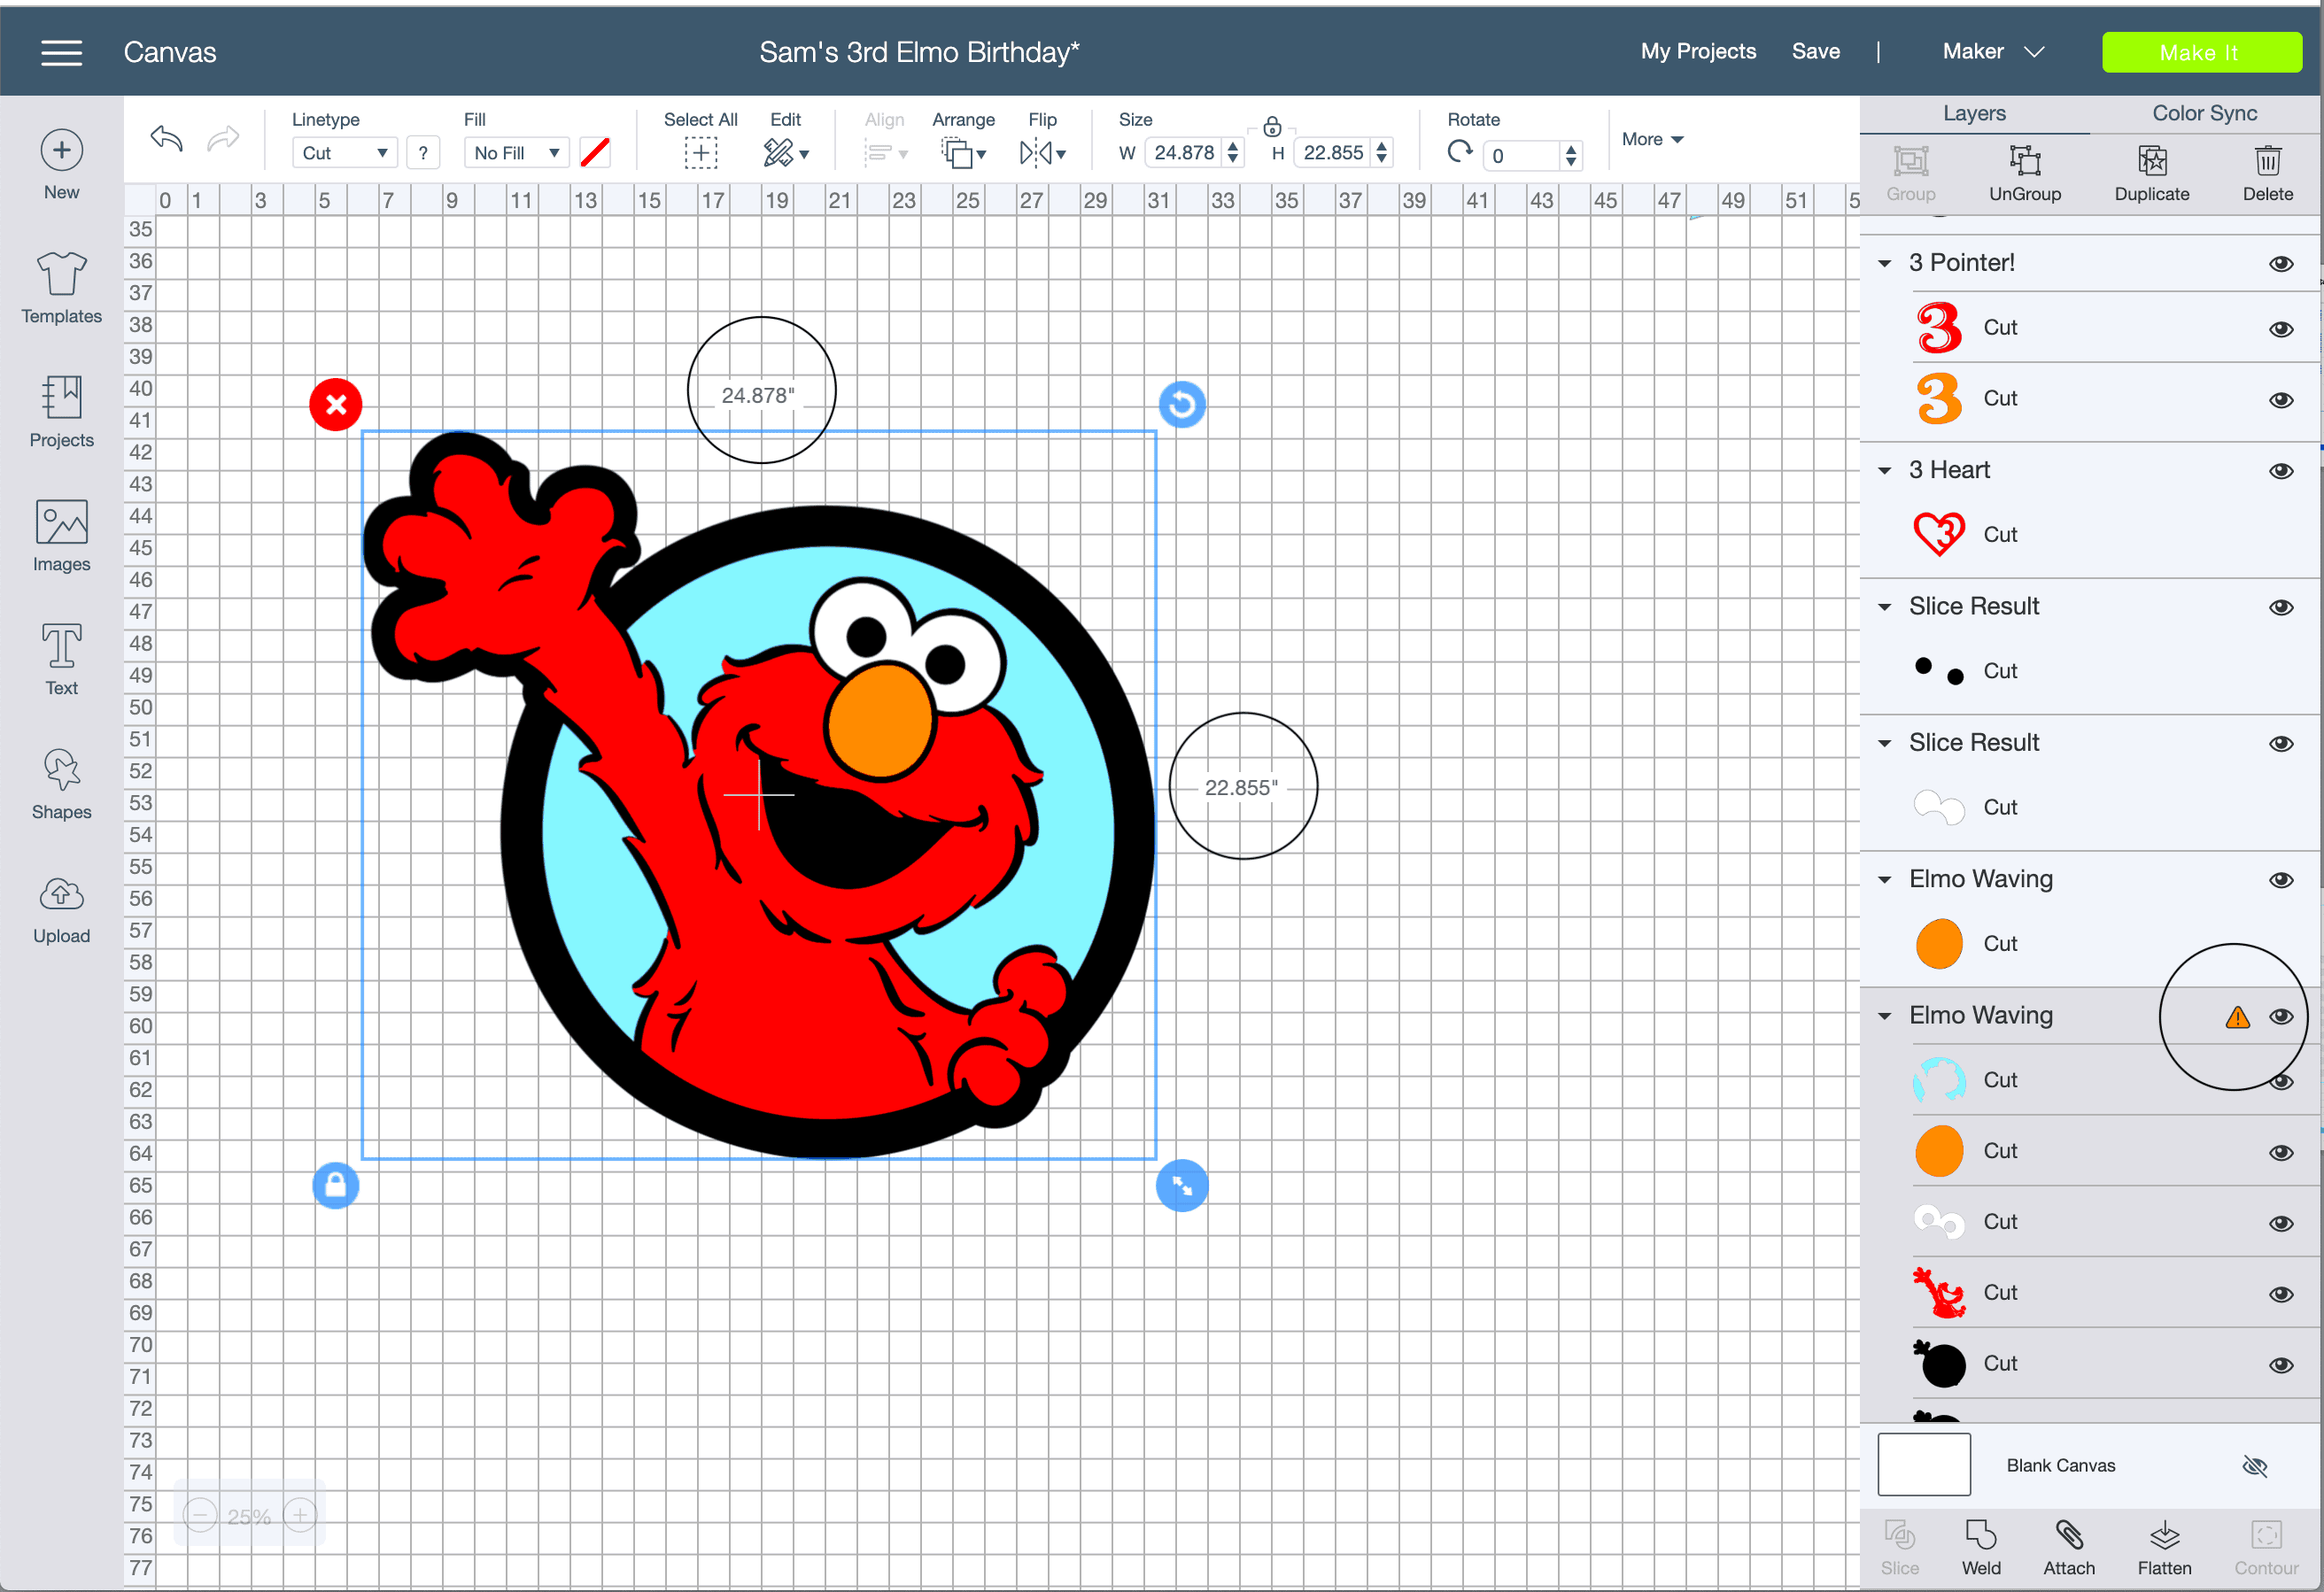
Resizing and cropping your image properly is essential, especially when working with large designs. You want to make sure the image fits your Cricut cutting mat and is the right size for your project. Follow these simple steps to resize and crop your
- Resize the Image: Once your image is in Cricut Design Space, click on the image to select it. You’ll see a box around it with arrows at the corners. Use these arrows to resize your image proportionally. Hold the “Shift” key while resizing to maintain the correct aspect ratio.
- Use the Lock Button: The lock button at the bottom of the resizing box will keep the width and height in proportion as you resize. If you need to change the aspect ratio, unlock the button first.
- Crop the Image: If your image has unnecessary space around it, use the crop tool. Click on “Crop” and select the area you want to keep. This is particularly useful if you’re only interested in a portion of the image, like a specific graphic or logo.
- Check for Fit: Before finalizing, check that the image fits within your Cricut mat size. Cricut mats come in different sizes (12x12, 12x24), so make sure your image will fit within the selected mat size.
By resizing and cropping your image correctly, you ensure that the Cricut machine will cut it accurately and precisely. This helps avoid any mistakes when it comes time to cut, leading to a smooth project experience.
Also Read This: How To Choose The Right Online Logo Maker For Your Needs
Setting the Correct Cut Settings for Large Images
When you're working with large images, setting the correct cut settings is critical to achieving the best results. Cricut offers a variety of materials and cutting options, and you need to adjust these settings to match the size and complexity of your project. Here's how you can set up your Cricut for large image cuts:
- Select the Right Material: In Cricut Design Space, select the material you're cutting. Different materials, like vinyl, cardstock, or iron-on, require different cutting settings. Make sure you choose the correct material type to get the best cut quality.
- Adjust the Blade Depth: The blade depth is an important setting for large images. For thicker materials, increase the blade depth to ensure a clean cut. For delicate or thin materials, lower the blade depth to avoid tearing.
- Adjust the Cutting Pressure: Cricut allows you to adjust the cutting pressure, which can be important for large images with intricate designs. For thicker materials, increase the pressure, and for thinner materials, decrease it.
- Use the Fast Mode: If you’re working on a simple design, Cricut’s Fast Mode can help speed up the cutting process. However, for complex or large images, it’s better to stick with the default setting to ensure a more precise cut.
- Test the Cut: Before cutting the full image, it’s a good idea to do a test cut on a scrap piece of material. This ensures that your settings are correct and that the Cricut machine will cut as expected.
Setting the correct cut settings is essential for achieving smooth, clean cuts on large images. Whether you’re working with a delicate design or a bold graphic, adjusting your Cricut machine settings ensures you get the perfect cut every time!
Also Read This: Teams Video Venture: Downloading Recording Video from Microsoft Teams
Tips for Achieving a Clean Cut with Cricut
Achieving a clean cut with your Cricut machine is essential for creating polished, professional-looking projects. Whether you're cutting large images or smaller designs, there are a few key tips that can make a big difference. Here are some tricks to help you get the cleanest cuts every time:
- Use a Sharp Blade: Over time, Cricut blades can become dull, especially after many cuts. Make sure you're using a sharp blade for the best results, especially when cutting large or detailed images. Replace the blade regularly to maintain sharpness.
- Choose the Right Mat: The mat you use can make a big difference in the quality of your cuts. For intricate cuts or heavier materials, use a stronger grip mat. For lighter materials, a light grip mat is perfect. The right mat will help hold the material in place during cutting, reducing the chances of shifting.
- Clean the Mat and Blade: Dirt or debris on the mat or blade can lead to inaccurate cuts. Make sure both are clean before starting your project. Gently wipe down the mat with a damp cloth, and use a soft brush to clean the blade.
- Set Correct Pressure: If the cut is too light, increase the pressure in your Cricut settings. If it’s too deep, reduce the pressure. Test cuts are a great way to ensure your pressure settings are just right for the material you're using.
- Avoid Overloading the Mat: Don’t overcrowd your cutting mat. Leave enough space around the design to allow the blade to move freely. This ensures clean edges and reduces the risk of material shifting or curling during the cut.
By following these tips, you'll be able to cut with precision and create flawless projects every time. With the right preparation and care, your Cricut machine will help you achieve clean cuts effortlessly!
Also Read This: Mastering Project Presentation on Behance to Captivate Your Audience
Common Mistakes to Avoid While Cutting Large Images
Cutting large images with your Cricut machine can be a fun and rewarding process, but there are some common mistakes that can lead to frustrating results. Knowing what to avoid will help you save time, material, and effort. Here are some of the most frequent mistakes people make when cutting large images and how to steer clear of them:
- Not Resizing Correctly: One of the most common mistakes when cutting large images is not resizing them properly. If the image is too big for the mat, or if it’s resized unevenly, it may not fit or could result in an incomplete cut. Always double-check the image size in Cricut Design Space before starting the cut.
- Ignoring Material Settings: Every material requires different settings for the best cut. If you forget to adjust the settings for the material you're using, you might end up with poor cuts, or worse, damage your machine. Always choose the correct material and adjust the pressure, speed, and blade depth accordingly.
- Forgetting to Test Cut: Skipping the test cut is a big mistake when cutting large or intricate images. A test cut on scrap material helps ensure your settings are correct and prevents waste. It’s better to check before making the final cut.
- Overloading the Mat: Overcrowding the cutting mat can result in inaccurate cuts. Give your image enough space on the mat to ensure the Cricut can cut freely without interference. This also minimizes the risk of the material shifting during cutting.
- Not Using a New Blade: Large cuts require a sharp blade. If you use a dull blade, it might struggle with thicker materials or intricate cuts. Always check the condition of your blade before attempting large projects.
By avoiding these mistakes, you’ll ensure that your Cricut projects go smoothly and that your large images are cut perfectly. With a bit of preparation and attention to detail, you can create flawless designs without the hassle.
Also Read This: The Advantages of Using Imago Images Over Royalty-Free Image Websites
FAQ
1. How do I resize a large image in Cricut Design Space?
To resize a large image, simply select it in Cricut Design Space and use the corner arrows to adjust the size. Hold the “Shift” key to maintain the aspect ratio while resizing. You can also manually enter the dimensions in the toolbar for precise adjustments.
2. Can Cricut cut very large images?
Cricut can cut large images, but it’s important to keep the size within the limits of your Cricut mat (12x12 or 12x24 inches). For larger images, you might need to split the design into sections and cut them separately.
3. Why are my large images not cutting cleanly?
If your large images are not cutting cleanly, it could be due to dull blades, incorrect material settings, or improper mat placement. Ensure that your blade is sharp, you’ve selected the right material, and your image is properly aligned on the mat.
4. How can I avoid the material shifting during cutting?
To prevent material shifting, make sure the material is firmly adhered to the mat. Use the right grip mat for the material you're cutting, and ensure your design is placed within the boundaries of the mat to reduce the risk of shifting during the cut.
5. What type of blade should I use for cutting large images?
For large images, it’s best to use a fine-point blade for most materials, but if you're cutting thicker materials like cardstock or vinyl, you might need a deep-point blade for better precision.
Conclusion
Cutting large images for Cricut projects can seem intimidating at first, but with the right preparation, tools, and techniques, you can achieve stunning results every time. From choosing the right image and resizing it correctly to adjusting your machine settings and avoiding common mistakes, every step is crucial in ensuring a clean and precise cut. By following the tips and recommendations provided in this guide, you'll be able to tackle large image projects with confidence and create professional-quality designs that will impress. Happy crafting, and remember, a little practice goes a long way in mastering Cricut cutting!
 admin
admin


