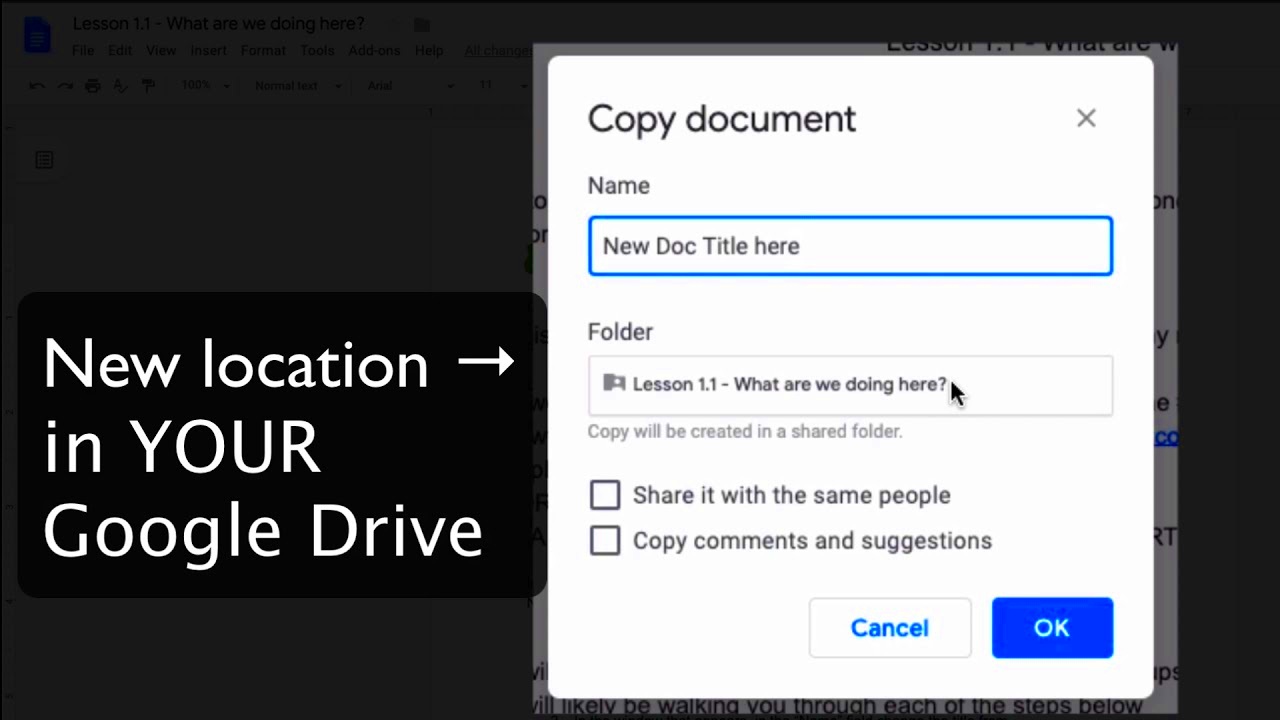
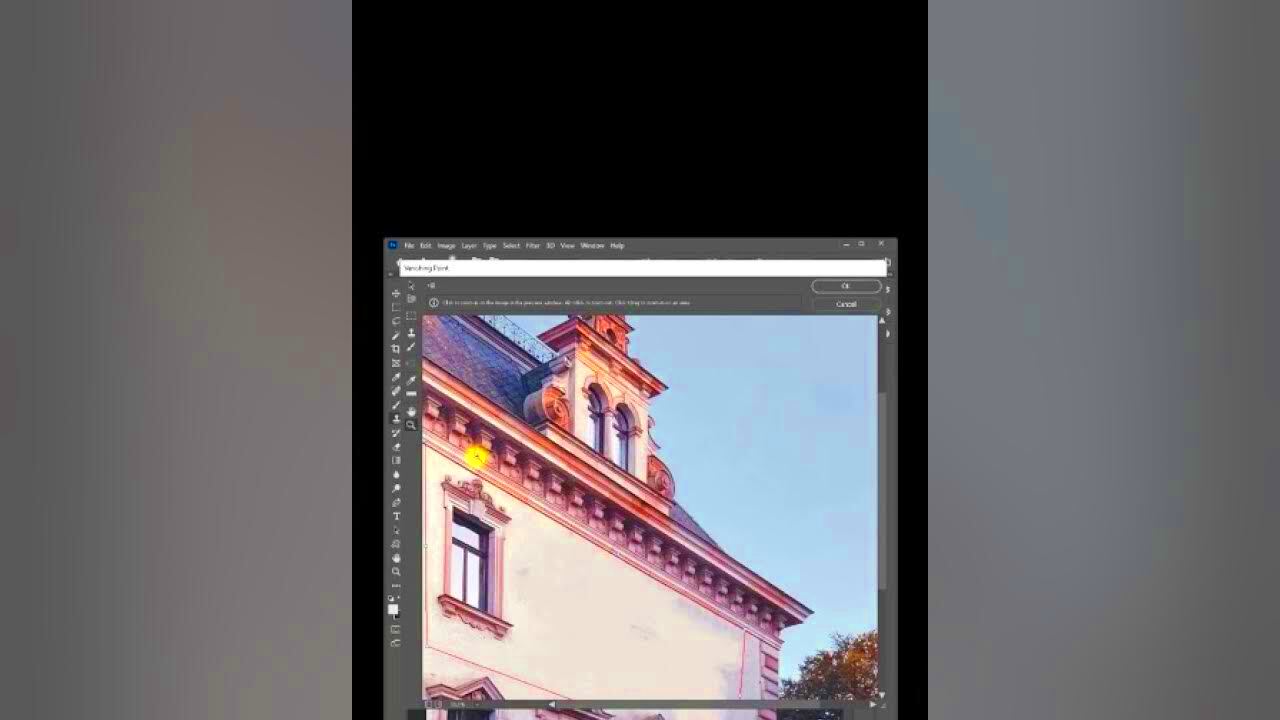
If you've ever worked with Google Docs and Photoshop together, you know how useful it can be to copy images from one to the other. Google Docs is a great tool for collaborating and organizing information, but when you need to make detailed edits to an image, Photoshop is the place to go. This guide will walk you through the process of copying images from Google Docs and pasting them into Photoshop for editing. Whether you are designing graphics, retouching photos, or adding elements to your project, this method is quick and straightforward.
Why Copying Images from Google Docs to Photoshop is Useful

There are several reasons why you might want to copy images from Google Docs to Photoshop. Here are a few key benefits:
- Enhanced Editing Capabilities: Photoshop provides advanced tools for image manipulation, which Google Docs lacks. From retouching photos to adding creative effects, Photoshop allows you to take your images to the next level.
- More Control: When working with images in Google Docs, you're limited in what you can do. Copying them to Photoshop gives you full control over the image's size, resolution, and overall appearance.
- Better Image Quality: Sometimes images inserted into Google Docs lose quality or become blurry. By transferring them to Photoshop, you can work on high-resolution versions of the images, which is essential for professional work.
- Efficient Workflow: If you're already working in Photoshop, copying images from Google Docs can speed up your workflow, saving time and effort during your design process.
Whether you're creating promotional material, editing personal photos, or designing a new logo, being able to seamlessly transfer images between these two tools makes your work much easier and more efficient.
Also Read This: Guide to Download Shutterstock Images for Free
Step-by-Step Guide to Copying an Image

Copying an image from Google Docs to Photoshop is simple and can be done in a few easy steps. Here's how to do it:
- Open Google Docs: Start by opening the Google Docs file that contains the image you want to copy.
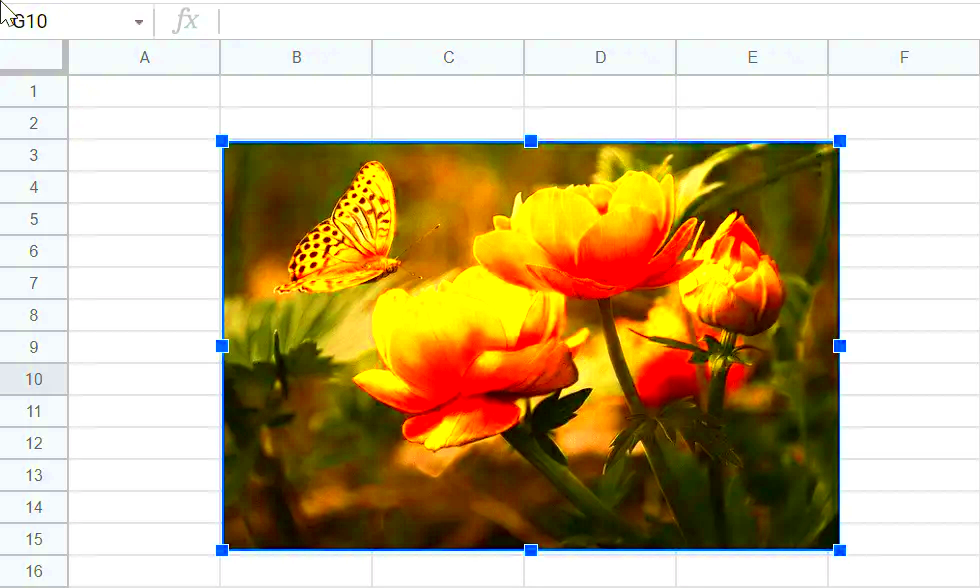
- Select the Image: Click on the image in your document to select it. You'll notice that the image will be surrounded by a border or resizing handles.
- Copy the Image: Right-click on the selected image and choose Copy from the context menu. Alternatively, you can use the keyboard shortcut Ctrl + C (Windows) or Cmd + C (Mac).
- Open Photoshop: Now, open Photoshop and create a new document or open an existing one where you'd like to place the image.
- Paste the Image: In Photoshop, simply go to Edit > Paste or use the keyboard shortcut Ctrl + V (Windows) or Cmd + V (Mac). Your image will appear in Photoshop.
- Resize and Position the Image: Once the image is in Photoshop, you can move and resize it to fit your project. Use the Transform tool (Ctrl + T / Cmd + T) to adjust the image’s size, orientation, or position.
And that's it! You've successfully copied an image from Google Docs and pasted it into Photoshop. From here, you can start editing and enhancing the image to suit your needs.
Also Read This: The Ultimate Guide on Tiktok Photo Download in High Quality
Common Issues When Copying Images and How to Fix Them

While copying images from Google Docs to Photoshop is generally a smooth process, you might run into a few common issues. Here are some of the most frequent problems users face and how to fix them:
- Image Quality Drops: One of the most common issues is a decrease in image quality. When you copy an image from Google Docs, it may appear pixelated or blurry in Photoshop. This happens because Google Docs may compress the image when it is inserted. To fix this, try to use a higher resolution version of the image. If possible, download the image directly from its source rather than relying on the one in Google Docs.
- Image Doesn’t Paste Properly: Sometimes, after copying an image, it doesn't paste into Photoshop, or it pastes incorrectly. This could be due to temporary issues with your clipboard. Try copying the image again, or restart both Google Docs and Photoshop. If the problem persists, try pasting the image into a different program (like Paint) first, then copying it from there into Photoshop.
- Image Size is Too Large or Too Small: After pasting the image into Photoshop, it might not fit properly in your workspace. This is a typical problem that can be easily fixed. Use the Transform tool (Ctrl + T / Cmd + T) in Photoshop to adjust the image size to your preferred dimensions.
- Images Missing Transparency: If the image has a transparent background in Google Docs, it might lose its transparency when copied into Photoshop. To avoid this, make sure the image is saved as a PNG or another format that supports transparency, and download it directly from the source to preserve the transparency.
By being aware of these issues and knowing how to fix them, you can make sure your images come into Photoshop in the best possible condition for editing.
Also Read This: Learn How to Draw Over an Image Like a Pro
How to Edit Images After Copying Them to Photoshop
Once you’ve copied an image from Google Docs into Photoshop, it’s time to get creative. Here’s a step-by-step guide to help you edit your image effectively:
- Resize the Image: After pasting the image into Photoshop, use the Transform Tool (Ctrl + T / Cmd + T) to resize it to your desired dimensions. Hold Shift while dragging the corners to maintain the aspect ratio.
- Adjust the Image’s Brightness and Contrast: To make your image more vibrant, go to Image > Adjustments > Brightness/Contrast. Here, you can tweak the brightness and contrast to improve visibility and enhance details.
- Remove Unwanted Elements: Use the Clone Stamp Tool or the Healing Brush Tool to remove any unwanted parts of the image. These tools are great for touching up and cleaning up images.
- Add Filters: Photoshop comes with a wide range of filters that can dramatically change the look of your image. To access them, go to Filter > Filter Gallery and explore different effects like Blur, Sharpen, and Distort.
- Work with Layers: If you plan to add text, shapes, or other elements to your image, it’s best to work with layers. This allows you to keep your original image intact while making changes on separate layers, making your edits non-destructive.
- Use Adjustment Layers: Instead of applying direct adjustments, use Adjustment Layers (like Brightness/Contrast, Hue/Saturation) for more flexibility and control over the edits. These layers allow you to go back and modify adjustments without permanently changing the image.
With these tools and techniques, you can transform any image from Google Docs into a polished piece of work using Photoshop’s powerful editing features.
Also Read This: Understanding Sponsorship Payments for YouTubers in Brand Collaborations
Tips for Improving Image Quality in Photoshop
Once your image is in Photoshop, you may want to enhance its quality to make it look sharper and more professional. Here are a few helpful tips for improving the quality of your images:
- Increase Resolution: If the image is pixelated or blurry, one way to improve its quality is by increasing the resolution. Go to Image > Image Size and adjust the resolution to a higher value (e.g., 300 pixels/inch for print-quality images).
- Use the Sharpen Tool: Photoshop has several methods for sharpening an image. Use the Sharpen Tool (located under the brush tool) to add clarity to certain parts of the image or the Unsharp Mask (under Filter > Sharpen) for a more overall effect.
- Reduce Noise: If the image appears grainy, use the Reduce Noise filter (found under Filter > Noise > Reduce Noise) to smooth out the grain without losing too many details.
- Improve Contrast and Brightness: Adjust the Levels or Curves under Image > Adjustments to enhance the contrast and bring out more details in the image. This can make the image look more dynamic and vibrant.
- Fix Color Issues: If the colors look off, use Hue/Saturation or Color Balance adjustments to fine-tune the colors. This can help correct any color imbalances that occur during the copying process.
- Use High-Quality Filters: While filters can change the look of your image, make sure to use them subtly. Overusing filters can sometimes lower the quality of the image, so apply them carefully for a balanced effect.
By following these tips, you can improve the overall quality of any image you copy into Photoshop, ensuring it looks professional and crisp in your final project.
Also Read This: How to Remove Transparent Backgrounds from iStock Images
How to Use BigStockPhoto Downloader for High-Quality Images
If you’re looking for high-quality images for your design projects, BigStockPhoto is a great resource. The BigStockPhoto Downloader allows you to easily download images and use them in Photoshop, ensuring you get professional-grade visuals for your work. Here's how to use it effectively:
- Visit the BigStockPhoto Website: Start by visiting the BigStockPhoto website and browsing through their extensive collection of stock images. You can search for images by keywords, categories, or filters to find exactly what you need.
- Create an Account or Sign In: To access the full range of images, you may need to create an account or sign in if you already have one. BigStockPhoto often offers free trials or subscription plans for premium downloads.
- Select the Image: Once you’ve found the image you want to use, click on it to view the details. BigStockPhoto provides high-quality options, including different resolutions and formats, depending on your needs.
- Download the Image: After selecting your preferred resolution, click the Download button. You may be asked to choose a file format, such as JPEG or PNG, depending on what suits your project.
- Open in Photoshop: After downloading the image, open Photoshop and either drag the file into your workspace or use the File > Open option to load the image into your project.
Using BigStockPhoto Downloader for high-quality images ensures that you're working with professional-grade visuals, which are perfect for your design, marketing, or editorial needs. Plus, by using images with the right resolution, you avoid the quality issues that can come with copying images from other sources.
Also Read This: How to Pixelate an Image for Privacy or Artistic Effects
FAQ: Common Questions About Copying Images to Photoshop
Here are some of the most frequently asked questions about copying images from Google Docs to Photoshop, with answers to help you troubleshoot any issues:
- Can I copy images directly from Google Docs into Photoshop?
Yes, you can easily copy images from Google Docs and paste them into Photoshop. Just select the image, copy it, and then paste it into Photoshop as you would with any other image. - Why does the image lose quality when copying from Google Docs to Photoshop?
Google Docs may compress images to reduce file size, causing a loss in quality. To prevent this, it’s best to download the image directly from its source in high resolution. - How can I resize the image once it's in Photoshop?
After pasting the image into Photoshop, use the Transform Tool (Ctrl + T / Cmd + T) to resize it. Hold the Shift key while dragging the corners to maintain the aspect ratio. - What if the image looks blurry in Photoshop?
If an image looks blurry in Photoshop, check its resolution. If it’s low-resolution, you may need to replace it with a higher-quality image. Photoshop tools like Sharpen or Unsharp Mask can also help improve clarity. - Can I work with transparent images in Photoshop?
Yes, transparent images (like PNG files) should maintain their transparency when copied to Photoshop. However, images from Google Docs may lose transparency, so it’s best to download them directly from the original source in PNG format.
These FAQs should help you resolve common problems and ensure smooth copying and editing of images from Google Docs to Photoshop.
Conclusion
Copying images from Google Docs to Photoshop is a straightforward process that can be very helpful for anyone working on design or editing projects. By following the steps outlined in this guide, you can easily transfer your images and start editing them in Photoshop for professional results. Whether you need to resize, adjust, or enhance your image, Photoshop offers the tools and flexibility to make it happen. Additionally, using high-quality images from sources like BigStockPhoto Downloader will ensure that your final project looks sharp and polished.
Remember, if you encounter any issues, troubleshoot by checking the image resolution, using the right tools, and referring to the FAQs. With a little practice, you’ll be able to copy and edit images with ease, creating stunning visuals for any project.

 admin
admin


