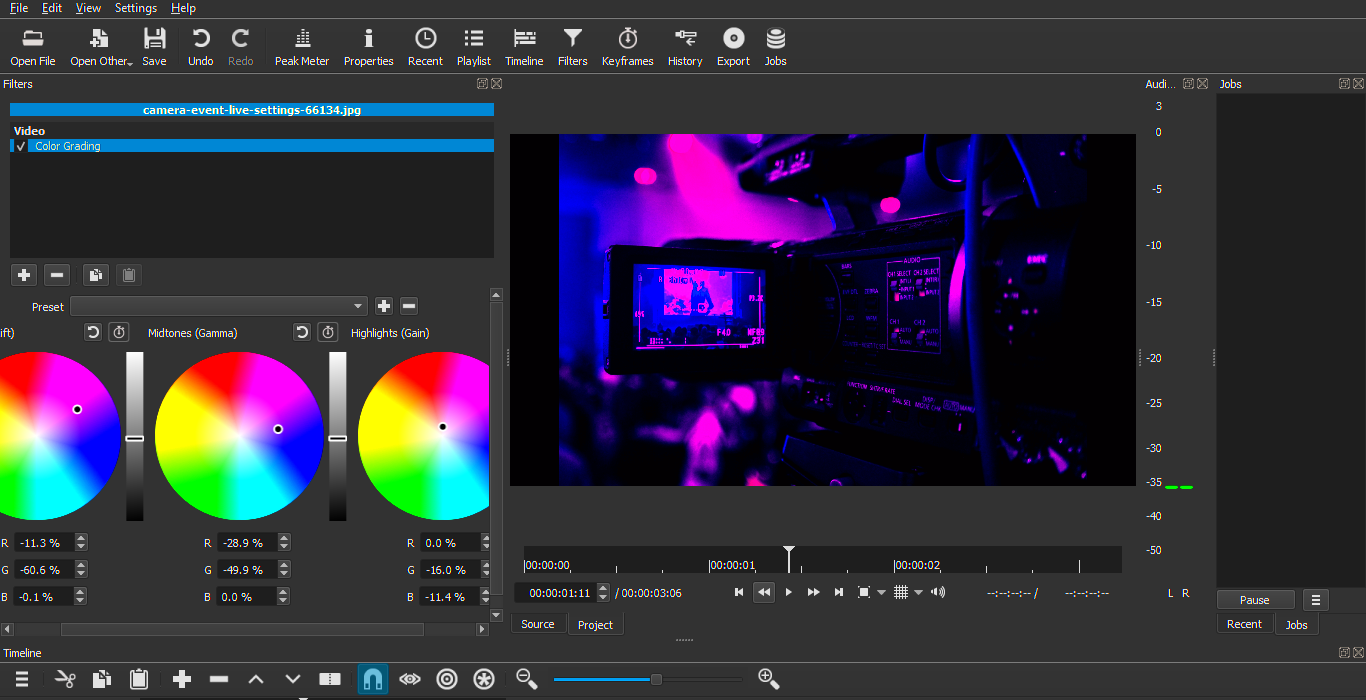
If you’ve ever wanted to make your images feel more dynamic and alive, adding a beat effect can be a fun and effective way to do it. The beat effect syncs the visuals with a specific rhythm or audio track, creating an energetic flow between what’s seen and heard. In Shotcut, this feature can transform a static image into something more engaging by aligning it with the beat of a song or sound clip. Whether you're working on a music video, a promotional video, or just exploring new creative possibilities, this effect can make a huge difference.
In this guide, we’ll walk through how to add the beat effect to your images step by step, making sure you understand each stage. You’ll learn how to sync your visuals with music or sound and customize the effect for a perfect fit. Let’s dive in!
Getting Started with Shotcut for Beat Effect

Before we jump into applying the beat effect, it’s important to get familiar with Shotcut and set up your workspace. Shotcut is a free, open-source video editing software that’s packed with powerful tools. It’s also easy to use for beginners, making it a great choice for adding a beat effect to images. Let’s walk through the basic setup:
- Download and Install Shotcut: If you haven’t already, download Shotcut from the official website and install it on your computer.
- Launch the Program: Open Shotcut, and you’ll see the main interface with a timeline, preview window, and toolbar.
- Create a New Project: Start a new project by selecting “New Project” from the menu. Choose the desired video resolution and format.
- Import Audio or Video: Import the media file (audio or video) that you want to sync the beat effect with.
Once Shotcut is set up, you can easily import your image and start applying the beat effect. It’s as simple as following the next steps, where we’ll guide you through the process of adding and syncing the beat effect to your image.
Also Read This: Downloading Adobe Stock Images as JPG Files
Importing Your Image into Shotcut

Now that Shotcut is ready, it’s time to import the image you want to apply the beat effect to. Importing an image into Shotcut is straightforward, and you can do it in just a few steps:
- Click on the Open File Button: On the top left of the interface, click the “Open File” button to browse your computer for the image.
- Select Your Image: Choose the image you want to work with and click “Open.” It will appear in the playlist panel of Shotcut.
- Drag the Image to the Timeline: Drag the image from the playlist to the timeline. This action will place your image on the video track, ready for editing.
At this point, your image is successfully imported into Shotcut. You’re all set to begin adding the beat effect, which will make your static image feel synchronized with your audio or video track. Keep reading to learn how to apply the effect and adjust it to your needs.
Also Read This: How to Access Adobe Stock through Photoshop
Understanding the Beat Effect and Its Impact
The beat effect is a technique used in video editing to synchronize visuals with the rhythm of an audio track. When applied to images, this effect can make your visuals react to the beat of the music or sound, creating a sense of movement and energy. It’s like turning your still image into a dynamic visual that flows with the audio, making it more engaging for your audience.
In Shotcut, the beat effect works by triggering changes in your image—whether that’s scaling, zooming, or shifting the position—based on the audio track’s rhythm. These movements happen at specific points in the audio where the beats occur. The effect is useful for adding extra flair to music videos, slideshows, or any project where you want your images to feel more connected to the sound.
Some of the key impacts of the beat effect include:
- Increased Engagement: Images that react to music can hold your audience's attention better than static visuals.
- Rhythmic Harmony: By syncing with the music, your images feel more in harmony with the track.
- Creative Visuals: The beat effect can add dramatic effects like zooms or pans, making your image stand out more.
- Enhanced Mood: The way the image moves can match the mood or intensity of the music, intensifying the viewer's experience.
With the beat effect, you’re not just showing an image—you’re creating an experience. The next steps will show you how to apply this effect to your images in Shotcut, so you can start enhancing your projects with this powerful tool.
Also Read This: Understanding How Licensing Works on Adobe Stock
How to Add Beat Effect to Your Image in Shotcut
Now that you understand the power of the beat effect, let’s get into how to actually add it to your image in Shotcut. It’s easier than it sounds, and Shotcut’s intuitive interface makes it simple to sync your image with audio beats. Here’s a step-by-step guide to help you add the effect:
- Step 1: Import Your Audio – You’ll need an audio track to sync the beat effect to. If you haven’t already done so, import your audio track into Shotcut.
- Step 2: Select the Image Track – Make sure your image is already placed on the timeline. If not, drag it from the playlist to the video track.
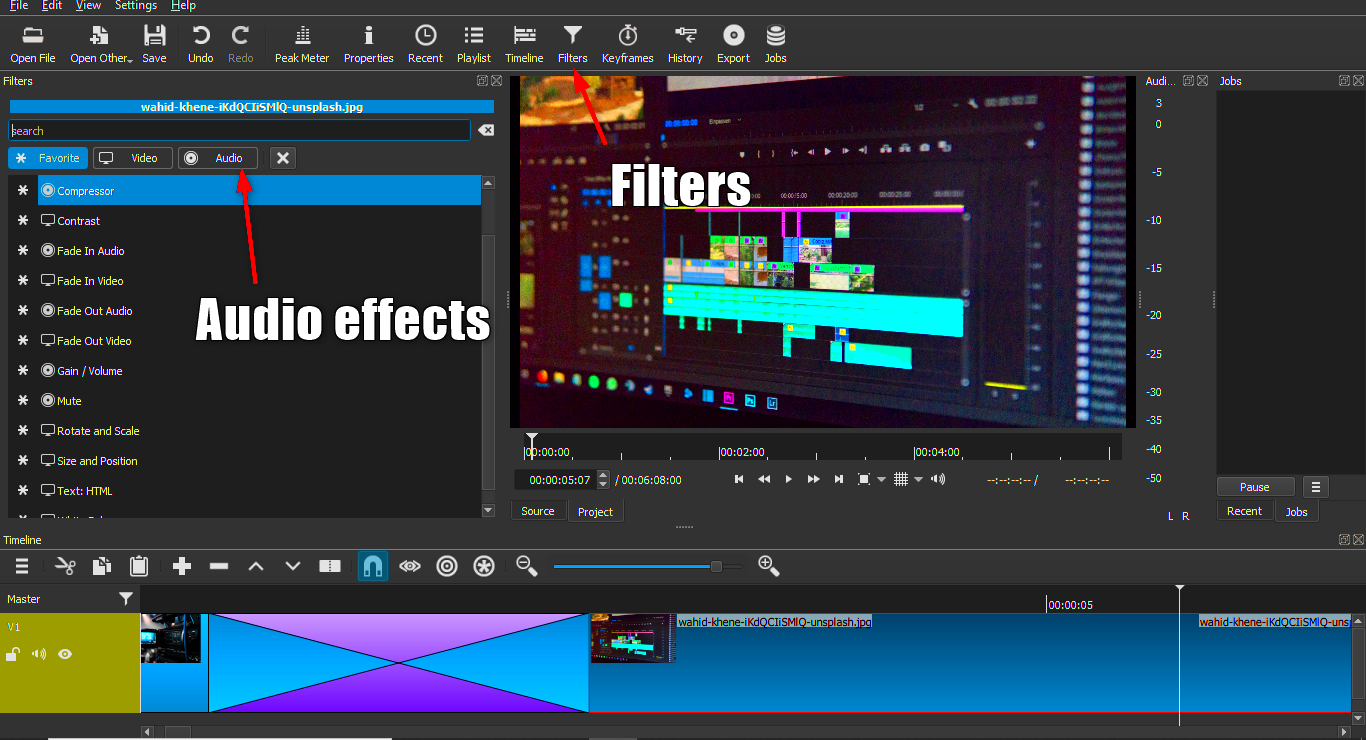
- Step 3: Add the Beat Effect – Right-click on the image track, select “Filters,” and then click on the “+” button to add a new filter. From the list of filters, choose "Audio/Video Filters" and select “Beat Detection.”
- Step 4: Set the Beat Detection Parameters – The Beat Detection filter allows you to set the sensitivity of the beat detection. Adjust the parameters to match the tempo and rhythm of the audio track you are working with.
- Step 5: Customize Image Effects – Once the beats are detected, you can apply different image effects to react to each beat. This can include zoom, position shifts, and more. Customize these effects to match the style and tone you want.
With these steps, you’ll have a basic beat effect applied to your image. Don’t worry if the first result isn’t perfect—adjustments can always be made to get it just right.
Also Read This: Download Friendship Video Status from ShareChat with This Practical Tool
Adjusting the Beat Effect for Perfect Synchronization
After applying the beat effect, you’ll likely want to adjust it for the best possible synchronization with your audio. Getting the beat and visuals in perfect harmony can make a huge difference in the overall quality of your project. Here’s how to fine-tune the effect:
- Step 1: Fine-tune Beat Detection Sensitivity – The sensitivity of the beat detection determines how accurately the software picks up the beats. If the effect is too fast or too slow, adjust the sensitivity in the filter settings. Lowering the sensitivity will make it more selective about what it picks up as a beat.
- Step 2: Adjust the Image’s Reaction – If your image is moving too dramatically or not enough, you can adjust the amount of movement applied to the image. For instance, increase or decrease the zoom effect or modify the panning speed.
- Step 3: Sync the Audio and Image – Sometimes, there might be a slight mismatch between the audio and the beat effect. Zoom in on the timeline to carefully align the image’s movement with the audio beats. You can manually adjust the start point of the effect to make sure everything lines up properly.
- Step 4: Use Keyframes for Precision – Shotcut also allows you to use keyframes for more precise control over the image’s behavior. Keyframes let you dictate exactly when and how the image moves during specific beats or sections of the audio track.
Fine-tuning the beat effect may take a little time, but once you get it right, your image will feel perfectly in sync with the rhythm. The more precise you are, the more professional your final result will look. With practice, you’ll master the art of making your images move to the beat like a pro!
Also Read This: how do you rotate an image in lightroom
Common Issues with Beat Effects and How to Fix Them
Adding a beat effect to your images can transform your project, but sometimes things don’t go as smoothly as expected. Whether it’s misalignment, too much movement, or audio issues, several common problems can arise when using the beat effect in Shotcut. The good news is that most of these problems have simple solutions. Let’s go through a few of them and how to fix them:
- Issue 1: Image Moves Too Much – If your image feels like it's bouncing too much or zooming too rapidly, it might be a result of over-sensitivity in the beat detection. Solution: Adjust the sensitivity in the Beat Detection filter to make it less reactive. You can also reduce the amount of movement applied to the image for a more subtle effect.
- Issue 2: Audio and Image Are Out of Sync – Sometimes, despite all your efforts, the beat effect might not sync perfectly with the audio track. Solution: Zoom in on the timeline and manually adjust the start time of your image’s beat effect to match the audio. You can also fine-tune the beat detection filter's settings.
- Issue 3: Beats Are Not Detected Properly – If the beat detection is missing some beats or detecting too many, it’s likely because the audio file is too quiet or too complex. Solution: Increase the volume of the audio or simplify the track. You could also try adjusting the detection sensitivity to better capture the beats.
- Issue 4: Image Flickers or Jumps Unpredictably – Sometimes, the image may not transition smoothly between movements, causing flickers or jerky motion. Solution: Reduce the intensity of the movement and make sure you’re using smooth transitions between keyframes, especially if you're manually adjusting the image.
By addressing these common issues, you can ensure that the beat effect enhances your project rather than detracts from it. With a little tweaking and patience, you’ll be able to create a perfectly synced, dynamic visual that complements your audio perfectly.
Also Read This: How to Edit the About Me Section in Behance to Personalize Your Profile
Finalizing and Exporting Your Image with Beat Effect
After you’ve applied and fine-tuned the beat effect to your image, the next step is to finalize your project and export it. Exporting is the final stage where you’ll create a video or image sequence that includes all the adjustments and effects you’ve added. Let’s go through the process of finalizing and exporting your image with the beat effect in Shotcut:
- Step 1: Review Your Work – Before exporting, play through the entire project to make sure everything looks just as you want it. Pay attention to how the image reacts to the beat and check that the sync is perfect. If any adjustments are needed, now’s the time to make them.
- Step 2: Set Export Settings – Once you’re happy with the project, go to the “Export” menu. Here you can choose the format, resolution, and quality settings for your exported file. For most projects, a high-quality MP4 or MOV format is ideal.
- Step 3: Export the Project – Click “Export File,” choose a location on your computer, and let Shotcut process the video. Depending on the length and complexity of the project, this might take a few minutes.
- Step 4: Double-Check the Export – After the export is complete, play the file to make sure everything looks and sounds as expected. Check for any audio syncing issues or image distortions that might have occurred during the export process.
Once you’re satisfied with the final video, you can share it with your audience or use it for your intended project. Exporting with the beat effect ensures that your visuals and audio work in perfect harmony, creating a professional-quality result.
Also Read This: Enhance Your Content Productivity With This Game-changing Instagram Thumbnail Grabber
FAQ
Here are some frequently asked questions about adding beat effects to images in Shotcut. These answers should help clarify any doubts and guide you through the process:
- Q: Do I need a specific type of audio for the beat effect to work?
A: While Shotcut can detect beats in any audio file, tracks with clear, consistent rhythms (like music with a strong beat) work best. If your audio is more complex, you may need to adjust the sensitivity of the beat detection filter. - Q: Can I apply the beat effect to multiple images?
A: Yes, you can apply the beat effect to multiple images. Just repeat the process for each image and adjust the timing to match your audio. - Q: How do I get smooth transitions between beats?
A: To get smooth transitions, avoid making drastic changes in your image's position or size between beats. Use keyframes for gradual adjustments and ensure the movement between them is consistent. - Q: What do I do if the beat effect isn’t synced well with my audio?
A: If the beat effect isn’t syncing well, you can manually adjust the timing on the timeline. Zoom in and fine-tune the placement of the image or keyframes to align with the beats more accurately. - Q: Can I add the beat effect to video clips instead of images?
A: Absolutely! You can apply the beat effect to both images and video clips. The process is the same—just make sure the video clip is on the timeline and then apply the beat effect as you would for an image.
Conclusion
Adding a beat effect to your images in Shotcut can dramatically enhance your project, making it more dynamic and engaging. By syncing your visuals with audio beats, you can create an energetic flow that captures the attention of your audience. Throughout this guide, you’ve learned how to set up Shotcut, import images, apply the beat effect, and make adjustments to ensure perfect synchronization. With the tips and techniques provided, you’re now ready to add professional-quality beat effects to your images and bring your creative projects to life. Don't forget to experiment with different settings to fine-tune your effects and achieve the best results possible. Happy editing!


