Have you ever experienced the thrill of engaging with technology that feels almost sentient? That’s the magic of the
ChatGPT API. It empowers you to infuse the capabilities of OpenAI's language model into your own applications. Picture having a conversation partner who can assist you with coding, brainstorming or simply engaging in casual banter.
This resource unlocks a realm of opportunities for developers, entrepreneurs or anyone intrigued by AI. In this article we'll delve into how to kick off your journey with the
ChatGPT API on your Mac seamlessly incorporating this potent tool into your digital arsenal.
Setting Up Your Mac for ChatGPT API
Getting your Mac ready to use the
ChatGPT API may seem like a challenge at first, but its actually quite simple once you break it down. Here’s a step by step guide to help you get started:
- Check Your macOS Version: Ensure your Mac is running a recent version of macOS. Ideally, you should be on macOS Mojave or later to avoid compatibility issues.
- Update Your Software: Make sure your system software and development tools are up-to-date. This includes updates to Xcode and any other relevant software.
- Install Homebrew: Homebrew is a package manager for macOS. If you haven’t installed it yet, you can do so by opening Terminal and running the command:
/bin/bash -c "$(curl -fsSL https://raw.githubusercontent.com/Homebrew/install/HEAD/install.sh)".
- Set Up Python: Most API interactions are done using Python. Check if Python is installed by running
python3 --version in Terminal. If not, you can install it using Homebrew with brew install python.
- Install pip: Pip is a package manager for Python. It usually comes with Python, but you can ensure it's installed by running
python3 -m ensurepip.
Once you finish these steps your Mac will be all set to explore the
ChatGPT API.
Installing Necessary Tools and Libraries
Now that your Mac is ready to go, it's time to gather the tools and libraries you'll need to kick off your work with the ChatGPT API. Here's a detailed walkthrough to help you get started.
- Install the OpenAI Python Client Library: This library allows you to interact with the ChatGPT API. Open Terminal and run the command:
pip install openai. It’s as simple as that!
- Get Your API Key: To use the ChatGPT API, you need an API key from OpenAI. Head to the OpenAI website, create an account if you haven’t already, and generate your API key. Keep this key secure; it’s like a password for your API access.
- Set Up a Virtual Environment: It’s a good practice to use virtual environments to manage dependencies. You can create one by running
python3 -m venv myenv and activate it using source myenv/bin/activate.
- Install Additional Libraries: Depending on your project, you might need additional libraries. For instance, you might want to install
requests for handling HTTP requests with pip install requests.
- Verify Your Setup: After installation, verify everything is working correctly by running a simple script. You can test the API connection with a basic script that uses your API key to make a request.
Now that you have these resources ready to go you can begin incorporating ChatGPT into your work. While the process may come across as somewhat complex just tackle it one step at a time and savor the experience of learning!
Creating Your First ChatGPT API Project
Embarking on a project feels like embarking on a thrilling journey. When it comes to utilizing the ChatGPT API the initial move is crucial for establishing a strong groundwork. Imagine this scenario you're gearing up to create a project where your code will seamlessly engage with an advanced AI model and the potential opportunities that await are truly exhilarating.
Here’s a breakdown of the process to get you started on your initial ChatGPT API project
- Create a New Directory: Organize your workspace by creating a new directory for your project. Open Terminal and run
mkdir chatgpt_project followed by cd chatgpt_project to navigate into it.
- Create a Python File: You’ll be writing your code in a Python file. Create one by running
touch main.py. This file will be the heart of your project where you’ll write the code to interact with the API.
- Initialize a Virtual Environment: For a clean setup, use a virtual environment. Run
python3 -m venv env and activate it with source env/bin/activate. This ensures all dependencies are managed separately from your system Python.
- Install Dependencies: You’ll need the OpenAI library. Install it using
pip install openai. If you need additional libraries, you can add them to your requirements.txt file.
- Write Your Script: Open
main.py in your favorite text editor. Start by importing the OpenAI library and setting up your API key. You’ll soon be ready to make API calls and handle responses.
- Test Your Setup: Before diving into more complex tasks, test your setup with a simple script that prints out a basic response from the API. It’s satisfying to see your first successful API interaction!
By following these steps you have set the stage for your ChatGPT API project. Keep in mind that every endeavor begins with a line of code and the road ahead is brimming with possibilities and exploration.
Understanding the API Key and Authentication
Think of your API key as a code that unlocks a world of functionalities. Without it you wont be able to use the ChatGPT API, which means no interactions with the AI. Its essential to know how to manage this key correctly.
Here’s a breakdown of what you need to know:
- What Is an API Key? An API key is a unique string of characters that identifies you to the service provider. For ChatGPT, it ensures that you’re authorized to make requests and access the API’s capabilities.
- How to Get an API Key: To obtain your API key, sign up for an account on the OpenAI website. After logging in, navigate to the API section, and you’ll find an option to generate a new key. Keep this key safe and never share it publicly.
- Using the API Key: In your Python script, you’ll use this key to authenticate your API requests. Typically, you’ll set it as an environment variable or include it directly in your code, but ensure it’s kept secure.
- Best Practices for Security: Never hard-code your API key in your scripts. Instead, use environment variables or configuration files to keep it safe. Consider using tools like `python-dotenv` to manage your environment variables securely.
- Handling Key Expiration: API keys can expire or be rotated. Keep track of key expiry dates and ensure you update your key in your project as needed. Regularly check the OpenAI dashboard for any updates or changes to your API key.
Its crucial to grasp and handle your API key properly to ensure smooth and secure communication with the ChatGPT API. Think of it as a code that grants you access to a tool and make sure to safeguard it diligently.
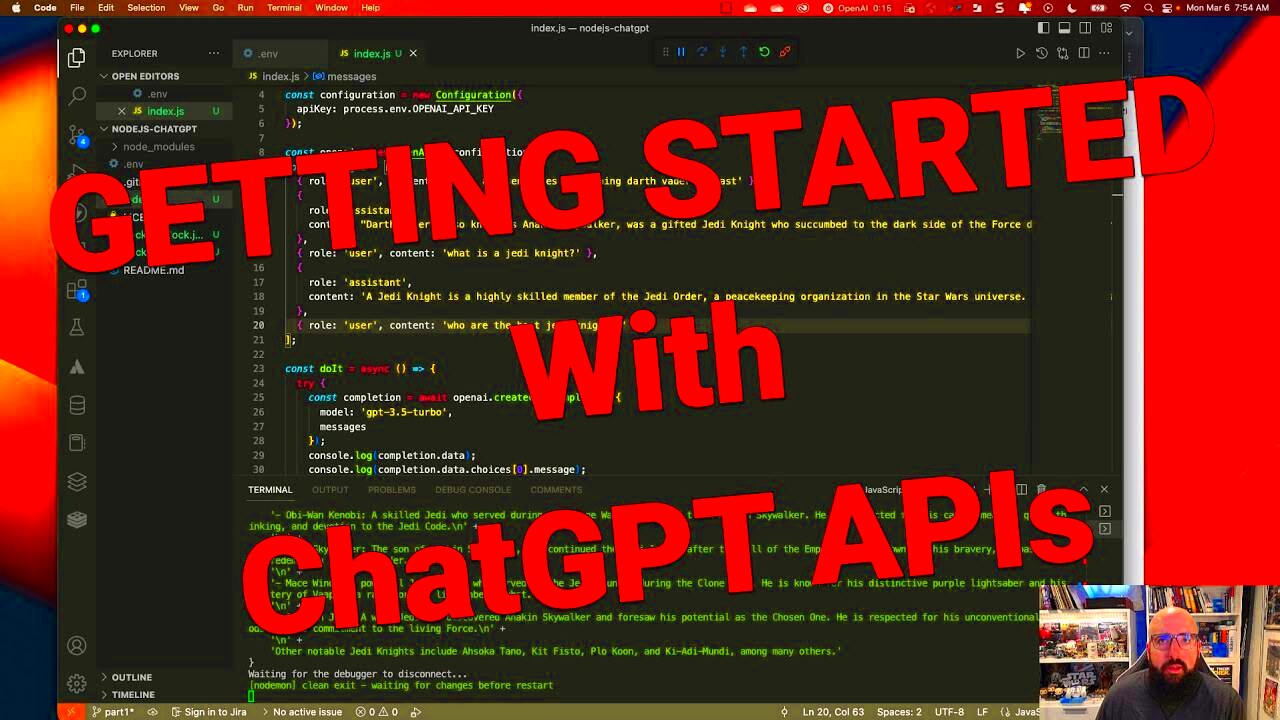
Making Your First API Call
Making that first API call is like turning a long cherished dream into reality. Its the culmination of all your hard work where you witness your code come alive and interact with the ChatGPT model.
Here’s a detailed walkthrough on how to make your initial API request
-
- Set Up Your Script: Start by importing the OpenAI library in your Python script. Here’s a basic setup:
import openai
openai.api_key = 'your-api-key-here'
-
- Write Your API Request: Create a request to the API by specifying the model and the prompt. For instance:
response = openai.Completion.create(
    model="text-davinci-003",
    prompt="Hello, how are you?",
    max_tokens=50
)
-
- Handle the Response: The API will return a response object containing the text generated by the model. You can extract the relevant information like this:
print(response.choices[0].text.strip())
- Test Different Prompts: Experiment with different prompts to see how the model responds. This helps you understand its capabilities and limitations better.
- Debug and Refine: If your API call doesn’t work as expected, check for errors in your code or API requests. Ensure your API key is correct and that your prompt is formatted properly.
The excitement and learning that come with making your initial API call are unmatched. Its the beginning of discovering how ChatGPT can elevate your work and offer creative solutions. Embrace the journey and continue to explore!
Handling API Responses and Errors
When dealing with APIs managing responses and errors is similar to adjusting a musical instrument. It requires both and an attentive sense for identifying what’s going smoothly or not. Just as a musician must comprehend the melodies you must grasp how the API conveys information to you.
Here are some tips on how to handle API responses and errors efficiently.
-
- Understanding Responses: The API returns a response object that contains various pieces of information. The most crucial part is usually the
choices array, which holds the generated text. A typical response might look like this:
{
    "choices": [
        {
            "text": "Hello! How can I assist you today?"
        }
    ]
}
-
- Check Response Status: Always check the status code of the response. A successful request will typically return a 200 status code. If the code is anything else, you might need to debug. Here’s a quick reference:
| Status Code |
Meaning |
| 200 |
Success |
| 400 |
Bad Request |
| 401 |
Unauthorized |
| 500 |
Server Error |
- Handling Errors: Errors can happen for various reasons—invalid API keys, incorrect request formats, or server issues. The error messages provided by the API are usually quite descriptive. For instance, if your API key is wrong, you might see an error message like “Invalid API Key.”
- Debugging Tips: When things go wrong, start by checking your request format and API key. Ensure that your code handles exceptions gracefully. Use try-except blocks in Python to catch and handle potential errors.
Handling API responses and errors is just a part of the process. With some experience you'll get better at understanding these responses and resolving problems. Its all part of the coding journey!
Tips for Efficient API Usage
Using an API effectively is akin to keeping a smoothly functioning engine. The goal is to maximize its potential without encountering problems or reaching constraints. Making efficient use of the ChatGPT API can significantly impact the performance and scalability of your project.
Here are a few suggestions to ensure that your experience with the API is seamless and efficient.
- Optimize API Requests: Be mindful of the number of requests you make. Combine multiple queries into one request when possible to reduce overhead. Also, keep your prompts concise but clear to get the best responses without overloading the system.
- Manage Your Rate Limits: OpenAI has rate limits to prevent abuse. Stay within these limits to avoid disruptions. Check the API documentation for details on how many requests you can make per minute or hour.
- Use Caching Wisely: If you’re making repetitive queries, consider caching responses to avoid hitting the API too often. This can save you time and resources. For example, if you’re querying for static information, cache the results for faster access.
- Monitor API Usage: Keep an eye on your API usage metrics. OpenAI provides dashboards where you can track how many requests you’ve made and how much you’ve spent. Regular monitoring helps you stay within budget and optimize your usage.
- Stay Updated: The world of APIs is constantly evolving. Keep up with the latest updates and best practices from OpenAI. New features and improvements can enhance how you interact with the API.
Using the API efficiently means finding the right balance between performance and cost while maximizing the features at your disposal. By implementing these suggestions you can ensure that your interactions with the ChatGPT API are not effective but also sustainable.
FAQ
Q1: What do I do if my API key is not working?
To start, make sure you’ve input the key accurately and check if it’s still valid. If the issue continues consider creating a new key in your OpenAI dashboard. Also remember to keep your API key safe and avoid embedding it directly in your code.
Q2: How do I handle rate limits with the API?
Keep an eye on how much you use your API to stay within the limits. If you find yourself reaching the rate limits you have the option to optimize your requests or think about upgrading your plan if that’s possible. Adding retry logic with a delay can be useful for handling rate limit challenges.
Q3: Can I use the API for commercial purposes?
Absolutely, you can utilize the API for business purposes as long as you adhere to OpenAI's usage policies and terms of service. It's important to go through these guidelines carefully to make sure your intended use aligns with their rules.
Q4: How can I improve the responses from the ChatGPT API?
To enhance the quality of responses pay attention to how you formulate your prompts. Be clear and include relevant context to steer the models direction. Try using variations and prompt styles to discover what produces optimal outcomes. Refining your prompts can greatly elevate the standard of the replies you receive.
Q5: Is there a way to test the API before committing to a project?
Yes, OpenAI provides a plan for the API that lets you try out and experiment with the service before deciding to pay for it. You can use this free plan to get a feel for what the API can do and what its limitations are.
Conclusion
Diving into the ChatGPT API journey feels like entering a realm filled with endless possibilities. From getting your setup ready to making that initial API call each step presents a chance for growth and learning. Having walked this path myself I can assure you that it comes with its challenges but also great rewards. The secret lies in staying curious and continually experimenting.
Keep in mind that every small adjustment can lead to outcomes and a deeper insight into the APIs functionality. So whether you’re creating a chatbot improving customer service or simply exploring the capabilities of AI approach the process with enthusiasm and patience. Your dedication will pave the way for meaningful and innovative uses of this technology. Happy coding!
 admin
admin


