Cricut machines are a popular choice for creating personalized designs, from intricate cuts to beautiful drawings. Cricut's drawing feature allows you to turn digital images into hand-drawn designs with precision. Whether you're creating greeting cards, invitations, or home décor, Cricut machines make it easy to add a personal touch with drawn elements. This post will guide you through the process of setting up Cricut to draw an image and share tips for getting the best results.
Steps to Set Up Cricut for Drawing

Setting up your Cricut machine to draw an image requires a few simple steps. Here's how to get started:
- Connect Cricut to your device: Make sure your Cricut machine is connected to your computer or mobile device via Bluetooth or USB.
- Open Cricut Design Space: This software is where you can upload and edit your images for drawing. You can access it via a web browser or the Cricut app on your phone or tablet.
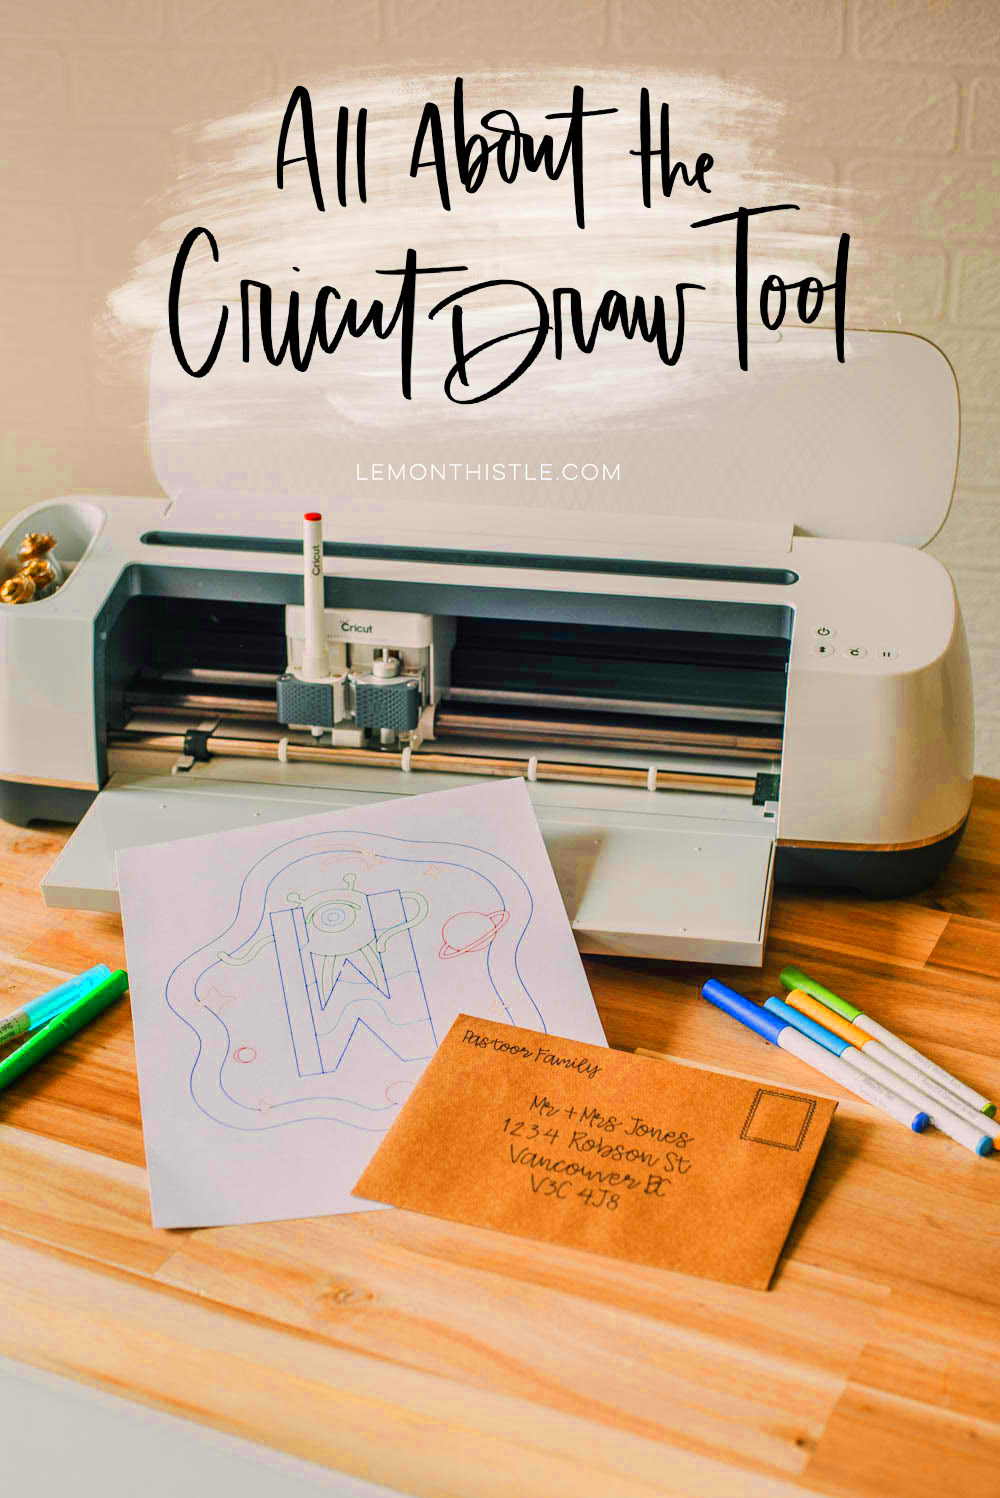
- Select your drawing tool: Choose from pens or markers compatible with Cricut. You can use various colors and types depending on your design needs.
- Choose the appropriate image: Upload the image you want Cricut to draw. Make sure it's a simple line drawing for the best results. You can either design your image from scratch or upload an existing one.
- Set image settings: In Cricut Design Space, adjust the settings so the machine knows it's a drawing project. Select “Draw” as the operation type, not “Cut.”
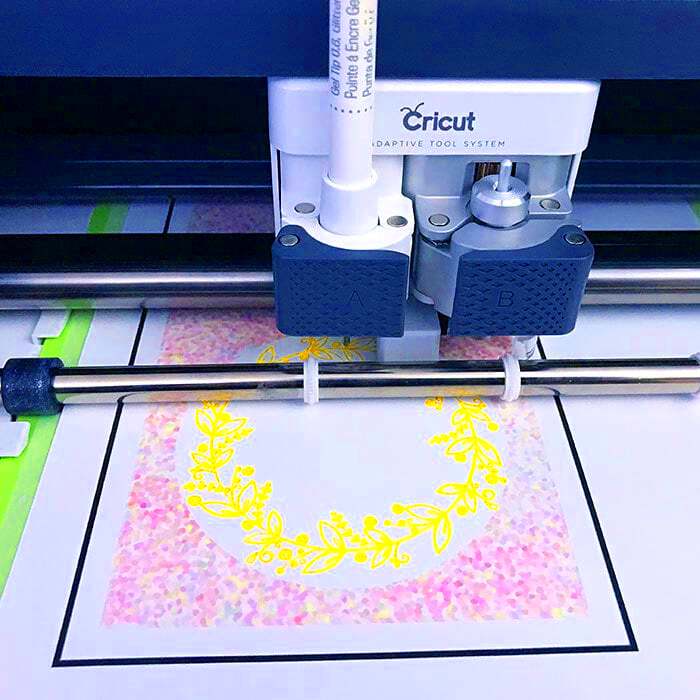
- Prepare the machine: Insert the pen into the Cricut machine and load your material onto the cutting mat.
- Start the drawing process: Once everything is set up, hit the “Go” button in Cricut Design Space to start drawing your image.
Also Read This: How to Project an Image on a Wall Without Using a Projector
Choosing the Right Materials for Cricut Drawing

Choosing the right materials is essential for achieving the best results when using your Cricut to draw. Different materials require different pens and settings, so it’s important to select compatible options. Here’s a guide to help you pick the right materials:
- Paper: Cardstock and copy paper are great for drawing projects. Make sure the paper is thick enough to hold the ink but not too thick that it prevents the pen from making a smooth, clean line.
- Vinyl: If you’re planning to draw on vinyl, choose adhesive vinyl. It's easy to work with and gives a nice, smooth surface for your Cricut pen to glide over.
- Iron-On: Use Cricut’s iron-on material for creating custom designs that you can transfer onto fabric. It's a bit tricky, so make sure to follow the right steps in Design Space.
- Leather or Felt: For a more durable finish, leather or felt can be used with Cricut pens, but you need to ensure that the material is placed flat to avoid uneven lines.
- Cardboard: Cricut can also draw on thin cardboard. This material adds an extra level of creativity, especially for projects like custom gift boxes or signs.
Remember to always test the materials on a small area before starting a large project. This way, you can check if the pen works well with the material and if the drawing comes out clean and precise.
Also Read This: How to Print 4 Images on One Page: Easy Steps for Efficient Printing
How to Upload Your Image to Cricut Design Space

Uploading your image to Cricut Design Space is the first step toward bringing your drawing project to life. Whether you’re using a pre-designed image or one you’ve created yourself, Cricut Design Space allows you to easily upload and manipulate your artwork. Here’s how you can upload your
- Open Cricut Design Space: Start by launching Cricut Design Space on your computer or mobile device. Log in to your account if you're not already signed in.
- Click on “New Project”: Once you’re in the design space, select the “New Project” button to create a blank canvas.
- Upload Your Image: On the left toolbar, click the “Upload” button. This will open a window where you can browse and select the image you want to upload from your files.
- Choose Image Type: Cricut Design Space will ask if your image is a “Simple,” “Moderate,” or “Complex” image. For drawings, choose “Simple” for clean line art. Cricut will automatically remove any unnecessary background.
- Adjust Image Preview: After selecting your image, you’ll see a preview. If necessary, use the “Erase” tool to remove any unwanted parts of the image.
- Save Your Image: Once you're happy with how the image looks, click “Save” to add it to your Cricut Design Space library. Now you can use it in your projects!
Also Read This: How to Prepare Potato Rice with Dailymotion Guide
Adjusting Image Settings for Drawing
Once your image is uploaded, you’ll need to adjust the settings to ensure Cricut draws it perfectly. Here’s how you can adjust the settings for the best results:
- Set the Image to “Draw”: When you upload an image, Cricut automatically sets it to “Cut.” Since you’re drawing, click on your image and change the operation type to “Draw” in the toolbar.
- Choose the Pen Type: Select the pen you’ll be using, whether it's a fine point pen, a marker, or another Cricut-compatible pen. Cricut Design Space offers a range of pen options, so choose the one that best suits your project.
- Adjust Line Settings: You can adjust the thickness or color of the lines in your image. This is especially useful for fine-tuning the look of text or intricate details in your design.
- Preview the Design: Before finalizing your design, use the “Preview” button to see how Cricut will handle the drawing. This helps ensure that all lines will be drawn as expected, with no unnecessary cuts or misses.
- Set the Image Size: Make sure your image is the right size for the material you’re using. You can resize the image in Design Space by clicking and dragging the corners of the image box or manually entering the dimensions.
Adjusting these settings ensures that Cricut will draw your image exactly as you envisioned. Always double-check the settings before starting the drawing process to avoid any mistakes!
Also Read This: Creative DIY Net Flower Craft Ideas
Loading Your Materials and Preparing Cricut
With your image ready to go, it’s time to load your materials and prepare your Cricut machine for the drawing. This step is crucial for ensuring a smooth and accurate drawing. Follow these steps to get everything set up:
- Prepare Your Material: Choose the material you want to draw on, such as paper, vinyl, or cardstock. Make sure the material is flat and free from wrinkles to allow Cricut to draw evenly.
- Place Material on the Mat: Take your material and position it on the cutting mat. Make sure it is aligned with the grid lines to keep it straight and in place. Press down gently to secure it.
- Insert the Pen into Cricut: Select your pen of choice and carefully insert it into the Cricut machine’s pen holder. Make sure it is securely in place to prevent it from falling out during the drawing process.
- Load the Mat into Cricut: Place the cutting mat into the Cricut machine, ensuring it is aligned properly. Press the “Load” button to load the mat into the machine.
- Test the Pen Pressure: Some pens require different pressure settings. You can adjust the pressure settings in Cricut Design Space if needed, especially if you’re using thicker or different types of pens.
- Start the Drawing: Once everything is set up, hit the “Go” button in Cricut Design Space to start the drawing process. The machine will begin drawing your image, and you’ll see it come to life!
It's essential to keep an eye on the Cricut machine during this process to ensure everything is working smoothly. If any issues arise, pause the process and check the setup to resolve the problem before continuing.
Also Read This: How to Share TikTok Videos on YouTube Without Losing Quality
Running the Cricut Machine and Drawing the Image
Once your Cricut machine is set up and your image is ready, it’s time to start the drawing process. Cricut will do most of the work, but there are a few things you should know to ensure the process goes smoothly. Here’s how to run your Cricut machine and watch your image come to life:
- Check the Settings One Last Time: Before you press “Go,” double-check your settings in Cricut Design Space. Ensure that the operation is set to “Draw” and that the correct pen type is selected.
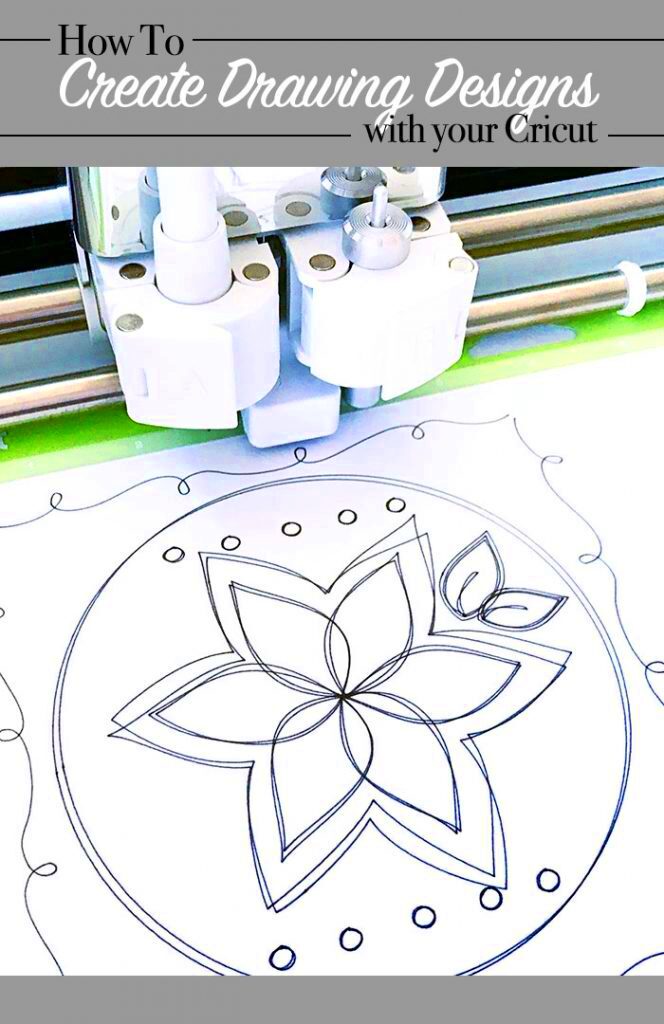
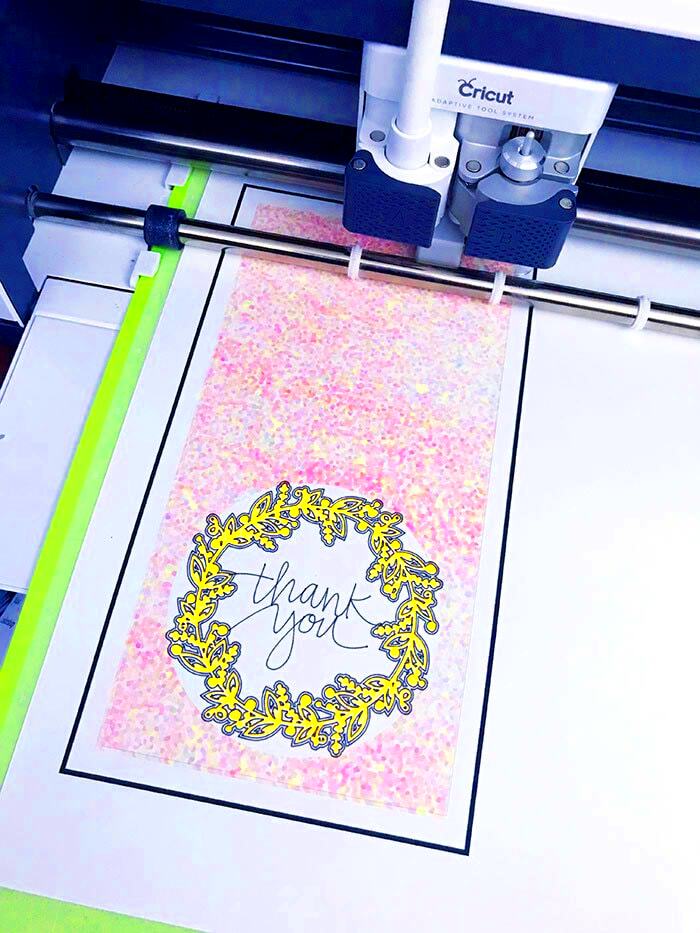
- Start the Drawing Process: Once everything looks good, click the “Go” button in Cricut Design Space. The Cricut machine will begin drawing your image automatically. You’ll see the pen move across the material, following the lines of your design.
- Monitor the Process: Stay close by and monitor the drawing to make sure everything is going smoothly. The Cricut machine should draw your design without skipping lines or going off track.
- Pause if Necessary: If something goes wrong or you notice an issue, you can pause the process by pressing the “Pause” button on your Cricut machine. This allows you to inspect and correct any mistakes before resuming.
- Finishing the Drawing: Once Cricut finishes the drawing, it will automatically stop. You can then unload the material and remove the drawing from the mat.
With these steps, your Cricut machine will accurately draw your image, providing you with beautiful, professional-quality designs every time. Make sure to keep an eye on the machine to ensure optimal results!
Also Read This: Here’s the Simplest Way to Download LinkedIn Post With One Click
Troubleshooting Common Issues with Cricut Drawing
While Cricut machines are generally reliable, there are a few common issues that may arise during the drawing process. Here’s a list of problems you might face and how to resolve them:
- Pen Not Drawing Properly: If the pen isn’t drawing clearly or skips lines, ensure that it’s properly inserted into the machine. Also, check that the pen is compatible with your Cricut model and material.
- Ink Smudging: Smudging can happen if the ink isn’t dry or the material moves during drawing. Avoid touching the ink immediately after drawing, and let the design dry before handling. If the material shifts, make sure it’s secured tightly to the mat.
- Uneven Pen Pressure: If your image looks too light or too dark, try adjusting the pen pressure settings in Cricut Design Space. Some pens need higher or lower pressure for optimal results.
- Skipping Lines or Cuts: If Cricut skips parts of your design, check the image settings to make sure the design is set to “Draw” and not “Cut.” Also, ensure the material is flat and not wrinkled or buckling.
- Machine Stops Mid-Drawing: This can be caused by a connectivity issue, low battery (if using Bluetooth), or a stuck pen. Restart the Cricut machine and try again. Make sure the pen is seated correctly in the holder.
If you encounter any of these issues, following these troubleshooting tips can help resolve them and ensure your Cricut machine draws smoothly and accurately. Regularly checking your materials and settings will also prevent many of these common problems.
Also Read This: How to Edit Text in a JPEG Image Online with Free Tools
FAQ
Here are some common questions and answers about using Cricut for drawing:
- Can I use any pen with my Cricut machine? Cricut machines are compatible with a range of pens and markers. It’s important to check that the pen is designed for Cricut or similar cutting machines to avoid damage or poor drawing results.
- How do I know which pen is right for my project? Choose a pen based on the thickness of the lines you want to create. Fine point pens work well for detailed designs, while thicker markers are better for bold images. Always check Cricut’s recommended pens for your specific machine model.
- Can Cricut draw on any material? Cricut can draw on many materials, such as paper, vinyl, cardstock, and even fabric. Be sure to select a material compatible with the type of pen you’re using for the best results.
- Why is my Cricut machine not drawing smoothly? If Cricut isn’t drawing smoothly, check the pen’s position, material type, and pressure settings. Additionally, ensure that the material is firmly secured on the mat and not shifting during the drawing process.
- Can I edit the image after uploading it to Cricut Design Space? Yes, Cricut Design Space allows you to edit uploaded images, such as adjusting their size, colors, and settings. You can also clean up the image to make sure it’s perfect before drawing.
If you have more questions or run into trouble, Cricut’s customer support and online forums are great resources for assistance. The more you use Cricut, the easier it will become to create stunning drawn designs!
Conclusion
Using Cricut to draw images is a fantastic way to add a personal touch to your projects, whether you're making cards, home décor, or custom gifts. By following the steps to upload, adjust settings, and prepare your materials, you can create beautiful, detailed designs with ease. If you encounter any issues along the way, there are simple troubleshooting tips to get you back on track. Remember to take your time during the setup process and always double-check your settings before starting the drawing. With a little practice, your Cricut machine will be a reliable tool for bringing your creative visions to life.

 admin
admin


