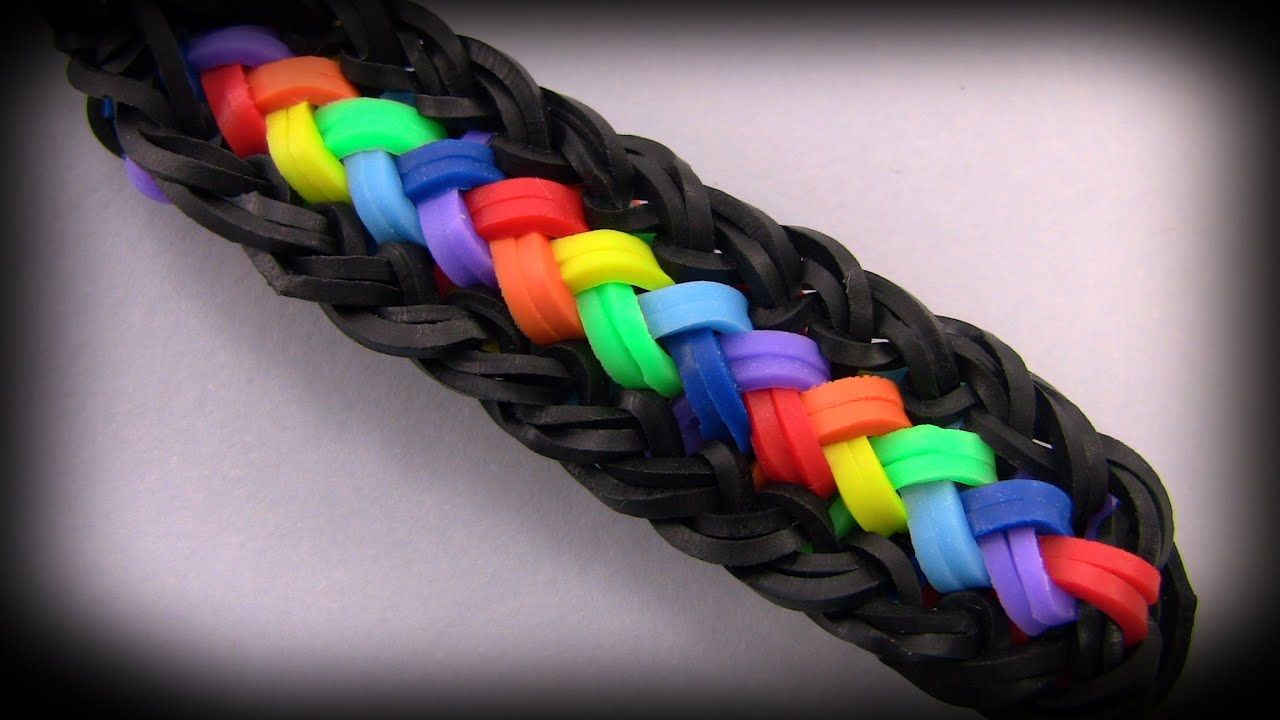
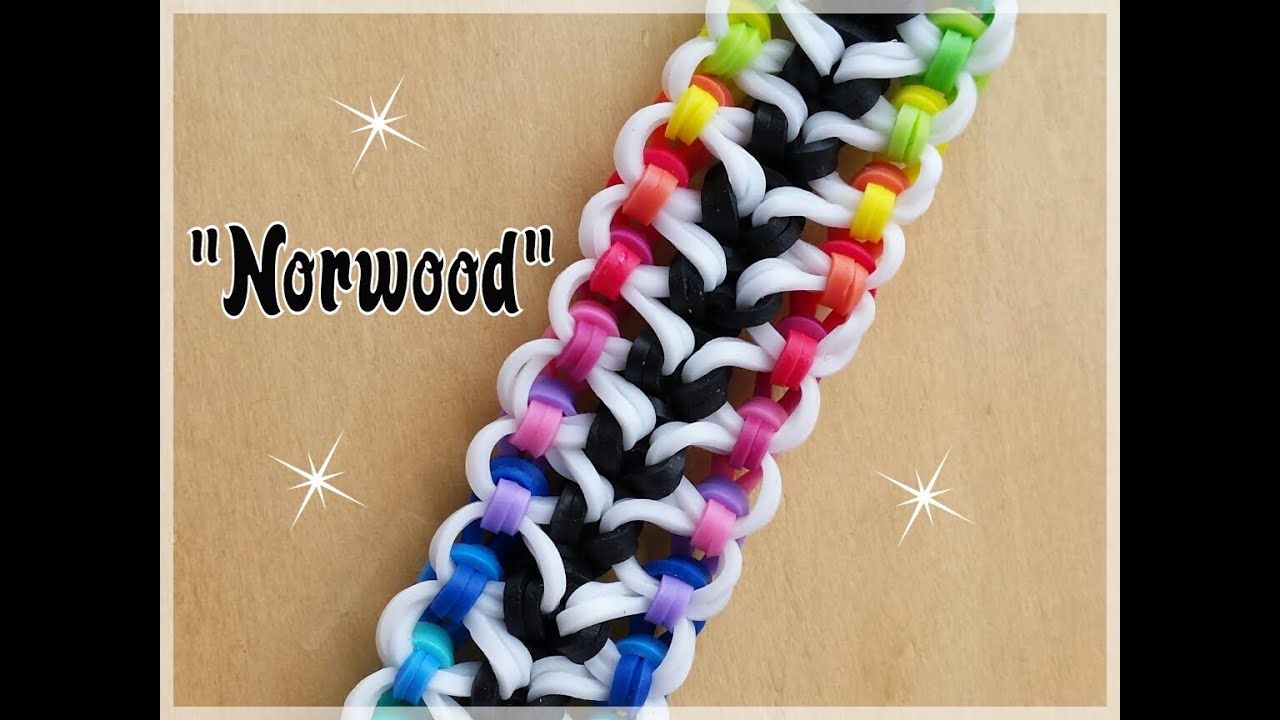
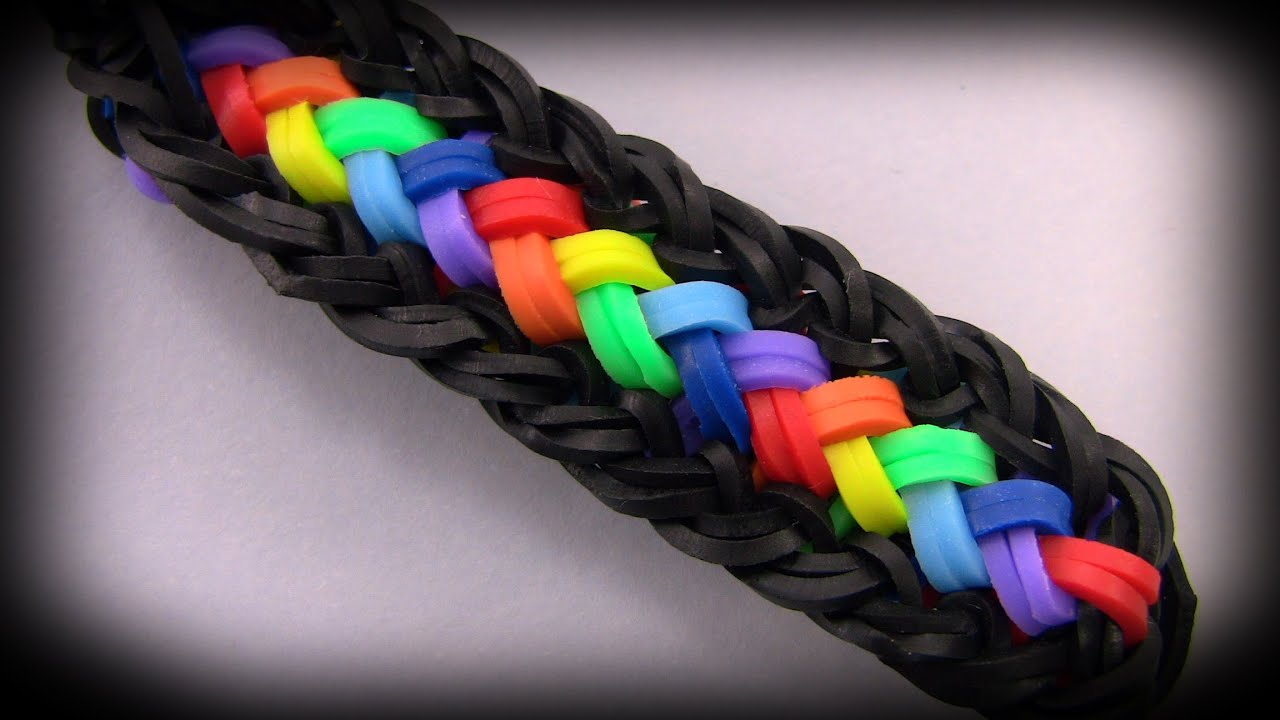
Have you ever seen those colorful, stretchy little bands that everyone seems to be wearing? That’s right—it's the world of loom bands! Loom bands are tiny rubber bands that can be woven together to create fun and funky jewelry, including bracelets, necklaces, and even keychains. They’ve taken the crafting world by storm with their versatility and the endless creative possibilities they offer. Whether you’re a beginner or an experienced crafter, loom band projects are a great way to express yourself and create beautiful pieces that you can wear or gift to friends.
The beauty of loom bands lies in their accessibility; you don’t need to be an expert to start making awesome designs. There are countless tutorials available online, and you can easily tweak patterns to suit your style. Best of all, you can have a blast making these with friends or family. So grab a loom and let’s dive into the world of loom bands together!
Materials Needed for Loom Band Bracelets

Now that you’re excited about creating your own loom band bracelets, it’s time to gather the materials you’ll need. The good news? You don’t need a lot! Here’s a simple list to get you started:
- Loom or Hook: You can use a loom for intricate designs or a simple hook if you’re going for a basic bracelet.
- Loom Bands: Choose your favorite colors! Loom bands typically come in packs of various colors, so feel free to mix and match.
- Clip or C-Clip: This is essential to fasten the ends of your bracelet securely.
- Scissors (optional): Use scissors to trim any excess bands if necessary.
- Storage Container: A small box or container will help you organize your loom bands and tools.
| Material | Purpose |
|---|---|
| Loom | Used to create complex designs. |
| Hook | Helps in making simpler bracelets. |
| Loom Bands | Base material for creating bracelets. |
| Clip | Secures the bracelet ends. |
| Storage Container | Organizes materials. |
Once you’ve got all your materials lined up, you’re ready to jump into the fun world of loom band crafting. With just a little bit of practice, you’ll be whipping up stylish bracelets in no time!
Also Read This: List of LinkedIn Remote Jobs Worldwide
Basic Knotting Techniques

Before diving into the world of loom band bracelets, it's essential to familiarize yourself with some basic knotting techniques. These foundational skills will help you create beautiful and sturdy bracelets with ease. Let’s discuss a few key knots you’ll frequently use when working with loom bands:
- The Slip Knot: This is the most basic knot, perfect for starting your project. To make a slip knot, take your band and form a loop, pulling one end through to create a knot. Tighten it on the loom or your finger.
- The Square Knot: This knot is great for securing your bracelet ends. To tie a square knot, hold two ends of your bands together. Wrap the right-hand band over the left, then bring the left band over the right and pull tight.
- The Half Hitch: Ideal for joining sections of your bracelet. Create a loop by passing the band behind the other and pull it through to make a knot. This can be repeated for additional security.
Understanding these knots will allow you to create a variety of designs more comfortably. Don't hesitate to practice these techniques before you start your first masterpiece; repetition is key! Once you grasp the basics, you’ll feel more confident in your bracelet-making journey.
Also Read This: How Much Space Does a 1-Meter Image Occupy? Exploring Image Dimensions
Step-by-Step Instructions for Making Your First Bracelet

Now that you’re familiar with the essential knots, let’s get started on your very first loom band bracelet! Follow these simple instructions to create a basic rainbow bracelet:
- Gather Your Materials: You’ll need loom bands in various colors, a loom (or a DIY version using a fork or pencil), and a hook tool. It’s also handy to have a clip to secure the ends.
- Setup Your Loom: Place the loom in front of you with the pegs facing away. This will make it easier to work with as you create your bracelet.
- Start Band Placement: Choose a color for the bottom band and place it on the first peg. Continue adding bands in any pattern you like. For example, alternating colors creates a lovely striped effect!
- Begin Hooking: Once you have 5-6 bands on the loom, using the hook tool, carefully pull the bottom band over the top bands, securing it in place. Repeat this process for all bands on your loom.
- Continue Adding Bands: Keep adding layers until your bracelet reaches your desired length, usually around 6-8 inches will fit most wrists.
- Finish Your Bracelet: Once satisfied with the length, secure the last bands in place with a slip knot. Attach your clip to hold everything together.
And there you have it—your very first loom band bracelet! You can experiment with different colors and patterns as you get more comfortable. Enjoy your creative process, and don’t forget to show off your beautiful new accessory!
Also Read This: How to Download Videos from the Dailymotion App
Creative Designs and Patterns
When it comes to making bracelets with loom bands, the possibilities are endless. You can create a variety of designs and patterns that not only look great but also showcase your creativity. Here are a few fun ideas to spark your inspiration:
- Rainbow Loom: The classic choice! Use bands in a spectrum of colors to create a vibrant, eye-catching bracelet.
- Fishtail Design: This pattern resembles a fishtail and is one of the most popular designs among loom band enthusiasts.
- Chevron Bracelet: A zigzag pattern that’s simple to make but looks super stylish!
- Heart Pattern: Show some love with a bracelet that forms cute little hearts throughout its length.
- Animal Designs: Get playful by creating bracelets in the shape of animals or featuring animal motifs, perfect for kid-friendly crafts.
You can also combine different patterns to create unique designs. Mixing the fishtail with solid color stripes or incorporating charms can add an extra flair. Don't hesitate to experiment! The more you try out different techniques, the more you’ll discover your personal style.
Lastly, there are tons of online resources and communities where you can find tutorials and share your creations. Whether you're working on a simple pattern or a complex design, the joy is in the process of creating something truly special!
Also Read This: How to Do Applique Work by Hand on Dailymotion Easy Steps for Beginners
Tips and Tricks for Loom Band Beginners
Getting started with loom bands can seem a bit daunting, but it doesn't have to be! Here are some handy tips and tricks to make your crafting experience smoother and more enjoyable:
- Start Simple: Begin with easy patterns like the single band or basic fishtail before tackling more complicated designs.
- Keep Your Bands Organized: Use small containers or colored trays to separate your bands by color. This makes finding the right band quick and easy.
- Use the Right Loom: If you're just starting out, a simple loom kit will serve you well. As you advance, you might explore larger or more complex loom setups.
- Watch Tutorials: There are plenty of video tutorials available that can guide you step-by-step through new designs. Visual aids can be very helpful!
- Practice Patience: Don’t rush! Take your time to perfect your technique. If you mess up, it’s okay; simply remove the bands and try again.
Additionally, don’t forget to enjoy the process! Making loom band bracelets can be a relaxing and rewarding hobby, perfect for unwinding after a long day. Share your creations with friends and family, and perhaps host a crafting session! Happy looming!
Also Read This: Inserting Images into EPIC Notes: A Quick Tutorial
7. Sharing Your Creations on Dailymotion
Once you’ve crafted some stunning loom band bracelets, what better way to showcase your creativity than by sharing it with the world on Dailymotion? It's an excellent platform for budding artisans to share videos of their handiworks.
Here’s a simple guide on how to create and share your bracelet-making journey on Dailymotion:
- Create a Video: Use your smartphone or camera to record yourself making bracelets. You can do a step-by-step tutorial, show off your finished creations, or even share tips and tricks for others.
- Edit Your Video: Use easy editing software to trim unnecessary parts, add fun effects, or background music. Keep it engaging! A well-edited video can make your tutorial shine.
- Create an Account: If you don’t have a Dailymotion account yet, sign up! It’s straightforward and free. Make sure to fill out your profile so others can connect with you.
- Upload Your Video: Once you’re satisfied with your creation, upload it! Make sure to pick an eye-catching thumbnail and title. Include relevant tags to help others find your content.
- Engage with Your Audience: After uploading, don’t forget to check back for comments or questions on your video. Engage with your viewers—this interaction can help build a community around your crafting!
Sharing on Dailymotion not only allows you to display your creativity but also serves as inspiration for others. Plus, you might even find fellow loom band enthusiasts, making the crafting experience even more enjoyable!
8. Conclusion and Next Steps
Congratulations! You've made it through the fun tutorial on creating beautiful loom band bracelets. By now, you’ve learned some essential techniques, tips, and the joy of personal expression through crafting. But the journey doesn’t end here!
Here are a few exciting next steps to consider:
- Try New Patterns: Challenge yourself with intricate designs and patterns. As you become more skilled, you can experiment with complicated styles like the fishtail, triple-single, or even charms!
- Join a Community: Consider joining online forums or local crafting groups that focus on loom bands. Sharing your progress and learning from others can keep your interest alive!
- Teach Others: Once you feel confident in your skills, why not teach someone else? You could host a mini workshop or share tutorials online. Teaching can solidify your knowledge and ignite someone's passion for crafting.
- Explore Other Crafts: Loom bands are a fantastic start, but don’t limit yourself. Explore other craft options like knitting, crochet, or paper crafting. Each new craft can enhance your creativity and skills!
So grab your loom bands, stay curious, and keep crafting! Your next masterpiece is just a few rubber bands away. Happy crafting!
 admin
admin


