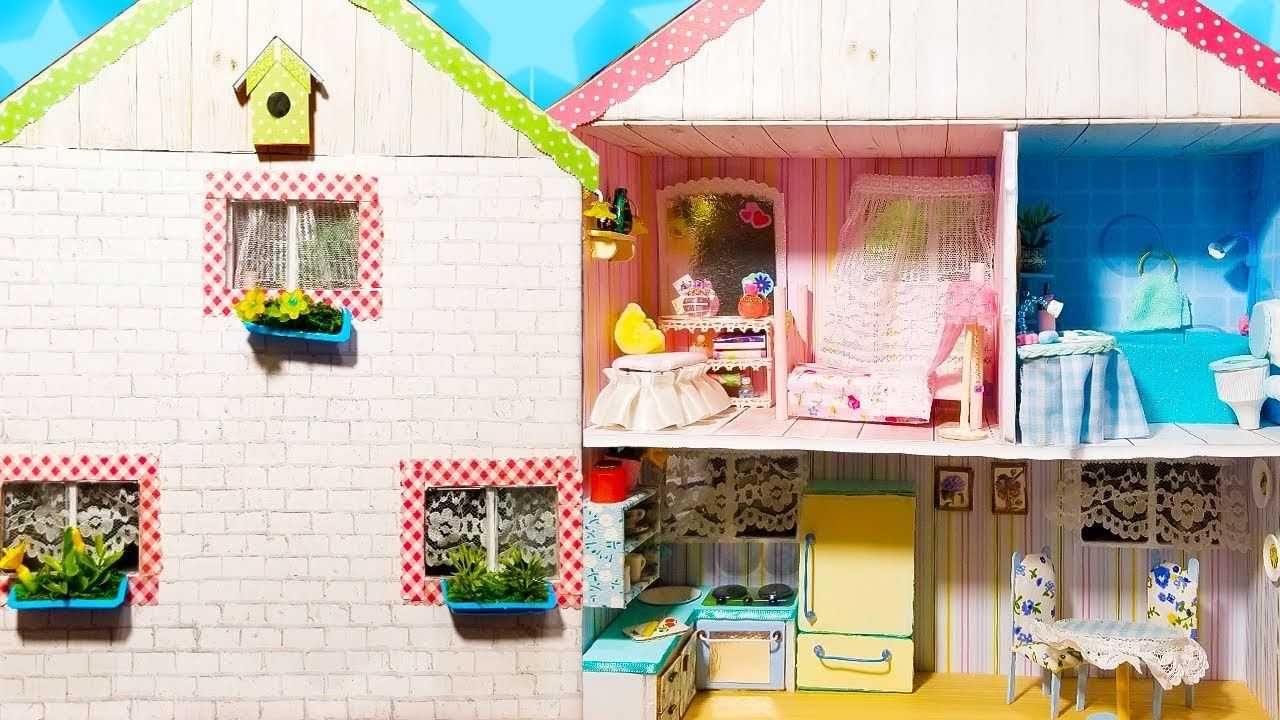
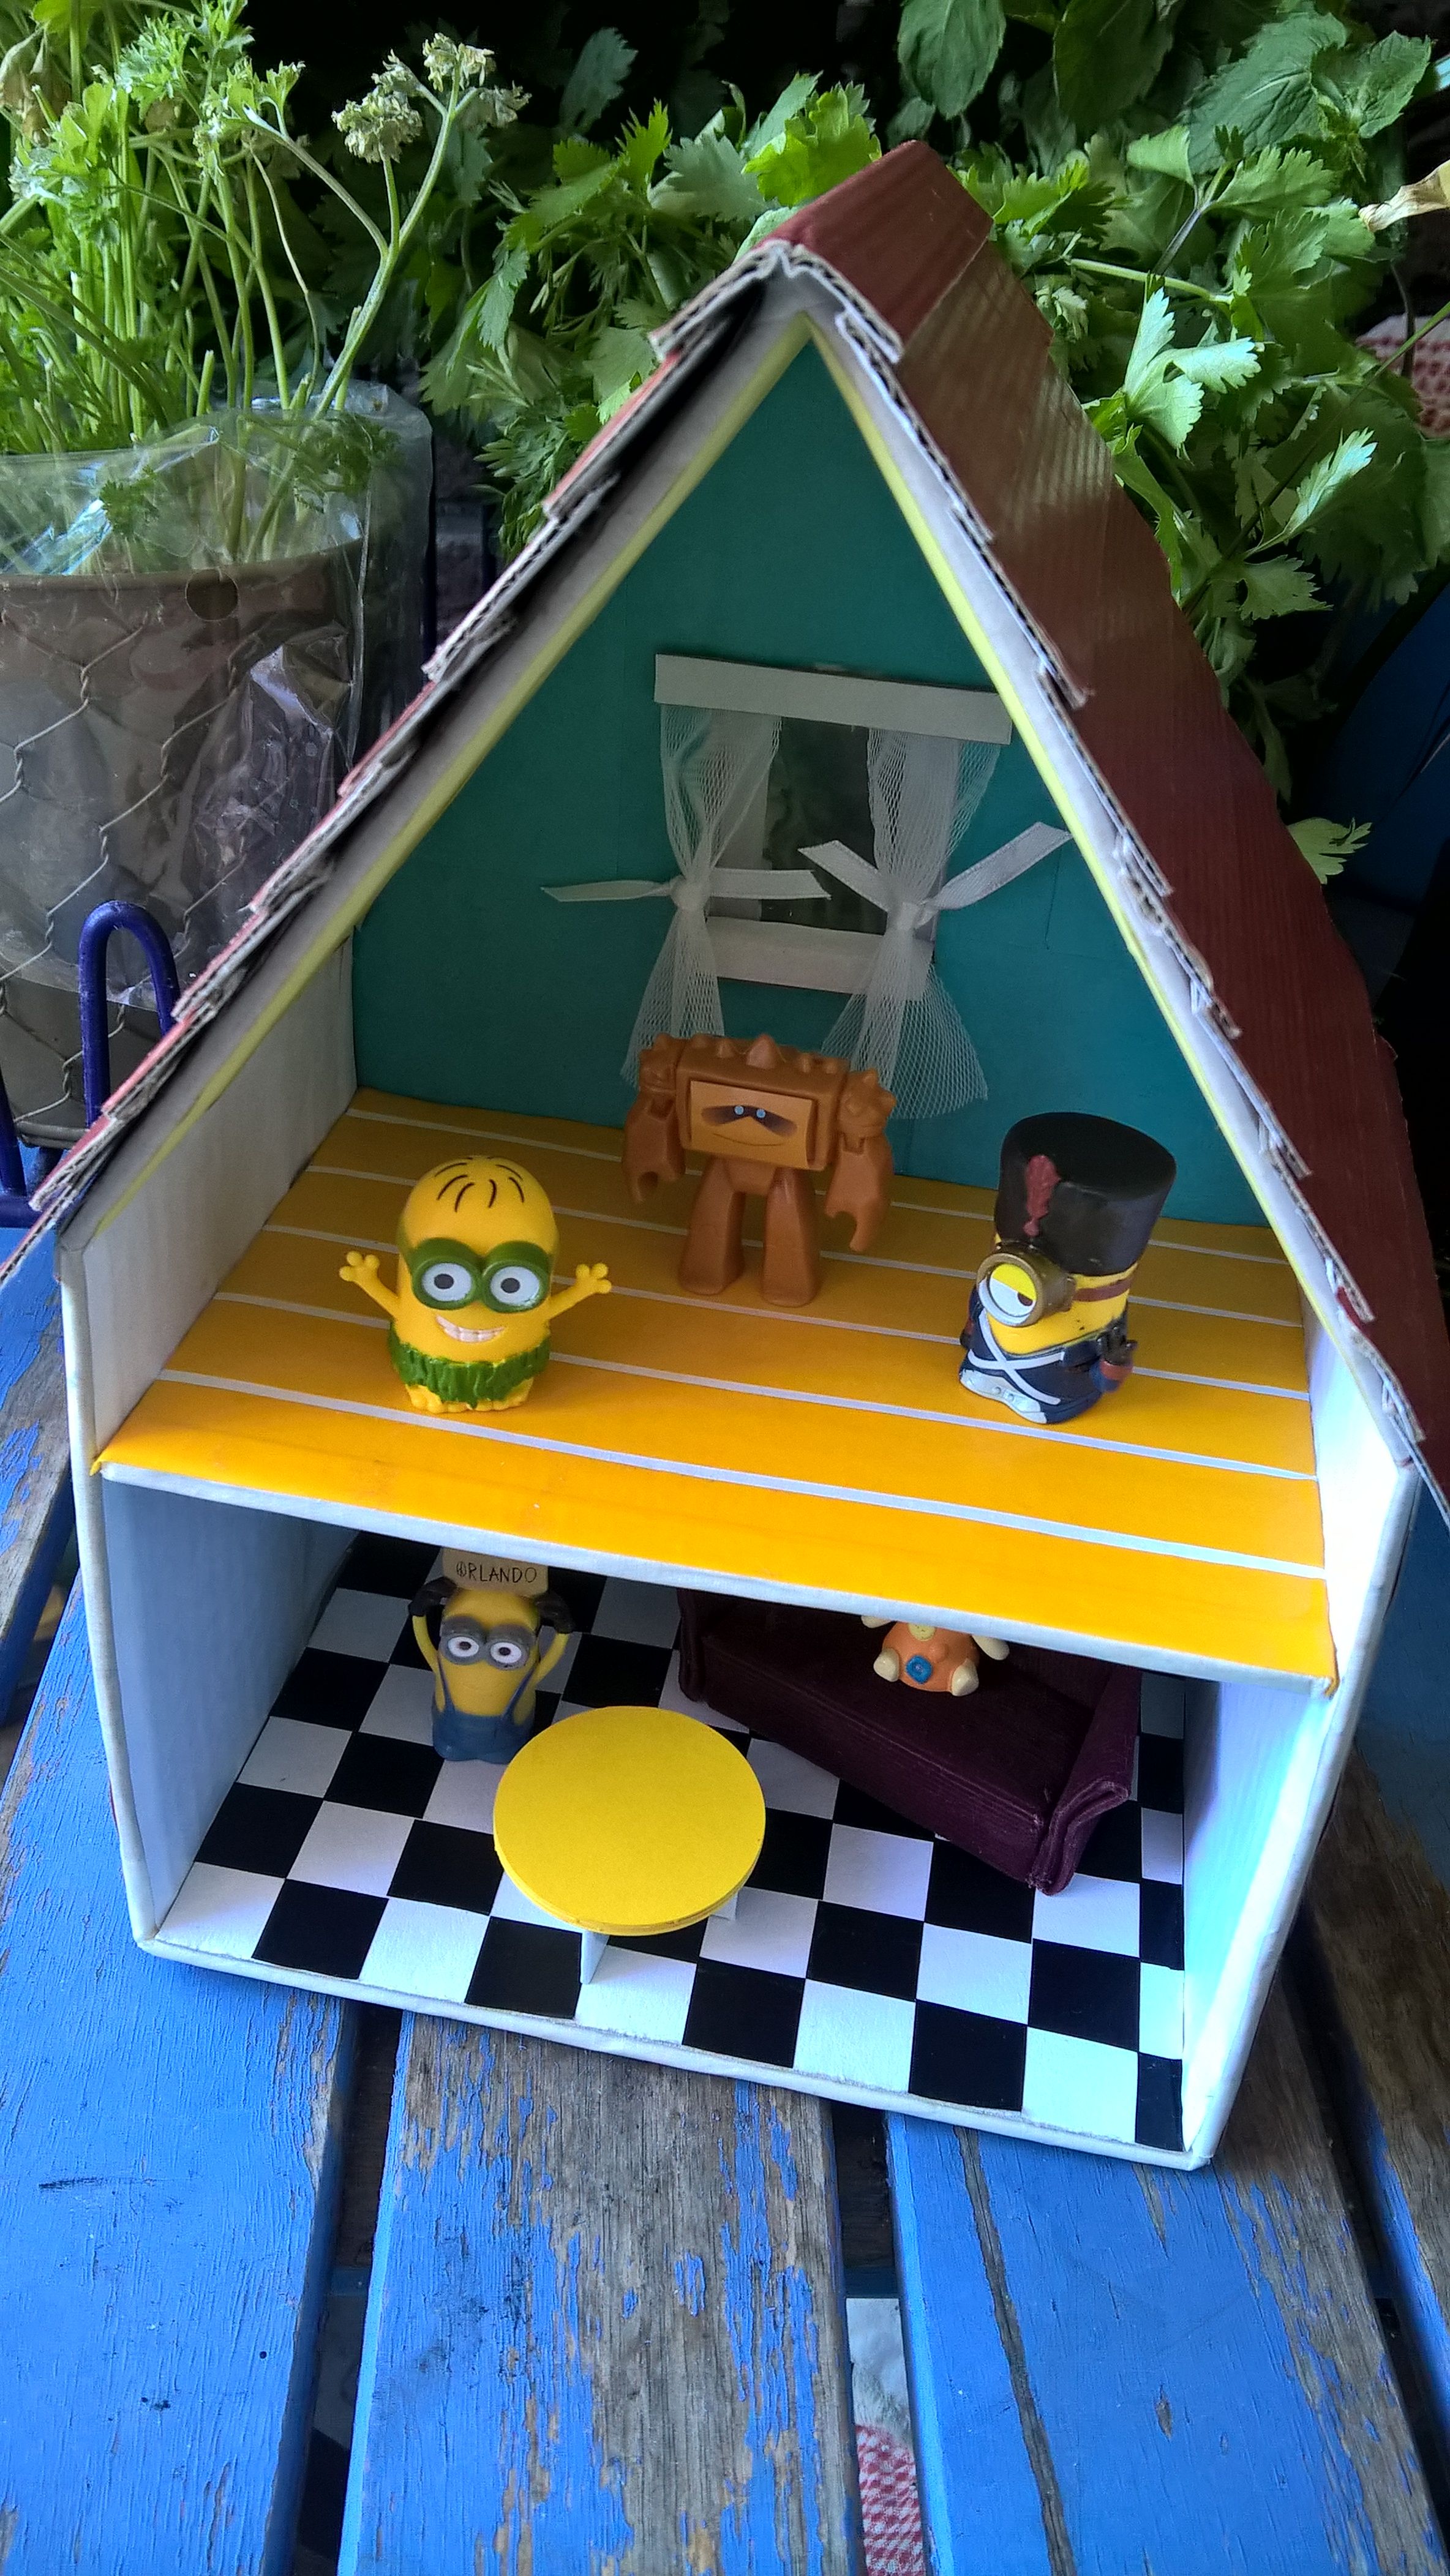
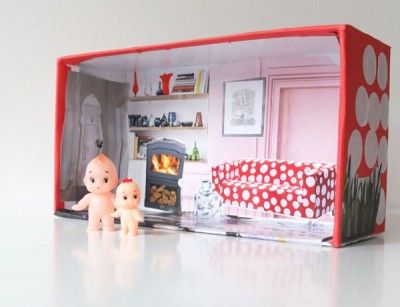
Hey there, crafty friends! Are you ready to unleash your inner designer? In this fun DIY tutorial, we’re going to create a charming dollhouse using nothing but a shoebox and a sprinkle of creativity. Not only is this project a terrific way to upcycle an old shoebox, but it’s also a fantastic activity for the whole family. Let’s dive into the delightful world of miniature homes and make some unforgettable memories along the way!
Materials Needed

To kick off our DIY dollhouse project, you’ll want to gather some materials. Don’t worry if you think you have nothing at home; most of these items are pretty common. Here’s a handy list to help you collect everything you need:
- Shoebox - Any size will do, but a standard shoe box works great!
- Scissors - For cutting windows and doors.
- Glue or Tape - To hold everything together.
- Paint or Markers - To add a splash of color to your dollhouse.
- Construction Paper or Scrapbook Paper - For wallpaper, flooring, and fun decorations.
- Small Dollhouse Furniture - You can either buy some, make your own, or even use items like buttons or bottle caps!
- Craft Stick or Popsicle Sticks - Great for building furniture and walls.
- Cotton Balls or Fabric Scraps - Perfect for making pillows, beds, or rugs.
- Stickers or Stamps - To add personal touches to your dollhouse.
Once you’ve gathered your materials, you’re all set to start this exciting project! Let your imagination run wild and have fun with it!
Step-by-Step Instructions

Creating a dollhouse from a shoebox is not only a fun DIY project but also a great way to get creative! Follow these simple steps to bring your miniature world to life:
- Gather Your Materials: Start by collecting all the supplies you'll need:
- An empty shoebox
- Art supplies (construction paper, markers, paint)
- Craft materials (fabric scraps, buttons, glue, scissors)
- Dollhouse furniture or DIY materials (matchsticks, cardboard)
Tips for Personalizing Your Dollhouse

Personalizing your shoebox dollhouse can make it even more special. Here are some fun tips to add your flair:
- Go Theme-Based: Choose a theme for your dollhouse, like a cozy cottage, modern apartment, or a beach house. This can guide your color schemes and decorations.
- Use Family Photos: Print out tiny family photos or create portraits to decorate the walls. This adds a personal touch and makes the dollhouse feel more homey!
- Incorporate Hobbies: If you or your loved ones enjoy specific hobbies, incorporate them into the design. For example, if you love gardening, create a little garden area outside your dollhouse.
- Changeable Rooms: Design some elements that are removable or changeable, like furniture or decorations. This way, you can rearrange them whenever you feel like a change!
- Color Palette: Choose a color palette that reflects your personality. You can have bright, vibrant colors or go for soft pastels. It will give your dollhouse a stylish yet personal touch.
Remember, this is your creative project, so have fun with it! Don’t be afraid to think outside the box and make the dollhouse uniquely yours.
Creative Decor Ideas
Now that you've built your basic shoebox dollhouse, it's time to unleash your creativity with some fun and imaginative decor! Decorating your dollhouse can be one of the most enjoyable parts of this DIY project, allowing you to express your personal style and design preferences. Here are some creative decor ideas to inspire you:
- Paint the Walls: Give each room its own unique vibe by painting the walls with vibrant colors or fun patterns. You can even use patterned scrapbook paper as wallpaper!
- Mini Furniture: Create your own miniature furniture using cardboard, popsicle sticks, or even miniature wooden blocks. Don't shy away from painting them in bright colors!
- Textiles: Use scraps of fabric for curtains, rugs, and bed linens. Simple stitches or fabric glue can hold everything in place while adding warmth.
- Wall Art: Create tiny paintings or frames using leftover cardboard or by printing small pictures. Hang them on the walls for character and personality.
- Eco-Friendly Touches: Incorporate natural materials like twigs for beds, cotton balls for pillows, and leaves for decorative elements to give your dollhouse an earthy feel.
Remember, the beauty of a DIY dollhouse is in the details. You can even have themed rooms like a beach house, a modern apartment, or even a fairy tale castle. So, get creative and have fun!
Conclusion
Building a dollhouse from a shoebox is not just a fun DIY project; it’s a fantastic way to spark creativity and imagination. Whether you're a child or an adult, this project allows you to get hands-on while repurposing materials that might otherwise go to waste.
Throughout the process, you’ve explored everything from constructing the basic structure to adding delightful decor that reflects your personal style. As a bonus, this project isn’t just entertaining; it can also improve fine motor skills, enhance problem-solving abilities, and encourage imaginative play.
So why not gather some materials and start building your very own shoebox dollhouse today? Grab your paintbrush and scissors, call on some friends or family, and create a charming little haven. Who knows? You might just discover a new hobby in the process!
Happy crafting!


