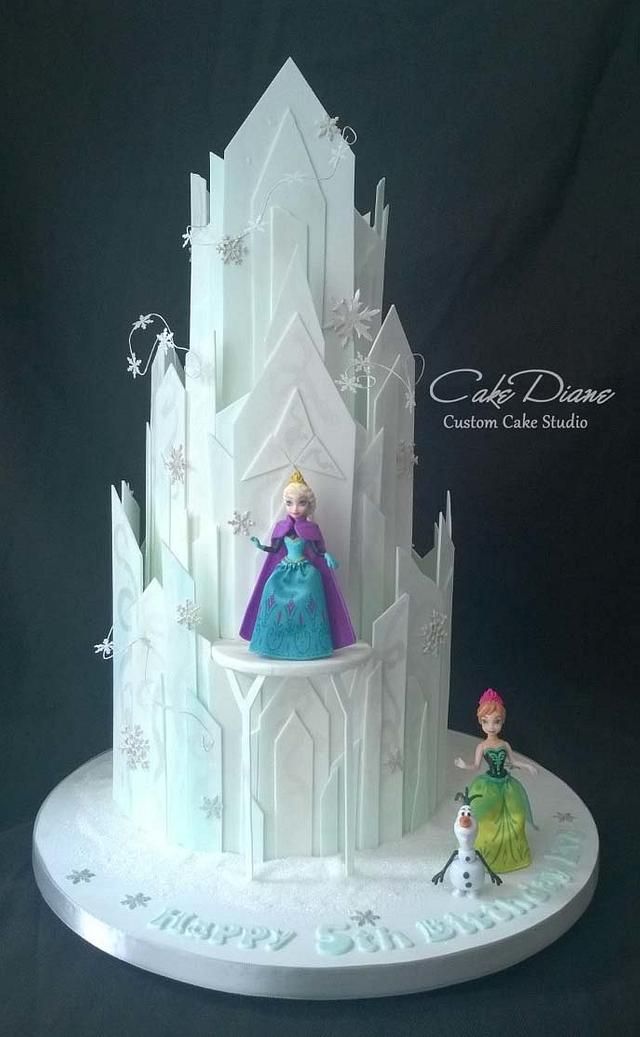
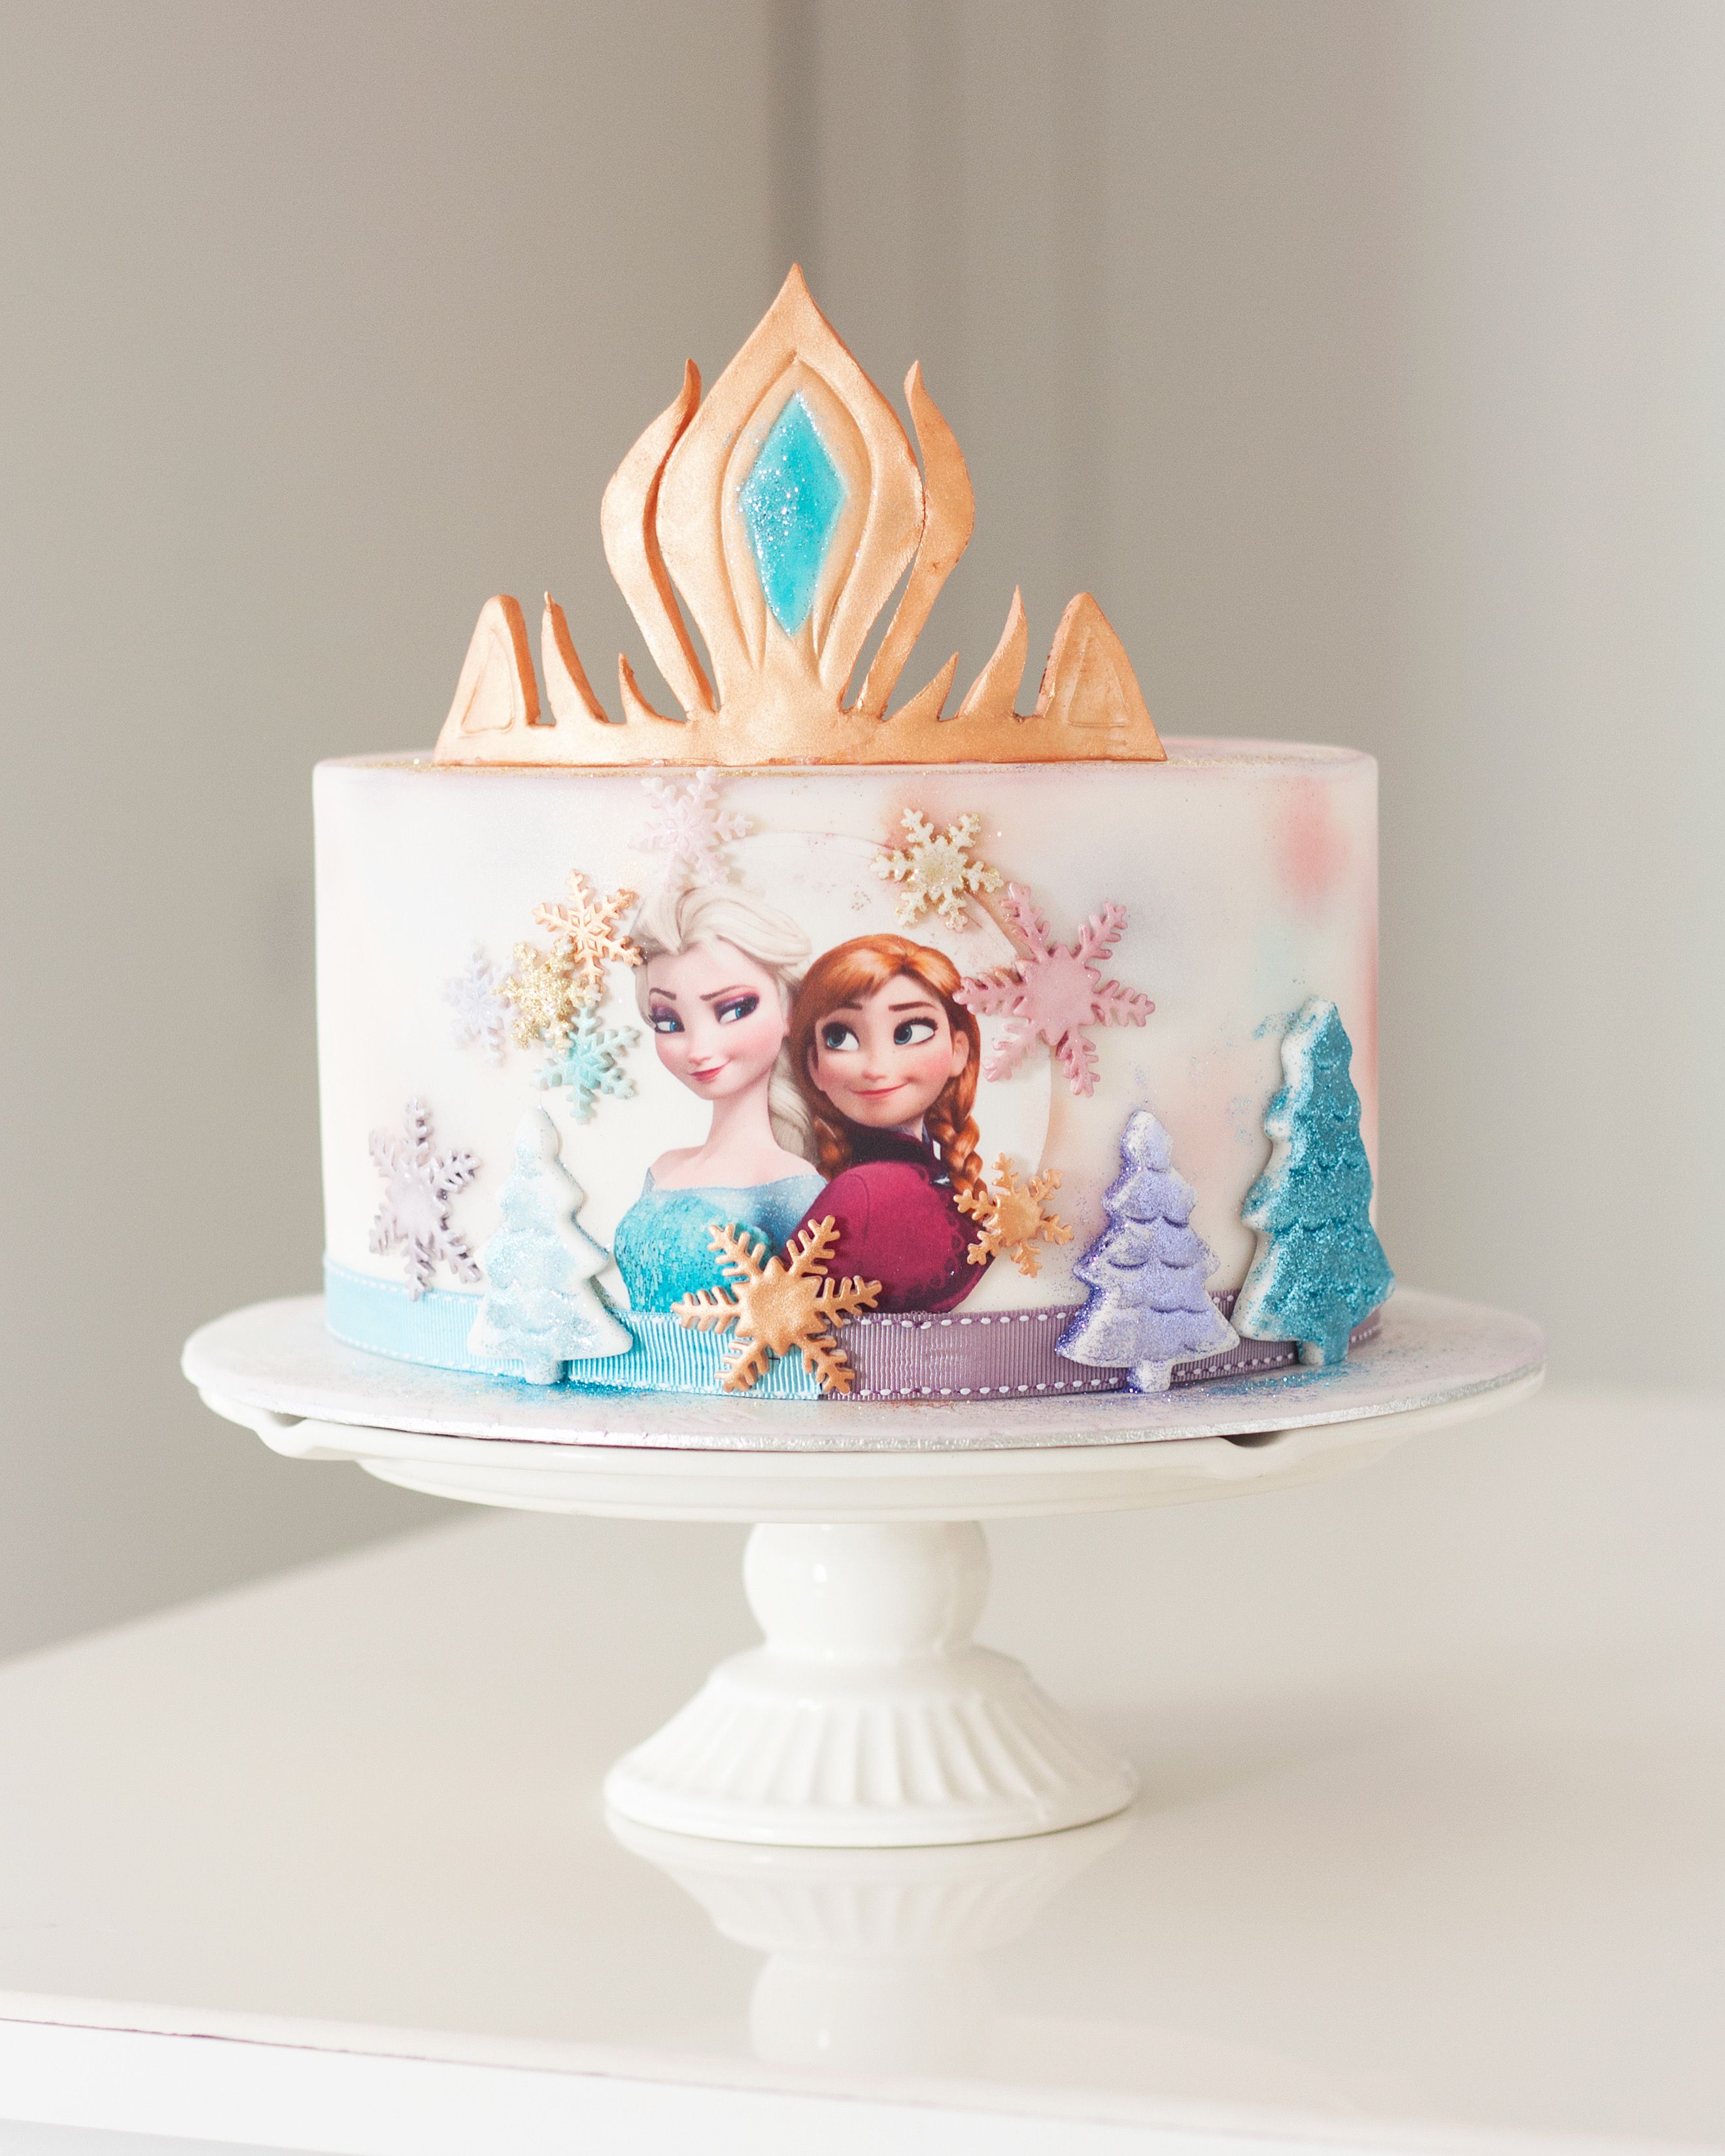
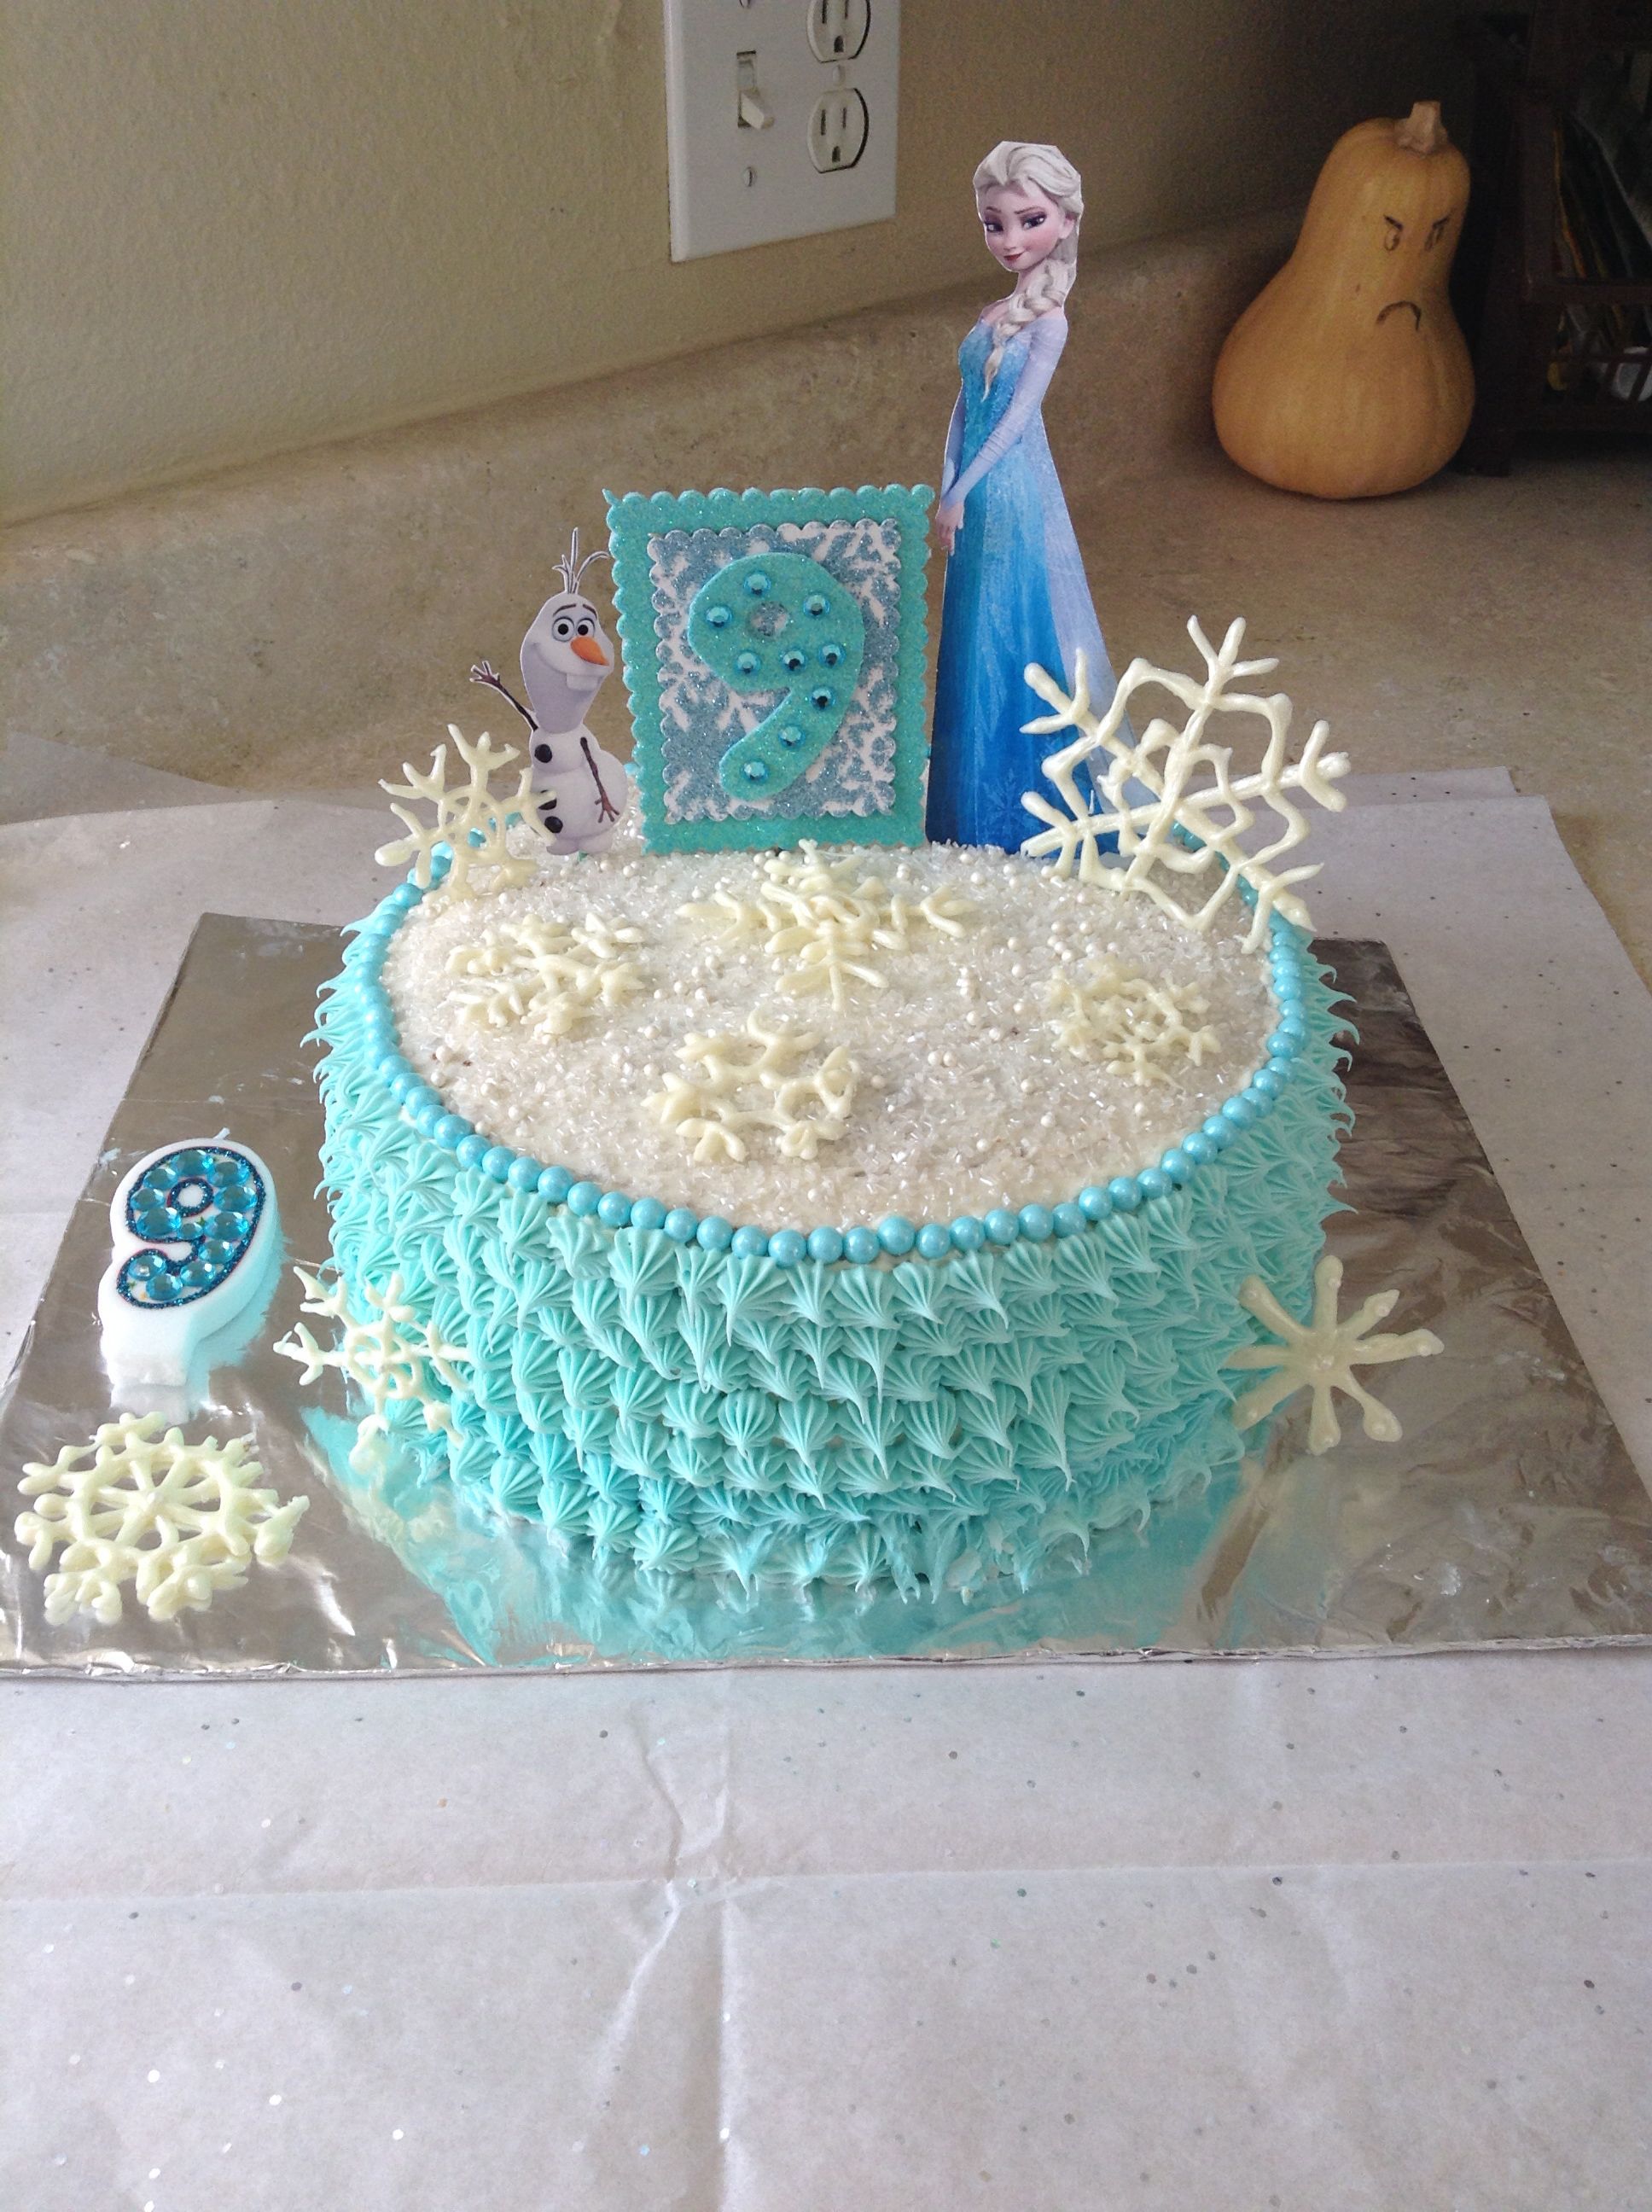
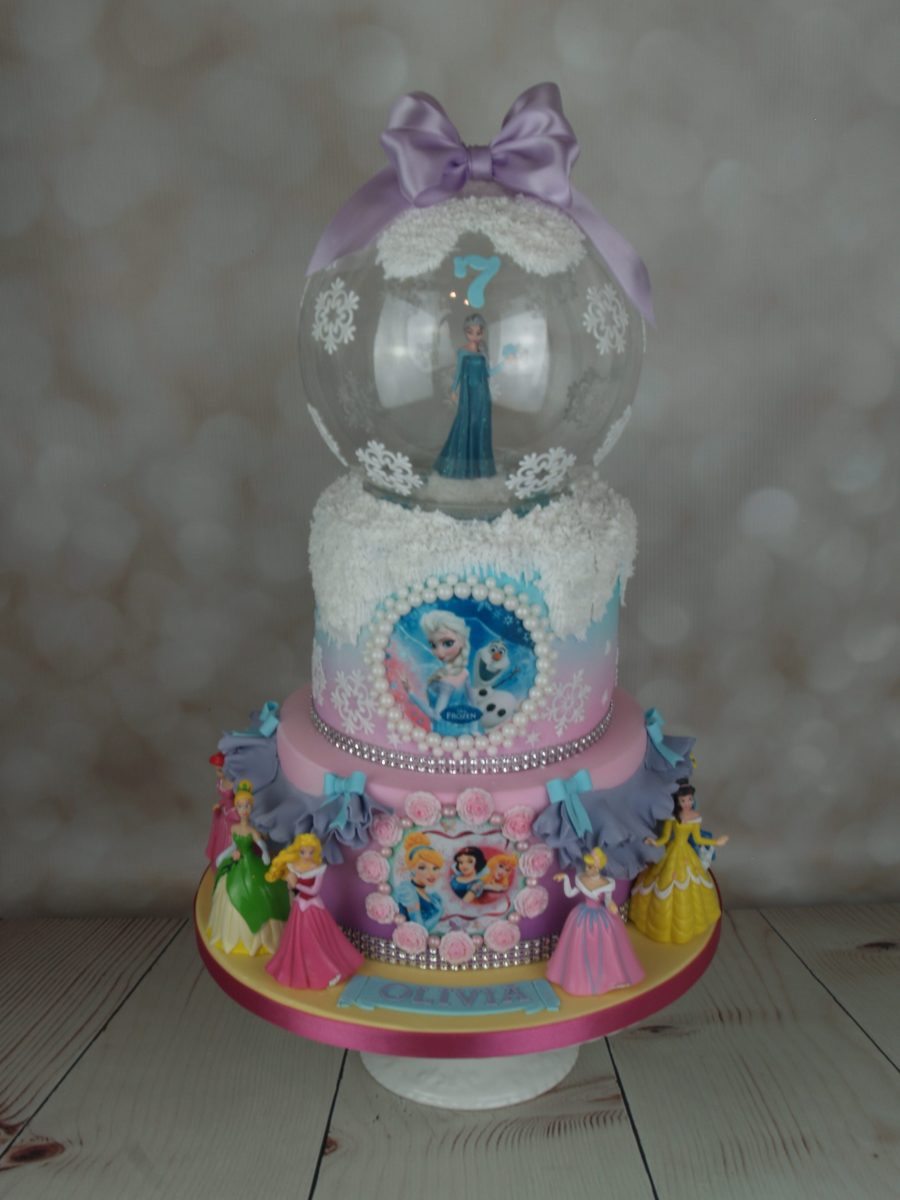
If you’re looking to create a magical dessert that will delight both kids and adults alike, the Frozen Princess Cake is a fantastic choice! Inspired by the enchanting world of Disney's Frozen, this cake combines whimsy with taste, making it perfect for birthdays, themed parties, or any ice princess celebration. With its frosty colors and delightful decorations, this cake stands out as a centerpiece that invites smiles and joyous memories. Plus, it’s not as complicated as it looks! Let’s dive into the enchanting world of cake decorating and learn how to create your very own Frozen Princess masterpiece!
Gathering Your Ingredients and Supplies

Before you embark on your cake-decorating adventure, it's essential to gather all the necessary ingredients and supplies. This not only makes your baking process smoother but also sparks joy from the outset. Below, I've compiled a list of all the goodies you'll need to spin your frozen fantasy into reality!
Ingredients:
- For the Cake:
- 2 cups all-purpose flour
- 1 ½ cups granulated sugar
- ½ cup unsalted butter, softened
- 1 cup milk
- 3 large eggs
- 2 ½ teaspoons baking powder
- 1 teaspoon vanilla extract
- Food coloring (blue, purple, and white)
- For the Frosting:
- 1 cup unsalted butter, softened
- 4 cups powdered sugar
- 2 tablespoons milk
- 1 teaspoon vanilla extract
- Additional food coloring (for ombre effect)
- Edible glitter (optional)
Supplies:
Along with ingredients, you'll need a few essential tools to help you in the decorating process:
- Cake pans (two 9-inch round)
- Mixing bowls
- Electric mixer
- Spatula and offset spatula
- Cake stand or plate
- Decorating bags and tips
- Frozen-themed decorative items (like princess figurines or edible decorations)
Now that you have everything you need, you're all set to unleash your creativity! Gather your ingredients and supplies, and let the decorating adventure begin. Happy baking!
Baking the Cake Layers

When it comes to making a Frozen Princess Cake, baking the cake layers is the first step to magical success! Whether you’re a seasoned baker or a newbie in the kitchen, this part can be fun and even a little whimsical.
First off, you’ll want to gather your ingredients. Here's a quick list of what you'll need:
- 2 cups all-purpose flour
- 1 ½ cups granulated sugar
- ½ cup unsalted butter, softened
- 1 cup milk
- 3 ½ teaspoons baking powder
- 1 teaspoon vanilla extract
- ½ teaspoon salt
- 6 large eggs
Now, let’s get baking!
1. *Preheat your oven to 350°F (175°C). This is crucial; no one wants a cold cake!
2. Grease your cake pans. You can use 8-inch round pans for a nice layered look, or get creative with different shapes!
3. In a large mixing bowl, cream the butter and sugar together until fluffy. It's like giving your cake a cozy blanket!
4. Add the eggs one at a time, beating well after each addition. Then, toss in the vanilla extract.
5. In a separate bowl, mix the flour, baking powder, and salt. Gradually add this to your wet ingredients, alternating with the milk. Stir until just combined.
6. Pour the batter evenly into your prepared cake pans and bake for 25–30 minutes or until a toothpick comes out clean.
7. Once baked, let them cool in the pans for about 10 minutes, then transfer to racks to cool completely.
And voila! You've got yourself some beautiful cake layers ready for the magical frosting and decorations!
Preparing the Frosting and Decorations

Now that your cake layers are baked to perfection, it's time to dive into the fun world of frosting and decorating! This is where the real magic happens, turning your simple cake into a dazzling Frozen-themed masterpiece.
Let’s start with the frosting!
For a dreamy look, a classic buttercream or cream cheese frosting works wonders. Here’s a simple buttercream recipe to try:
- 1 cup unsalted butter, softened
- 4 cups powdered sugar
- 2-3 tablespoons heavy cream or milk
- 1 teaspoon vanilla extract
- Blue food coloring (for that icy touch!)
Steps to Make the Frosting:
1. In a mixing bowl, beat the softened butter until creamy.
2. Gradually add the powdered sugar, mixing well after each addition. It should start looking fluffy and divine!
3. Pour in the heavy cream and vanilla extract, mixing until you reach your desired consistency.
4. Add a few drops of blue food coloring until you get that perfect icy hue.
Once your frosting is ready, it's time to decorate!
Here are a few decoration ideas that will bring your Frozen Princess Cake to life:
- Ice Blue Sprinkles: Scatter these on top for a sparkling snow effect.
- Edible Glitter: Perfect for capturing the magic of Elsa’s world!
- Princess Figurines: Top your cake with figures of Elsa, Anna, or even Olaf!
- Frozen-themed Toothpicks*: Insert them into the cake for a fun, decorative touch.
Once everything is done, layer the cake with frosting, let your creativity flow, and enjoy the process! Your Frozen Princess Cake will be a sight to behold, and delicious too!
Assembling the Frozen Princess Cake

Assembling your Frozen Princess Cake is like putting together a beautiful puzzle, so let’s dive right in! First, you’ll need to ensure that your cakes are completely cooled. If you’ve baked multiple layers, it’s essential that they’re not only cool to the touch but also firm enough to handle. Here’s a simple step-by-step process to help you out:
- Level Your Cakes: If your cakes have domed tops, use a serrated knife to carefully level them. This will help your layers stack evenly and create a more polished look.
- Prepare Your Cake Board: Place your first layer on a cake board or a serving plate. You might want to dab a little frosting underneath to help it stick.
- Add Filling: Spread a generous amount of your chosen filling (think fluffy frosting, fruit preserves, or chocolate ganache) on top of the first layer with a spatula. The filling will add moisture and flavor!
- Stack the Layers: Gently place the next layer of cake on top and press down lightly. Repeat this process until all your layers are stacked.
- Crumb Coat: Apply a thin layer of frosting around the entire cake. This is called the crumb coat, and it seals in any crumbs while giving you a smooth surface for the final layer of frosting.
- Chill Time: Refrigerate the cake for about 30 minutes after applying the crumb coat. This will set the frosting and make your final coat much easier to apply.
- Top It Off: After chilling, apply a thicker layer of frosting all over. Smooth it out for a clean finish or use a spatula for a more textured effect.
Now your beautiful cake is assembled and ready for the fun part—decorating!
Creative Decorating Techniques
Now that your Frozen Princess Cake is assembled, it’s time to unleash your inner artist! Here are some creative decorating techniques that will make your cake truly enchanting and fit for a princess.
- Royal Icing Details: Have fun with royal icing! You can pipe delicate snowflakes, intricate lace designs, or even a shimmering castle. The possibilities are endless!
- Buttercream Flowers: Use a piping bag fitted with a star tip to create beautiful buttercream flowers. Roses, daisies, or even whimsical swirls in shades of blue and purple can look stunning.
- Edible Glitter: Sprinkle some edible glitter or luster dust on top of your frosted cake. This will add that frosty, magical touch reminiscent of Elsa's icy domain!
- Fondant Accents: Roll out fondant to create decorative elements like tiaras, hearts, or snowflakes. These can be placed on top of the cake or around the sides.
- Candy Decorations: Use candy gems, silver dragees, or even chocolate pieces to create a stunning border or as added decorations on your cake. These are not only eye-catching but also delicious!
- Theme Toppers: Don’t forget about cake toppers. You can find Frozen-themed princess figurines or make your own using fondant for that extra personal touch.
- Whipped Cream and Sprinkles: For a simpler touch, pipe some whipped cream around the edges and sprinkle on some colored sprinkles for a fun finish.
Remember, there’s no right or wrong in cake decorating—just have fun! With these techniques, your Frozen Princess Cake will be a showstopper at any event!
Final Touches and Presentation
Once you've assembled your gorgeous Frozen Princess Cake, the excitement builds as you get to the final touches and presentation! This is where you can really let your creativity shine and make your cake the centerpiece of your celebration.
Start by ensuring that your cake is on a sturdy cake board or serving platter. This makes it easier to transport and displays it beautifully. Here's a quick list of things you might want to consider for those final touches:
- Add Edible Glitter: A sprinkle of edible glitter can give your cake a magical sparkle that’s straight out of the ice kingdom!
- Frosting Snowflakes: Use royal icing to create delicate snowflakes that you can place on top of the cake or around the base.
- Princess Figurines: Position your favorite Frozen character figurines on the cake to make its theme really pop!
- Fresh Flowers: Incorporate some frozen-themed blooms for a whimsical touch; think about soft blues and whites.
- Cake Topper: A cute cake topper featuring a crown or ice castle can also elevate the overall look.
For presentation, consider serving your cake on a chilled platter or adding a few blue or silver accents around the serving area, like sequined table runners or themed decorations that echo the Frozen vibe. Lighting can also play a crucial role; soft, ambient lighting will enhance the magical atmosphere.
Tips for a Perfect Frozen Princess Cake
Creating the perfect Frozen Princess Cake might seem challenging, but with a few handy tips, you can make the process enjoyable and straightforward.
Here are some surefire tips to help you achieve a beautiful cake that will wow your guests:
- Choose the Right Cake Flavor: Vanilla, chocolate, or even raspberry. Stick with a flavor that aligns with your party theme!
- Moisture Matters: Ensure your cake is moist by using simple syrup (water and sugar boiled together) to brush it before frosting.
- Chill Your Layers: Cool your cake layers before stacking. This prevents them from crumbling and makes frosting easier.
- Use Quality Ingredients: High-quality butter, chocolate, and food coloring yield stunning results!
- Practice Piping: Spend some time practicing your piping skills; it’ll make a world of difference in your cake’s appearance!
Additionally, don’t rush. Take your time as each step, from baking to decorating, is part of the fun. Remember, the presentation is key! Use your favorite Frozen-themed plates and napkins to create a cohesive theme. Most importantly, enjoy the process, and let your creativity flow!
Fun and Easy Decorating Guide for a Frozen Princess Cake
Creating a Frozen Princess Cake is a delightful way to celebrate any occasion, especially for fans of the beloved animated movie. This guide will help you decorate a whimsical cake that captures the magic of the Frozen world and will be a hit at any party.
Here’s a step-by-step approach to decorating your Frozen Princess Cake:
Materials Needed:
- 2-layer cake (any flavor)
- Buttercream frosting (blue and white)
- Fondant (in various colors)
- Edible glitter or sparkle dust
- Decorative snowflakes (store-bought or homemade)
- Princess figurines (Elsa and Anna)
- Cake board or platter
Step-by-Step Decorating Instructions:
- Prepare the Cake: Bake and cool your cake layers. Level them using a cake leveler.
- Frost the Cake: Apply a base layer of white buttercream to create a "snowy" effect, then smooth it out.
- Add Color: Use a spatula to apply blue frosting around the edges for an ombre effect, representing ice and skies.
- Create the Frosting Flavors: Pipe additional white buttercream for decorative swirls on top.
- Place Decorations: Arrange the snowflakes around the cake and sprinkle with edible glitter for added sparkle.
- Top with Princesses: Position Elsa and Anna figurines at the center for a focal point.
Optional Elements:
| Decoration | Purpose |
|---|---|
| Blue and white edible pearls | Add elegance and mimic icebergs. |
| Shredded coconut | Create a snowy effect on the cake. |
This Frozen Princess Cake not only looks amazing but is fun to make and will leave everyone enchanted. Let your creativity flow and don’t hesitate to add personal touches to make it uniquely yours!
Conclusion: With these simple steps and materials, you can create a stunning Frozen Princess Cake that is not only visually appealing but also a sweet treat that will be cherished at any celebration.
 admin
admin


