Great choice on wanting to share your incredible pictures with everyone using
Shutterstock! Its an awesome platform for photographers and artists to display their creations and make some money while doing so. However before you start uploading your pictures lets take a moment to go over the essentials.
Shutterstock is an online platform that allows you to share your images and receive payments whenever someone downloads them. It serves as a bridge between artists and those seeking top notch visuals for their endeavors. Consider it a virtual store, where you can showcase your artistic talents!
Here’s a brief overview to assist you in getting going
- Understand Shutterstock’s Requirements: Familiarize yourself with Shutterstock’s guidelines to ensure your photos meet their quality and content standards.
- Know Your Audience: Shutterstock caters to a diverse range of customers, so think about what kind of images might appeal to them.
- Prepare Your Portfolio: Gather your best work and organize it for easy uploading.
Now that we have the fundamentals in place lets get ready to explore the process of getting your images ready and establishing your account. Its time to proceed with the next stage!
Preparing Your Photos for Upload
Before you submit your pictures to
Shutterstock it's essential to make sure they are ready to go. I recall when I began sharing my creations I was so enthusiastic that I overlooked a few crucial steps. Believe me investing effort in getting your photos ready really pays off!
Here are some key things to consider:
- Resolution and Quality: Shutterstock requires high-resolution images. Ensure your photos are clear and sharp, ideally at least 4 megapixels.
- Editing and Retouching: Use photo editing tools to enhance your images, but avoid overdoing it. Keep the edits natural and true to your original vision.
- File Format: JPEG is the preferred format for Shutterstock uploads. Make sure your files are saved in this format and are not overly compressed.
- Metadata: Adding accurate metadata, such as location and date, can help buyers find your photos more easily.
Consider getting your pictures ready like getting ready for an amazing show. The more effort you put into preparation, the more impressive the end result will be. Now that your photos are all set up lets move on to setting up your contributor account.
Creating a Contributor Account
Setting up an account on
Shutterstock is akin to unlocking a world of possibilities. It serves as your entry point to present your creations to a worldwide audience. I recall vividly the moment I registered; the experience was smooth yet it gave me the impression of entering an entirely realm.
Here’s a guide on how to create your contributor account.
- Visit the Shutterstock Contributor Page: Go to Shutterstock’s contributor sign-up page. You’ll find it easily with a quick search or through the Shutterstock homepage.
- Fill in Your Details: Enter your name, email address, and create a password. Make sure to use a strong password to keep your account secure.
- Agree to Terms and Conditions: Read through Shutterstock’s terms and conditions carefully. It’s important to understand the platform’s rules and how your photos will be used.
- Verification: You might need to verify your email address or provide additional information for account approval.
Once you have your account ready to go you can begin sharing your pictures. Before diving in take a moment to check out the contributor dashboard and get to know its functionalities. This is where youll handle your uploads keep an eye on your earnings and much more. With everything in place now you can shift your attention to presenting your amazing photos to the world!
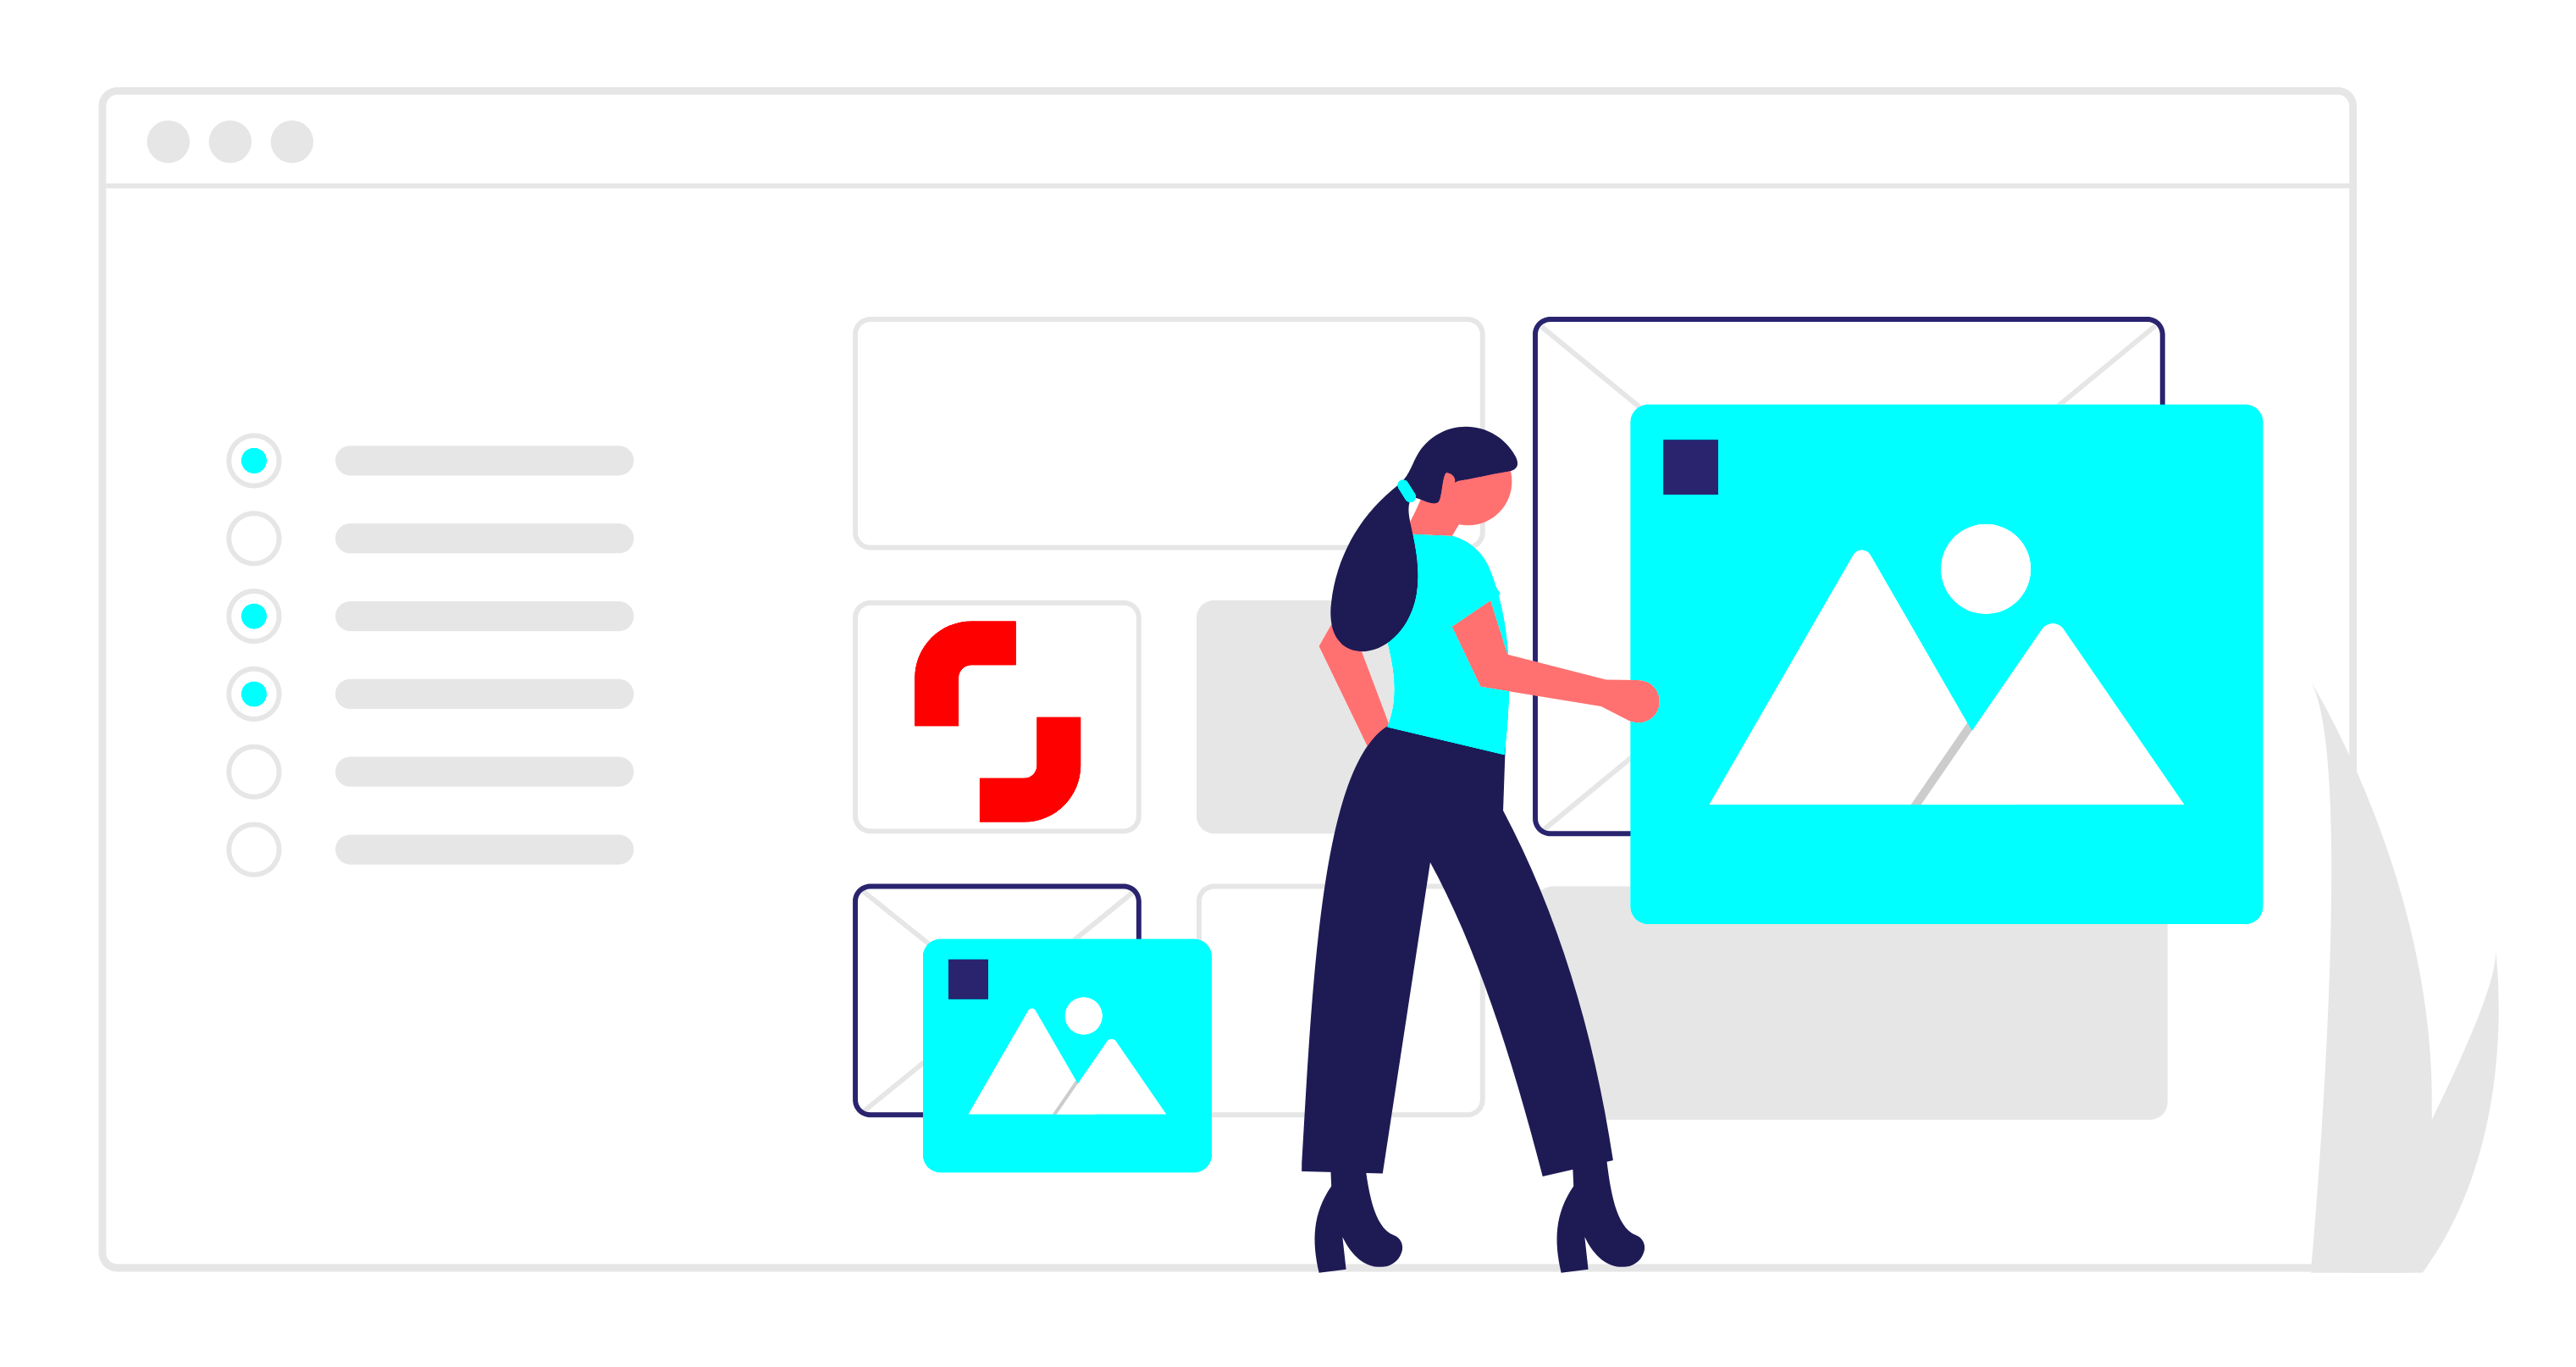
Uploading Your Photos to Shutterstock
Submitting your pictures to
Shutterstock can be a significant moment in your path as a contributor. I still recall my initial upload clearly; it was a blend of thrill and anxiety. However once you familiarize yourself with the process it becomes seamless and effortless.
Follow these steps to navigate the upload process smoothly.
- Access Your Contributor Dashboard: Log in to your Shutterstock account and navigate to your contributor dashboard. You’ll find an option to upload your photos here.
- Select Your Photos: Click on the “Upload” button and choose the photos you want to submit from your computer. You can upload multiple photos at once, which makes the process quicker.
- Review Your Selection: Before finalizing, review your photos to ensure you’re uploading the correct files. It’s a good practice to check for any last-minute adjustments needed.
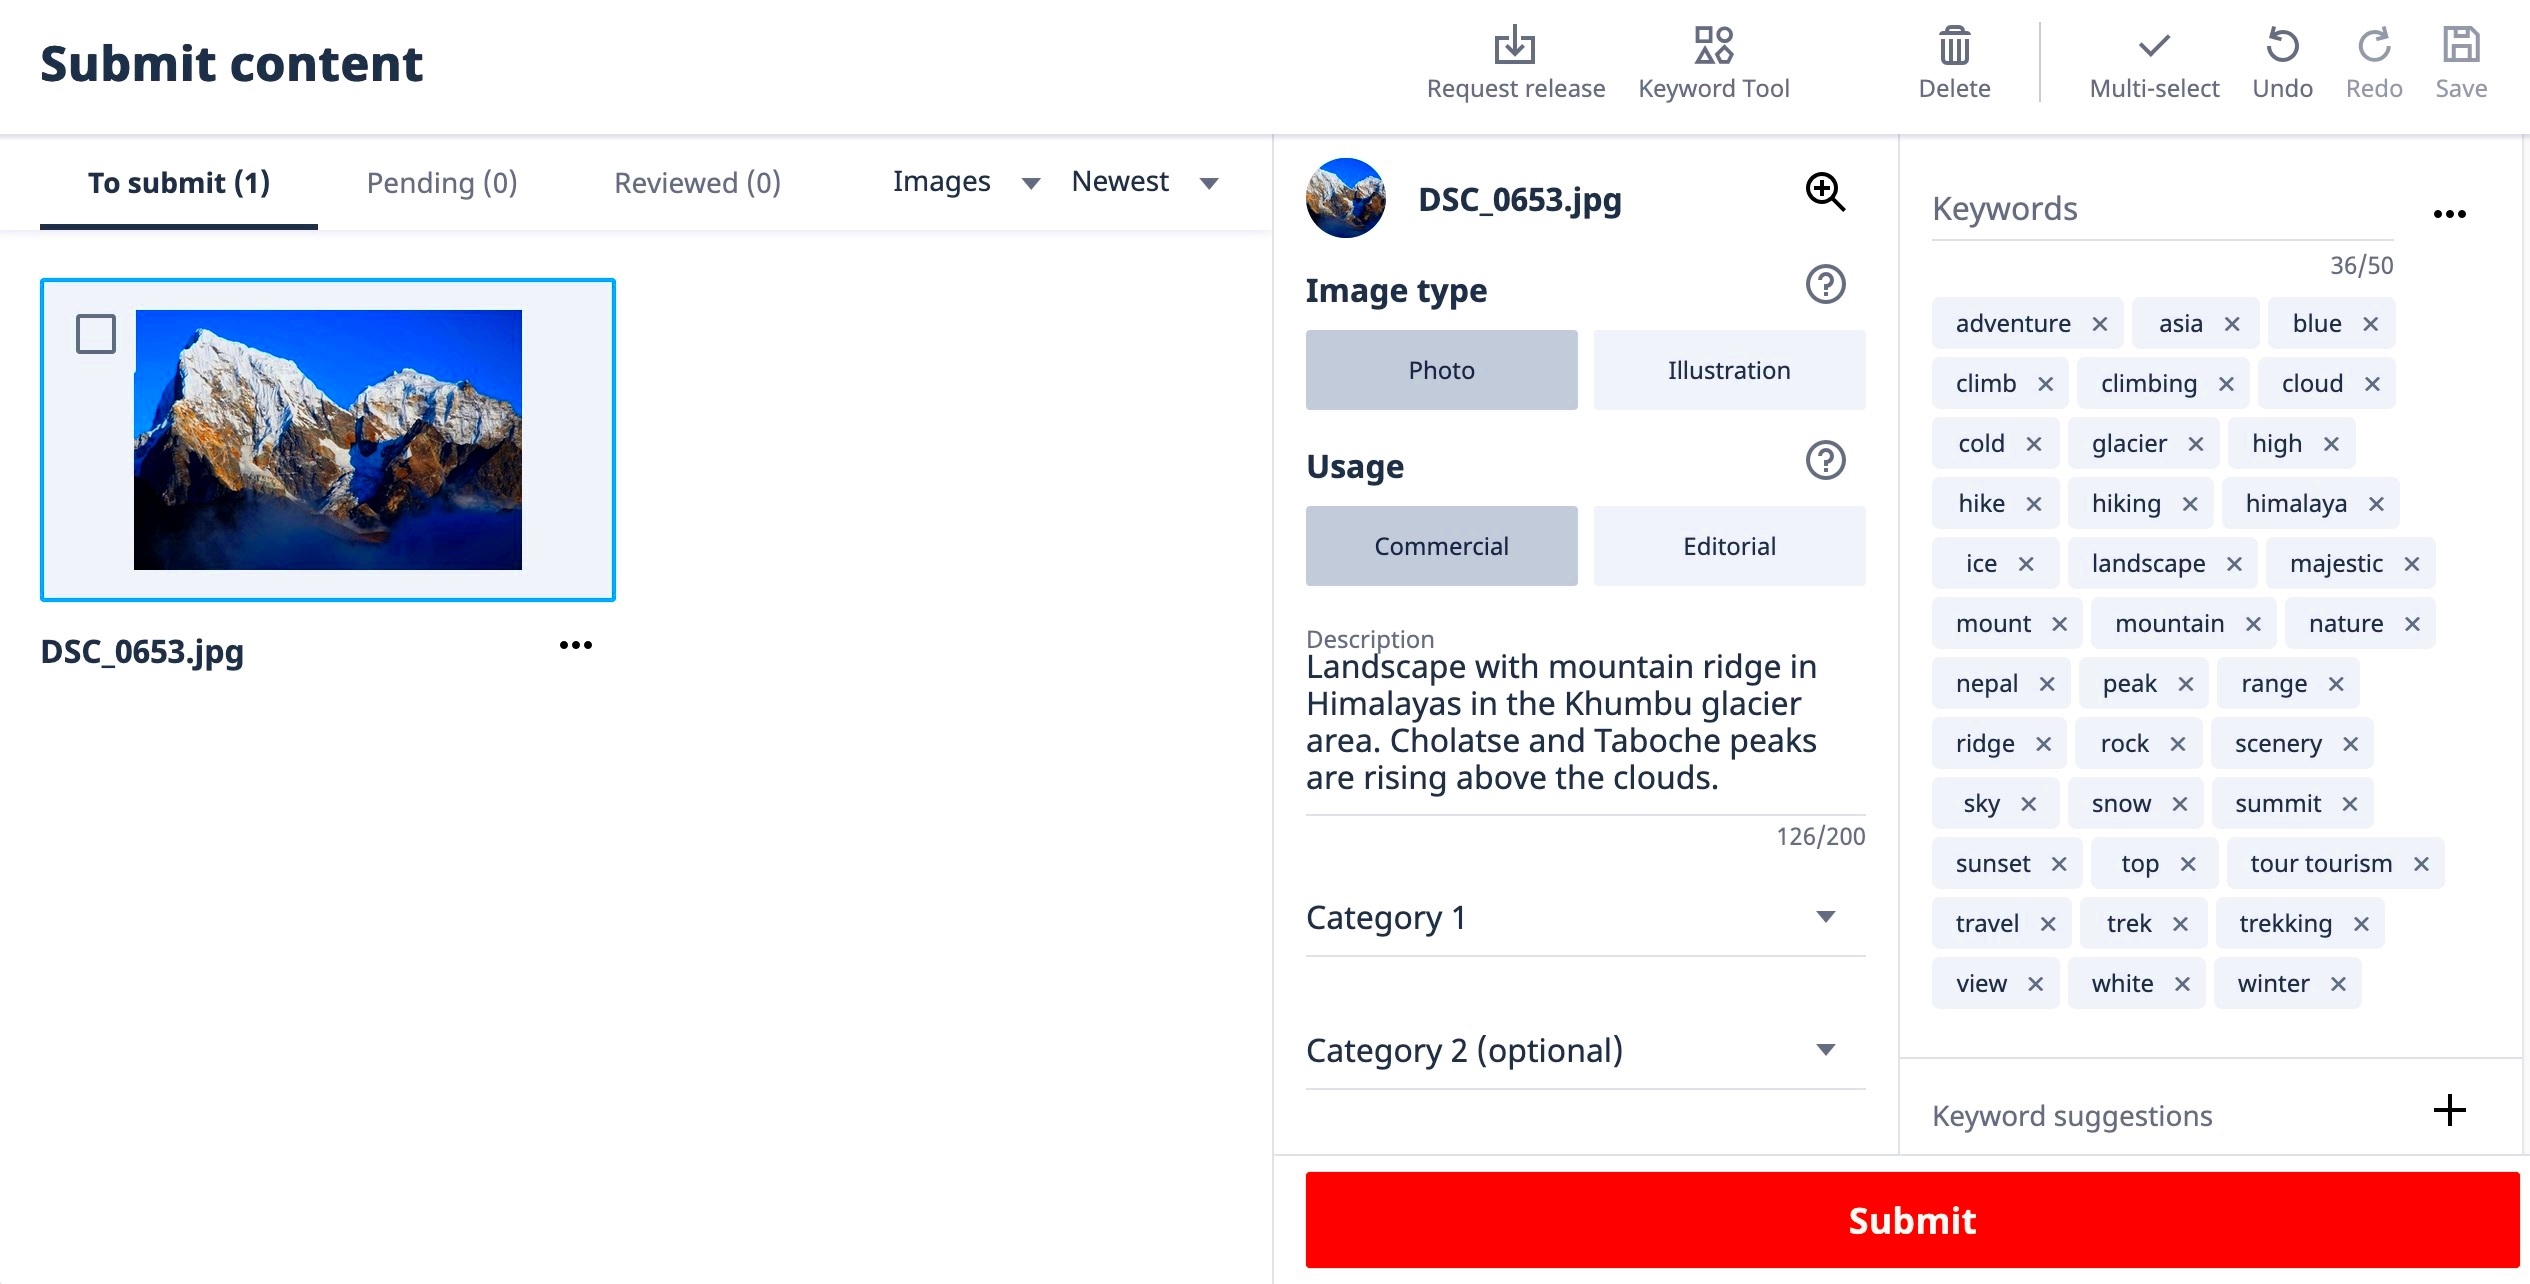
- Add Metadata: As you upload, you’ll be prompted to add metadata. This includes keywords, descriptions, and categories. This is crucial for making your photos discoverable.
- Submit for Review: Once you’ve completed the metadata, submit your photos. They will go through Shutterstock’s review process, which we’ll discuss next.
Keep in mind that every time you upload, you’re moving closer to sharing your photos with more people. Make sure to take your to get everything just right and before you know it, you’ll see your creations showcased on Shutterstock!
Adding Keywords and Descriptions
Enhancing your images with keywords and descriptions is akin to giving them a personality. Its the moment you convey to prospective buyers the essence of your photos and assist them in discovering your creations among a sea of countless other visuals. In my early days I didn't fully grasp the significance of this process but I swiftly realized how vital it is, for ensuring exposure.
Here’s how to get it right:
- Use Relevant Keywords: Think about what terms a buyer might use to search for your photo. Include specific and broad keywords. For instance, if you’ve uploaded a photo of a traditional Usa festival, keywords like “Diwali,” “Usa festival,” and “celebration” would be useful.
- Write Clear Descriptions: Provide a concise and accurate description of the photo. Describe what’s happening in the image, its context, and any other relevant details. Avoid vague descriptions.
- Be Specific but Brief: You want to strike a balance between being descriptive and succinct. Too much detail can overwhelm, while too little might not be helpful.
- Use Categories: Categorize your photos appropriately. Shutterstock often provides predefined categories that you can select from. This helps in further sorting and searching.
Consider this stage as weaving a narrative around every image. The more captivating your tale, the higher the chances of attracting a potential buyer. Dedicate a moment to including well chosen keywords and details and you’ll notice the impact!
Understanding Shutterstock's Review Process
The process that Shutterstock uses to review photos is crucial for getting them approved and published on the platform. Every new contributor has to go through this step and although it can be intimidating at first it becomes quite simple once you grasp how it works.
Here’s a breakdown of what happens:
- Initial Review: After you submit your photos, they go through an initial review by Shutterstock’s quality control team. They check for technical issues such as resolution, focus, and exposure.
- Content Review: Your photos will then be reviewed for content. This includes checking for relevance, originality, and adherence to Shutterstock’s content guidelines. They ensure your photos meet their standards and are appropriate for their audience.
- Feedback and Revisions: If there are any issues, you may receive feedback from the reviewers. They might request revisions or reject certain photos. It’s important to review the feedback carefully and make necessary changes.
- Approval and Publication: Once your photos pass the review, they’re approved and published on Shutterstock. You’ll be notified, and you can start tracking their performance and sales.
Patience is crucial in this journey. It could take some time for your pictures to go through the review and approval process but stay hopeful. With each evaluation you move one step closer to having your creations presented to a worldwide audience!
Monitoring Your Uploads and Earnings
Monitoring your submissions and income on Shutterstock can be really fulfilling. Its akin to witnessing the results of your labor gradually materialize. When I began my journey I was captivated by how I could witness the direct effect of my contributions. Its not solely about looking at figures; its about gaining insight into which of your images resonate with customers.
Here’s a way to keep track of your uploads and income efficiently.
- Check Your Dashboard Regularly: Your Shutterstock contributor dashboard is your go-to place for tracking everything. It provides an overview of your recent uploads, sales, and overall performance.
- Review Earnings Reports: Shutterstock provides detailed earnings reports that break down how much you’ve earned from each photo. This helps you see which images are performing well and which might need more promotion.
- Analyze Performance Trends: Keep an eye on trends in your earnings and photo downloads. Are certain types of images performing better? Use this insight to guide your future uploads.
- Set Goals: Establish personal goals for your uploads and earnings. It could be a certain number of photos per month or a target revenue. Goals keep you motivated and focused.
Keeping an eye on things goes beyond mere figures; it involves gaining insights and making adjustments. Leverage this information to fine tune your approach and ensure your collection remains enticing and attractive to potential buyers.
Common Issues and Troubleshooting Tips
Dealing with issues on Shutterstock can be annoying, but there’s usually an easy fix for most problems. I’ve had my share of bumps in the road and each time I discovered something new that helped make the process smoother.Here are some problems and ways to fix them
- Rejection of Photos: If your photos are rejected, it’s usually due to technical or content issues. Check the feedback provided by Shutterstock, and make necessary adjustments such as improving resolution or revising metadata.
- Delayed Payments: Payment delays can happen due to various reasons. Ensure that your payment details are correct and up-to-date in your account settings. If delays persist, contact Shutterstock support for assistance.
- Account Issues: Problems with your account, such as login issues or access problems, can usually be resolved by resetting your password or contacting customer support if the issue persists.
- Low Visibility: If you find that your photos aren’t getting much attention, review your keywords and descriptions. Make sure they are relevant and descriptive to improve searchability.
Every challenge presents a chance for personal development. By investing effort into resolving these issues you’ll discover that problem solving becomes an integral aspect of your growth process with Shutterstock.
FAQ
Lets tackle some commonly asked questions that can help clear up any confusion and enhance your Shutterstock journey.
How long does it take for photos to be approved?
- Typically, it takes a few days for Shutterstock to review and approve your photos. During peak times, this process might be slightly longer.
What happens if my photo is rejected?
- If your photo is rejected, Shutterstock will provide feedback on why it was not accepted. Use this feedback to improve and resubmit your photo.
How do I get paid?
- Shutterstock pays contributors via bank transfer, PayPal, or Skrill. Make sure your payment details are correctly set up in your account to avoid delays.
Can I track my photo sales?
- Yes, you can track your photo sales and earnings through your Shutterstock dashboard. It provides detailed reports on how your photos are performing.
What types of photos sell best?
- Popular photo categories include business, lifestyle, nature, and technology. However, trends can vary, so pay attention to market demands and adjust your portfolio accordingly.
If you have any additional inquiries or issues feel free to contact Shutterstock's support team. They are ready to assist you in achieving success and ensuring that your journey is as seamless as it can be!
Conclusion
Starting the journey of sharing your images on Shutterstock is an exciting and fulfilling experience. Each step, from getting your photos ready to navigating the review process brings you closer to showcasing your talent to a worldwide audience. I recall feeling a blend of excitement and anxiety during my initial uploads, but with determination and a sprinkle of patience everything fell into place.The key lies in staying updated being open to feedback and constantly fine tuning your strategy based on your insights. Keep track of your performance adjust to changes and savor the process of sharing your creativity with others. Your pictures hold a narrative waiting to be shared and Shutterstock provides the platform to reach a broader audience. Enjoy the uploading journey!
 admin
admin