Google Slides provides powerful format options that allow you to easily adjust image transparency. This feature not only enhances your presentation's visual appeal but also ensures that your content remains the focal point. Let’s dive into how you can utilize these format options effectively.
Here’s a step-by-step breakdown:
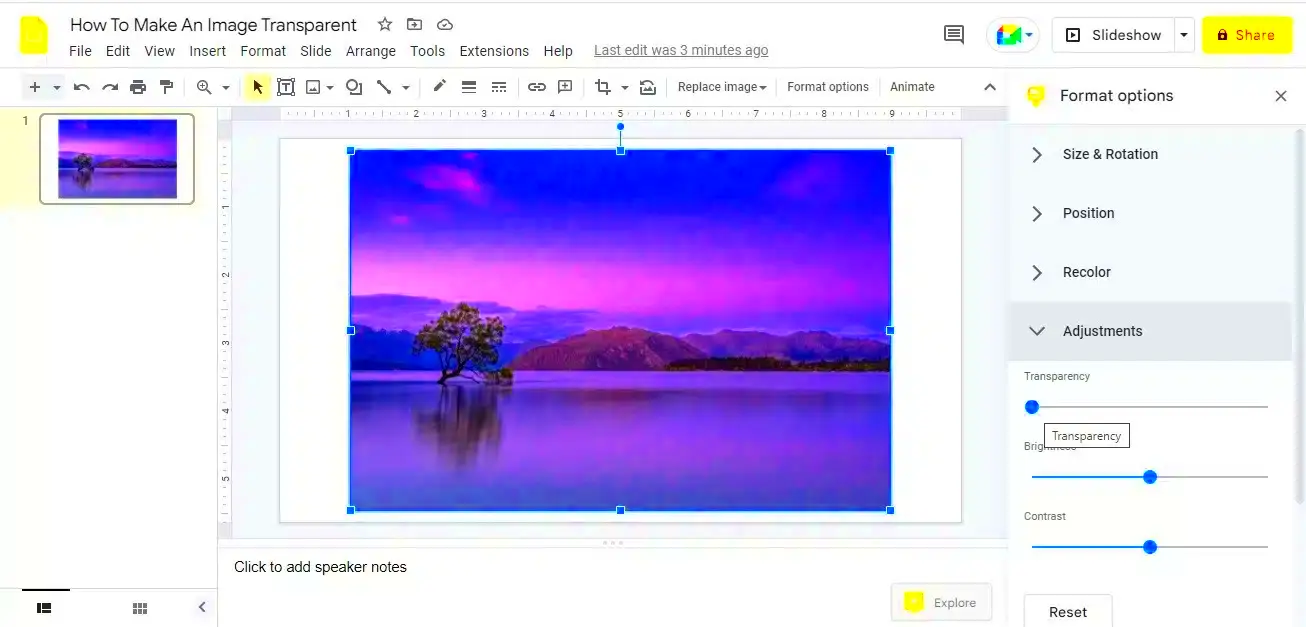
- Select Your Image: Click on the image to activate it.
- Open Format Options: Right-click on the image and select “Format options.” This opens a sidebar on the right side of your screen.
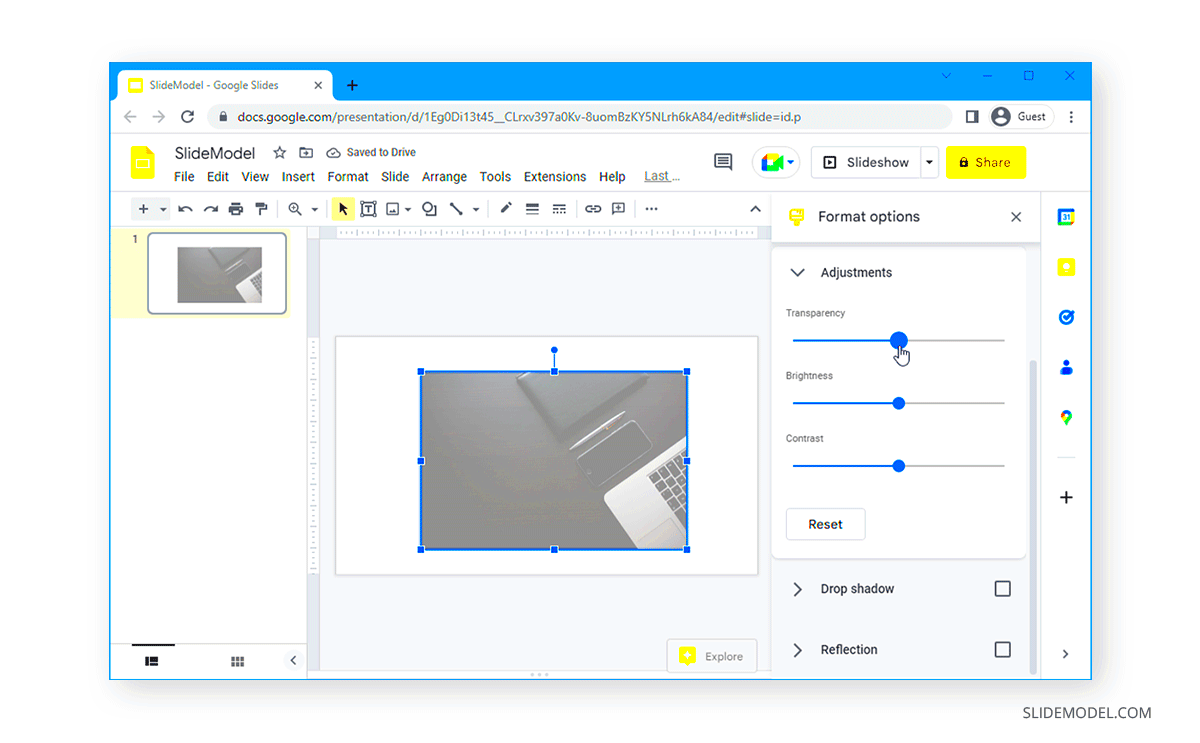
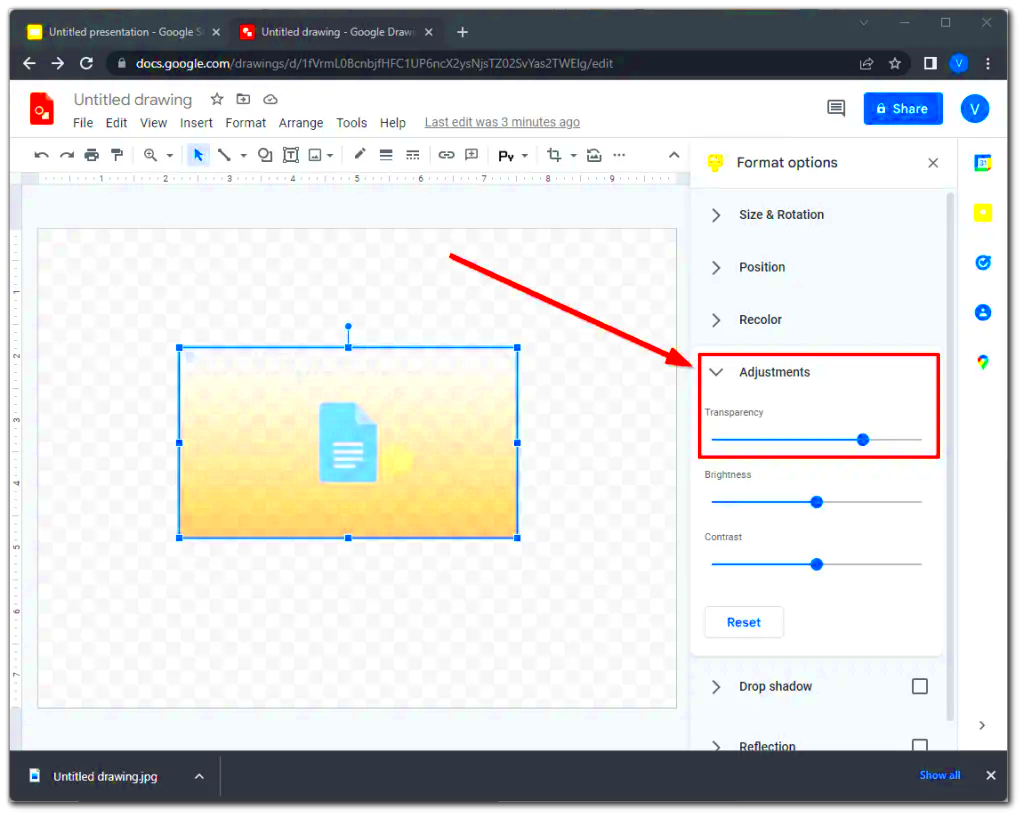
- Find the Transparency Slider: In the sidebar, navigate to the “Adjustments” section. Here, you’ll see a slider for transparency.
- Adjust the Transparency: Move the slider left to decrease transparency (making the image more visible) or right to increase it (making the image more faded).
- Check the Changes: Keep an eye on your slide as you adjust the slider. It’s essential to find a balance that enhances your slide without overpowering your text.
- Finalize and Save: Once you’re happy with the level of transparency, simply click away from the image to save your settings.
With these format options, you can create visually striking presentations that are both informative and engaging for your audience.
Applying Transparency to Backgrounds and Shapes
Applying transparency isn’t limited to just images; you can also use it on backgrounds and shapes in Google Slides. This technique helps create layers and depth in your presentations. Here’s how you can do it:
Follow these steps to adjust transparency for backgrounds and shapes:
- Select the Shape or Background: Click on the shape or the background of your slide you want to modify.
- Access Format Options: Similar to images, right-click and choose “Format options.”
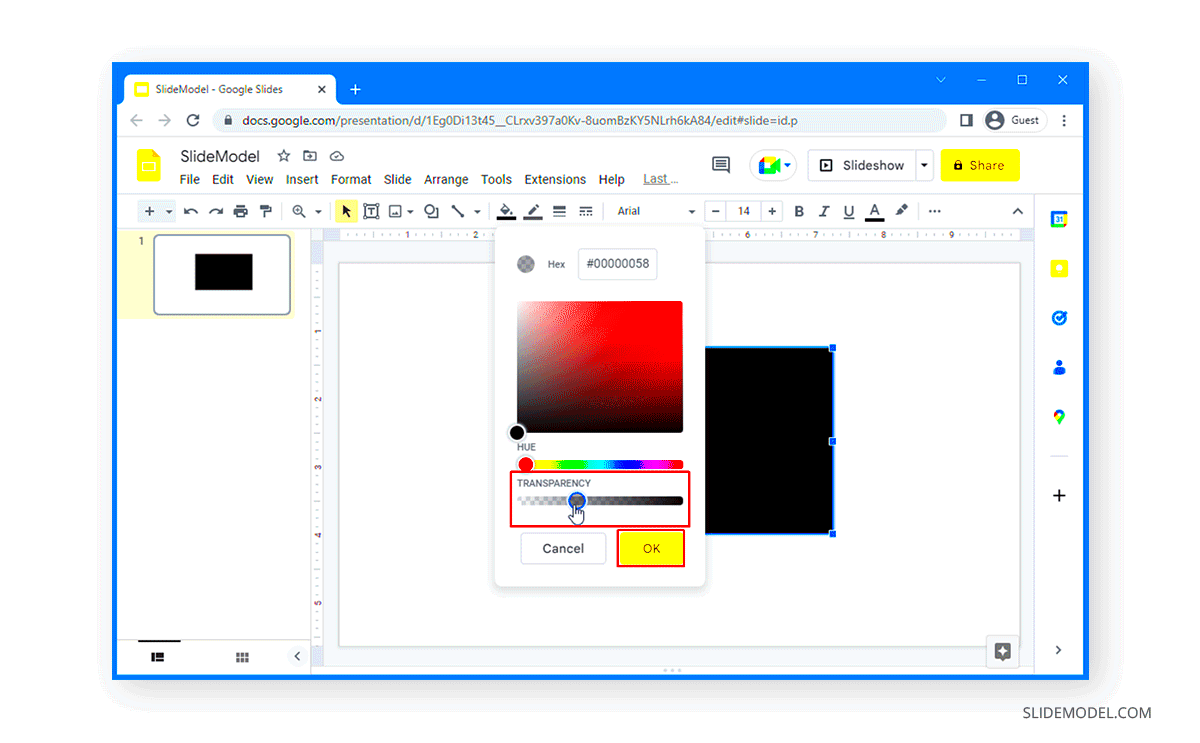
- Look for Fill Color: In the sidebar, find the “Fill color” option. You can select a color and adjust its transparency.
- Adjust the Transparency: Use the transparency slider to make your shape or background more transparent.
- Preview the Changes: As with images, it’s crucial to see how these adjustments affect the overall look of your slide.
- Save Your Work: Once satisfied, click away to save your adjustments.
This method allows for creative backgrounds that enhance your content without overwhelming it, creating a balanced and professional look.
Also Read This: How to Edit a YouTube Video That Is Not Yours
Tips for Choosing the Right Images
Choosing the right images is crucial for making your presentation impactful. Here are some practical tips to help you select images that work well with transparency adjustments:
- Look for High-Quality Images: Always opt for images with high resolution. Blurry or pixelated images can detract from your presentation's quality.
- Consider the Message: Choose images that complement and reinforce the content of your slides. They should enhance your message, not confuse it.
- Use Images with Simple Backgrounds: Transparent images work best when they don’t have busy backgrounds. This makes blending with your slide easier.
- Check Color Compatibility: Make sure the colors in the image fit well with your slide’s color scheme. This will help maintain a cohesive look.
- Be Mindful of Copyright: Always ensure you have the right to use images. Look for royalty-free options or use images from trusted sources.
By following these tips, you can choose images that not only look great but also enhance the effectiveness of your presentations.
Also Read This: A Step-by-Step Guide on iFunny Video to MP4 Conversion
Common Issues When Adjusting Transparency
While adjusting image transparency in Google Slides is generally straightforward, you may run into a few common issues. Understanding these challenges can help you troubleshoot effectively and ensure your presentations look polished and professional. Let’s take a closer look at some of these common problems.
- Inconsistent Transparency Levels: Sometimes, you may find that images don’t appear as transparent as expected. This can happen if the image file type doesn’t support transparency or if the original image is too dark.
- Loss of Detail: Increasing transparency too much can make images lose important details. Always preview your changes to ensure that key elements remain visible.
- Background Clashes: When using transparent images, backgrounds can sometimes clash with the image, making it hard to distinguish both elements. Experiment with different backgrounds to find a suitable combination.
- Not Seeing Changes in Presentation Mode: Changes you make in the editing mode might not always reflect in presentation mode immediately. Ensure you save your work and refresh the slide to view adjustments.
- Layering Issues: If you have multiple images and shapes, adjusting one may affect the overall design. Be mindful of how each element interacts with others.
By being aware of these potential issues, you can navigate them more smoothly and create a visually appealing presentation.
Also Read This: Guidelines for Submitting iPhone Photos to 123RF
Frequently Asked Questions
Here are some frequently asked questions about enhancing image transparency in Google Slides. These can help clarify common doubts and guide you in your presentation design.
- Can I adjust transparency on video clips? No, Google Slides does not currently support transparency adjustments for video clips. Transparency can only be adjusted for images and shapes.
- What types of images work best for transparency? PNG files are ideal as they support transparency, unlike JPEGs, which do not. Always choose images that fit your presentation's theme.
- Is there a limit to how transparent I can make an image? While you can increase transparency significantly, be careful not to make images too faded to the point they become unrecognizable.
- Can I undo transparency adjustments? Yes, you can easily undo changes using the “Undo” button or by pressing Ctrl + Z on your keyboard.
- Will adjusting transparency affect print quality? Transparency adjustments primarily affect on-screen presentations. If printed, images might appear differently, so it’s a good idea to test print if necessary.
Conclusion on Enhancing Image Transparency
Enhancing image transparency in Google Slides can elevate the quality of your presentations and create a more engaging visual experience. By understanding how to adjust transparency, utilize format options, and choose the right images, you can design slides that captivate your audience.
Always remember to preview your slides after making adjustments, keeping an eye on the overall aesthetics and message clarity. With practice, you’ll become proficient at using transparency to enhance your presentations effectively. So, don’t hesitate to experiment and let your creativity shine!
 admin
admin


