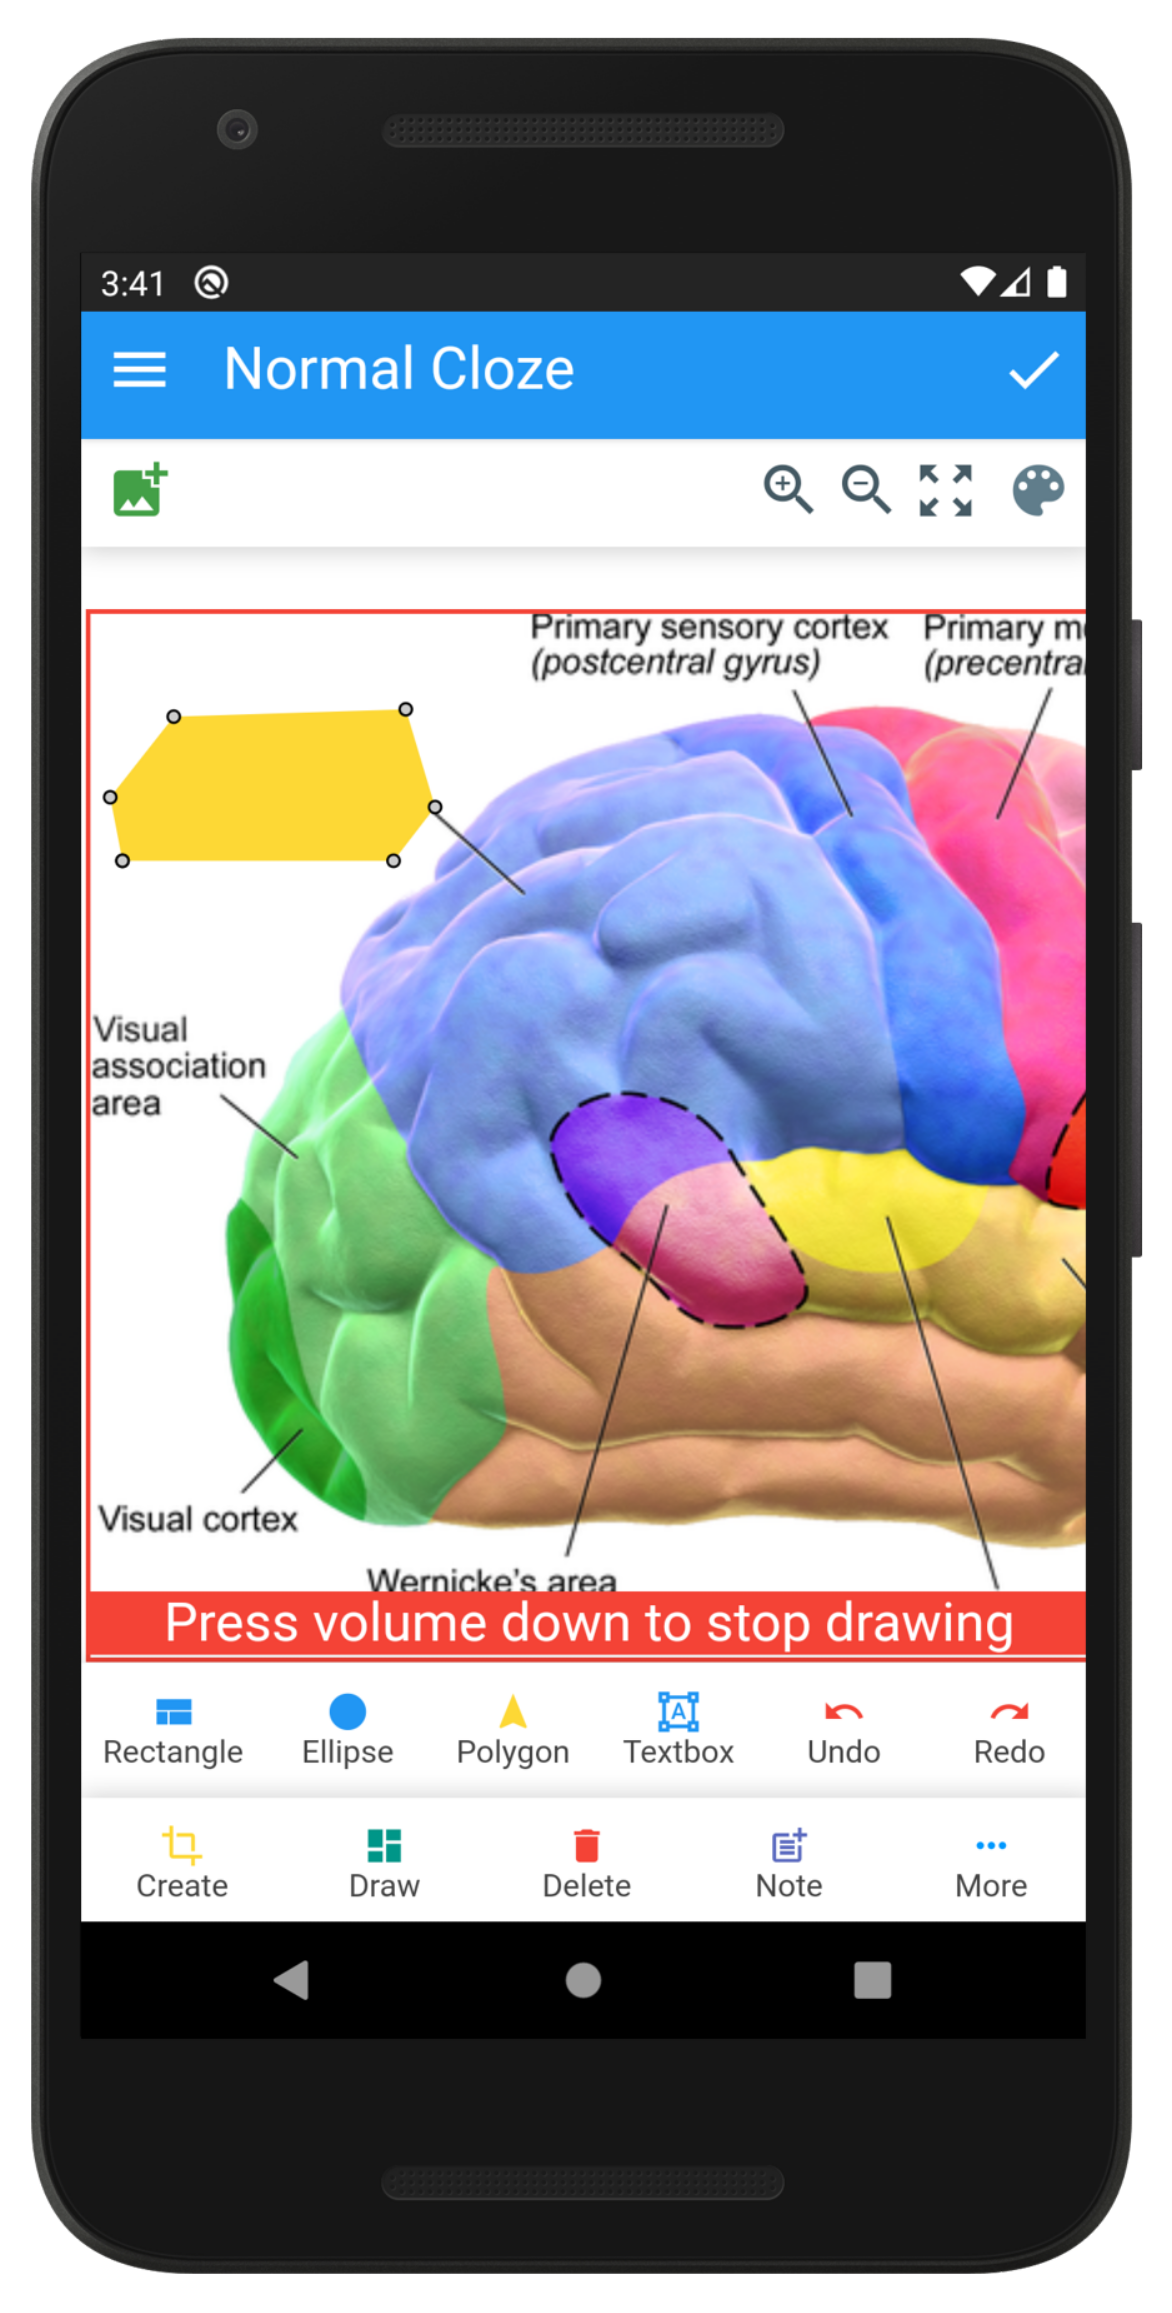
Have you ever found it difficult to remember specific details from images? If that sounds familiar, you’re not alone. Fortunately, Anki’s image occlusion feature is here to help. This nifty tool allows users to create flashcards that obscure certain parts of an image, turning any
Benefits of Using Image Occlusion for Memory Retention

Image occlusion in Anki offers a plethora of benefits that make it a popular technique for enhancing memory retention. Let's dive into some of the key advantages:
- Visual Learning: Humans are visual learners by nature. Utilizing images in your study materials allows for a deeper connection with the content, aiding in recall.
- Active Recall: The process of trying to remember the obscured parts of images engages your brain in active recall, an essential study technique that helps solidify information in your long-term memory.
- Customizable Content: With Anki's user-friendly interface, you can tailor the images to fit your specific learning needs. You can highlight areas of importance and omit distractions.
- Improves Spatial Memory: Anki’s image occlusion helps improve spatial memory since it encourages you to remember the location of various elements in an image.
- Better Engagement: Interacting with images keeps you more engaged in the learning process compared to traditional text-only flashcards.
- Variety of Formats: Whether you’re studying anatomy, geography, or even language, image occlusion can be adapted to various subjects, making learning more dynamic and fun.
By incorporating image occlusion into your Anki study routine, you'll harness the full power of visual aids, ultimately elevating your memory retention and learning experience.
Also Read This: Lights, Camera, IMDb: Adding Your Film to the Database
Step-by-Step Guide to Adding Image Occlusion in Anki

Adding image occlusion to your Anki cards is a powerful way to boost your memory retention. Don’t worry if you’re new to this; we’ll walk you through it step by step!
- Install Anki and Image Occlusion Add-on: First, make sure you have Anki installed. Then, visit the Anki add-ons page to find the Image Occlusion Enhanced add-on. Copy the code provided, go to Anki, navigate to
Tools > Add-ons > Get Add-ons, and paste the code there. Restart Anki to activate the add-on. - Select or Create a Deck: Open Anki and either select an existing deck or create a new one. It’s more effective to keep related topics together.
- Choose Your Image: Find the image you want to use. This can be a diagram, a picture, or any visual that you want to learn. Make sure it's clear and relevant!
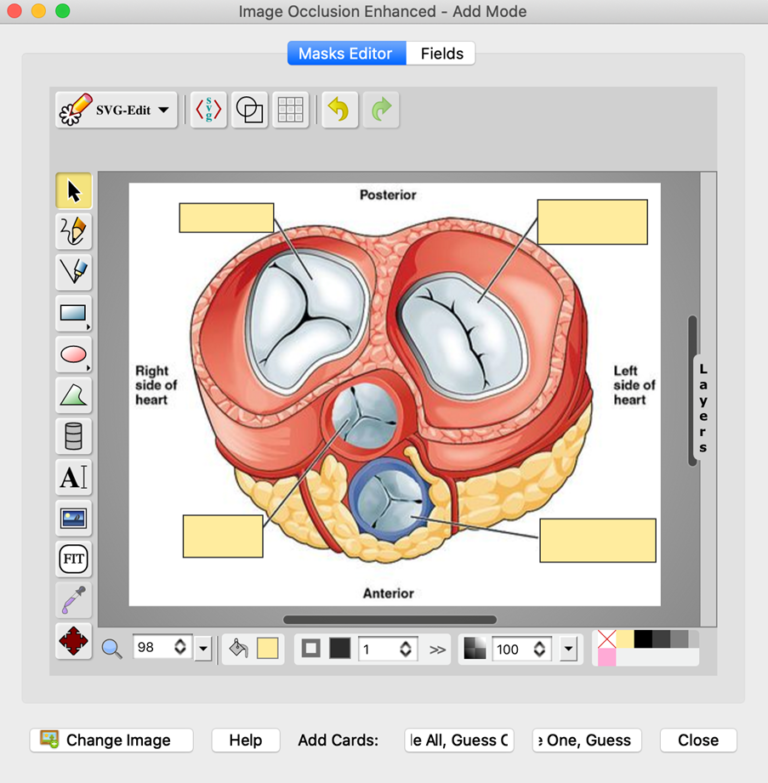
- Open Image Occlusion Tool: Go to
Tools > Image Occlusion Enhanced. A new window will pop up where you can upload your chosen image. - Highlight Areas to Occlude: Using your mouse, click and drag over the areas of the image that you want to hide. You can create multiple occlusions – just be mindful of how many you create; too many can be overwhelming.
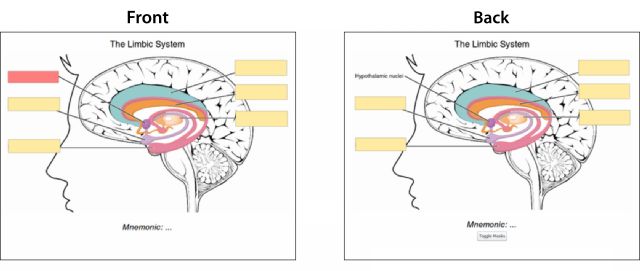
- Create Flashcards: Click on the “Create Cards” button. This will generate flashcards with the area you selected hidden, along with the necessary prompts for reverse recall!
- Review and Customize: Before hitting save, review your occlusions and flashcards. You can always go back to tweak them later if needed.
And that’s it! You’re now ready to start learning with your newly created image occlusion cards!
Also Read This: A Look at the Leading Technology Giants Reshaping the Economy of the USA
Tips for Creating Effective Image Occlusion Cards

Now that you know how to add image occlusion in Anki, let’s take a moment to ensure you’re making the most out of this feature. Creating effective image occlusion cards can significantly enhance your learning experience.
- Choose High-Quality Images: Always opt for clear, high-resolution images. Blurry or distorted visuals can confuse your memory.
- Limit the Number of Occlusions: Less is often more! Aim for two to three occlusions per card. This keeps your focus sharp and minimizes cognitive overload.
- Contextualize the Image: Whenever possible, provide context either in the image itself or in the accompanying card information. This can help create associations in your mind.
- Use Labels Wisely: If you use labels or annotations on the image, make sure they are relevant and aid in your understanding rather than cluttering the visual.
- Mix It Up: Don’t just use diagrams or maps. Try incorporating various types of images, like flowcharts or graphs, to keep your learning engaging.
- Regularly Review Your Cards: Consistency is key. Regularly revisit your flashcards to strengthen memory retention.
By following these tips, you can create highly effective image occlusion cards that enhance your learning and make recalling information a breeze!
Also Read This: Know About IMDB Long Form & How to Use it to Find Movies and Shows
Common Mistakes to Avoid When Using Image Occlusion

When using image occlusion in Anki, it’s easy to get caught up in the excitement of creating visually engaging cards. However, there are several common pitfalls that can hinder your memory retention efforts. Let’s take a closer look at these mistakes so you can steer clear of them.
- Overly Complex Images: One of the biggest mistakes is using images that are too detailed or cluttered. Simplicity is key! If your image has too much going on, it may confuse rather than aid your memory. Aim for clear, focused visuals that convey one main idea.
- Neglecting Context: Just occluding parts of an image isn't enough. Remember to provide enough context about what the image represents. Adding brief labels or notes can enhance understanding and retention.
- Inconsistent Usage: Stick to a consistent style for your image occlusion cards. If some cards have labels while others don’t, or if the design varies widely, your brain may struggle to make connections.
- Skipping Review: Creating image occlusion cards is just the beginning. Ensure you’re regularly reviewing them. The spaced repetition algorithm in Anki works best when you maintain a steady review schedule.
- Too Few Cards: While it's tempting to create elaborate images, it’s more important to have a healthy quantity of occlusion cards. Aim for a good balance—more cards can lead to higher retention rates.
By avoiding these common mistakes, you can maximize the benefits of image occlusion and enhance your learning experience effectively.
Conclusion: Mastering Memory Retention with Image Occlusion
Image occlusion is not just a nifty trick; it’s a powerful technique for improving memory retention. By strategically covering parts of images and prompting yourself to recall the hidden sections, you create active learning opportunities that can significantly bolster how information is stored in your brain.
Here’s a quick recap of what you can do to make the most out of this technique:
- Use clear, simple images that focus on the key concepts.
- Provide context with labels or notes to help cement associations.
- Practice consistency in your card design to help your brain recognize patterns.
- Commit to a regular review schedule to keep the information fresh.
- Find a balance in the number of cards to ensure effective learning without overwhelm.
As you incorporate these tips and learn from your experiences, you’ll find yourself mastering the art of memory retention through image occlusion. This technique not only makes learning more enjoyable but also helps you retain information longer. So, get started, and watch your learning flourish!
 admin
admin


