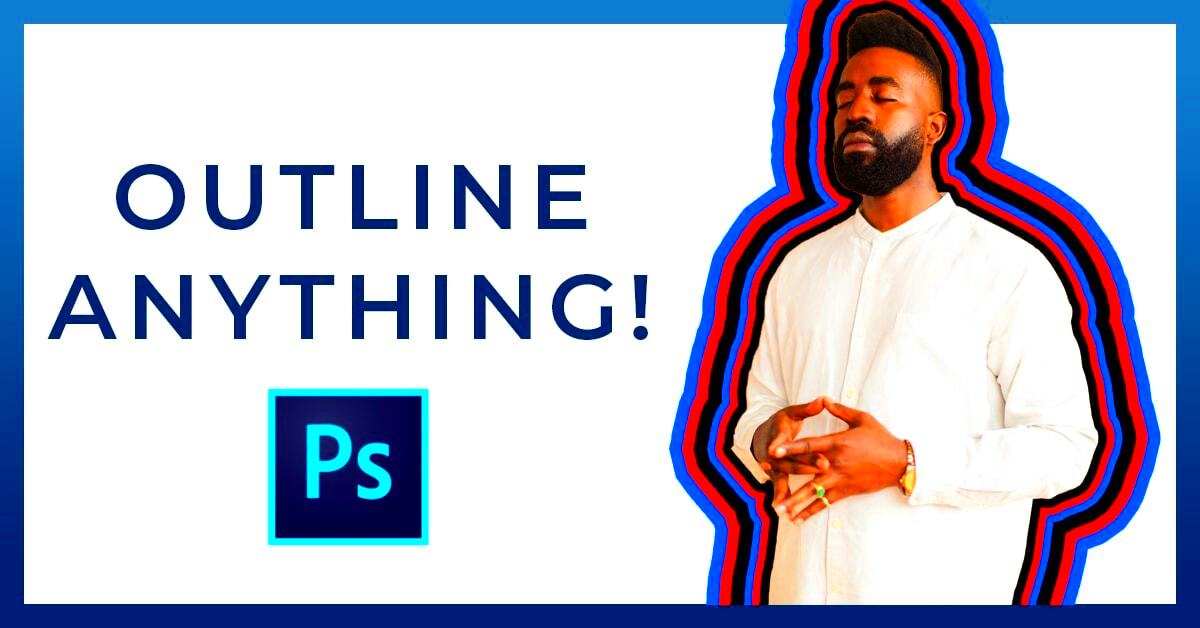
Image outlining is a crucial skill for anyone who works with graphics, whether you’re a designer, a photographer, or just someone who enjoys creating visuals. Outlining helps to emphasize specific parts of an image, making it stand out and easier to understand. In this blog post, we’ll explore the importance of image outlining, the tools you can use, and techniques to achieve the best results. Let’s dive in!
Understanding the Importance of Image Outlining

Outlining images is not just about aesthetics; it serves several practical purposes:
- Enhancement: Outlining can draw attention to specific elements, making your visuals more engaging.
- Clarity: A clear outline helps viewers quickly understand the subject of the image.
- Professionalism: Well-outlined images convey a sense of polish and attention to detail, which is essential for branding.
- Versatility: Outlined images can be used in various contexts, from presentations to social media posts, making them adaptable for different purposes.
By mastering the art of outlining, you can enhance your visual content and communicate more effectively with your audience.
Also Read This: Are YouTubers Real People? Understanding the Influencers Behind the Screen
Common Tools for Outlining Images
There are several tools available for outlining images, each with its own unique features. Here’s a list of some popular options:
| Tool | Description | Best For |
|---|---|---|
| Adobe Photoshop | A powerful image editing software with advanced outlining features. | Professional designers and photographers. |
| GIMP | A free and open-source image editor with robust outlining capabilities. | Beginners and budget-conscious users. |
| Canva | An online graphic design tool that offers easy outlining options. | Marketers and social media managers. |
| Inkscape | A vector graphics editor suitable for creating and outlining images. | Illustrators and artists. |
Choosing the right tool depends on your skill level and the complexity of the images you’re working with. Each of these options has its own strengths, so explore them to find what works best for you!
Also Read This: How to Create Friendship Cards on Dailymotion
Steps to Outline an Image Using Basic Software
Outlining an image using basic software is easier than you might think. Whether you’re using a simple editing tool or a free app, you can achieve great results by following these straightforward steps. Let’s break it down:
- Open Your Image: Start by launching your preferred basic software (like Paint or Canva) and upload the image you want to outline.
- Select the Outline Tool: Look for an option that allows you to draw or trace around the image. This might be a brush or a pen tool.
- Choose Your Outline Color: Pick a contrasting color that stands out against the image background for better visibility.
- Begin Outlining: Carefully trace around the edges of the object in your image. Take your time to ensure the outline is smooth and consistent.
- Adjust Thickness: If the software allows, you can adjust the thickness of the outline to your liking. Thicker lines are often more visible, while thinner lines can look more elegant.
- Save Your Work: Once you’re satisfied with your outline, don’t forget to save your image. Choose a format that preserves quality, like PNG or JPEG.
By following these steps, you can easily create outlined images that enhance your visuals and make them pop!
Also Read This: Mastering Adobe Stock Video for Your Projects
Advanced Techniques for Professional Image Outlining
If you’re ready to take your outlining skills to the next level, consider exploring some advanced techniques that can really elevate your work. Here are some methods used by professionals:
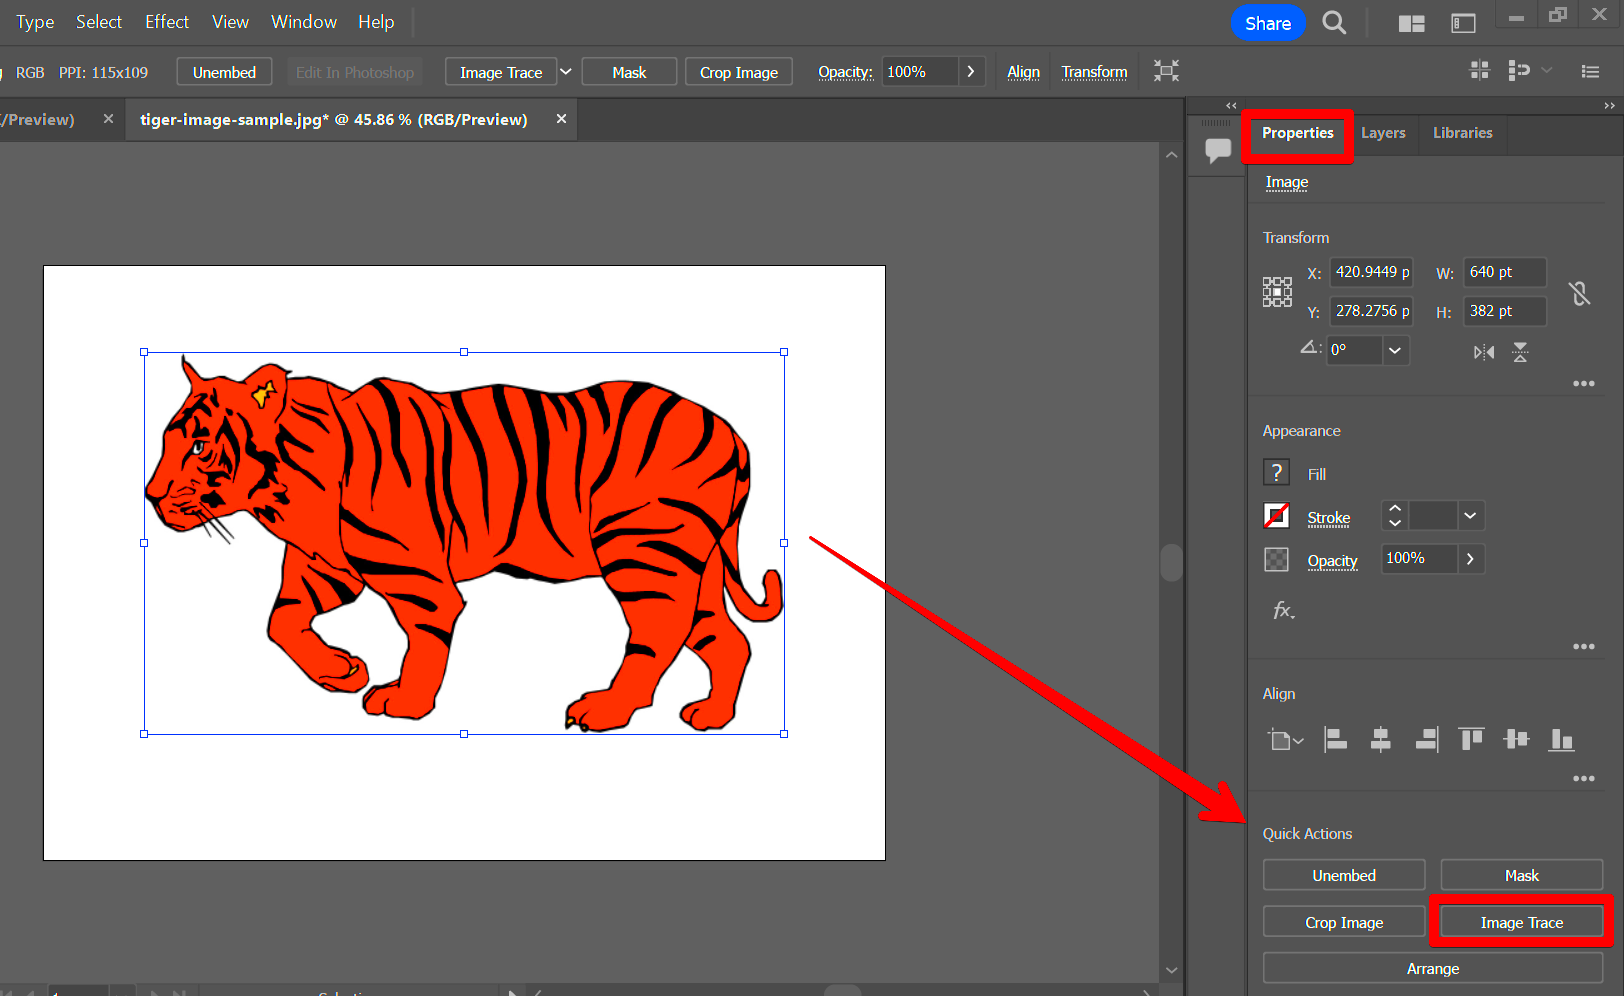
- Layering: Use layers in software like Adobe Photoshop to separate your outline from the original image. This allows for easier adjustments without affecting the main picture.
- Vector Tracing: Utilize vector software like Adobe Illustrator or Inkscape for crisp, scalable outlines. Vector graphics maintain quality no matter the size.
- Use Masks: Apply masks to refine the edges of your outline. Masks let you make precise changes without altering the original image.
- Gradient Outlines: Experiment with gradient colors in your outlines to add depth and dimension, making them visually appealing.
- Drop Shadows: Adding a drop shadow effect to your outline can create a three-dimensional look, enhancing the overall impact of your image.
These advanced techniques may require some practice, but they can significantly improve your outlining skills and give your images a professional touch.
Also Read This: Resizing an Image Without Stretching It
Tips for Achieving Clean and Precise Outlines
Creating clean and precise outlines is essential for making your images look polished. Here are some practical tips to help you achieve that:
- Use High-Quality Images: Starting with a high-resolution image makes it easier to see details and create a more accurate outline.
- Zoom In: When outlining, zoom in on your image. This allows for better control and precision, especially around intricate areas.
- Stabilize Your Hand: If you’re using a drawing tablet or even a mouse, find a comfortable grip that keeps your hand steady.
- Take Breaks: If you’re working on a complex image, don’t hesitate to take breaks. Fresh eyes can help catch mistakes you might have missed.
- Practice Regularly: The more you practice outlining, the better you’ll become. Try different styles and techniques to see what works best for you.
With these tips, you’ll be well on your way to creating stunning images with clean and precise outlines that capture attention!
Also Read This: How to Submit Images to Getty and Start Earning as a Contributor
How to Save and Export Outlined Images
Once you’ve spent time outlining your image, the next step is to save and export it correctly. How you save your work can affect its quality and usability, so let’s go through the steps to ensure you get it right:
- Choose the Right File Format: Depending on how you plan to use the outlined image, select a suitable file format. Here are a few common options:
- Adjust Image Settings: Before exporting, check the settings for resolution and quality. Higher resolutions are better for printing, while lower resolutions are suitable for online use.
- Use Export Options: Most software offers “Export” settings where you can fine-tune the file type and quality. Take advantage of these features.
- Save a Copy: It’s a good idea to save a copy of your original file (like a PSD or other project file). This way, you can return to the unedited version if needed.
| Format | Best For | Notes |
|---|---|---|
| PNG | Web use and printing | Supports transparency, high quality. |
| JPEG | Web use | Good for photographs, but no transparency. |
| SVG | Vector graphics | Ideal for scalable images with clean outlines. |
| TIFF | High-quality printing | Large file size, retains image quality. |
By following these steps, you’ll ensure your outlined images are saved and exported in the best possible format for your needs!
Also Read This: Can I Upload .MOV to YouTube? A Comprehensive Guide to Uploading Different File Formats
Frequently Asked Questions about Image Outlining
When it comes to image outlining, many people have questions. Here are some frequently asked questions that might help you:
- What is image outlining?
- Image outlining is the process of creating a defined border around an object in an image, enhancing its visibility and focus.
- Why is outlining important?
- Outlining helps to highlight specific elements in an image, making them stand out and easier to understand for viewers.
- Can I outline images on my phone?
- Yes, there are several mobile apps available that allow you to outline images, making it easy to edit on the go.
- What tools are best for outlining images?
- Tools like Adobe Photoshop, GIMP, Canva, and Inkscape are popular for outlining images, depending on your level of expertise.
- How do I fix a messy outline?
- If your outline looks messy, you can use the eraser tool to clean it up or redo it with a steadier hand.
If you have more questions about image outlining, feel free to reach out for clarification!
Conclusion and Final Thoughts on Image Outlining
In conclusion, image outlining is a valuable skill that can significantly enhance your visual content. By understanding the importance of outlining, using the right tools, and applying effective techniques, you can create professional-looking images that stand out. Whether you’re a hobbyist or a professional, practicing these skills will help you communicate your ideas more clearly and effectively.
As you continue to develop your outlining abilities, remember to experiment with different styles and tools. Don’t be afraid to make mistakes, as they are often the best teachers. Embrace the creative process, and enjoy crafting images that truly represent your vision. Happy outlining!

 admin
admin


