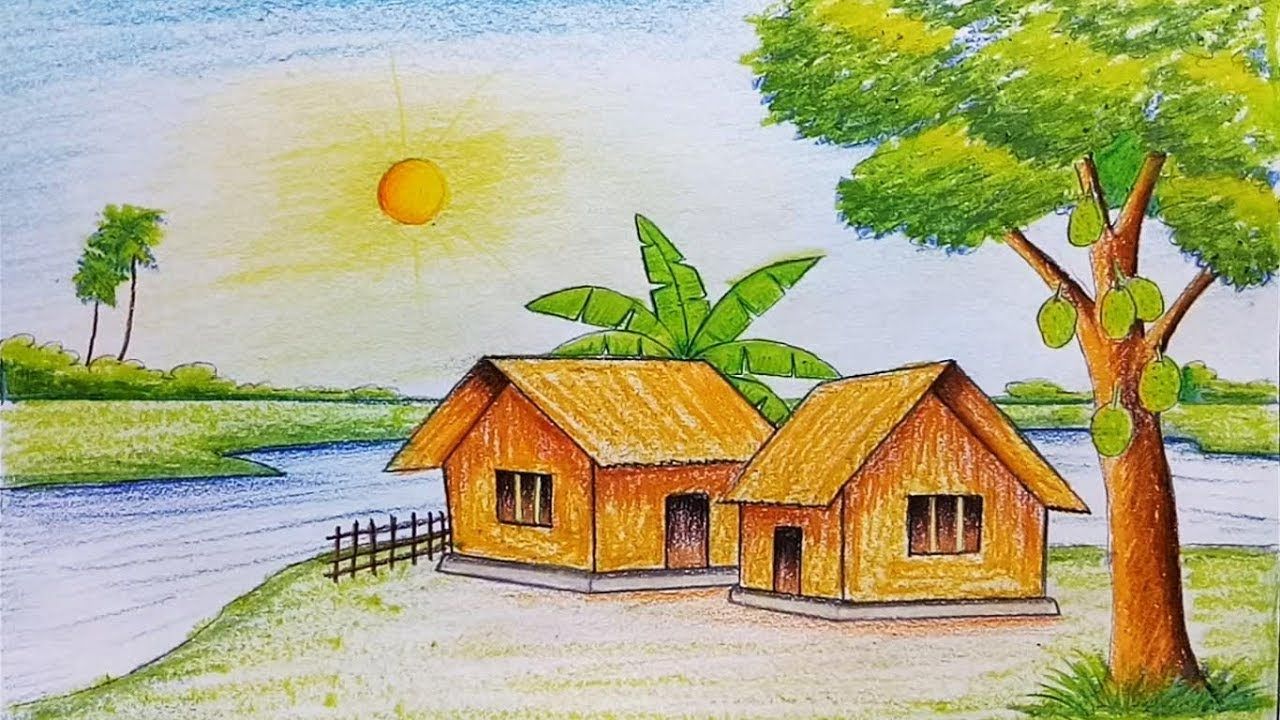
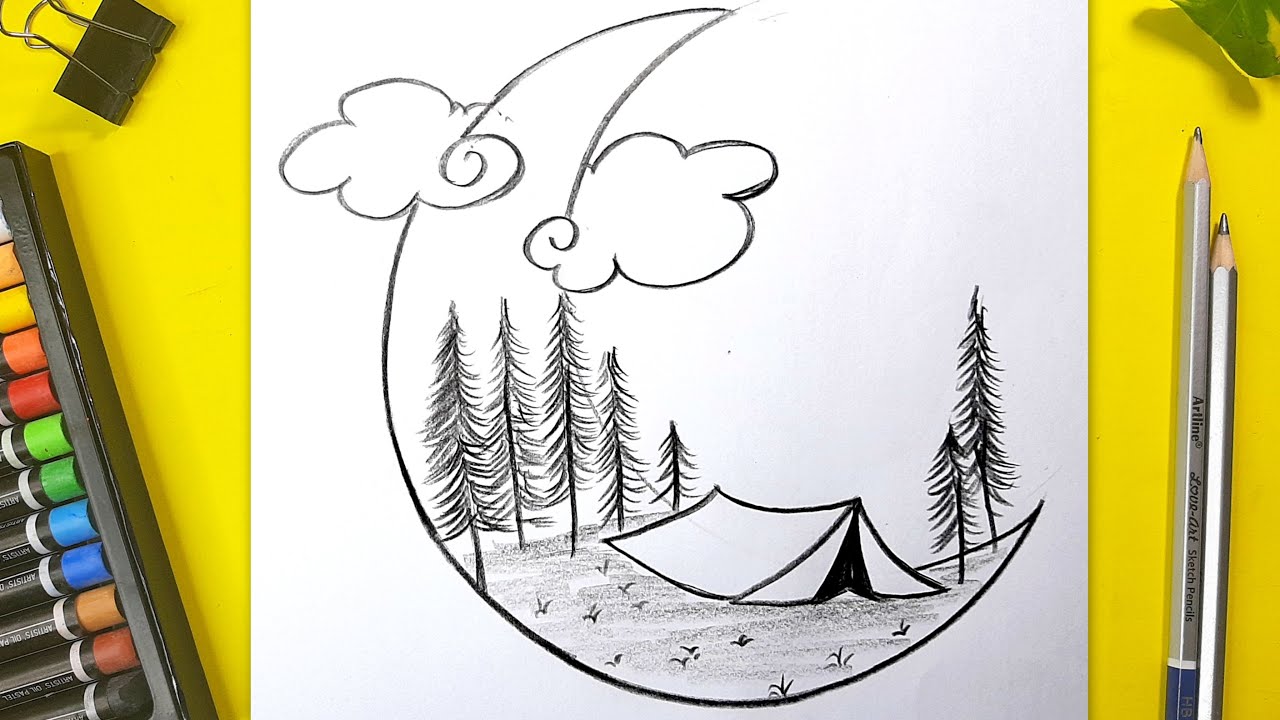
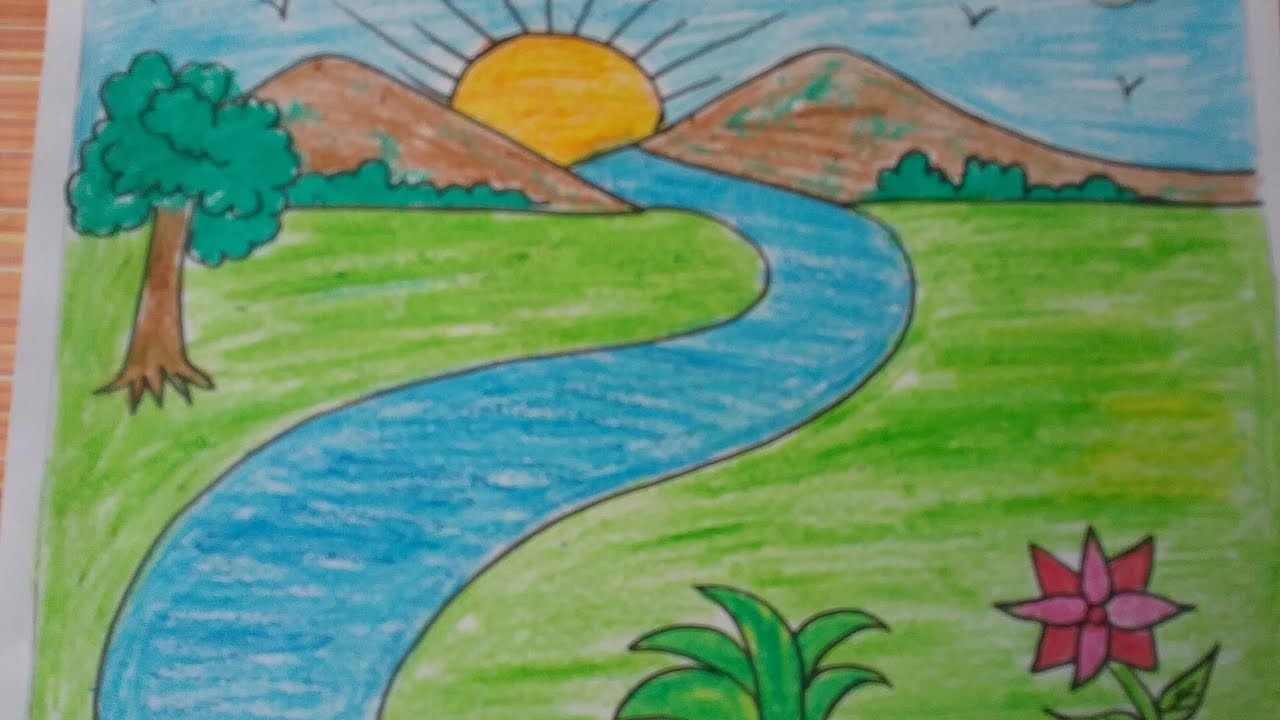
Scenery drawing is a delightful pastime that allows artists to capture the beauty of our world on paper. Whether you're a beginner or an experienced hand at drawing, creating scenic landscapes can be both relaxing and rewarding. It lets you express your thoughts, feelings, and experiences through visual art. In this blog post, we'll explore the ins and outs of scenery drawing and provide you with a step-by-step tutorial that you can follow along with on Dailymotion.
Imagine being able to depict serene mountains, tranquil lakes, or vibrant forests through your own artistic vision! With the right techniques and a little practice, anyone can learn to translate their perceptions of nature into stunning artwork. Not only is it a creative outlet, but it also enhances our observation skills and deepens our appreciation for the great outdoors.
So, whether you’re looking to pick up a new hobby or improve your existing skills, you're in the right spot. Grab a cup of tea, sit down, and let’s dive into the wonderful world of scenery drawing together!
Materials Needed for Scenery Drawing

Before we get into the actual drawing process, it’s essential to gather all the materials you'll need. The right tools can make a significant difference in the final outcome of your artwork. Here’s a handy list to get you started:
- Drawing Paper: Choose high-quality paper that can handle various mediums. A sketchbook is a great option for practice.
- Pencils: A range of pencils (2H for light lines, HB for general use, and 2B or 4B for darker shading) will help you achieve depth.
- Eraser: Both a traditional rubber eraser and a kneaded eraser are important for corrections and blending.
- Sharpener: Keeping your pencils sharp ensures precision in your lines.
- Coloring Tools: Depending on your preference, choose colored pencils, watercolors, or acrylic paints for adding color to your drawings.
- Brushes: If you're using watercolors or acrylics, a set of brushes in various sizes will come in handy.
Having these materials will set you up for success, allowing you to focus on honing your skills and enjoying the process. Don’t be afraid to experiment with different tools and find what works best for your style!
Also Read This: How to Upload Videos to Dailymotion: A Complete Tutorial for Content Creators
Choosing a Reference Image

When it comes to drawing scenery, having a reference image can significantly enhance your artistic journey. But how do you choose the right one? Here’s a simple guide to help you find the perfect reference image:
- Pick Your Mood: What kind of vibe do you want to convey? Whether it's a serene sunrise or a bustling cityscape, selecting an image that resonates with your artistic mood is crucial.
- Quality Matters: Look for high-resolution images. They allow you to see intricate details that you can incorporate into your drawing, making your artwork more vibrant and lifelike.
- Composition is Key: Pay attention to how elements are arranged in your reference image. Consider the rule of thirds, leading lines, and focal points to help guide your composition.
- Lighting and Shadow: Observe the lighting in the image. Effective use of light and shadow can add depth and dimension to your drawing.
- Nature vs. Urban: Decide whether you’re more inclined towards natural landscapes or urban environments. This choice will guide you in selecting suitable images.
Once you’ve chosen your reference image, spend some time observing it. Take notes on colors, textures, and shapes. All these observations will come in handy while you put pencil to paper. Remember, your reference image is there to inspire you and serve as a guide—not to constrain your creativity!
Also Read This: A Beginner’s Guide to Wedding Makeup Using Dailymotion Videos
Basic Techniques for Drawing Scenery

Now that you have your reference image, let’s dive into some basic techniques to help you start your scenery drawing with confidence. Here are some essential techniques to keep in mind:
| Technique | Description |
|---|---|
| Sketching the Outline | Begin by lightly sketching the main shapes and outlines of your scenery. Don’t press too hard; use simple lines to form a basic structure. |
| Layering | Work in layers. Start with lighter shades for background elements and gradually build up darker colors for foreground details. |
| Shading | Utilize shading to add depth. Observe how shadows fall in your reference image and replicate that using hatching or blending techniques. |
| Color Mixing | Experiment with color mixing to achieve the right tones and hues. Don’t hesitate to blend colors to create a more natural look. |
| Adding Details | Once your base is set, start adding finer details. This includes textures in the foliage, reflections in water, and intricate features in buildings. |
As you practice these techniques, remember that the key to improvement is persistence. Don’t be afraid to make mistakes; they’re all part of the learning process! Each drawing is an opportunity to refine your skills and express your unique artistic voice.
Also Read This: How to Make Capri Trousers: DIY Fashion Tutorial on Dailymotion
5. Step-by-Step Drawing Process
Embarking on a scenery drawing can seem daunting, but with the right step-by-step approach, it can be a rewarding experience. Let's break it down into manageable steps to ensure your drawing turns out beautifully.
Step 1: Gather Your Materials
Before you start, gather all necessary materials, including:
- Pencils (preferably different grades from 2H to 6B)
- Erasers (kneaded erasers work wonders)
- Paper (sketch paper or watercolor paper)
- Colored pencils or pastels for later stages
Step 2: Sketch the Basic Shapes
Begin with light pencil strokes to sketch the basic shapes of your scenery. Focus on the horizon line, large objects like mountains, trees, and buildings.
Step 3: Add Details
Once you're satisfied with the basic shapes, start refining your drawing by adding details, such as tree branches, windows on buildings, or texture on rocks.
Step 4: Ensure Composition and Perspective
Check the composition and perspective. Make adjustments if necessary, ensuring that the elements in your drawing work well together.
Step 5: Finalize with Line Work
With your details in place, go over your pencil lines with a fine pen or darker pencil. This will help the drawing stand out more.
By following these steps, you'll have a clear foundation for your scenery drawing, making it much easier to add colors and complete your masterpiece!
Also Read This: Step-by-Step Guide to Making a Tutu Dress Using Dailymotion Tutorials
6. Coloring Techniques for Your Scenery
Now that you have your scenery sketch in place, it’s time to add some color! Color can bring your artwork to life, but it’s essential to apply the right techniques to achieve stunning results.
Technique 1: Layering
Start with a light base color for large areas (like the sky or grass). Apply additional layers with slightly darker tones to create depth and dimension. Remember, less is more; you can always build up color.
Technique 2: Blending
Blending is key to creating smooth transitions between colors. You can use blending tools, such as:
- Blending stumps
- Q-tips for softening edges
- Finger for a personal touch
Technique 3: Dry Brush Technique
This technique works great for textures (like tree bark or rocky surfaces). Use a dry brush to apply paint, leaving some background color visible for a natural feel.
Technique 4: Use of Highlights and Shadows
Don’t forget to add highlights and shadows to your scenery. This adds a realistic touch. Think about where your light source is coming from and apply lighter or darker shades accordingly.
By incorporating these coloring techniques, your scenery drawing will transform from a simple sketch into a vibrant and lively piece of art. Have fun, and don’t be afraid to experiment!
Also Read This: Learn to Play the Happy Birthday Tune on Guitar Using Dailymotion Resources
7. Final Touches and Tips
Now that you've laid down the foundation of your scenery drawing, it's time for those final touches that will truly make your artwork pop! Here are some essential tips to consider:
- Step Back: Take a moment to step back and observe your drawing from a distance. This can help you see any areas that need adjustment or enhancement.
- Enhance Details: Add fine details where necessary. This could mean adding texture to trees, highlighting clouds, or defining contours in mountains.
- Use Layers: If you're painting, consider applying layers for depth. Start with base colors and gradually add darker hues or lighter highlights. This technique can create an almost 3D effect!
- Adjust Lighting: Think about where your light source is coming from. Shadows can add drama and dimension, while highlights can create focus on key areas.
- Final Review: Once you've added your finishing touches, do a final review. Make sure your elements are balanced and cohesive—you want your scenery to feel like a unified whole.
Finally, don't forget to sign your artwork! It’s a proud moment and makes it official—this piece is yours!
8. Where to Find More Tutorials on Dailymotion
If you’ve enjoyed this scenery drawing tutorial, you’ll be thrilled to know that Dailymotion has a treasure trove of other art tutorials waiting for you! Here’s how to navigate and find more great content:
- Search Functionality: Simply type keywords like "art tutorial," "drawing tips," or "scenery drawing" into the Dailymotion search bar. You'll be surprised at the number of results that pop up!
- Popular Channels: Check out channels dedicated to art and drawing. Creators often curate playlists containing several tutorials, making it easier for you to binge-watch.
- Engage with the Community: Don’t be shy to leave comments on videos! Interaction can lead you to recommendations and insights from fellow budding artists.
- Create a Playlist: As you find videos you love, create your own playlist to keep your favorite tutorials in one place. It's a great way to keep track of lessons that pique your interest.
Whether you’re looking to refine your technique or learn something new, Dailymotion is an incredible resource to inspire your creativity!
 admin
admin


