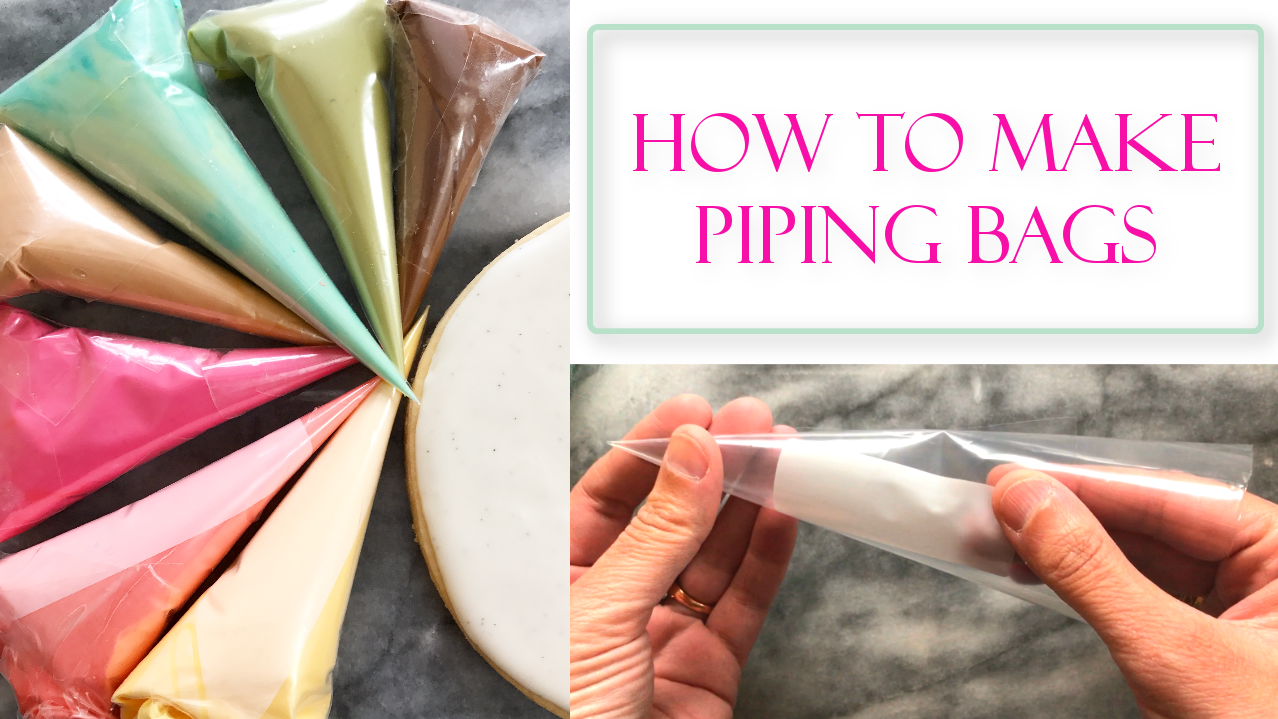
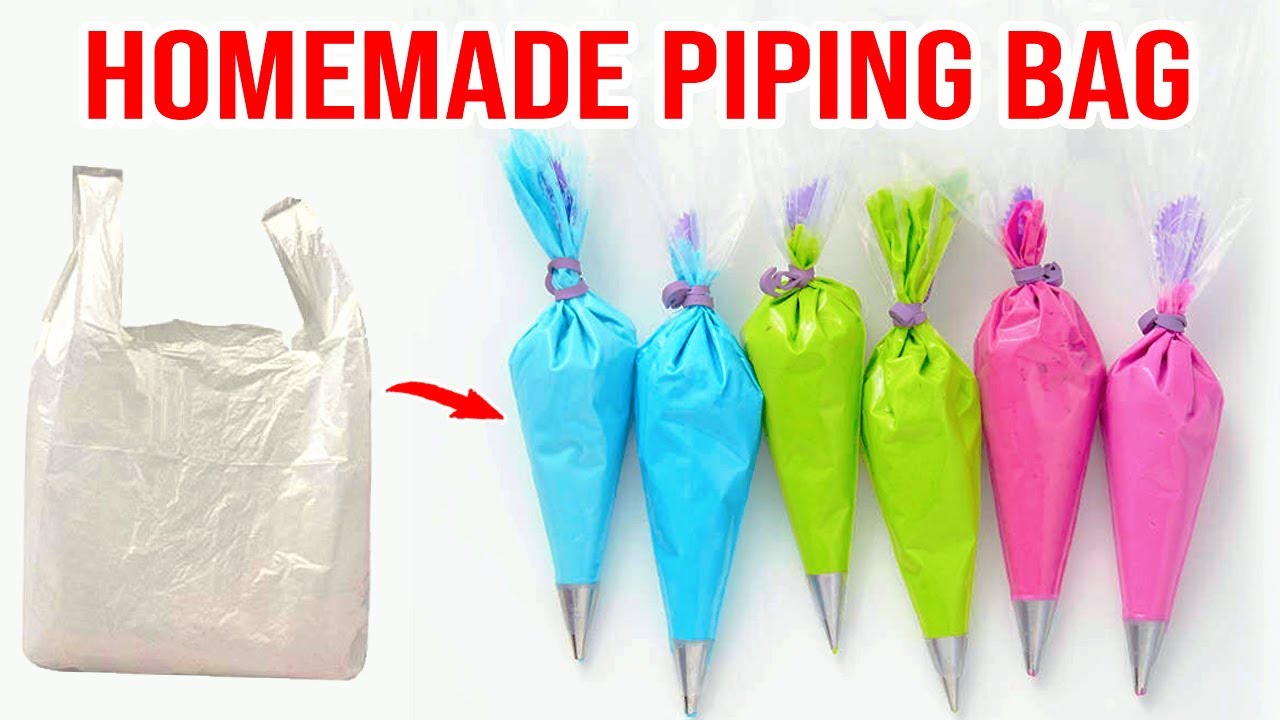
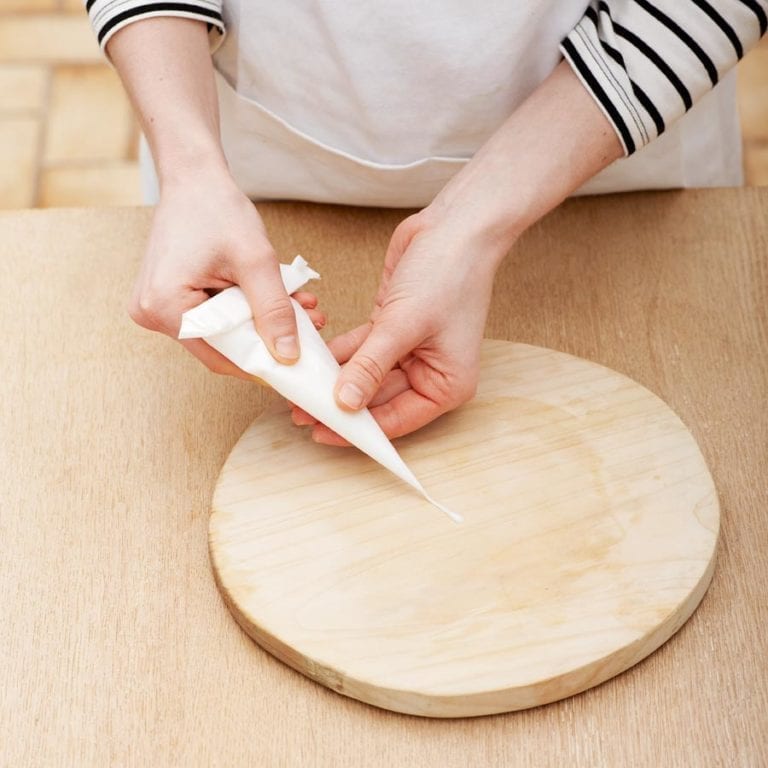
If you’ve ever found yourself in the midst of a baking adventure or a cake decoration project, you probably know how essential a piping bag can be. Sure, you could visit a store and grab one, but where’s the fun in that? Making your own homemade piping bag is not only easy but also an excellent way to save some money and reduce waste. In this blog post, I’ll walk you through a simple DIY tutorial for creating a piping bag using materials you likely already have at home. Let’s get started on this fun and creative journey!
Materials Needed

Before diving into the process of making your very own piping bag, you'll want to gather up a few essential materials. The great news is that these items are probably lurking in your kitchen or craft drawer right now!
- Plastic Wrap or Parchment Paper: This serves as the primary material for your piping bag. Plastic wrap is stretchy and easy to handle, while parchment paper offers a stiffer option.
- Scissors: You’ll need a reliable pair of scissors for cutting the wrap or paper to size.
- Adhesive Tape: A bit of tape will help secure your piping bag in shape, so it's crucial to have this on hand. Regular cellophane tape works just fine.
- Kitchen Ingredients or Frosting: Choose whatever you plan to pipe! This could be icing, whipped cream, or even melted chocolate.
- Optional – Decorative Tips: If you want to add some flair to your piping, consider having various decorative tips handy. These tips help create different shapes in your designs.
With these materials at your disposal, you’re all set to embark on your piping bag-making adventure. Remember, the best part about DIY projects is that you can tailor them to your needs and preferences. Let’s get started!
Step-by-Step Instructions

Creating your own homemade piping bag is a fun and straightforward process! You can easily whip one up with just a few materials you probably have lying around the house. Let’s break it down step by step:
- Gather Your Materials: You'll need:
- A resealable plastic bag (like a sandwich or gallon-sized bag)
- Scissors
- Clear tape (optional)
- Your favorite icing or filling
- Fill the Bag: Open the resealable bag and carefully pour in your icing, filling, or frosting. Be sure to fill it no more than two-thirds full to allow space for sealing and piping.
- Seal It Up: Press out the air and seal the bag tightly. You want to make sure there are no leaks when you start piping.
- Trim the Corner: Using your scissors, snip off a small corner of the bag (about 1/4 inch). You can always cut more if you need a larger opening, but better to start small!
- Pipe Away: Hold the piping bag at the top (the sealed part) and squeeze gently from the top downwards. You're ready to decorate your cupcakes or pastries!
And that’s it! You now have a DIY piping bag that’s perfect for any baking project.
Tips for Using Your Homemade Piping Bag

Using your homemade piping bag can be a delightful experience, but to ensure perfect results, here are some handy tips:
- Practice First: If you're new to piping, grab some parchment paper and practice your designs before moving onto your final product. This will help you get a feel for the pressure and speed required.
- Choose the Right Tip Size: The size of the corner you cut from your bag will dictate the size of your piping. For intricate designs, keep it small; for larger swirls or thick icing, cut a bigger opening.
- Apply Even Pressure: To create uniform designs, squeeze with even pressure throughout the entire process. It might take some practice, but it's worth it for those professional-looking results!
- Keep It Steady: Always stabilize your hand while piping, either by resting your wrist on the surface or using a decorative guide. This helps to maintain control.
- Clean the Tip Frequently: If you notice icing building up at the tip, wipe it down on a clean cloth or paper towel. This keeps your designs sharp and free from mess.
Follow these tips, and you’ll take your baking projects to the next level with ease and creativity!
Easy DIY Homemade Piping Bag Tutorial

Creating beautiful and intricate designs with frosting, cream, or other soft mixtures is made easier with a piping bag. While there are many store-bought options, making your own homemade piping bag is both cost-effective and an excellent solution when you need one quickly. This tutorial will walk you through some simple steps to create a DIY piping bag using materials you likely already have at home.
Materials Needed
- Plastic sandwich bag or a large zip-top bag
- Pair of scissors
- Pencil or marker (optional)
- Optional: Rubber band or tape (for securing the bag)
Instructions
- Fill the Bag: Place your frosting or mixture into the plastic bag. Avoid overfilling; it should be about halfway full to allow for easy maneuvering.
- Seal the Bag: Press out as much air as possible before sealing the bag to help control the flow of your frosting.
- Trim the Tip: Using scissors, carefully cut one of the bottom corners of the bag to create a small opening for piping. Start with a small cut; you can always make it larger if needed.
- Secure (Optional): Use a rubber band or tape around the open end of the bag to keep the frosting from spilling out as you work.
Tips for Use
| Tip | Description |
|---|---|
| Practice First | Use parchment or wax paper to practice your piping skills before applying to your final cake or dessert. |
| Different Sizes | Cut the tip of the bag to different sizes for various effects—smaller for fine lines, larger for filling. |
| Keep it Clean | Wipe the tip of the bag while working to avoid clogs and maintain a clean design. |
In conclusion, this DIY piping bag tutorial allows you to create a budget-friendly, efficient tool for decorating your baked goods, utilizing items you already have at home. With just a few simple steps, you can pipe with ease and express your creativity.
 admin
admin


