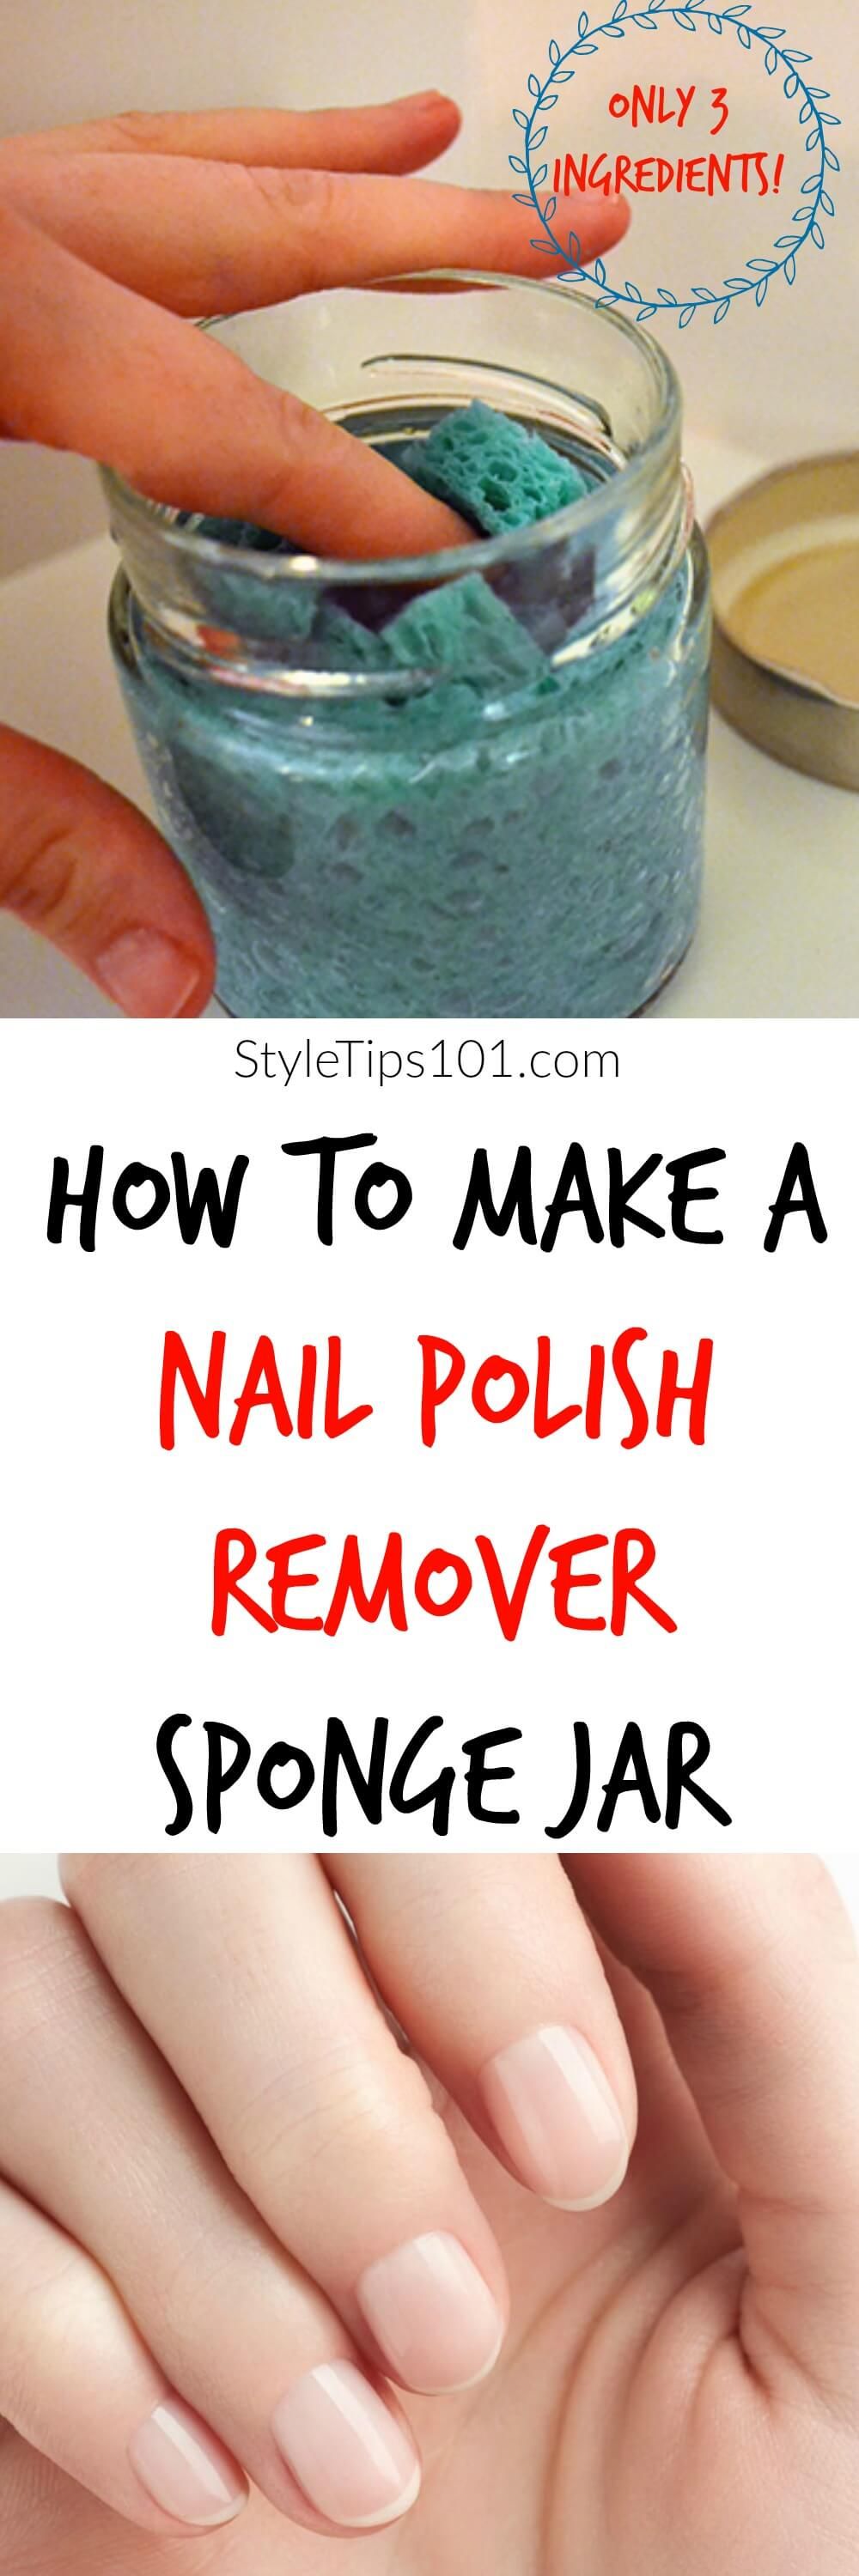
If you've ever found yourself out of nail polish remover, you know how frustrating it can be! But don’t worry—making your own remover at home is not only simple but also fun. With just a few household ingredients, you can create an effective nail polish remover that works wonders. Plus, it’s a great way to avoid harsh chemicals often found in commercial products. Let’s dive into how you can whip up your own nail polish remover with easy step-by-step instructions!
Benefits of Making Your Own Nail Polish Remover
Now you might be wondering, why bother making your own nail polish remover when you can just grab a bottle from the store? Good question! Here are some fantastic benefits that might just sway you:
- Cost-Effective: DIY nail polish remover can save you money. Ingredients like vinegar and rubbing alcohol are usually inexpensive and can be used for various purposes around the house.
- Customizable: You can tweak the formula to suit your needs. Want a stronger remover? Add more alcohol. Prefer a gentler option? Mix in some coconut oil for hydration.
- Fewer Chemicals: Many commercial removers contain acetone and other harsh chemicals that can dry out your nails and skin. By making your own, you can avoid these harmful ingredients and choose more natural alternatives.
- Environmentally Friendly: Creating your own nail polish remover reduces waste from plastic packaging and decreases the demand for mass-produced products. It’s a small step towards a greener lifestyle!
- Fun Activity: It’s a great DIY project! Gather your friends for a fun nail night, and create your own personalized nail polish remover together.
In summary, making your own nail polish remover at home not only empowers you to take control of the products you use but also offers a creative outlet. Plus, you might just find that your homemade version works even better than the store-bought stuff! Ready to give it a try? Let’s move on to the simple steps to create your very own DIY nail polish remover!
Also Read This: Monetizing Your Dailymotion Videos for Content Creators
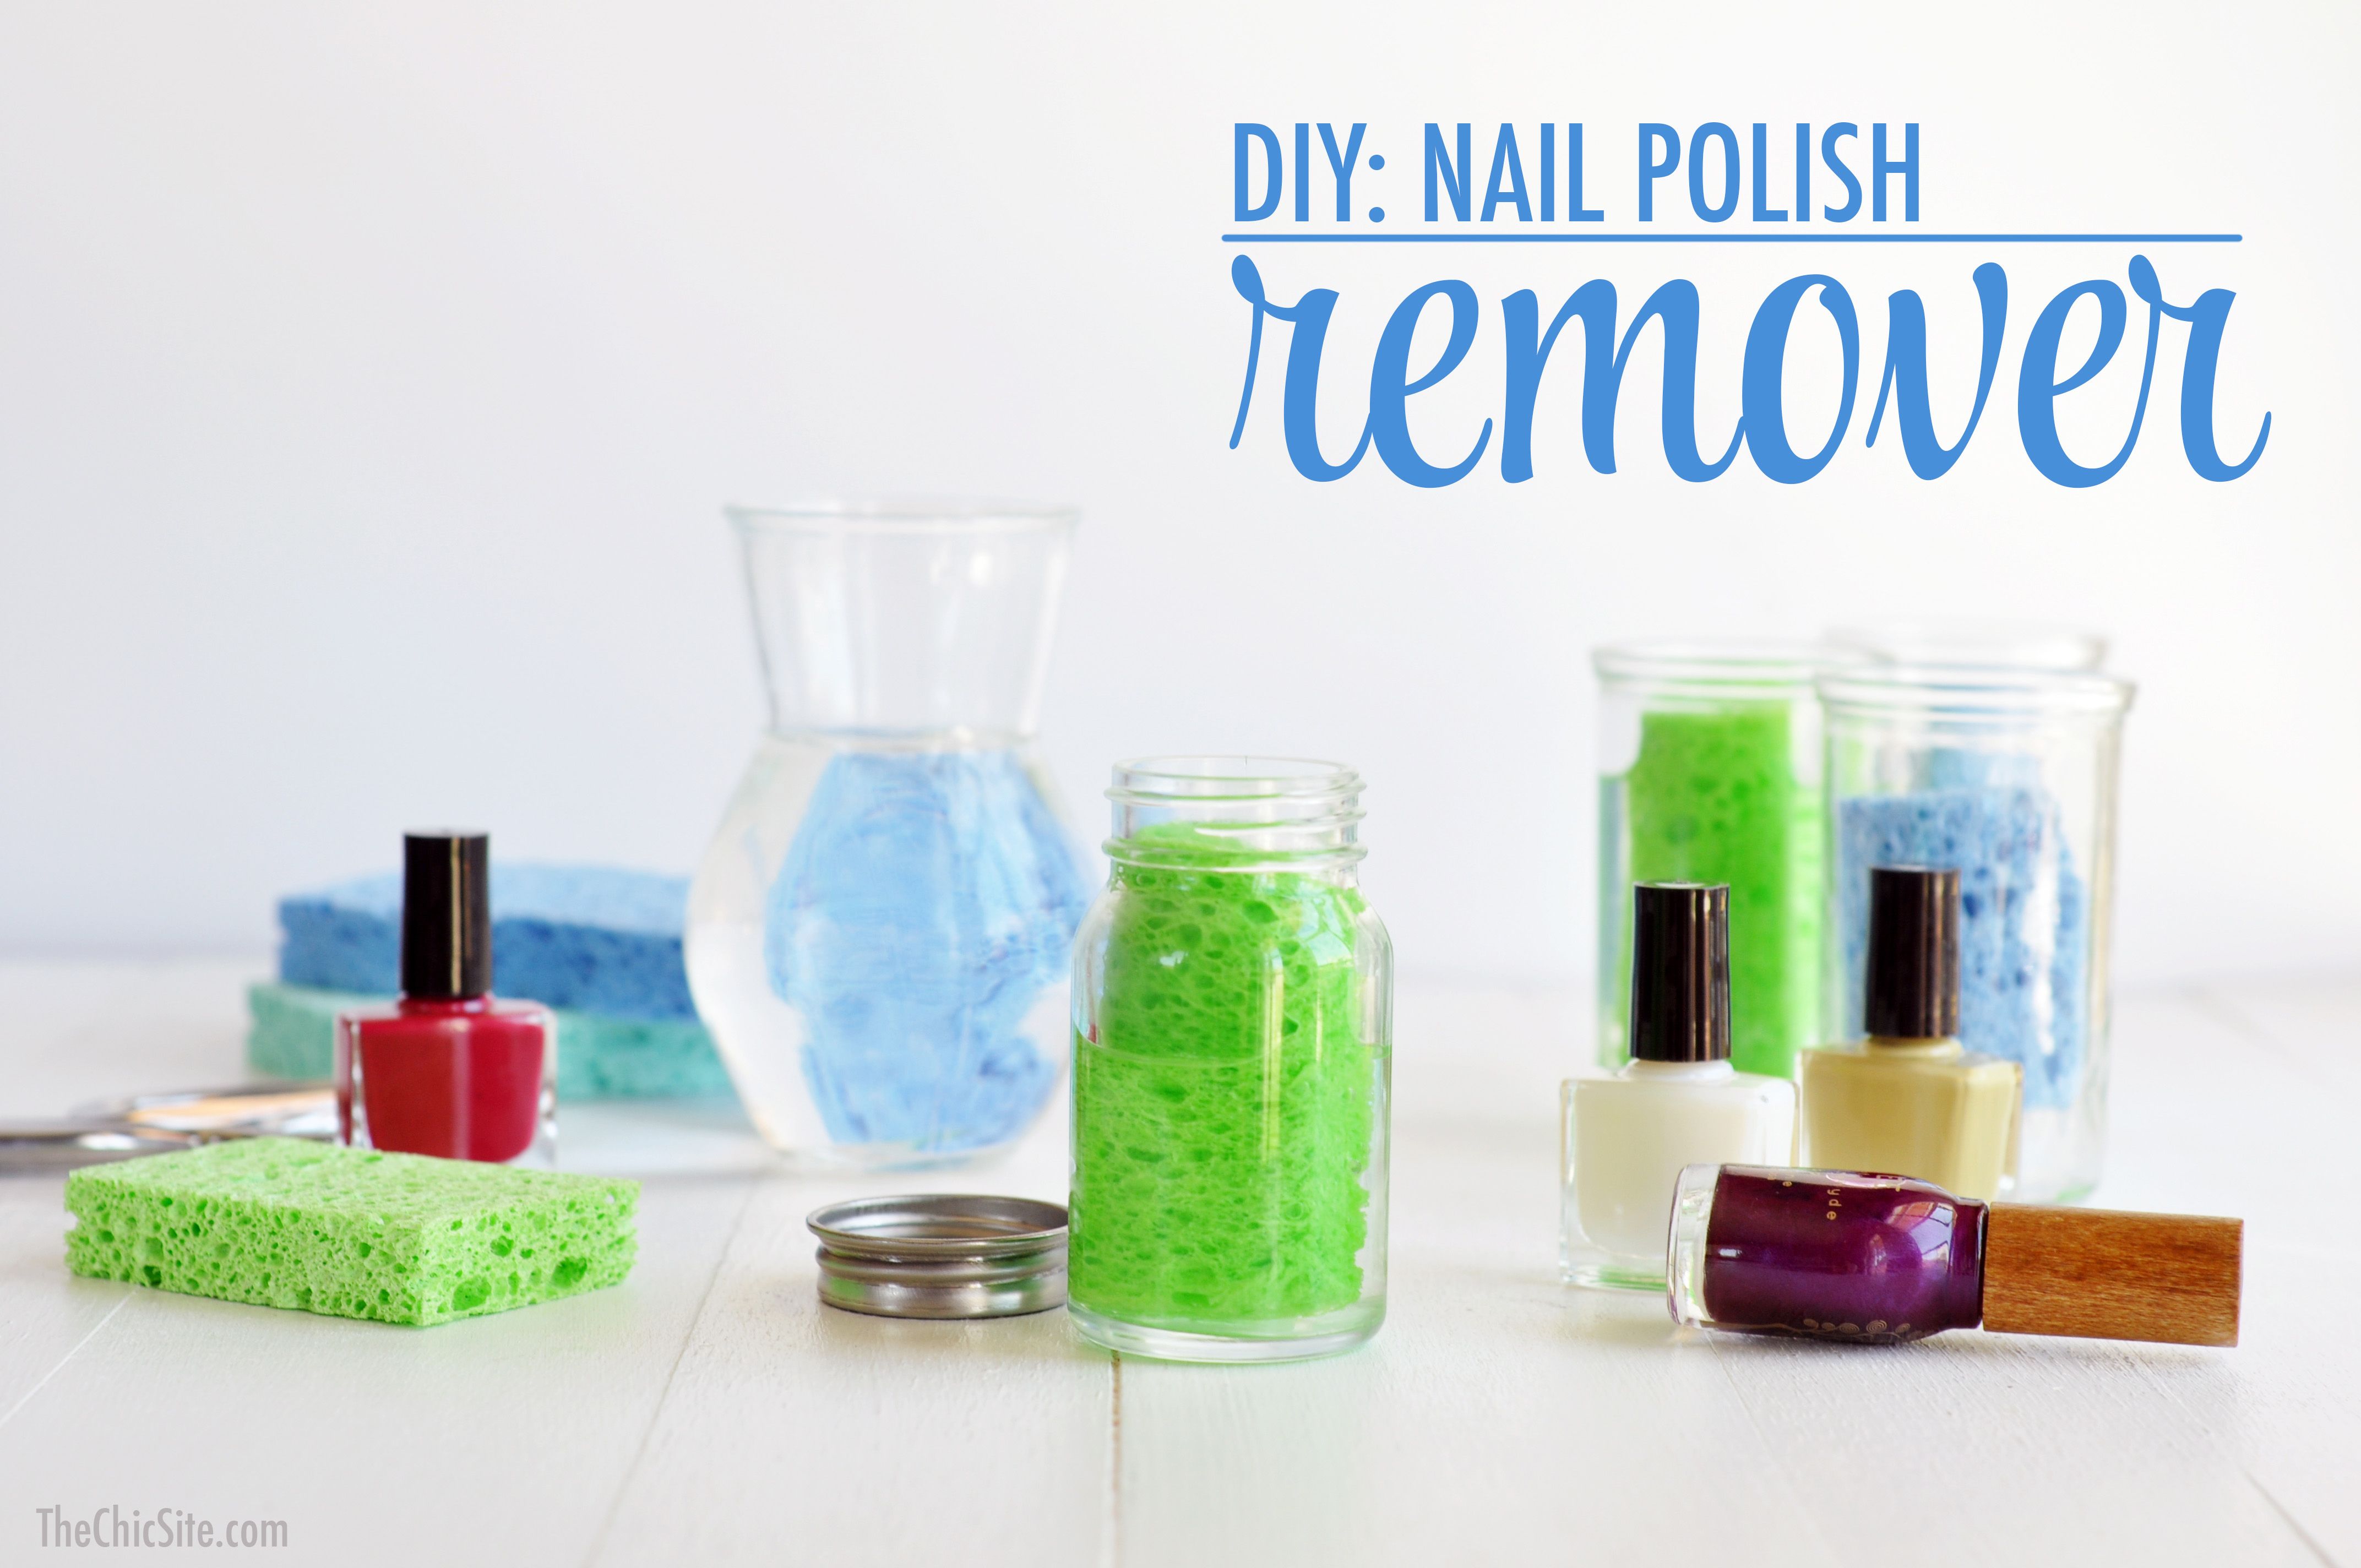
3. Essential Ingredients for Homemade Nail Polish Remover
Creating your own nail polish remover at home is not only a fun project, but it can also be kinder to your nails and the environment. Let’s dive into the essential ingredients you'll need to whip up a batch of DIY nail polish remover.
To get started, here are the primary ingredients you’ll generally need:
- Isopropyl Alcohol (rubbing alcohol): This is the key ingredient that helps break down the nail polish. You can find it in most drugstores, and it's typically available in concentrations of 70% or 91%.
- Vinegar: A natural alternative that helps soften nail polish, making it easier to wipe away. White vinegar is the most common choice.
- Essential Oils (optional): Not only do these provide a pleasant scent, but some oils like lavender or tea tree oil can also benefit your nails. They add a touch of luxury to your DIY remover!
- Water: This will help dilute the alcohol and vinegar, making it less harsh on your nails and skin.
Using these ingredients, you can customize your nail polish remover based on what works best for you. For instance, if you have sensitive skin, you might want to use a higher ratio of water to alcohol. Experiment a little to find the perfect blend!
Also Read This: Is the Song “Does He Know” Available on Dailymotion?
4. Step-by-Step Instructions for Creating Your Own Nail Polish Remover
Now that you have your ingredients ready, it’s time to bring your DIY nail polish remover to life! Follow these easy steps:
- Gather Your Materials: You’ll need a bowl or measuring cup, a small bottle (preferably glass or BPA-free plastic), and a cotton ball or pad for application.
- Mix the Base: In your bowl or measuring cup, combine 1 part isopropyl alcohol and 1 part vinegar. For example, if you use ½ cup of alcohol, mix it with ½ cup of vinegar. This combination is usually effective for most nail polishes.
- Enhance with Essential Oils: If you want to add a nice scent to your remover, now’s the time! Add about 5-10 drops of your favorite essential oil to the mixture. Lavender or lemon is a great choice for a soothing scent.
- Dilute with Water: To make your remover gentler, add about 1-2 tablespoons of water to the mixture. Stir it well until everything is well combined.
- Transfer to a Bottle: Carefully pour your homemade nail polish remover into the small bottle. Use a funnel if needed to avoid spills. Make sure to label the bottle, so you know what it is!
- Test It Out: Now it’s time for a quick test! Take a cotton ball, soak it in your new remover, and apply it to a nail with polish. Hold it on the nail for a few seconds, then wipe it away. You might need to repeat this step for stubborn polish.
And there you have it—your very own homemade nail polish remover! It’s simple, effective, and customized just for you. Plus, it’s a great conversation starter when your friends ask how you got such a lovely polish-off routine!
Also Read This: Is Dailymotion a Legal Website? Exploring the Legal Aspects of Dailymotion
5. Tips for Using Your DIY Nail Polish Remover Effectively
Now that you've created your own nail polish remover, let’s make sure you’re getting the most out of it! Here are some handy tips to use your DIY concoction effectively:
- Use the Right Cotton Pad: Opt for cotton pads instead of balls. They’re less likely to shed fibers and can hold more liquid, making the removal process smoother.
- Soak and Wait: Apply a generous amount of your homemade remover on the cotton pad and let it sit on your nail for at least 10-15 seconds. This softens the polish and makes it easier to wipe off.
- Gentle Pressure: Use a gentle back-and-forth motion rather than rubbing vigorously. This minimizes damage to your natural nails and surrounding skin.
- Multiple Passes: Don't be discouraged if the polish doesn’t come off in one swipe. Sometimes, you might need to repeat the process a couple of times for stubborn colors, especially glitter or dark shades.
- Moisturize Afterward: DIY removers can be drying. Always follow up with a good hand cream or cuticle oil to keep your nails and skin hydrated.
With these tips, you’ll find removing nail polish not only easy but also enjoyable! Plus, it’s a fun way to pamper your nails at home.
6. Common Mistakes to Avoid When Making Nail Polish Remover
While DIY nail polish remover is a fantastic project, it’s easy to make mistakes that can affect its effectiveness. Here are some common pitfalls to steer clear of:
- Incorrect Ratios: One of the biggest mistakes is not getting the ratios right. Too much acetone can be harsh, while too little won’t do the job. Stick to a balanced ratio, like 1 part acetone to 2 parts oil for a gentle yet effective mix.
- Using Low-Quality Ingredients: If you’re using essential oils or carrier oils, opt for high-quality products. Low-grade oils can have impurities that make your remover less effective and could irritate your skin.
- Skipping the Patch Test: Always test your DIY remover on a small area of skin to check for any adverse reactions, especially if you have sensitive skin. This step can save you from unexpected irritation!
- Storing Improperly: Make sure to store your nail polish remover in a cool, dark place. Exposure to sunlight can degrade the effectiveness of the ingredients. Use a dark glass bottle if possible for storage.
- Overlooking Cleanup: Remember to clean up any spills, as acetone can damage surfaces. Use a paper towel or cloth to wipe up drips immediately to avoid any lasting damage.
By avoiding these common mistakes, you’ll ensure your DIY nail polish remover is safe, effective, and a great addition to your beauty routine!
 admin
admin


