Have you ever looked at stunning nail designs and thought, "I wish I could do that!"? Well, the good news is, you totally can! DIY nail art is an engaging and creative way to express yourself right from the comfort of your home. Whether you're a beginner or a pro, there are countless techniques you can try, making your nails a unique canvas for your artistic flair. Plus, it's a fun activity that can even double as a self-care ritual.
In this blog post, we're diving into the world of DIY nail art and sharing some fantastic techniques and tips to elevate your nail game. So grab your favorite polish, and let’s get those creative juices flowing!
Essential Tools and Materials

Before you embark on your DIY nail art journey, it’s crucial to have the right tools and materials at your disposal. Having everything organized and easily accessible will make your nail art experience enjoyable and less stressful. Here’s a list of essential items you should have in your nail art kit:
- Nail Polish: Choose a variety of colors including base coats, top coats, and your favorite shades for design work.
- Nail Files and Buffers: To shape your nails and smooth out any rough edges.
- Nail Art Brushes: Thin, fine-tipped brushes allow for precise designs, while wider brushes are perfect for filling in larger areas.
- Dotting Tools: These come in various sizes and are perfect for creating dots, flowers, or intricate patterns.
- Striping Tape: Ideal for making straight lines and geometric designs on your nails.
- Sponges: Great for techniques like ombre and gradient effects.
- Stickers and Water Decals: These can add a fun twist with minimal effort.
- Acetone or Nail Polish Remover: For correcting any mistakes or removing nail polish.
- Cotton Pads: Handy for cleaning up excess polish around the cuticles and nails.
Having these tools will not only make the process much easier but will also allow you to experiment freely with various designs. So, gather your materials, and let's get started on creating some fabulous nail art at home!
Also Read This: Selecting Images in Procreate
3. Popular Nail Art Techniques

Nail art is all about expressing your creativity and making your fingertips look fabulous! There are numerous techniques that have gained popularity among nail enthusiasts. Here are some of the most popular nail art techniques you can try at home:
- Stamping: This technique involves using a special stamping plate with pre-designed patterns. You just need a stamper and a scraper to transfer the designs onto your nails. It's quick, fun, and you can create intricate designs in no time!
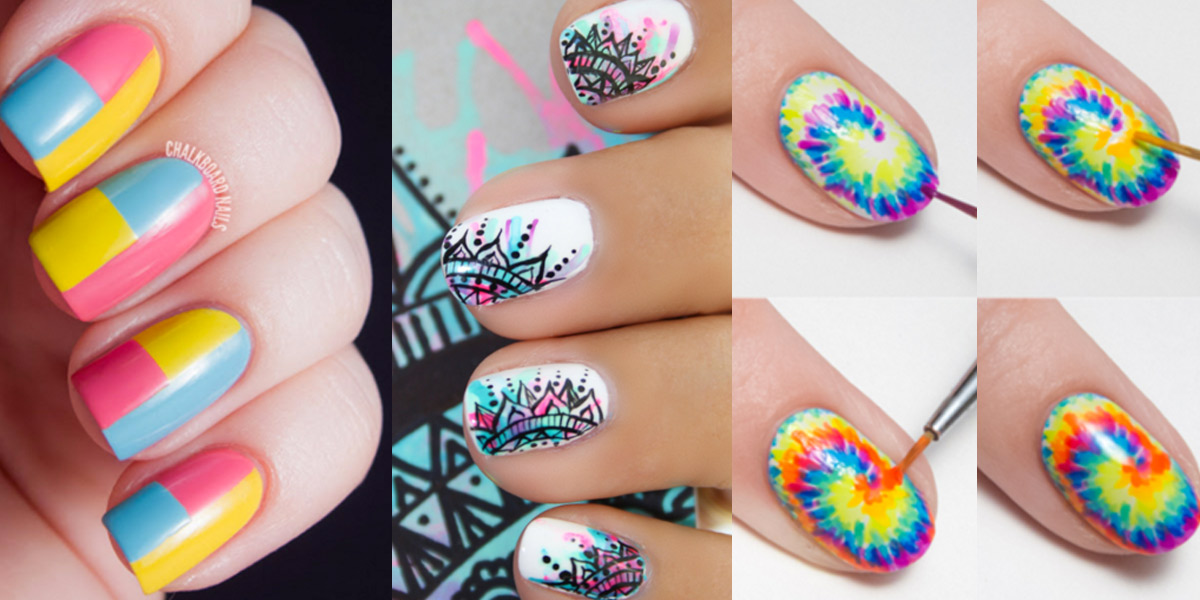
- Water Marble: Want to create mesmerizing swirls? The water marble technique lets you mix colors in water to achieve a marbled effect. Just remember to use the right combination of nail polishes and a steady hand!
- Ombre: Achieving a gorgeous gradient on your nails is smoother than you think. By blending two or more colors from base to tip, the ombre look is chic and versatile for every occasion.
- Dotting: This technique uses dotting tools to create perfect dots on your nails. You can make simple polka dots, flowers, or even abstract art by varying the sizes and colors of the dots!
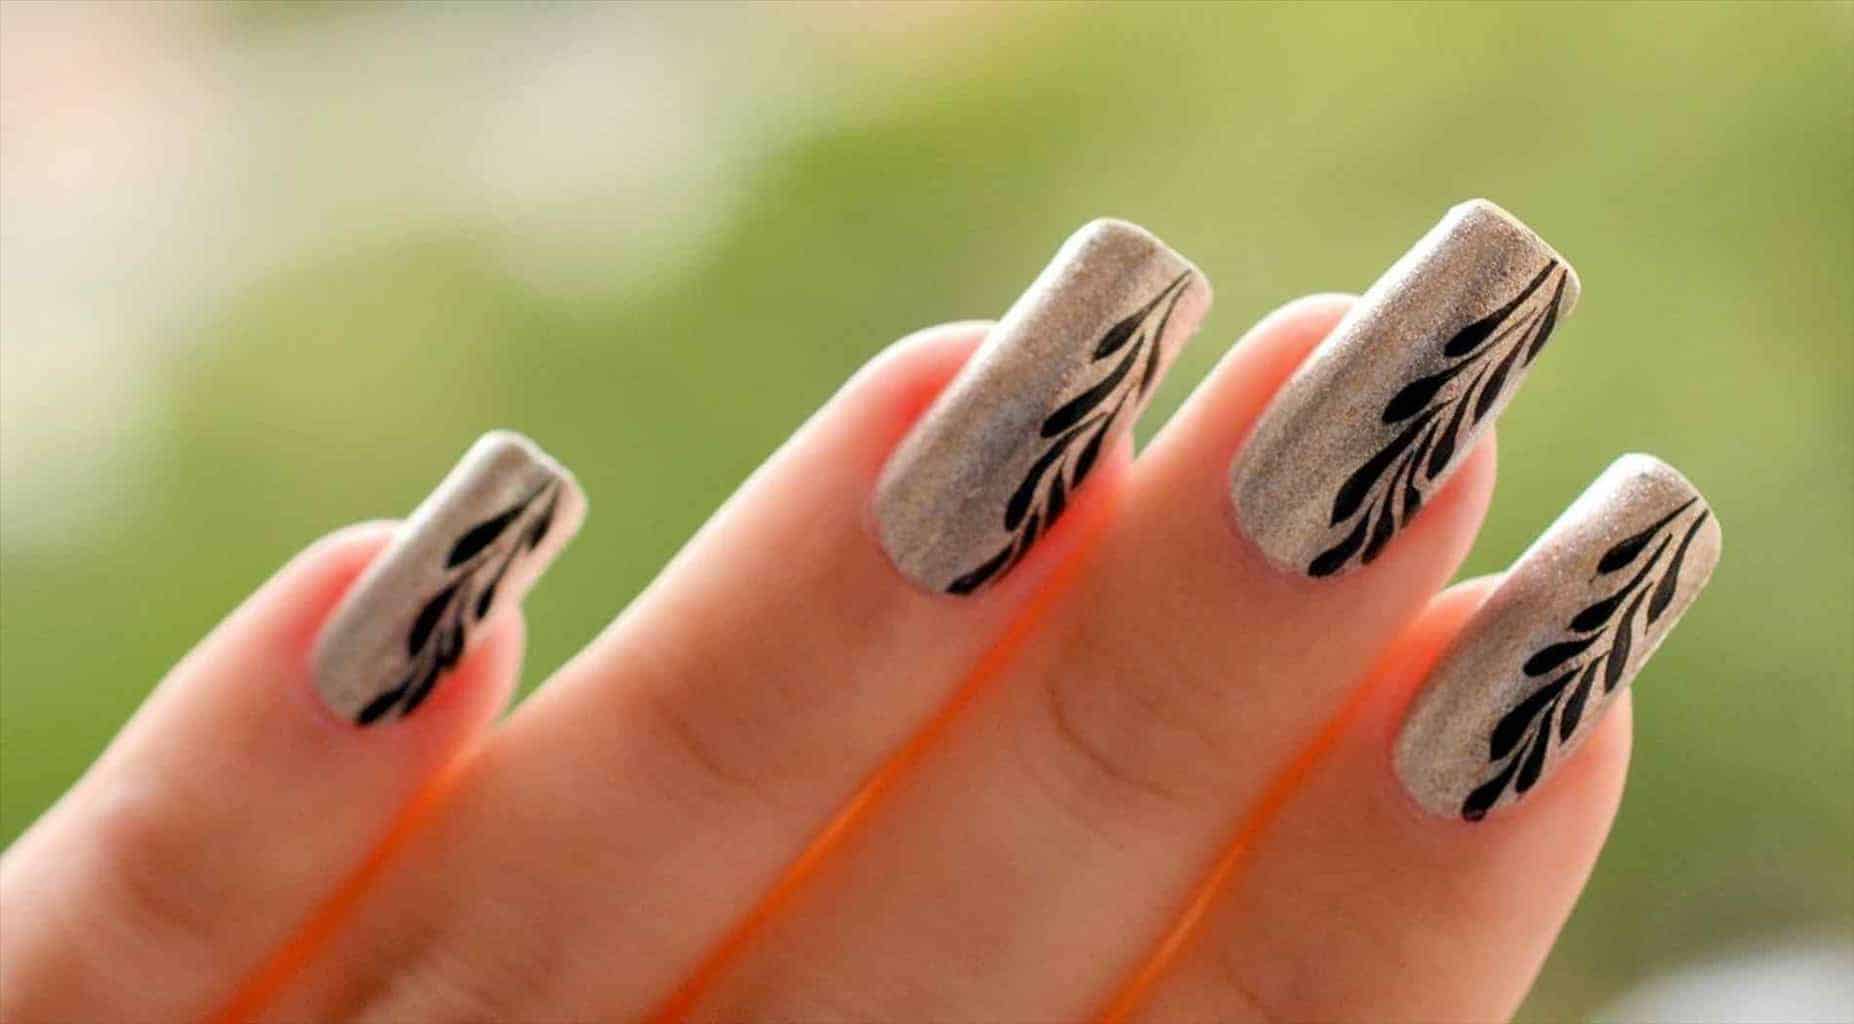
- Freehand Brush Art: If you're feeling confident with a nail brush, go ahead and freehand your designs! Whether it’s simple lines, swirls, or detailed artwork, this technique allows for fantastic freedom of expression.
Though these techniques come with their challenges, the satisfaction of creating stunning nail art at home is totally worth it. Let your imagination run wild and start experimenting with these popular nail art techniques!
Also Read This: Sizing Images for Sublimation Tumblers: A Quick Guide
4. Step-by-Step Tutorials

If you’re ready to dive into the world of DIY nail art, having a step-by-step guide can make the process much easier. Below are step-by-step tutorials for some popular nail art techniques that you can try at home!
1. Stamping Tutorial
- Start by applying a base coat to protect your nails.
- Paint your choice of nail polish onto the stamping plate.
- Use a scraper to remove excess polish, leaving the design in the grooves.
- Press the stamper onto the plate to pick up the design.
- Stamp the design on your nail, rolling slightly for even coverage.
- Finish with a top coat for durability.
2. Water Marble Tutorial
- Fill a cup with room temperature water.
- Drop nail polish colors one at a time to create the design on the water’s surface.
- Use a toothpick to swirl the colors together.
- Carefully dip your nail into the design and lift it out slowly.
- Clean up around your nail with a brush dipped in acetone.
- Seal with a top coat.
3. Ombre Tutorial
- Apply a base coat to your nails.
- Paint the base color and let it dry.
- Take a makeup sponge and apply two or more colors onto it.
- Lightly dab the sponge on your nail, blending as you go.
- Repeat until you achieve your desired gradient effect.
- Finish with a layer of top coat to blend everything together.
Each of these tutorials takes practice, but don’t get discouraged! Nail art is all about having fun and showcasing your individual style. Happy crafting!
Also Read This: Can You Use iStock Images for Logos
Tips for Long-Lasting Nail Art
Ever painted your nails only to find your masterpiece chipping away quicker than you'd like? Don't worry! With a few handy tips, you can make your nail art last longer and look fabulous. Here are some tried-and-true techniques to ensure your hard work doesn't go to waste:
- Prep Your Nails: Start with clean nails. Remove any old polish and wash your hands thoroughly. You can also lightly buff the surface of your nails to create a smooth base for your polish.
- Use a Base Coat: Apply a good-quality base coat. This not only helps the polish adhere better but also protects your nails from discoloration.
- Thin Layers, Please: When applying polish, use thin layers. This minimizes the risk of chipping and helps your nail art to dry evenly.
- Seal with Top Coat: A top coat is essential! It adds shine and acts as a protective layer. Consider using a gel top coat for an ultra-long-lasting finish.
- Avoid Water for a Bit: After finishing your nail art, give your nails some time to dry completely. Steering clear of water for the first few hours can significantly extend the life of your nails.
- Touch-Up When Needed: If you notice tiny chips or wear, don’t wait too long to touch it up. Applying a little polish and top coat can keep your nails looking fresh.
By following these tips, you'll undoubtedly see a difference in the longevity and look of your DIY nail art. So go ahead, unleash your creativity, and enjoy your stunning nails!
Conclusion and Further Resources
In conclusion, DIY nail art can be a delightful way to express your creativity and style. Whether you’re going for a simple design or an intricate masterpiece, the right techniques and tools can make all the difference. Remember, practice makes perfect, so don’t be discouraged if your first attempt doesn’t turn out as planned. Embrace the learning process!
If you’re eager to dive deeper into the world of nail art, here are some fantastic resources to help you on your journey:
| Resource | Type | Description |
|---|---|---|
| YouTube Tutorials | Video | A plethora of video tutorials from experts showcasing various nail art techniques. |
| Pinterest Ideas | Inspiration | An endless collection of nail art designs to spark your creativity. |
| Nail Art Gallery | Community | A site where you can share your creations and get inspired by others in the community. |
Now, grab those brushes and get creative! Your perfect nails are just a little bit of patience and inspiration away.
 admin
admin


