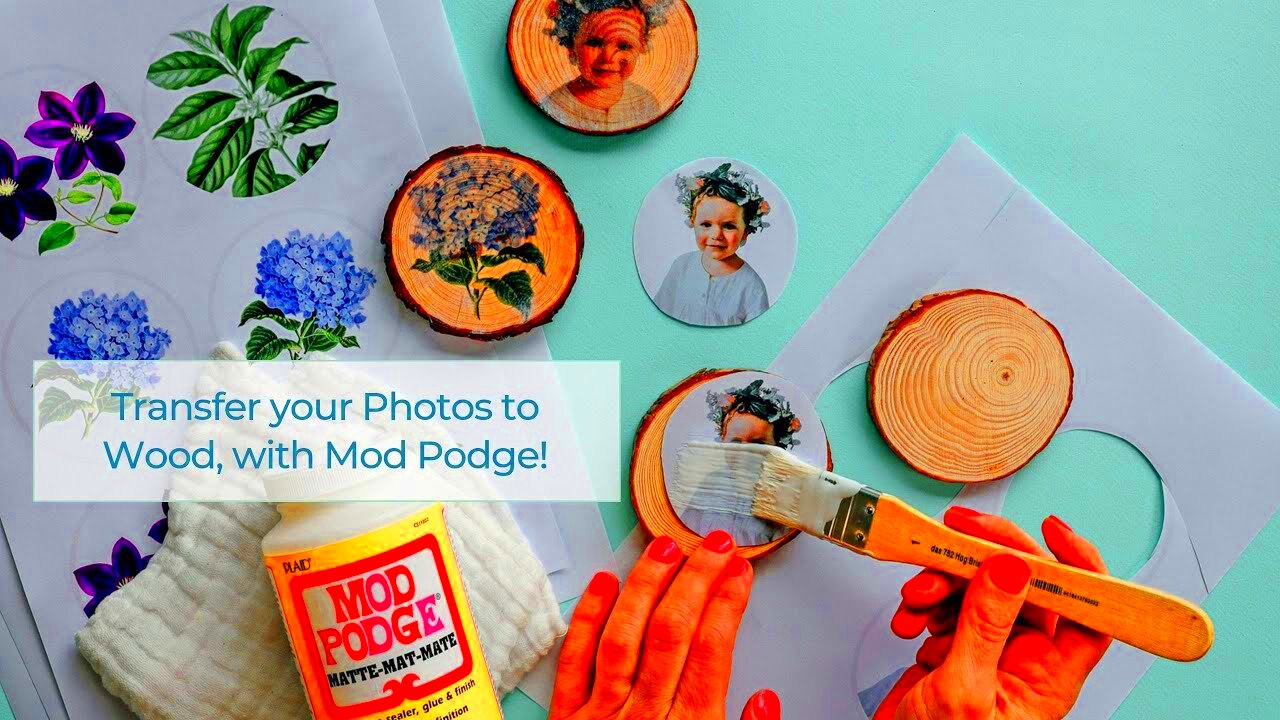
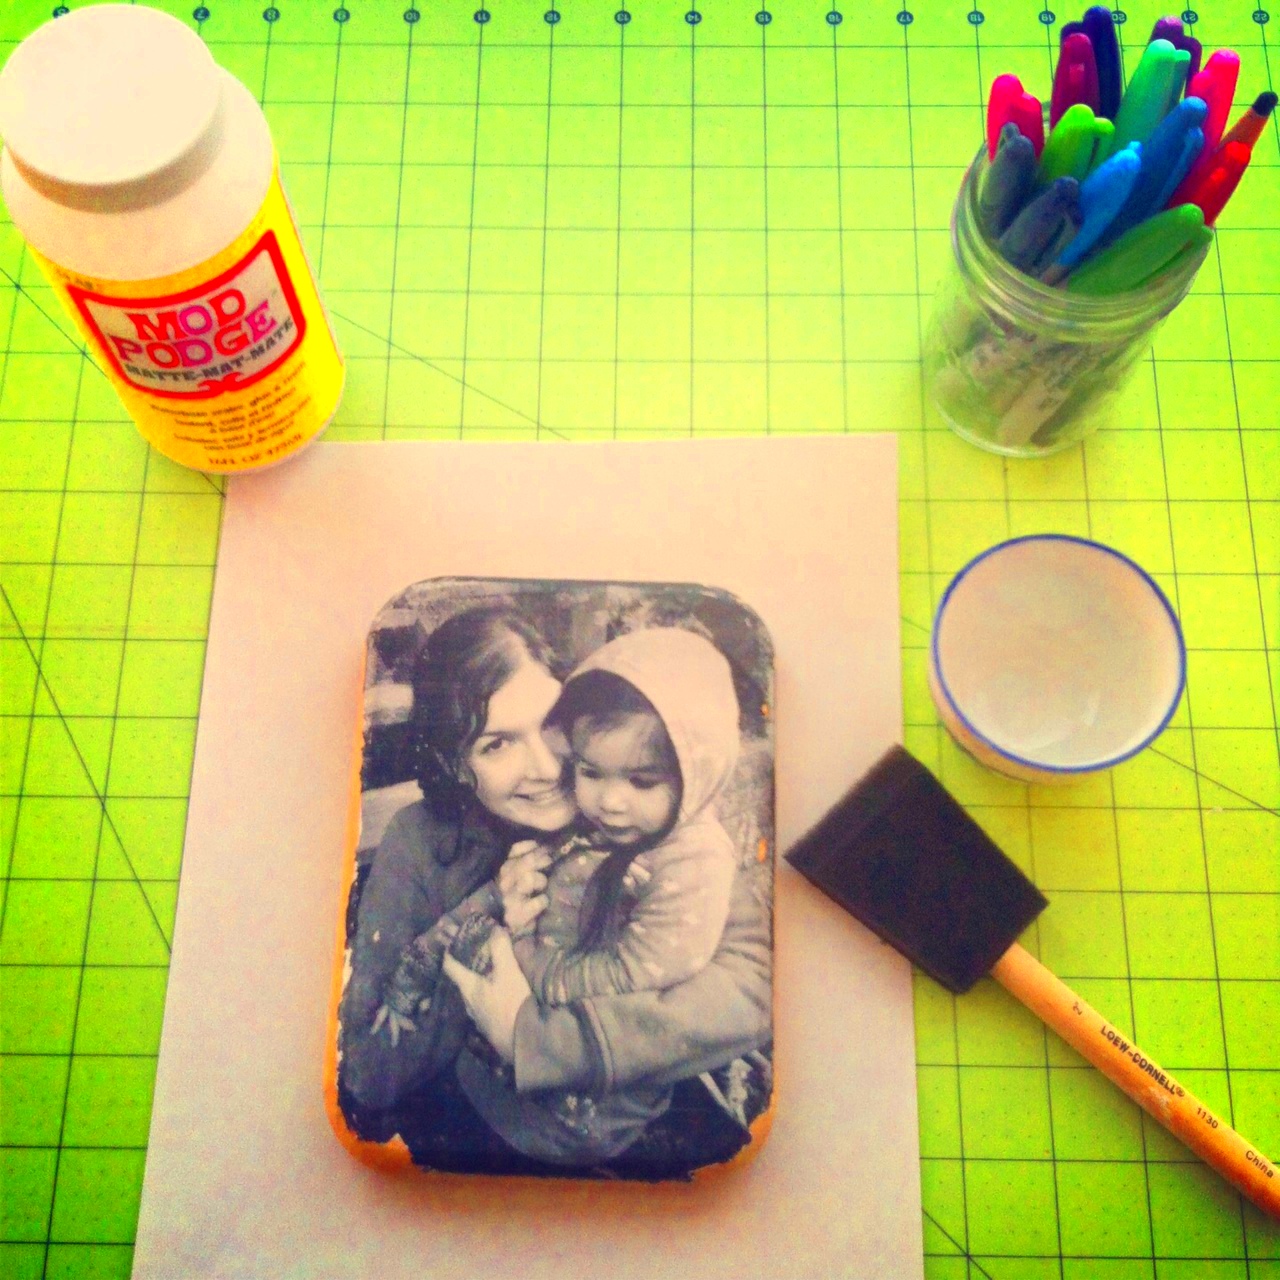
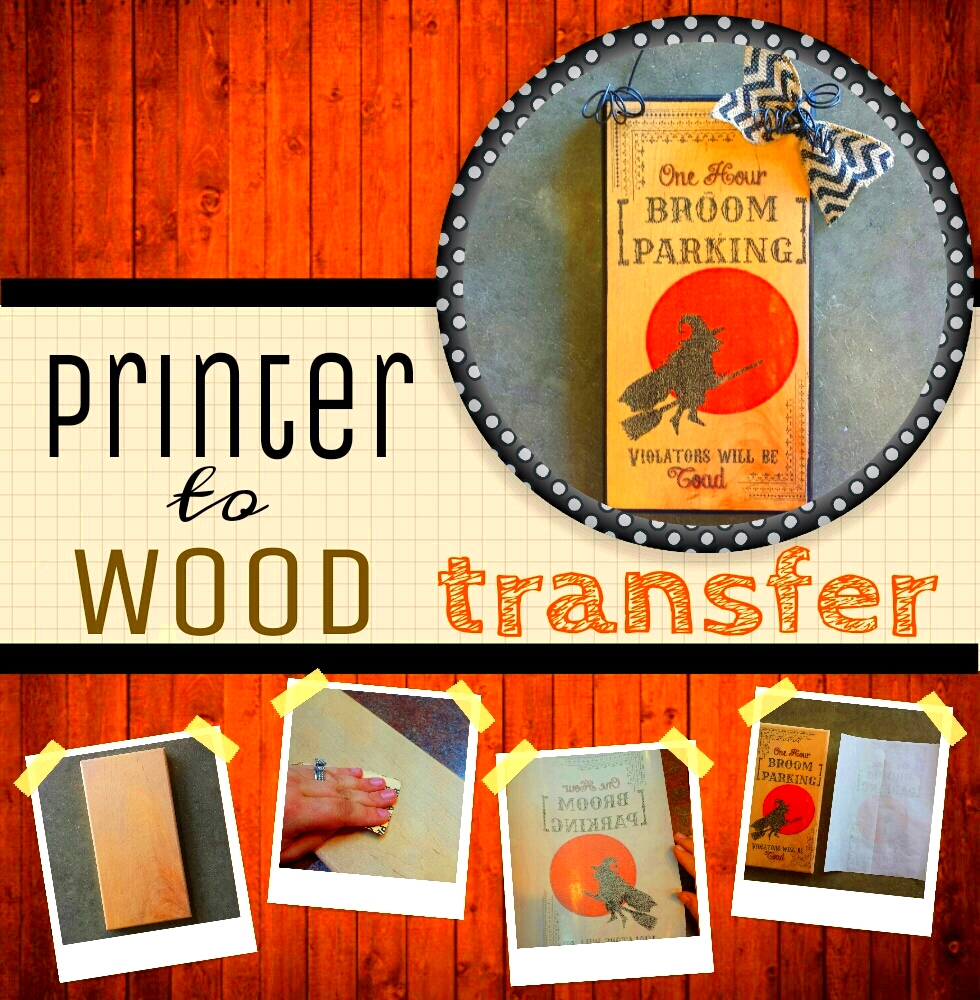
Wood can be personalized through the process of transferring images. This allows you to take any image that you want – it could be a family photo, artwork, or even a favorite quote – and convert it into something beautiful made out of wood instead. The whole process is easy as pie and with just the right materials and some time, remarkable results can be obtained. Gel medium, inkjet printing or specialized transfer papers may be used for what is known as image transfer. While each method has its own special ways to do things, they all come together at one point: getting an image embedded within the timber grain.
Gathering the Necessary Materials for the Transfer

Before you begin your image transfer project, it is important to assemble all the required materials. To help with this, here’s a summary of items you should have:
- Wood Surface: Choose a smooth piece of wood. Pine, birch, or plywood work well.
- Image: Print your chosen image on regular paper or use a photo printed on transfer paper.
- Gel Medium: A good quality gel medium helps to transfer the image effectively.
- Brush or Sponge: For applying the gel medium evenly.
- Water: To help remove the paper after the transfer.
- Burnishing Tool: A flat tool or even your fingers to press down on the image.
- Sealer: Optional, but recommended for protecting the final piece.
If everything is primed before beginning, then things will flow easily and pleasantly.
Also Read This: Mastering Adobe Stock Mockups for Your Projects
Choosing the Right Image for Your Wood Transfer

For a successful transfer, it is vital to choose the right image. The following factors should be taken into account:
- Image Quality: Select high-resolution images to ensure clarity and detail.
- Color Contrast: Images with good contrast will stand out better against the wood.
- Size: Make sure the image fits well on the wood surface. You can resize images using photo editing software if needed.
- Theme: Think about the overall theme of your project. A personal photo might work well for a family piece, while a graphic design might suit a more artistic approach.
You shouldn’t forget trying out a couple of pictures prior to making an irreversible choice. Make some copies in smaller sizes and check their appearance over the piece of wood prior proceeding with transferring procedure.
Also Read This: How to Print Two Images on a Single Page
Preparing the Wood Surface for Transfer

This is an introductory point of image transfer that cannot be overlooked because the preparation of the wooden surface is very important. The image will stick well and look good on a clean and smooth surface. Proper preparation of your wood involves the following:
- Choose the Right Wood: Start with a piece of wood that is free from knots, cracks, and imperfections. Sand it down to ensure a smooth finish.
- Sand the Surface: Use fine-grit sandpaper to sand the wood gently. This helps to open up the wood grain, allowing the image to transfer better.
- Clean the Wood: After sanding, wipe the surface with a damp cloth to remove any dust or debris. Ensure it is completely dry before moving on.
- Apply a Base Coat (Optional): Some prefer to apply a base coat of acrylic paint or a layer of gel medium for better adhesion. If you choose to do this, let it dry completely.
Your wood must be prepared since it is essential for your success, which will lead to an appealing image transfer.
Also Read This: How to Send Messages to Someone on Telegram
Step-by-Step Instructions for Transferring Images to Wood
The process of transferring an image is simple and straightforward. For optimal results, adhere to these procedures:
- Print Your Image: If you’re using an inkjet printer, print your image in reverse. This ensures that it transfers correctly onto the wood.
- Apply Gel Medium: Using a brush or sponge, spread a thin, even layer of gel medium onto the wood surface where you want to place the image.
- Place the Image: Carefully lay the printed image face down onto the gel medium. Smooth out any bubbles or wrinkles using a burnishing tool or your fingers.
- Let It Dry: Allow the image to dry for several hours or overnight. Ensure it’s completely dry before moving to the next step.
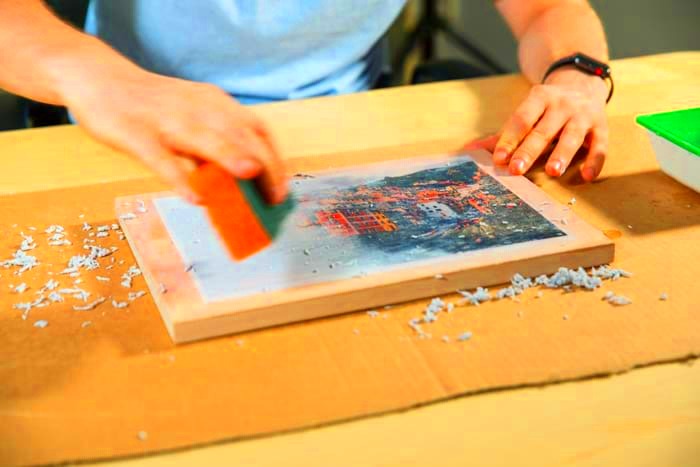
- Wet the Paper: Dampen the paper with water using a sponge or spray bottle. Let it soak for a minute to loosen the paper fibers.
- Remove the Paper: Gently rub the paper away using your fingers or a soft cloth. Be careful not to rub too hard, or you might remove the image itself.
- Seal the Image: Once the paper is completely removed, allow the wood to dry. Optionally, apply a clear sealer to protect your image and enhance its appearance.
By doing these things, one can easily move their preferred pictures to wood, making unique items that endure.
Also Read This: How to Download Photos Licensed from Adobe Stock
Tips for Achieving the Best Results
To efficiently accomplish your image transference task, below are some useful tips to remember:
- Practice First: If you’re new to image transfers, practice on scrap wood before attempting your final piece. This will help you understand the process better.
- Use Good Quality Images: Higher resolution images yield better results. Avoid low-quality images to prevent blurriness.
- Don’t Rush: Take your time at each step, especially when applying the gel medium and removing the paper. Patience is key!
- Experiment with Different Techniques: Try different methods like using different mediums or surfaces to find what works best for you.
- Allow for Drying Time: Make sure to let everything dry thoroughly between steps. Rushing this can lead to less than desirable results.
Should you bear these and you will on your path constructing pretty wood transfers that make you happy.
Also Read This: How to Crop an Image for Crafts
Common Mistakes to Avoid During the Transfer
Transferring pictures onto wood can be a tad tricky for beginners, so there are still chances of making some errors. Acknowledging these frequent blunders could save you time and energy. In this manner, below are some pitfalls to beware of:
- Not Preparing the Wood Properly: Skipping the sanding or cleaning step can lead to poor adhesion. Always ensure your wood is smooth and clean for the best results.
- Using Low-Quality Images: Images that are blurry or low-resolution won’t translate well to wood. Always opt for high-quality images to achieve clear results.
- Applying Too Much Gel Medium: A thick layer of gel medium can cause the image to bleed or smudge. Use a thin, even coat instead.
- Rushing the Drying Time: Patience is key! Allow the image to dry completely before attempting to remove the paper. Rushing this step can ruin your project.
- Neglecting to Test First: Always practice on a scrap piece of wood first. This allows you to get comfortable with the technique and avoid mistakes on your final piece.
- Ignoring the Image Orientation: Forgetting to print your image in reverse can lead to a backward final product. Double-check your settings before printing.
If you consider such common mistakes while making wood transfers, beautiful and successful wood transfers will be yours to keep.
Also Read This: How to Sell Photos Through Getty Images and Start Earning Income
Frequently Asked Questions about Image Transfers
Concerning images transfer sometimes bring about so many questions for the novices who are just approaching the field. Below are some frequently asked questions that can help provide clarification to the procedure:
- Can I use any type of wood for image transfer? Yes, but softer woods like pine or birch tend to work better due to their smooth surfaces.
- Do I need special ink for my printer? Regular inkjet printer ink works fine, but ensure you’re using a good quality printer for the best results.
- What type of gel medium should I use? Look for a matte gel medium, as it generally provides better adhesion and a smoother finish.
- Can I transfer color images as well? Absolutely! Just make sure the colors are vibrant and the image is high quality.
- How can I protect my finished piece? After the transfer, consider applying a clear sealer to protect the image from wear and fading.
Some of the frequently asked questions (FAQs) cover popular worries, but you are encouraged to try out various alternatives and identify what is most suitable for you!
Conclusion: Final Thoughts on Transferring Images to Wood
The act of transferring images on wood is a fulfilling and artistic venture that enables you to make your surroundings unique or come up with beautiful presents that have messages deep within them. With some experience and plenty of care, one can create stunning artworks that exhibit their most cherished moments or any other preferred artistic designs. It is important not to hurry; avoid making frequent errors while letting go of fear to try out unexplored methods. Every experience level has its learning demands in any endeavor, thus each project serves as a forum for skills improvement. Therefore, gather all the required materials; select any desired images and begin crafting something exceptional which will give a sense of satisfaction for numerous years!

 admin
admin


