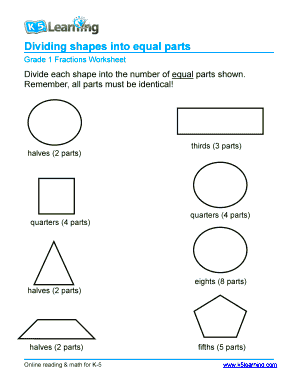
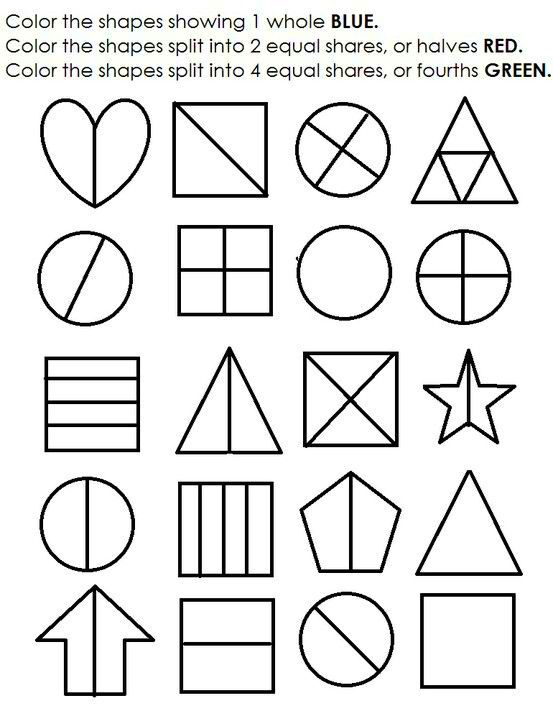
Dividing an image into equal parts for printing is a technique used when you need to print a large image across multiple sheets of paper. This is particularly useful for creating posters or prints that are too large to fit on a single sheet of paper. The process helps in breaking down a large
Why You Might Want to Divide an Image for Printing

There are several reasons why dividing an image for printing might be necessary:
- Large Format Printing: If the image is too large for your printer’s capabilities, dividing it allows you to print it across multiple sheets of paper, making it possible to create a large poster or mural.
- Cost Efficiency: Printing an image on multiple sheets is often cheaper than trying to print it in a single large format, especially if you don't have access to specialized large-format printers.
- Convenience: Some printers are only capable of printing on smaller paper sizes. Dividing the image into parts makes it easier to print on standard-sized paper.
- Creative Projects: Dividing an image into sections can also be used for creative projects, like creating photo collages or crafting unique art pieces.
Also Read This: Properly Citing Canva Images
Preparing the Image for Division

Before you start dividing your image for printing, it's important to properly prepare it. Here's what you need to do:
- Choose the Right Image: Make sure the image is high resolution to avoid pixelation when printed. For a clean, clear print, a resolution of at least 300 DPI (dots per inch) is recommended.
- Set Up the Canvas: Open your image in an editing software like Photoshop or GIMP. Adjust the canvas size to match your desired final print size, ensuring it will be divided into equal parts later.
- Check for Cropping: Examine your image for any important elements that might get cut off in the process of dividing it. Make sure the subject or focal point of the image is well-positioned.
- Decide the Number of Parts: Decide how many sections you want to divide the image into. For example, if you want to print a 24-inch by 36-inch image on 8.5 x 11-inch paper, you’ll divide it into 6 parts.
- Use a Grid: Apply a grid overlay to help visualize how the image will be divided. Many image editing tools offer grid features that can assist in splitting the image evenly.
Once the image is prepared, you’re ready to move on to the next step—actually dividing it into equal parts for printing.
Also Read This: adobe stock how much can i make
Using Software to Divide the Image
Once you’ve prepared your image for division, the next step is to use software to divide it into smaller parts. There are several tools available that can make this process easy and precise. Here’s how you can do it:
- Adobe Photoshop: Photoshop is one of the most popular options for dividing an image. You can use the 'Slice Tool' to divide the image into equal parts. After slicing, each part can be saved individually as a separate image file for printing.
- GIMP: GIMP is a free alternative to Photoshop. It also offers grid and guide options that allow you to divide your image into sections. You can use the 'Guides' feature to create a grid and then export each section as a separate file.
- Rasterbator: This is a web-based tool specifically designed for dividing images into multiple pages for printing. It allows you to upload your image and choose the number of pages you'd like to split it into. It also automatically arranges the image parts for you.
- Microsoft Paint: If you're looking for a simpler option, Microsoft Paint can be used. Although not as advanced as the others, it allows you to manually cut and paste portions of the image into separate files.
Regardless of the software you choose, the goal is the same: split the image into equal parts that can later be printed and assembled. Make sure each section aligns perfectly when printed to avoid any gaps or misalignments.
Also Read This: A Complete Guide to Screencasting Dailymotion Videos on Windows
Choosing the Right Print Settings
After dividing the image, choosing the right print settings is crucial to achieving the best result. Here are some tips to ensure your printed sections come out as expected:
- Paper Size: Ensure your printer is set to print on the correct paper size. If you're printing on standard letter-size paper (8.5 x 11 inches), make sure each section of the image fits within that area. You might need to scale the image parts down or adjust the print settings accordingly.
- Print Quality: For high-quality prints, set your printer to the highest resolution setting available. This will ensure your image looks sharp and clear, even when printed on multiple sheets.
- Margins: When printing, be mindful of your printer’s margin settings. Some printers may cut off parts of the image near the edges, so you might need to adjust the margins or slightly shrink the image to fit within the printable area.
- Color Settings: Ensure that your color settings are correct. If you're printing a colored image, check that your printer is using the right color profile for accurate color reproduction.
- Preview Before Printing: Always preview the image parts before printing. This gives you a chance to catch any mistakes or misalignments before you print the entire set.
By selecting the correct print settings, you’ll ensure each divided image piece comes out perfectly, ready for assembly.
Also Read This: How to Create Stunning Photo Videos with Music for YouTube
Aligning the Divided Image Pieces for Printing
After printing all the parts of your divided image, the next step is to align them correctly. This is crucial to ensure that the final result looks seamless when the image pieces are assembled. Here’s how to do it:
- Use a Cutting Mat: If you need to trim the edges of your printed image sections, a cutting mat will help ensure clean, straight cuts. This is important for a neat final appearance.
- Align the Edges: Lay out all the printed parts of your image and align them according to the grid you used when dividing the image. Make sure the edges match up perfectly.
- Secure with Tape: Once the pieces are aligned, secure them lightly with tape on the back. You can also use glue, but it’s best to tape them first to make sure everything lines up before applying any permanent adhesive.
- Check for Overlaps: Be cautious of any overlaps or gaps between the pieces. Adjust as needed, and make sure the image looks consistent across all sections.
- Final Assembly: After aligning and securing the sections, assemble them together on a flat surface. Double-check the alignment one last time, and then either glue or frame the final image.
With careful attention to detail and patience, you’ll have a beautifully printed, divided image that looks as seamless as one large print when assembled. Proper alignment ensures the final result looks professional and polished.
Also Read This: how much does one adobe stock image cost in credit
Printing the Divided Image
Now that you’ve divided the image into sections and aligned the pieces, it's time to print. Getting the print right is essential to ensure that the final result is crisp and well-organized. Here’s how you can approach the printing process:
- Test Print: Always do a test print before printing all the sections. This allows you to check for any alignment issues, color problems, or resolution concerns.
- Print Each Section Individually: Ensure each part is printed on the correct paper. If you’ve divided your image into six pieces, print each one separately. Be sure to load the paper properly in the printer to avoid jamming.
- Use High-Quality Paper: If possible, print on high-quality paper that can handle the resolution of your image. Glossy or matte photo paper works best for images that require high detail.
- Check Printer Settings: Before printing, double-check the printer settings. Set the paper type and print quality to their highest options to ensure the colors and details are sharp.
- Allow Drying Time: If you are using inkjet or other high-ink printers, make sure the printed sections dry properly before handling them to avoid smudges.
Once you’ve printed the sections, make sure you review each one to confirm the colors and details match your expectations. The final assembly will look great if each part is printed with care and precision.
Also Read This: Guide to Adding Photos to Adobe Stock from Lightroom
Common Mistakes to Avoid When Dividing an Image for Printing
When dividing an image for printing, it’s easy to make a few mistakes that could affect the quality of the final print. Here are some common errors to avoid:
- Low Resolution: Using a low-resolution image can cause pixelation when printed. Ensure that your image is at least 300 DPI for clear and crisp printouts.
- Incorrect Paper Settings: Using the wrong paper type or size can cause your printed sections to misalign or be cropped incorrectly. Always verify your paper settings before printing.
- Not Adjusting the Margins: Many printers have built-in margins that could interfere with the image’s layout. Make sure to adjust these settings or leave enough room around the edges of the image.
- Overlooking Color Profiles: The colors on your screen may not always match the printed result due to differences in color profiles. Ensure your printer’s color settings match the image for accurate colors.
- Skipping the Test Print: Never skip the test print, especially when dealing with larger images. A test print allows you to catch issues before printing the entire image.
- Ignoring Alignment: It’s crucial that the sections align perfectly when printing. Failing to do so can result in misaligned image parts that spoil the final print.
Avoiding these mistakes will ensure that your divided image prints properly and looks great once assembled.
Also Read This: Using iStock Photos in Magazine Ads – A Guide to Licensing and Compliance
FAQ
Q: How do I divide an image for printing without losing quality?
A: To avoid losing quality, ensure that your image has a high resolution (300 DPI or higher). Use image editing software like Photoshop or GIMP to divide the image into sections. Make sure the sections align perfectly when printed for the best result.
Q: What is the best software for dividing images into multiple pages?
A: Some of the best software options for dividing images are Adobe Photoshop, GIMP (a free alternative), and online tools like Rasterbator. These tools allow you to split the image into multiple parts based on your print size and preferences.
Q: Can I print the divided image on different paper sizes?
A: Yes, but you will need to adjust the print settings and ensure that the image parts fit within the chosen paper size. It’s crucial to test print and adjust margins accordingly to prevent cropping.
Q: How can I make sure the image parts align correctly when printed?
A: You can use a grid or guides in your image editing software to help divide the image evenly. After printing, align the parts carefully by matching the edges, and use tape or glue to hold them in place.
Q: Should I use glossy or matte paper for printing the divided image?
A: The choice of paper depends on the type of image you are printing. Glossy paper is excellent for vibrant, high-contrast images, while matte paper is better for images that have a more subdued, softer look. Choose based on your image’s style and desired effect.
Conclusion
Dividing an image into equal parts for printing can be a fantastic way to print large-scale images at home or in smaller spaces. Whether you’re creating a poster, a mural, or any large art piece, breaking the image into smaller sections ensures that you can print it on standard-sized paper and easily assemble it afterward. By carefully preparing the image, using the right software tools, choosing the correct print settings, and aligning the pieces properly, you’ll be able to achieve a seamless, high-quality result. Always remember to avoid common mistakes like low resolution, incorrect settings, and poor alignment to make sure your printed image looks professional. With patience and attention to detail, your divided image will come together beautifully, creating the large print you envisioned. Happy printing!

 admin
admin


