Are you considering deleting your iStock account? Whether you're re-evaluating your stock photo needs or looking for a different platform, it’s important to know the process. In this guide, we’ll walk you through the steps to delete your iStock account effortlessly. Let’s make this transition as smooth as possible!
Why You Might Want to Delete Your iStock Account

There are several reasons why someone might choose to delete their iStock account. Understanding these reasons can clarify your decision and help you feel confident about your choice. Here are some common motivations:
- Cost Concerns: If you find that you’re not utilizing the stock images as much as you anticipated, you may want to save your subscription fees.
- Limited Usage: Perhaps you’ve switched to a different creative platform or found alternatives that better suit your needs.
- Dissatisfaction with Content: If you feel that the quality or variety of images doesn’t meet your expectations, it might be time to explore other options.
- Privacy Issues: Some users become concerned about how their data is handled. If you’re wary of your information being stored, this can be a strong motivator.
- Change in Business Needs: If your business model has shifted, you might require a different type of resource that iStock doesn’t provide.
Ultimately, whatever your reason, it’s essential to consider what’s best for your creative journey. Remember, deleting your account doesn’t have to be a permanent decision; you can always return if your needs change in the future. So, let’s dive into the steps to delete your iStock account!
Also Read This: Is iStock Copyright Free? Understanding Copyright and Licensing Terms
3. Before You Start: Important Considerations

Alright, before diving into the nitty-gritty of deleting your iStock account, there are a few important things you should consider. Taking a moment to review these can save you some headaches down the line!
1. Subscription Status: If you have an active subscription, make sure to cancel it before proceeding. Failing to do this could lead to unexpected charges. You don’t want to pay for a service you're no longer using!
2. Downloaded Files: Are there any images or videos you've downloaded that you need access to? Once your account is deleted, you won’t be able to retrieve any of your previously purchased content. It’s a good idea to back up anything important.
3. Licensing Agreements: Remember that even though you're deleting your account, any images you’ve already downloaded might still be subject to the licensing agreements you accepted when you made those purchases. Ensure you’re aware of these terms.
4. Customer Support: If you run into issues or have questions, iStock's customer support is available. It might be worth reaching out if you're unsure about any part of the process or if you’d like to confirm that your request to delete your account has been processed.
Once you’ve thought through these considerations and made sure you’re ready, you’re set to move on to the next step!
Also Read This: How Much Money Can You Earn on iStock? A Realistic Guide for Contributors
4. Step 1: Logging Into Your iStock Account

Now that you've weighed the important considerations, let’s get started! The first step in deleting your iStock account is logging in. It’s pretty straightforward, but here's a detailed breakdown to ensure you don’t miss anything.
- Visit the iStock Website: Open your web browser and go to the iStock website. This is where the magic begins!
- Click on the Login Button: At the top right corner of the homepage, you’ll see the “Log In” button. Go ahead and click on it to start the process.
- Enter Your Credentials: A login form will appear. Here, you’ll need to enter your email address and password associated with your iStock account. Be sure to double-check for any typos!
- Two-Factor Authentication (if enabled): If you have two-factor authentication set up, don’t panic! You’ll receive a code via your chosen method (like SMS or an authentication app). Just enter that code to proceed.
- Access Your Account: Once you've successfully logged in, you'll be redirected to your account dashboard where you can manage your profile, purchases, and more.
That’s it! You’re now logged into your iStock account and ready for the next steps in the deletion process. If you encounter any issues logging in, don’t hesitate to use the “Forgot Password?” link to reset your password—just in case you’ve forgotten it!
Also Read This: What is iStock? A Comprehensive Introduction to the Platform for Creatives
5. Step 2: Navigating to Account Settings
Now that you're ready to take the plunge and delete your iStock account, the next step is to find your way to the Account Settings. This is where all the magic happens. Here’s how to get there:
- Log In: Start by logging into your iStock account. You’ll need your username and password to access your account dashboard.
- Access Your Profile: Once you're logged in, look for your profile icon or name, usually located at the top right corner of the screen. Click on it to reveal a dropdown menu.
- Select Account Settings: In the dropdown menu, you should see an option labeled Account Settings or something similar. Click on that to proceed.
Once you’re in the Account Settings, you’ll find a range of options related to your account information, subscription details, and more. Don’t rush through this step; take a moment to familiarize yourself with the layout. Understanding your options is key, especially if you’ve had your account for a while and may want to backtrack or change something before deletion.
Also Read This: How Does iStock Handle Copyright Violations? A Look at Their Tracking Process
6. Step 3: Finding the Account Deletion Option
Alright, you've made it to the Account Settings! Now, let's focus on the most crucial part: finding the Account Deletion option. It might feel a bit daunting, but don’t worry; I’ll guide you through it.
Here's what you need to look for:
- Scroll Through the Options: In the Account Settings menu, take your time to scroll through the various tabs or sections. Look for labels such as Privacy, Security, or Account Management. The account deletion option can vary in its labeling, so keep your eyes peeled.
- Check for a Help or FAQ Section: If you’re having trouble locating the deletion option, don’t hesitate to check if there's a Help or FAQ section. Sometimes, platforms provide a direct link to account deletion procedures there.
- Look for "Delete Account" or "Close Account": Once you find the right section, look for a button or link that says Delete Account or Close Account. It might even be a small hyperlink at the bottom of the page.
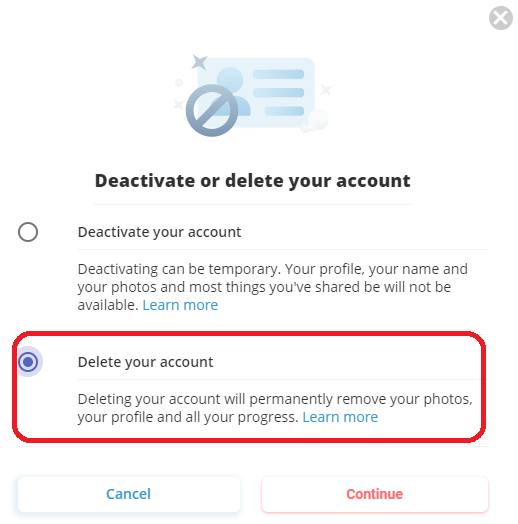
After clicking on the deletion option, you may be prompted with a pop-up or a new page that asks for confirmation or provides information regarding what happens after your account is deleted. Make sure to read this carefully, as it often includes valuable information about your remaining credits, downloaded files, and any other important details you need to be aware of.
Once you’ve located the deletion option and reviewed the information, you’re just a few clicks away from completing the process! Hang tight; we're almost there!
Also Read This: How to Buy Credits on iStock for Beginners
7. Step 4: Confirming Your Decision to Delete
So, you’ve gone through the previous steps—logged in, navigated to your account settings, and selected the option to delete your account. Now comes the final step: confirming your decision. This part is super important because it’s your last chance to back out if you’re having second thoughts!
When you click on the “Delete Account” button, you’ll typically be brought to a confirmation page. Here’s what you can expect:
- Confirmation Message: iStock will usually display a message asking you to confirm that you really want to delete your account. This is your moment to reflect on whether you’re certain about your choice.
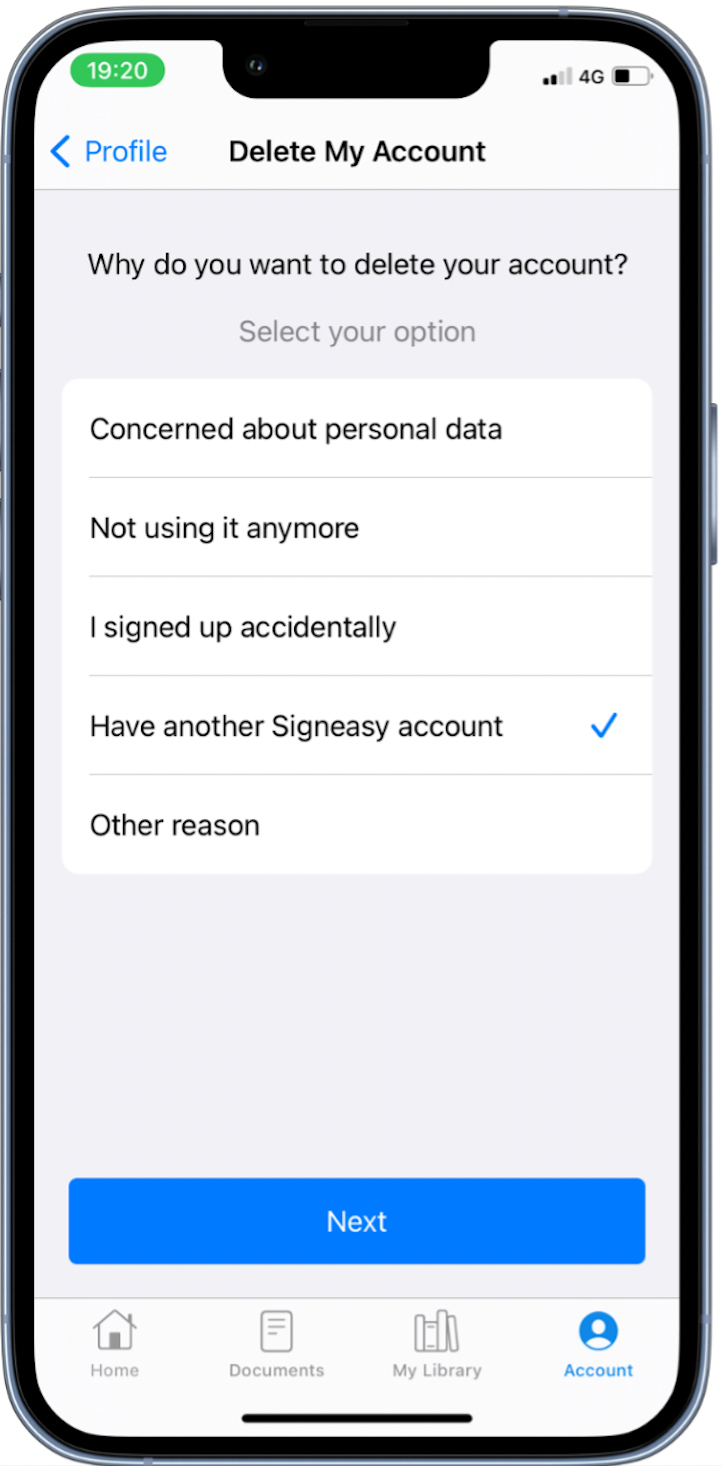
- Reason for Leaving: Some platforms will ask you to provide feedback on why you’re deleting your account. While this is optional, sharing your thoughts can help improve the service for future users.
- Password Re-Entry: For security reasons, you might be prompted to enter your password again. This step ensures that it’s really you making this big change and not someone else accessing your account.
Once you’ve confirmed your intention to delete, hit that final “Confirm” button. It’s like dropping a boulder into a lake—you won’t be able to retrieve it once it’s gone!
If everything goes smoothly, you should receive a notification confirming that your account has been scheduled for deletion. Keep an eye on your email for this notification, as it will provide additional details on the timeline for the deletion process, which usually takes just a few days.
Also Read This: Can Multiple People Log In to One iStock Account? Exploring Account Sharing Policies
8. What Happens After Deleting Your Account?
After you’ve taken the plunge and deleted your iStock account, you might be wondering what happens next. Let’s break it down so you know exactly what to expect.
- Account Deactivation: Initially, your account is typically deactivated rather than immediately deleted. This means that while you can’t access your account, the data is still in iStock’s systems for a certain period.
- Data Retention Policy: iStock has policies regarding how long they retain your data after deletion. It's common for platforms to hold onto information for a few months for legal and operational reasons. Check iStock's privacy policy for specifics.
- Loss of Purchased Content: Once your account is deleted, you lose access to any purchased images or downloads associated with that account. Make sure to download any content you wish to keep before you confirm deletion!
- Effects on Subscriptions: If you had an active subscription, it will be canceled upon deletion. Ensure you understand the terms of cancellation, as you might not receive a refund for the remaining period.
It’s worth mentioning that if you simply changed your mind, many platforms allow you to recover your account within a certain period after deletion. However, once the grace period expires, the data will be permanently erased, and you’ll need to start from scratch if you decide to return.
In a nutshell, deleting your iStock account is a significant decision. While it frees you from ongoing commitments, it also means saying goodbye to any content and data associated with that account. So, if you’re sure about your choice, follow the steps confidently. And who knows? You might find a better fit for your stock image needs down the road!
Also Read This: Is It Possible to Copy iStock Photos? Legal Considerations and Consequences
9. FAQs About Deleting Your iStock Account
Thinking about deleting your iStock account? You’re not alone! Many users have questions before taking the plunge. Here are some frequently asked questions that might help you make an informed decision:
- Will I lose my downloaded images?
Yes, once your account is deleted, you will no longer have access to any files you’ve downloaded. Make sure to save any important images before proceeding. - Can I reactivate my account later?
Unfortunately, once you delete your iStock account, it’s permanent. You won’t be able to reactivate it or recover any previous purchases or downloads. - What happens to my subscription?
If you’re on a subscription plan, it will be canceled along with your account. Be sure to check for any remaining credits or downloads, as they will be lost. - How long does it take to delete my account?
Deletion is typically immediate, but it might take a little time for all your information to be removed from their systems completely. - Can I delete my account from the app?
Currently, account deletion is only available through the website. You’ll need to log in on a desktop or mobile browser to complete the process.
If you have any other questions or concerns, don’t hesitate to reach out to iStock’s customer support. They’re usually pretty responsive and can provide guidance tailored to your situation.
10. Conclusion
Deciding to delete your iStock account is a big step, and it’s important to weigh the pros and cons. Whether you’ve found another stock photo service that better meets your needs, or you simply want to take a break, the process is straightforward.
In summary:
- Make sure to download any important files.
- Understand that account deletion is permanent.
- Check your subscription status and remaining credits.
By following the step-by-step guide provided earlier, you can confidently navigate the account deletion process. Remember, it’s always a good idea to consider your options thoroughly before making such decisions. If you ever decide to return, there are plenty of great services out there to explore, but for now, we wish you the best on your new journey!
Feel free to share your experience or any tips in the comments below—your insights could help someone else in the same situation!
 admin
admin


