Darkening images plays a crucial role in photography and graphic design. When used effectively, it enhances the overall visual impact, guiding viewers' attention to essential elements. This technique can help create a mood or atmosphere that aligns with your message, whether you're working on a social media post, a marketing campaign, or personal projects.
Here are a few reasons why darkening images is important:
- Highlighting Details: Darkening can help emphasize certain details by reducing distractions from bright areas.
- Creating Contrast: It allows for a more dynamic range of tones, adding depth and interest to your images.
- Setting the Mood: Darker images can evoke emotions, making them ideal for storytelling.
- Improving Composition: It can refine the composition by focusing attention where it matters most.
Getting Started with Photoshop

Photoshop is a powerful tool for editing images, and getting started is easier than you might think. First, you'll need to download and install Photoshop on your computer. Once installed, open the program and familiarize yourself with its interface.
Here are some tips to help you get started:
- Open Your Image: Use the 'File' menu to select 'Open' and choose the image you want to edit.
- Explore the Tools: On the left side, you'll find a variety of tools. Hover over each to see its name and function.
- Use the Layers Panel: The layers panel on the right helps you organize different elements of your image. This is crucial for non-destructive editing.
- Experiment: Don't hesitate to play around with different tools and options. The more you practice, the more comfortable you'll become.
Also Read This: Learn How to Save Images from Flickr on iPhone in Less Than a Minute
Adjusting Brightness and Contrast

Adjusting brightness and contrast is one of the simplest ways to darken an image. Brightness controls the overall lightness or darkness, while contrast adjusts the difference between light and dark areas. Here’s how to do it:
Follow these steps in Photoshop:
- Select the Image: Click on your image layer in the layers panel.
- Open Brightness/Contrast Settings: Go to 'Image' in the top menu, then select 'Adjustments' and choose 'Brightness/Contrast.'
- Adjust the Sliders: Move the brightness slider to the left to darken the image. Then, adjust the contrast slider to see how it affects the overall look. Aim for a balance that highlights the important features of your image.
- Preview Your Changes: Make sure to check the preview box to see the changes in real-time.
- Apply Changes: Once satisfied, click 'OK' to apply the adjustments.
Remember, subtle changes often yield the best results. Overdoing it can lead to unnatural-looking images.
Also Read This: How to Add a Photo to Your Dailymotion Profile
Using Curves to Darken Images

Curves is one of the most powerful tools in Photoshop for adjusting image tones, and it can work wonders when darkening images. This feature allows for precise control over brightness and contrast across the tonal range of your image. By manipulating the curve, you can enhance the depth and richness of your visuals, making them more striking.
Here’s how to use the Curves tool effectively:
- Access Curves: Go to the 'Image' menu, select 'Adjustments,' and then choose 'Curves.'
- Understand the Graph: The graph shows a diagonal line. The left side represents shadows (dark areas), and the right side represents highlights (light areas).
- Adjust the Curve: Click on the line to create points. Drag the bottom points down to darken the shadows, while lifting the top points slightly can help maintain some brightness in highlights.
- Preview Changes: Always keep an eye on your image as you make adjustments to avoid overly dark images.
- Finalize Your Edits: Once satisfied with the curve adjustments, click 'OK' to apply them.
Using Curves not only darkens images but also enhances overall image quality by improving contrast and detail.
Also Read This: how to put image in text canva
Applying Levels for Enhanced Control
Levels is another excellent tool in Photoshop that allows for quick adjustments to an image’s brightness and contrast. It works by adjusting the three main tonal ranges: shadows, midtones, and highlights. This can be particularly effective for darkening images without sacrificing detail.
Here’s how to apply Levels in Photoshop:
- Open Levels: Navigate to 'Image,' then 'Adjustments,' and select 'Levels.'
- Understand the Histogram: The histogram shows the distribution of tones in your image. The left side represents shadows, the middle represents midtones, and the right side represents highlights.
- Adjust the Sliders: Move the black slider (shadows) to the right to darken the dark areas. Move the white slider (highlights) to the left if you want to brighten the light areas slightly. Adjust the gray slider (midtones) to refine the overall brightness.
- Check the Preview: Make sure to check the preview to see how the changes affect the image.
- Apply Your Edits: Once you’re happy with the adjustments, click 'OK' to apply them.
Levels provide a straightforward way to darken images while maintaining control over image quality, ensuring your visuals are both eye-catching and professional.
Also Read This: Streamable Upload Rules You Need to Know Before You Go
Utilizing Adjustment Layers for Flexibility
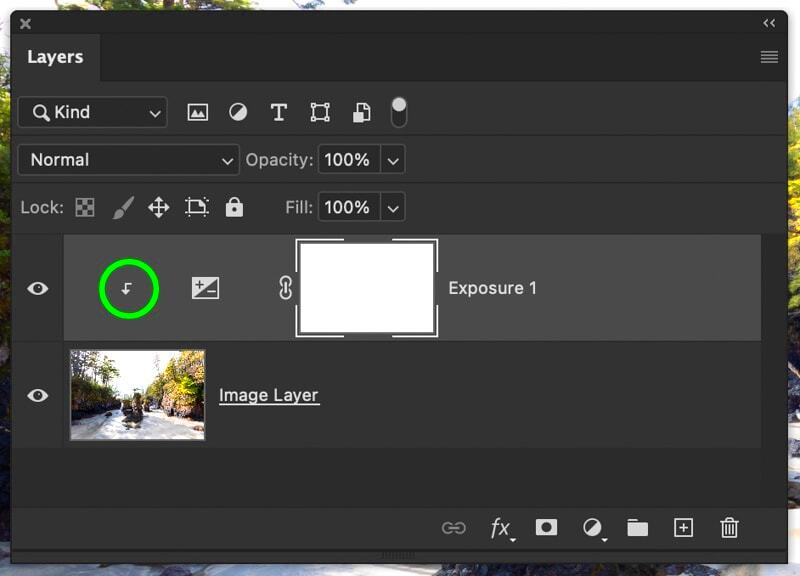
Adjustment layers are a fantastic way to make non-destructive edits in Photoshop. They allow you to darken images without permanently changing the original. This flexibility lets you experiment and adjust your edits later without starting over. It’s a game-changer for photographers and designers alike!
Here’s how to use adjustment layers:
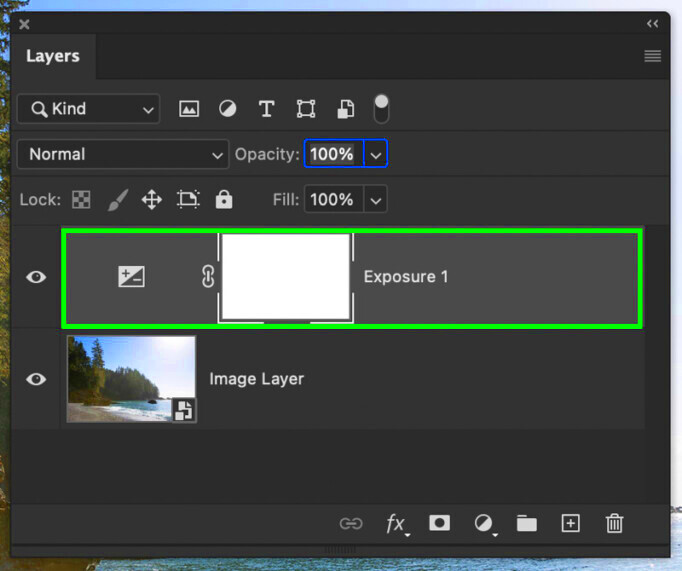
- Create a New Adjustment Layer: Go to the Layers panel and click the 'New Adjustment Layer' icon (a half-filled circle). Select either 'Brightness/Contrast' or 'Curves' depending on your needs.
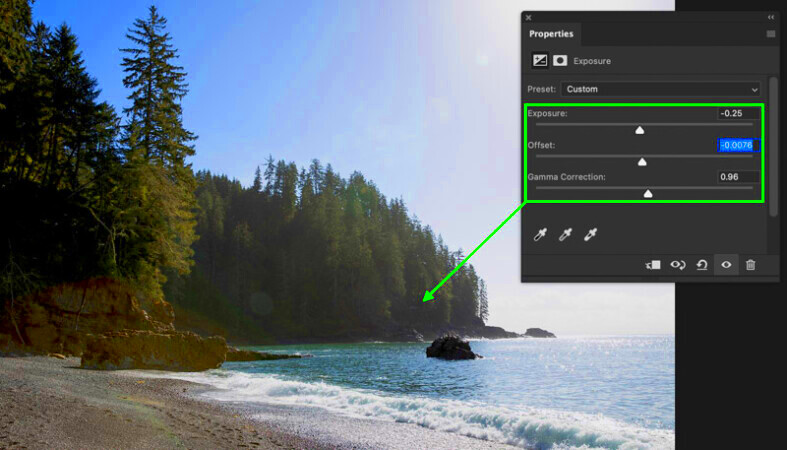
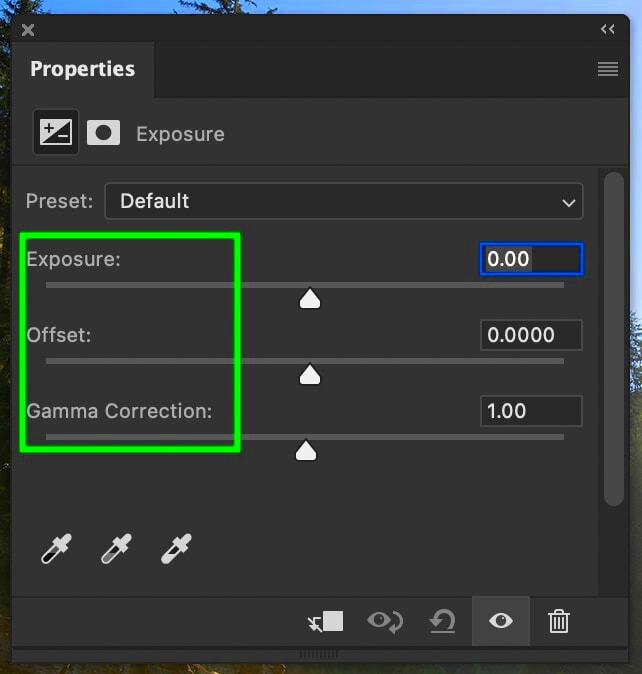
- Make Adjustments: Use the controls in the adjustment layer to darken the image. Since this is a separate layer, your original image remains untouched.
- Adjust Layer Opacity: If you want to soften the effect, adjust the layer’s opacity in the Layers panel. Lowering the opacity will reduce the darkening effect.
- Use Layer Masks: To selectively apply your adjustments, use a layer mask. Paint with black on the mask to hide the effect in specific areas and white to reveal it.
- Revisit Anytime: Since the adjustments are on a separate layer, you can double-click the adjustment layer anytime to tweak your edits.
Utilizing adjustment layers not only gives you the ability to darken images effectively but also keeps your workflow flexible and organized, making it easier to achieve your desired results.
Also Read This: How Imago Images Empowers Content Creators to Stand Out Online
Fine-Tuning with Filters and Effects
Once you’ve darkened your images, the next step is to fine-tune them with filters and effects. This process can add depth, texture, and visual interest, making your images stand out even more. Photoshop offers a wide range of filters and effects that can be used creatively to enhance your visuals.
Here’s how to use filters and effects effectively:
- Explore the Filter Gallery: Go to 'Filter' in the top menu and select 'Filter Gallery.' Here, you’ll find a variety of filters that can be applied to your image.
- Choose the Right Filter: Experiment with different filters to see how they affect your image. For instance, the 'Gaussian Blur' filter can soften edges, while the 'High Pass' filter can sharpen details.
- Adjust Filter Settings: Many filters allow you to adjust their intensity. For example, if you apply a blur, you can control how strong or subtle you want the effect to be.
- Layer Effects: Don’t forget to explore layer styles! Right-click on your layer and choose 'Blending Options' to add shadows, glows, and more.
- Use Smart Filters: If you want to keep your edits non-destructive, convert your layer to a Smart Object before applying filters. This allows you to edit or remove the filter later.
Fine-tuning with filters and effects can elevate your darkened images, adding that extra touch that makes them truly captivating.
Also Read This: Writing Copyright Information for Adobe Stock Images
Frequently Asked Questions
When it comes to darkening images in Photoshop, many questions often arise. Here are some common queries along with clear answers to help you navigate the process:
| Question | Answer |
|---|---|
| Can I darken an image without losing details? | Yes, by using adjustment layers and the Curves or Levels tools, you can darken images while preserving important details. |
| What if my image looks too dark? | You can always adjust the opacity of your adjustment layers or use the layer mask to reduce the effect in certain areas. |
| Are there shortcuts for adjusting brightness and contrast? | Yes, you can quickly access brightness and contrast adjustments by using the shortcut Ctrl + M for Curves and Ctrl + L for Levels. |
| How do I know if my adjustments look good? | It’s a good idea to zoom out to see the image as a whole, and you can also compare with the original image for reference. |
If you have more questions, don’t hesitate to look for online tutorials or forums where Photoshop users share tips and advice!
Conclusion on Darkening Images for Improved Visual Appeal
In conclusion, darkening images in Photoshop is a valuable skill that can significantly enhance their visual appeal. By understanding the tools and techniques available, such as using Curves, Levels, and adjustment layers, you can create stunning images that captivate your audience. Remember to experiment and find what works best for your unique style.
As you practice these techniques, you’ll develop a keen eye for detail and learn how to convey mood and emotion through your images. Don't forget the importance of fine-tuning your edits with filters and effects to add that extra flair.
Whether you’re a professional photographer or just getting started with image editing, mastering the art of darkening images will undoubtedly elevate your work. So, dive into Photoshop, and let your creativity shine!

 admin
admin


