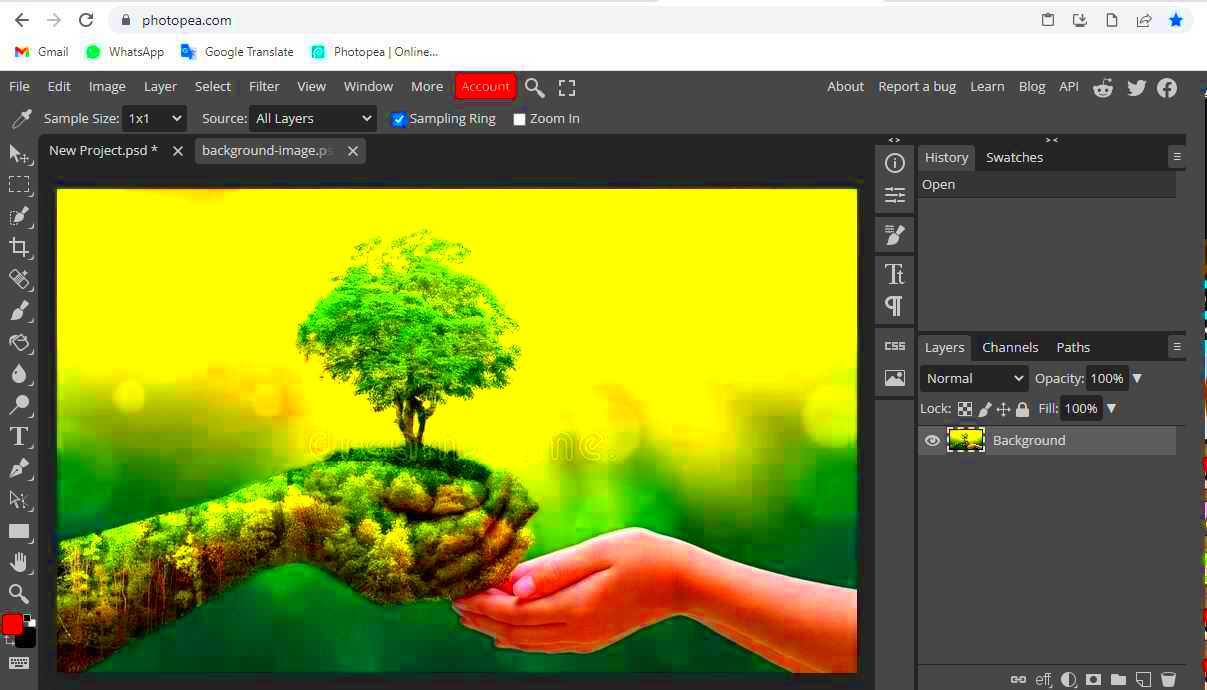
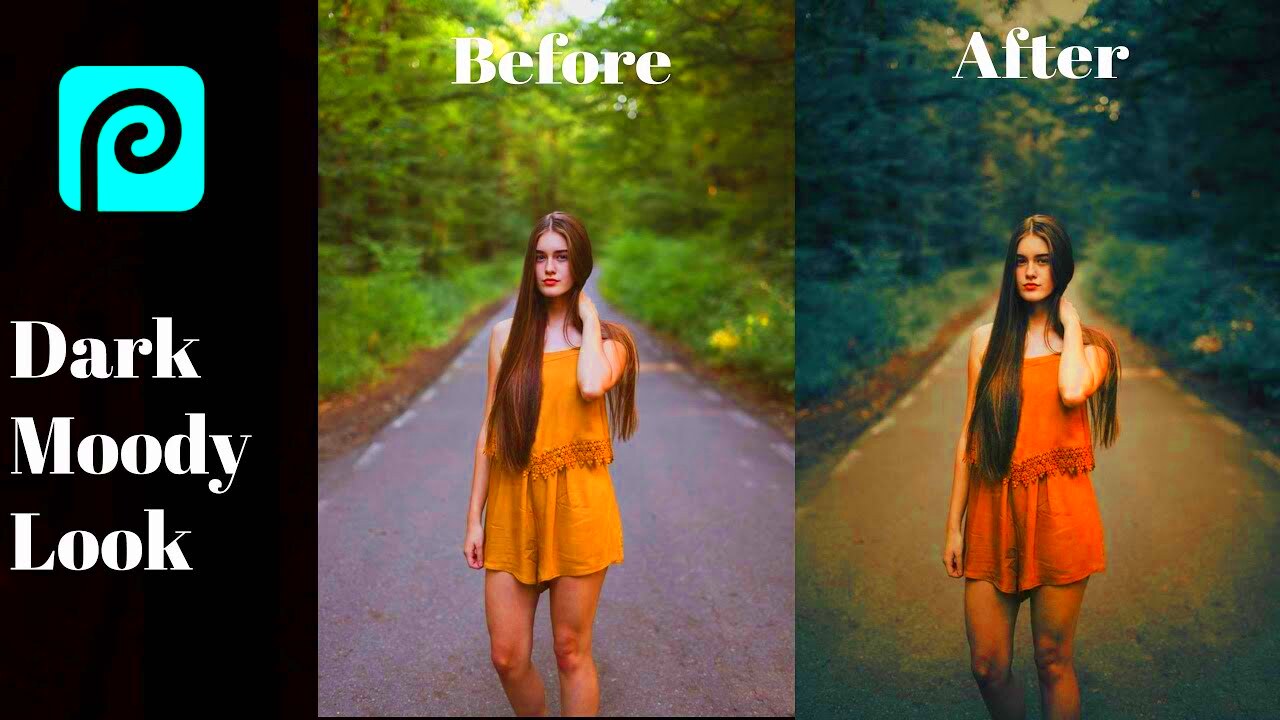
When working on photo editing projects, sometimes you need to adjust the lightness or darkness of an image. Darkening an image can create mood, highlight specific elements, or simply fit a design better. Photopea, a free online
Understanding Image Darkness and Its Importance

Image darkness refers to the overall tone or exposure level of an image, impacting how bright or dark the
Here are a few reasons why you might want to darken an image:
- Enhance contrast: Darkening can make lighter areas pop and highlight details in shadows.
- Create a mood: Dark images often convey mystery, seriousness, or melancholy, while lighter images are usually more cheerful.
- Improve focus: Darkening parts of the image can draw attention to the main subject.
- Correct exposure: Sometimes an image may be too bright, and darkening it can bring out more details.
Understanding how and when to adjust the darkness of your images is crucial for creating effective and visually pleasing designs.
Also Read This: How to Upload Your Pics onto Depositphotos
Steps to Darken an Image in Photopea

Darkening an image in Photopea is a straightforward process that can be done in just a few simple steps. Let’s break it down:
- Open your image: Start by uploading your image into Photopea. You can either drag the file into the workspace or use the “File” menu to open it.
- Select the image layer: Make sure the image layer you want to darken is selected in the Layers panel. If your image is locked, unlock it by clicking on the lock icon.
- Adjust brightness and contrast: Go to the “Image” menu at the top, then choose “Adjustments” and click on “Brightness/Contrast.” Use the sliders to decrease brightness and/or adjust the contrast to darken the image. Lowering the brightness will make the image darker, while adjusting contrast can enhance the shadows.
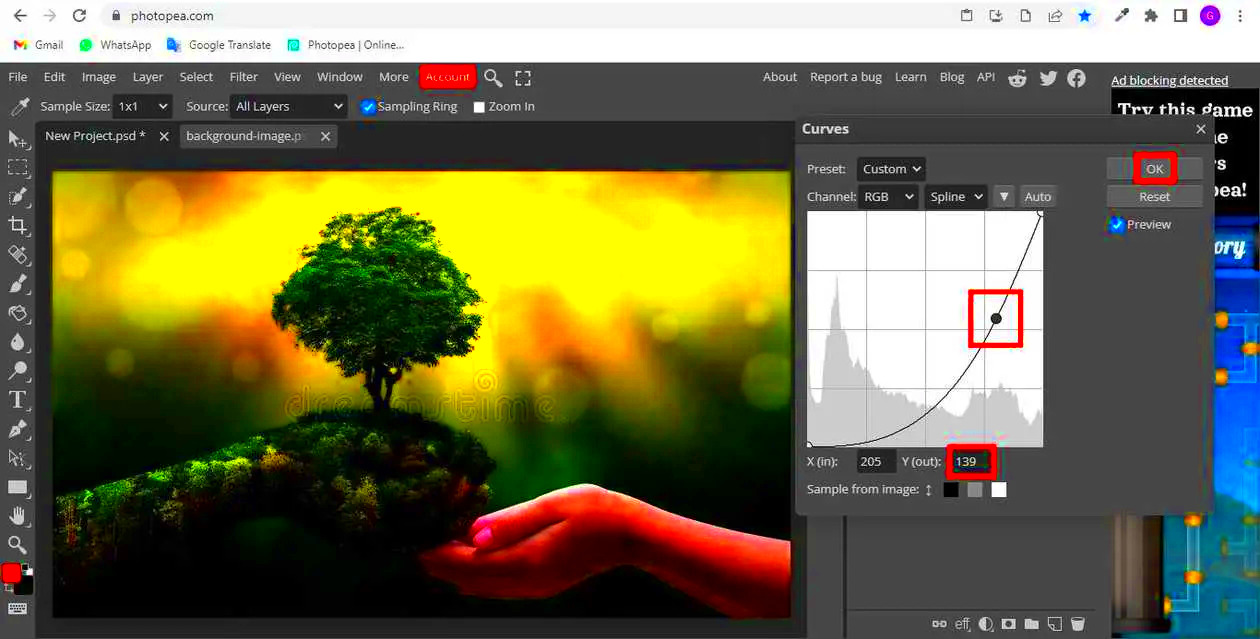
- Use the Curves tool (optional): If you want more control, you can go to “Image” > “Adjustments” > “Curves.” This will bring up a graph where you can adjust the tonal range of your image for precise darkening.
- Apply a darkening filter (optional): You can also apply a darkening filter from the “Filter” menu. Filters like “Gaussian Blur” or “Motion Blur” can be used creatively to darken an image in specific ways.
- Save your image: Once you’re happy with the adjustments, save the image by selecting “File” > “Export As” and choose the format you need.
With these simple steps, you can easily darken any image in Photopea to achieve the desired effect. The flexibility of the platform allows you to make precise edits to enhance your photo exactly how you want it.
Also Read This: Promoting Your 123RF Portfolio: Effective Strategies for Increasing Visibility and Sales
Adjusting Brightness and Contrast for Darkening
One of the simplest and most effective ways to darken an image is by adjusting its brightness and contrast. These two settings work together to control how light or dark an image looks, and manipulating them can help you achieve the desired darkening effect.
Brightness determines how light or dark the entire image appears. Lowering the brightness makes the image darker, while increasing it brightens the image. On the other hand, contrast refers to the difference between the lightest and darkest parts of an image. Increasing the contrast can make shadows more pronounced, and decreasing it can make the image appear flatter.
Here’s how you can adjust the brightness and contrast in Photopea:
- Go to Image > Adjustments > Brightness/Contrast: This opens up the adjustment menu.
- Lower the brightness: Move the brightness slider to the left to darken the entire image.
- Adjust the contrast: Moving the contrast slider to the right will make the dark areas even darker and the light areas brighter, which can give the image a more dramatic look.
- Preview your changes: Always check the preview box to see how your adjustments look in real-time before finalizing them.
By tweaking the brightness and contrast, you can achieve a more dynamic and balanced darkening effect that suits your photo’s style and mood. This technique is fast and simple, but it can be very powerful when used correctly.
Also Read This: Effective Ways to Add Music to Your YouTube Shorts
Using Layers to Darken an Image
Working with layers in Photopea allows for more flexibility and control when darkening an image. Using layers to darken your photo gives you the ability to adjust only certain parts of the image without affecting the entire picture, allowing for a more refined look.
Here’s how you can darken an image using layers:
- Create a new layer: Go to the Layers panel and click on the “New Layer” button. This will add a new blank layer above your image.
- Fill the layer with black: Select the new layer, then use the paint bucket tool to fill the layer with black or a dark color.
- Change the layer’s blending mode: In the Layers panel, set the layer’s blending mode to “Multiply.” This mode darkens the image by multiplying the color values of the new layer with the image beneath.
- Adjust the layer opacity: To make the darkening effect more subtle, you can adjust the opacity of the new layer. Lowering the opacity will reduce the intensity of the effect.
- Refine with a mask (optional): If you want to apply the darkening effect to specific areas, use a layer mask. Paint with black on the mask to hide the effect in areas you don’t want darkened.
Using layers for darkening gives you full control over the process, and you can easily adjust the intensity or target specific areas of your image for a more personalized effect. It’s an excellent option if you want to make non-destructive edits to your photo.
Also Read This: how to show tiff image in browser
Using Filters to Create a Darker Effect
Filters are a powerful way to add creative effects to your images, and they can also be used to darken your photo. Photopea offers a range of filters that allow you to manipulate the lighting and color of your image in unique ways, giving you more artistic freedom.
Here’s how you can use filters to darken an image:
- Apply a Gaussian Blur: Go to Filter > Blur > Gaussian Blur. Apply the blur and set the radius to a low value. This will soften the image and darken the shadows.
- Use the “Darken” filter: Go to Filter > Render > Darken. This will automatically darken the image, but you can fine-tune it by adjusting other settings or combining it with other effects.
- Apply the “Lens Correction” filter: This filter can darken the edges of the image, creating a vignette effect. Go to Filter > Lens Correction and adjust the Vignette settings to darken the outer areas of your photo.
- Experiment with other creative filters: Filters like “Noise” or “Stylize” can also be used creatively to add a darker, moodier feel to the image. Don’t hesitate to explore different options in the Filter menu.
Using filters can be a more experimental approach to darkening your image, and they allow you to add unique effects beyond simple brightness adjustments. Play around with different filters to see how they can change the overall look of your photo.
Also Read This: Exporting High-Resolution Images from Lightroom
Common Mistakes When Darkening Images
Darkening an image may seem straightforward, but it's easy to make mistakes that can ruin the final result. Knowing what to avoid is just as important as knowing how to adjust your photo. Here are some of the most common mistakes people make when darkening images and how to fix them:
- Over-darkening the image: One of the most common mistakes is darkening the image too much, which can make details in the shadows hard to see. It's important to adjust the brightness carefully and check the image on different screens to make sure it's not too dark.
- Losing contrast: Darkening the image without adjusting the contrast can make the photo look flat and dull. Always pair darkening with contrast adjustments to maintain the dynamic range of the image.
- Ignoring the color balance: Darkening an image without considering its color balance can lead to unnatural results, such as overly warm or cool tones. Always check how your adjustments affect the overall color balance.
- Not using layers: Directly applying darkening effects to the image can make it harder to reverse or refine. Always use layers for more control and the ability to make non-destructive edits.
- Not saving different versions: When working with darkening effects, it's important to save different versions of the image so you can compare them and choose the best one. This way, you won’t risk losing a good version of your photo.
By avoiding these mistakes and making mindful adjustments, you can achieve the perfect balance when darkening your images and enhance their overall look without overdoing it.
Also Read This: How to Remove Backgrounds from Images in Paint for Clean Edits
Advanced Tips for Professional Darkening Effects
If you're looking to create more polished and professional darkening effects, it's time to move beyond simple brightness adjustments. Advanced techniques allow you to fine-tune your edits and get more creative with the way you darken your images. Here are some tips for achieving high-quality results:
- Use curves for precise control: The Curves tool is ideal for fine-tuning shadows and highlights. By adjusting the curve in the lower part of the graph, you can target the dark areas of the image for a more controlled darkening effect.
- Apply selective darkening with masks: Instead of darkening the entire image, use layer masks to apply darkening effects to specific areas. For example, you might want to darken the background while keeping the subject bright and clear.
- Experiment with gradient maps: Gradient maps can create unique color-toned darkening effects. They allow you to adjust the darkening effect based on gradients, giving your image an artistic flair.
- Use the "Luminosity" blending mode: The Luminosity blending mode allows you to darken your image while preserving the image’s color integrity. This is particularly useful for achieving a natural darkening effect that doesn’t distort colors.
- Combine filters for a cinematic look: For a dramatic, cinematic effect, try combining filters like “Gaussian Blur” and “Vignette.” This will add depth and focus to your image while darkening the overall atmosphere.
These advanced techniques give you more flexibility and control over your darkening effects. By experimenting with these methods, you can take your image editing skills to the next level and create professional-quality results every time.
Also Read This: Using Getty Images for Free and Legally Without Copyright Infringement
FAQ
Here are answers to some frequently asked questions about darkening images in Photopea:
- How can I darken only part of an image? You can use layer masks or the gradient tool to selectively darken areas of your image. Simply apply a darkening effect to the whole image and then mask or erase the areas you want to keep lighter.
- Can I darken an image without losing quality? Yes! As long as you make non-destructive edits using layers, masks, and adjustment tools like brightness/contrast or curves, you can darken the image without damaging the original quality.
- Why is my image too dark after adjusting the brightness? It’s possible that you’ve adjusted the brightness too much, or the contrast is too low. Try fine-tuning both the brightness and contrast to maintain a balance between dark and light areas.
- Can I darken an image if I have already applied other effects? Yes! You can always add additional layers for darkening or use adjustment tools at any point in your editing process. Just remember to keep your edits non-destructive by working with layers.
- What should I do if I don’t like the darkening effect? You can always undo your changes or use the History panel to revert to a previous step. If you’ve been using layers, simply delete or adjust the darkening layer for a more subtle effect.
If you have more questions or need further assistance, don’t hesitate to explore the Photopea community or search for more tutorials to enhance your editing skills!
Conclusion
Darkening images in Photopea is a simple yet effective way to enhance your photos and give them a more dramatic or refined look. By adjusting brightness and contrast, using layers, or experimenting with filters, you can easily achieve the desired darkening effect. Avoiding common mistakes and applying advanced techniques will help you take your editing skills to a professional level. Whether you're enhancing contrast, focusing attention, or creating a specific mood, Photopea provides the tools needed to darken your images with precision and creativity. Don't forget to save your work in different versions so you can always experiment and compare your results!

 admin
admin


