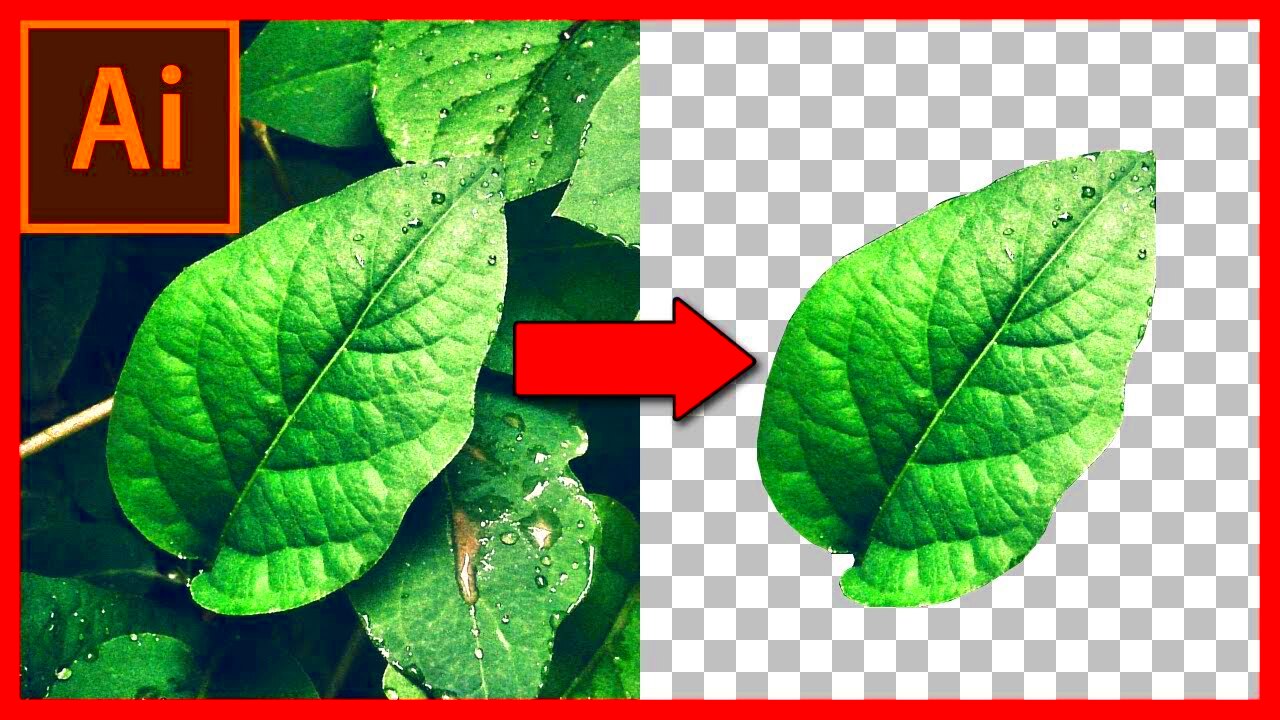
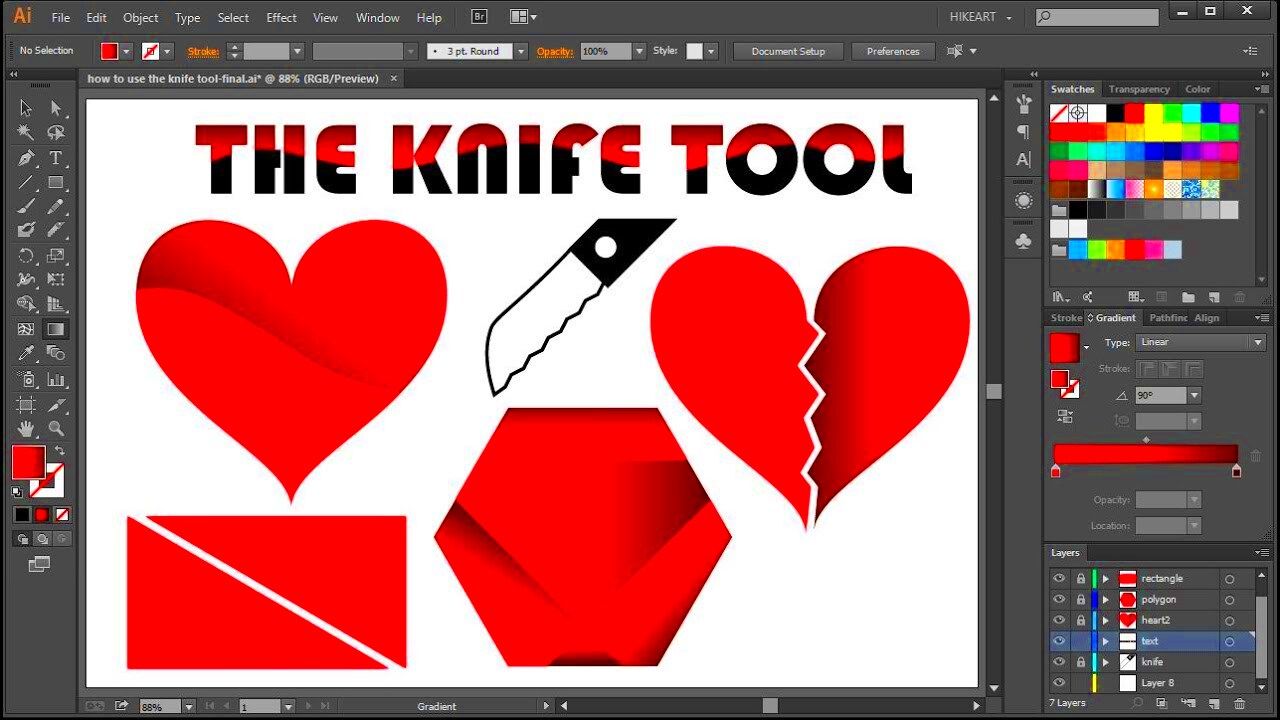
Cutting out images in Adobe Illustrator is a key skill for graphic designers, photographers, and illustrators. Whether you’re working on product images, illustrations, or creating artwork for a website or marketing materials, knowing how to remove backgrounds or isolate specific parts of an image is essential. Illustrator offers powerful tools that allow you to achieve clean, precise cuts that enhance the overall look of your design. In this guide, we’ll walk you through the process of cutting out images in Illustrator and how to make your work stand out.
Why Cutting Out Images is Important for Designers

As a designer, the ability to cut out images properly can make a big difference in the quality of your work. Here’s why it matters:
- Improved Visual Appeal: Cutting out images allows you to create more visually appealing compositions by removing distracting backgrounds or unwanted elements.
- Better Control Over Design Elements: Isolating specific parts of an image gives you more flexibility in how you position and layer elements within your design.
- Consistency in Design: When working with multiple images, cutting out backgrounds helps to maintain consistency across all elements, especially in web or product design.
- Professional Quality: Clean, sharp image cuts are a hallmark of professional design. It demonstrates your attention to detail and skill with design software.
Mastering the art of cutting out images ensures that you can deliver polished, high-quality designs that make an impact on your audience.
Also Read This: Publish Your Project from Behance to Adobe Portfolio Effortlessly
Tools You Need for Cutting Out Images in Illustrator
To effectively cut out images in Illustrator, you’ll need to use the right set of tools. Here’s a breakdown of the essential tools:
- Pen Tool: The Pen Tool is the most precise tool for creating paths around the areas you want to cut out. It’s perfect for curved and detailed edges.
- Magic Wand Tool: The Magic Wand Tool helps you select similar colors or areas within an image. It’s ideal for cutting out objects with uniform backgrounds or shapes.
- Clipping Mask: Once you’ve made your selection, a Clipping Mask allows you to hide the unwanted parts of an image, leaving only the selected area visible.
- Pathfinder Tool: The Pathfinder Tool is useful for combining, subtracting, or intersecting shapes, which can help refine your cut-out edges and ensure a clean result.
- Direct Selection Tool: This tool allows you to adjust anchor points and paths for fine-tuning the shape of your cut-out edges.
These tools, when used together, will help you achieve precise and clean image cut-outs that fit seamlessly into your designs. The Pen Tool is especially important for its accuracy, but combining it with other tools like the Magic Wand and Pathfinder will give you flexibility and speed in your work.
Also Read This: How to Find Getty Images from Events and Use Them in Your Projects
Step-by-Step Guide to Cutting Out Images
Cutting out images in Illustrator is a simple process once you understand the right techniques. Follow these easy steps to achieve a clean and precise cut-out:
- Step 1: Open Your Image: Start by opening your image in Adobe Illustrator. You can do this by going to File > Open and selecting your image file.
- Step 2: Select the Pen Tool: To begin cutting out the image, select the Pen Tool from the toolbar or press the shortcut key "P." This will allow you to trace the edges of the image you want to keep.
- Step 3: Trace the Image: Use the Pen Tool to click and create anchor points around the area you want to cut out. For curves, click and drag to create smooth curves. The more anchor points you create, the more detailed the path will be.
- Step 4: Close the Path: Once you've traced around the image, click back on the first anchor point to close the path. This completes the selection around your image.
- Step 5: Create a Clipping Mask: Select both the path and the image, then right-click and choose "Make Clipping Mask" or use the shortcut Ctrl+7 (Cmd+7 on Mac). This will hide the areas outside the path, leaving only your cut-out image visible.
By following these steps, you'll be able to cut out images in Illustrator with ease. The Pen Tool is great for precision, while the Clipping Mask tool ensures that only the selected area remains visible, giving you a clean, professional result.
Also Read This: How to Properly Cite Images in PowerPoint Presentations
Using the Pen Tool for Precision
The Pen Tool is the most precise tool in Illustrator for cutting out images. It allows you to create detailed paths around the parts of an image you want to isolate. Here’s how you can make the most of it:
- Precision: The Pen Tool creates vector paths with anchor points, allowing you to trace every curve and detail with exact accuracy. This is especially useful for images with irregular shapes or intricate edges.
- Creating Straight and Curved Lines: When using the Pen Tool, clicking creates straight lines, while clicking and dragging creates curves. This flexibility makes it ideal for cutting out objects with complex outlines.
- Editing Paths: If you make a mistake, the Direct Selection Tool (A) allows you to adjust individual anchor points and control handles, giving you full control over your paths.
- Best for Detailed Cut-Outs: The Pen Tool is perfect when you need to cut out precise objects like logos, product shots, or detailed illustrations. It offers the control and flexibility that other tools can’t match.
With a little practice, the Pen Tool can help you achieve flawless, precise cut-outs. Remember to use it for intricate, detailed paths where you need the highest level of accuracy.
Also Read This: How to Upload Video on Behance and Enhance Your Portfolio
Refining the Cut with the Pathfinders Tool
Once you’ve made the initial cut, the Pathfinder Tool comes in handy for refining your image edges and making your cut-out even cleaner. This tool lets you combine, subtract, or modify shapes to enhance your design. Here's how to use it:
- Step 1: Open the Pathfinder Panel: Go to Window > Pathfinder to open the Pathfinder panel. This panel gives you several options to manipulate the shapes you've created.
- Step 2: Combine Shapes: If your image is made up of multiple paths, you can use the "Unite" option in Pathfinder to combine them into one cohesive shape. This helps eliminate any unnecessary gaps or overlaps between the paths.
- Step 3: Subtracting Parts: If there’s an area of the image that you want to exclude, use the "Minus Front" option to subtract one shape from another. This is particularly useful for creating clean edges or removing unwanted parts from the cut-out.
- Step 4: Simplifying the Shape: The "Simplify" option in Pathfinder reduces the number of anchor points, making the path smoother and cleaner. This can be helpful if you’ve created too many anchor points while tracing your image.
- Step 5: Use the Divide Tool: If you need to break your paths into separate pieces, use the "Divide" option. This splits the paths into individual sections that you can manipulate independently.
The Pathfinder Tool is an essential tool for refining your cut-out, allowing you to perfect the shapes, remove unwanted areas, and combine elements for a polished look. Use it after making your initial path with the Pen Tool to ensure a smooth and seamless cut-out.
Also Read This: How to Choose the Perfect Adobe Stock Background
Common Mistakes to Avoid When Cutting Out Images
When cutting out images in Illustrator, even experienced designers can make a few common mistakes that can affect the quality of their work. Here’s a list of mistakes to watch out for and tips to avoid them:
- Not Using Enough Anchor Points: One of the most common mistakes is using too few anchor points when tracing the image. This can result in jagged or uneven curves. Always add enough anchor points to maintain smooth, fluid lines, especially around curved areas.
- Ignoring the Edge Details: The edges of an image often contain fine details that need attention. Don’t rush through the outline—pay close attention to areas like hair, fur, or intricate parts where precision matters. Use the Pen Tool to trace these areas carefully.
- Overlapping Paths: If you accidentally create overlapping paths, it can lead to confusion or errors in the final cut. Be mindful of where your anchor points are placed and ensure that paths don’t cross unless intended. Use the Pathfinder Tool to clean up any overlaps.
- Using the Wrong Tool for the Job: While the Pen Tool is great for precision, it’s not always the best tool for every situation. For images with simpler outlines or uniform colors, tools like the Magic Wand Tool may be more efficient. Use the right tool for the complexity of your image.
- Not Refining After Cutting: Cutting out an image isn’t always perfect the first time. After you’ve made your initial cut, refine it by adjusting anchor points, removing unnecessary ones, and using the Pathfinder Tool to clean up the edges.
By avoiding these mistakes, you can ensure that your cut-out images look professional, clean, and polished. With practice, these tips will become second nature, helping you improve your design workflow.
Also Read This: How to Post a Carousel on LinkedIn for Engaging Content
FAQ
Here are some frequently asked questions about cutting out images in Illustrator:
- What is the Pen Tool used for? The Pen Tool is used to create precise paths around the parts of the image you want to cut out. It’s perfect for detailed work, such as tracing curves and straight edges.
- How can I refine my cut-out edges? After cutting out the image, use the Direct Selection Tool to adjust anchor points. You can also use the Pathfinder Tool to clean up or combine shapes to refine your cut-out.
- Why do I need to use the Clipping Mask? A Clipping Mask hides parts of the image outside the path you’ve drawn, allowing you to isolate only the selected area. It’s an easy way to create clean edges without permanently altering the original image.
- Can I use the Magic Wand Tool for cutting out images? Yes, the Magic Wand Tool is useful for cutting out areas with uniform color or shape, such as backgrounds. However, for more detailed or complex images, the Pen Tool is preferred.
- How do I fix jagged lines in my cut-out? Jagged lines often occur when too few anchor points are used. To fix this, select the anchor points and adjust them with the Direct Selection Tool or add more points to smooth the curve.
Conclusion
Cutting out images in Illustrator doesn’t have to be difficult. By mastering tools like the Pen Tool, Magic Wand, and Pathfinder, you can create clean, professional-looking designs with ease. Remember to take your time and pay attention to detail, especially when refining edges and adjusting paths. Avoid common mistakes, such as using too few anchor points or neglecting to clean up your paths, and your images will always look polished and precise.
With practice, cutting out images will become second nature, and you’ll be able to create stunning visuals for your designs. Whether you're designing for print, web, or personal projects, this skill is a valuable asset in your Illustrator toolkit. Keep experimenting, and soon you'll be cutting out images like a pro!

 admin
admin


