Cutting larger images on Cricut machines can seem like a tricky task, especially when you’re used to the standard 12x12 inch cutting area. But with the right preparation and tools, it’s definitely achievable. Cricut machines are designed for both small and large cuts, but when it comes to images that exceed the typical size, there are some steps you need to follow to get the best results. In this post, we’ll guide you through the process of cutting larger images, explain why it’s important to prepare your images properly, and share some tips to help you along the way.
Understanding the Cricut Machine and Its Capabilities

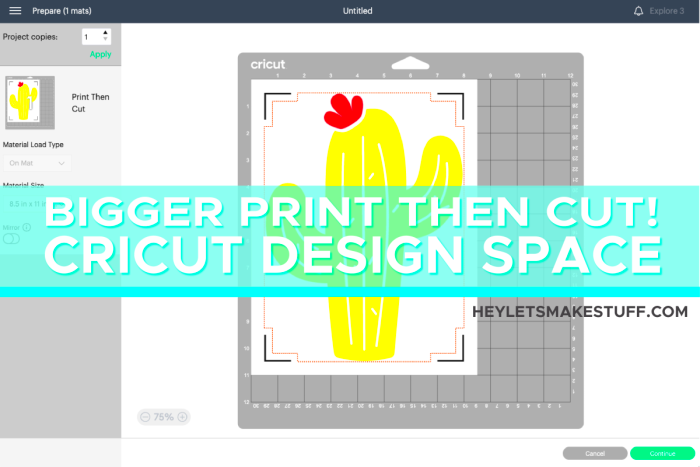
Cricut machines are versatile crafting tools that allow you to cut designs from a variety of materials, such as paper, vinyl, and fabric. The most common models include the Cricut Explore and Cricut Maker series. These machines typically have a standard cutting area of 12x12 inches, but certain Cricut machines, like the Cricut Maker, support larger materials and images by cutting across a larger canvas, up to 12x24 inches, when using the right mat.
Here’s a quick overview of the Cricut machine capabilities:
- Cutting Size: Most Cricut machines can cut images up to 12x12 inches. However, some models allow for cutting on larger mats (12x24 inches) or even require you to divide your design into multiple sections for larger cuts.
- Material Types: Cricut can cut materials like cardstock, fabric, vinyl, and even thin wood and metal, making it great for a wide range of projects.
- Precision: Cricut machines are known for their precision, offering clean and accurate cuts, even on intricate designs.
Understanding these features will help you make the most of your Cricut machine and cut larger images effectively, even when your design goes beyond the standard cutting area.
Also Read This: How to Create Hot AI Images
Why You Might Need to Cut Larger Images (Over 12x12)

Sometimes, smaller projects just don’t cut it (pun intended!), and you need to work with larger designs. This is especially true for projects like wall decals, large signs, or custom clothing. Cutting images larger than 12x12 inches allows for more flexibility and creativity. Here’s why you might need to cut larger images on your Cricut machine:
- Large-Scale Projects: If you’re working on something like a large banner or sign, you’ll need larger cuts that go beyond the typical 12x12 area.
- Custom Wall Art: Many people like to create custom designs for their home décor, such as wall decals or oversized graphics. These often require images larger than the standard size.
- Crafting for Apparel: When designing t-shirts, hoodies, or other large fabric items, larger cut sizes help you achieve bigger, bolder designs that make a statement.
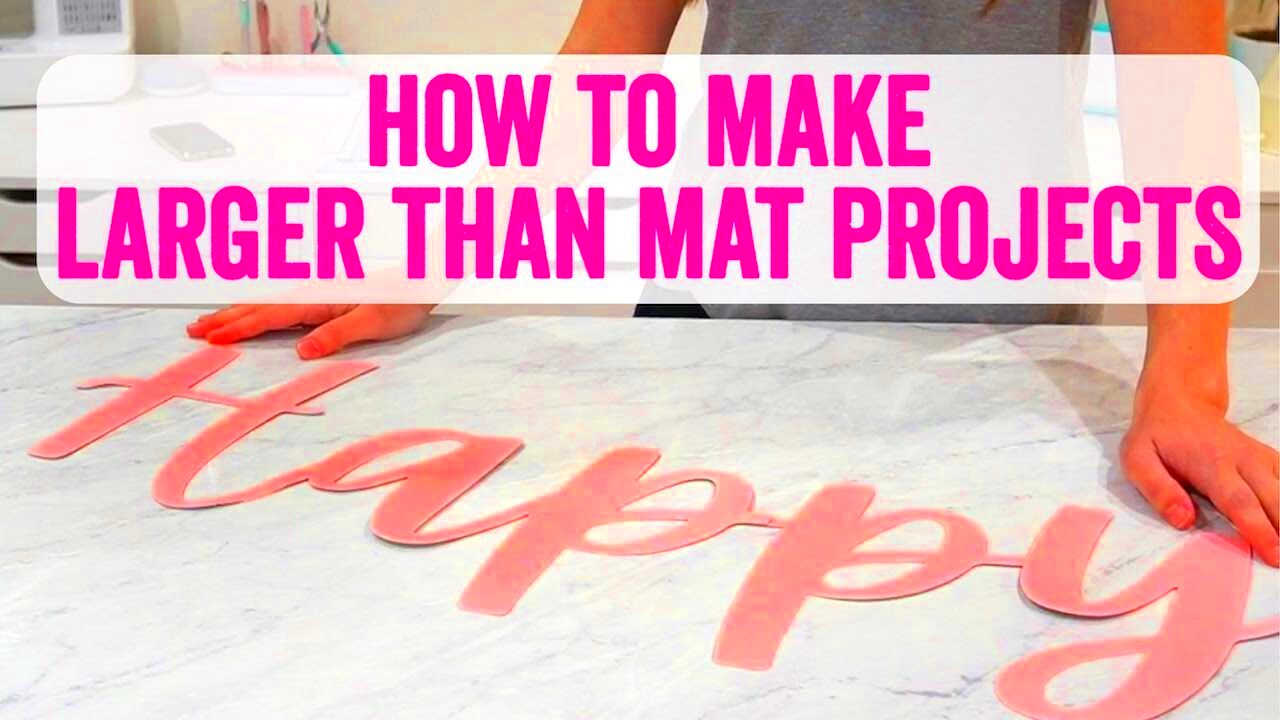
- Multi-Part Designs: Sometimes you need to cut a design in multiple parts and then piece it together. This method allows you to work with larger images in sections that fit the Cricut’s cutting capacity.
In these cases, cutting larger images opens up more possibilities, but it also requires a bit more planning to ensure everything fits together perfectly. Whether you’re making a giant birthday banner or creating an eye-catching piece of home décor, Cricut’s larger cutting capabilities will help bring your vision to life.
Also Read This: How to Make an Image Not Reverse Searchable for Enhanced Privacy
Preparing Your Image for Cricut Cutting

Before you even load your image into your Cricut machine, it's important to properly prepare it. Preparing your image means ensuring it's the right size, resolution, and format for cutting. Without proper preparation, you risk wasting materials or getting poor-quality cuts. So, let’s break down how to get your
- Resize Your Image: If your image is too large, resize it to fit within the Cricut's cutting capacity. You can use design software to adjust the dimensions to match your desired output size.
- Choose the Right Image Format: For Cricut, the best formats are SVG, PNG, or JPG. SVG is ideal for vector-based designs, while PNG and JPG work better for raster images like photos.
- Increase Resolution: Make sure your image is high resolution (at least 300 DPI for print) to avoid pixelation. Low-resolution images might not cut cleanly, especially if they’re intricate designs.
- Remove Background: If your image has a background that you don’t want to cut, remove it using editing software. This helps your Cricut machine focus on the design itself, not the extra space around it.
- Test Your Image: Before you cut your final project, do a small test cut. This helps you check if the image looks good and cuts properly on your chosen material.
Proper image preparation is key to getting the best results. Take the time to adjust and refine your image before cutting, and you’ll save yourself frustration down the line.
Also Read This: How to Print 4 Images on One Page: Easy Steps for Efficient Printing
Choosing the Right Software for Image Sizing
Choosing the right software is crucial for resizing and preparing your image to cut on Cricut. Cricut’s Design Space is the go-to software for Cricut users, but there are other third-party tools that can help as well. The software you use will depend on your design needs and the complexity of the project.
Here are some popular software options to consider:
| Software | Best For | Platform |
|---|---|---|
| Cricut Design Space | Basic design, resizing, and cutting | Windows, Mac, iOS, Android |
| Adobe Illustrator | Advanced vector-based designs | Windows, Mac |
| Inkscape | Free vector editing | Windows, Mac, Linux |
| CorelDRAW | Professional vector editing and scaling | Windows, Mac (with compatibility) |
Most Cricut users start with Cricut Design Space, which is easy to use and directly integrated with Cricut machines. However, if you’re creating more complex or detailed designs, Adobe Illustrator or Inkscape may offer more control over the image’s elements.
Regardless of which software you choose, always make sure your image is properly sized, formatted, and ready to go before uploading it to Cricut Design Space.
Also Read This: How to Add Skills in LinkedIn to Highlight Your Expertise
Steps for Cutting Larger Images on Cricut
Cutting larger images with Cricut requires a little more effort than cutting standard-sized designs, but with the right steps, it’s straightforward. Follow these steps to make sure your large image comes out looking fantastic:
- Step 1: Resize the Image in Cricut Design Space – Open your image in Cricut Design Space and resize it. If your image is larger than the 12x12 mat, you will need to split it into multiple parts or use a larger cutting mat (12x24 inches). Adjust the dimensions to fit within your Cricut’s cutting area.
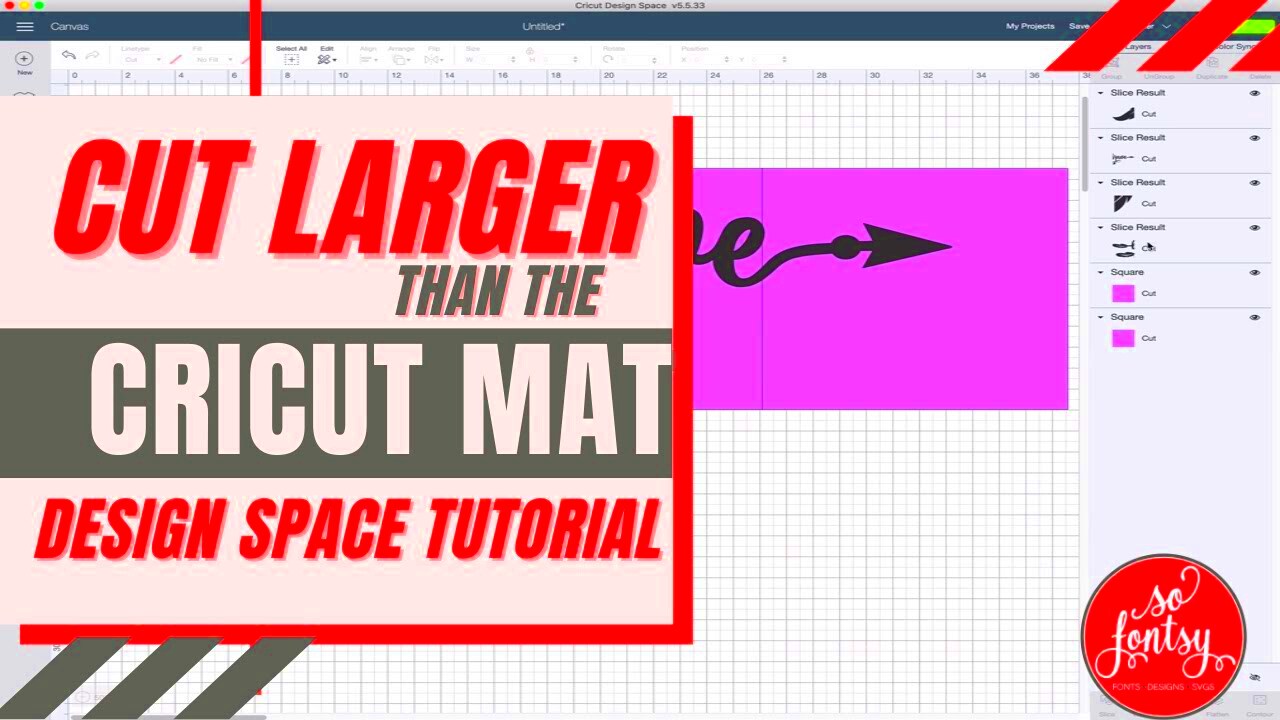
- Step 2: Use the "Slice" Tool – If you have a very large image, you can use the "Slice" tool in Design Space to break it into smaller pieces. This will allow you to cut each part separately and then reassemble them.
- Step 3: Prepare the Material and Mat – Choose the right material and cutting mat for the job. For large cuts, you may want to use a 12x24 mat. Load your material onto the mat and make sure it's firmly adhered to avoid slipping during the cut.
- Step 4: Select the Right Cut Settings – Choose the correct material settings based on what you’re cutting. If you're working with fabric, vinyl, or another specific material, make sure the blade depth and pressure are adjusted accordingly.
- Step 5: Test Cut – Always do a test cut before cutting the full design, especially if it’s a large or intricate one. This ensures the settings are correct and the cut will be clean.
- Step 6: Cut and Assemble – Once you’re satisfied with the test cut, go ahead and cut your larger image. If you split your design into parts, carefully assemble the pieces after cutting.
Following these steps will help ensure your larger image cuts successfully and looks great when it’s finished. While cutting larger images requires more effort, the results are definitely worth it, and Cricut makes it easier than ever to create large-scale designs!
Also Read This: Overlaying an Image in iMovie
Common Challenges and How to Overcome Them
When cutting larger images on your Cricut, you may encounter a few challenges along the way. These obstacles are common but can usually be overcome with a little extra attention and the right approach. Let’s look at some of the most frequent challenges and how to tackle them effectively.
- Challenge 1: Image Quality and Pixelation – When you enlarge an image, especially a raster image (like a photo), it can become pixelated and blurry. This can lead to rough, uneven cuts.
- Solution: Always start with a high-resolution image (300 DPI or higher) to ensure the quality remains intact. If you're working with a photo, use vectorization software like Adobe Illustrator to convert it into a smoother, scalable design.
- Challenge 2: Cricut Mat Size Limitation – Cricut machines are typically limited to 12x12 or 12x24 mats, which can be restrictive for larger images.
- Solution: If your design exceeds the mat size, split it into smaller sections using the "Slice" tool in Cricut Design Space. Alternatively, use the larger 12x24 cutting mat if your machine supports it.
- Challenge 3: Material Slippage – Larger cuts require a firm grip on the material. If the material isn’t properly secured, it can slip during the cut, ruining the design.
- Solution: Use a strong grip mat and ensure the material is stuck securely. For tricky materials, consider using painter’s tape or a brayer to press down the material before cutting.
- Challenge 4: Inconsistent Cuts on Large Designs – Sometimes, Cricut’s cutting machine may not make clean cuts on large, intricate designs.
- Solution: Make sure to test your settings before cutting your entire project. Adjust the blade depth and pressure based on your material type, and do a small test cut to check the settings.
By being aware of these challenges and knowing how to address them, you can improve your Cricut experience and create large, beautiful designs with ease.
Also Read This: How to Vector an Image in Procreate
Tips for Getting the Best Results with Larger Cuts
Cutting larger images on your Cricut can be a bit trickier, but with the right techniques, you can achieve professional-looking results. Here are some tried-and-true tips to ensure you get the best cuts every time.
- Tip 1: Use High-Quality Materials – Always use good-quality materials that are appropriate for large cuts. Thin or low-quality materials may tear or warp, leading to poor results.
- Tip 2: Adjust the Cutting Pressure – When cutting larger designs, the Cricut machine needs to apply more consistent pressure. Adjust the pressure settings in Design Space to match the material type (paper, vinyl, fabric, etc.) and ensure an even cut.
- Tip 3: Work in Sections – For very large designs, break the project into smaller sections. This will not only make it easier to cut, but it will also allow you to focus on each part individually, making sure everything aligns correctly when assembled.
- Tip 4: Use the Right Blade – Different materials need different blades. For example, vinyl, fabric, and cardstock require different cutting blades to get the best results. Use the fine-point blade for paper and the rotary blade for fabric.
- Tip 5: Ensure Proper Mat Alignment – When working with large designs, make sure the material is aligned properly on the mat. The material should cover the entire mat for consistent cuts. Consider using the brayer tool to smooth the material onto the mat to avoid bubbles or wrinkles.
- Tip 6: Increase Your Design's Offset – Adding a slight offset to your design in Design Space ensures that intricate designs don’t get lost during cutting. It helps create cleaner lines and minimizes the risk of the Cricut cutting too closely to the edges.
These tips will help you optimize your Cricut cutting experience and ensure that even your largest designs come out looking sharp and professional.
Also Read This: How to Find the Resolution of an Image on Mac Devices
FAQ
Here are some frequently asked questions about cutting larger images with Cricut machines:
- Q1: Can Cricut cut images larger than 12x12 inches?
- Q2: How do I split a large design into multiple pieces?
- Q3: What type of material is best for larger cuts?
- Q4: How do I prevent material slippage during a large cut?
- Q5: How can I get a more precise cut on larger designs?
A1: Yes, Cricut can cut larger images, but you need to use a 12x24 cutting mat. If your image exceeds this size, you can split it into smaller parts and then assemble them after cutting.
A2: You can use the "Slice" tool in Cricut Design Space to cut your design into smaller parts. This allows you to work with a design that’s larger than the Cricut mat size.
A3: The best material for larger cuts depends on your project. For large vinyl designs, use adhesive vinyl. For fabric, use fabric with heat transfer vinyl (HTV). Always choose a material that’s appropriate for your design’s scale.
A4: To avoid slippage, use a strong grip mat and ensure your material is firmly adhered. You can also use painter’s tape to secure the edges of your material, preventing any movement during the cut.
A5: Make sure your Cricut settings are correct for the material you’re using, and test the settings with a small cut before attempting the full design. Also, ensure your blade is sharp and clean for the best results.
Conclusion
Cutting larger images on Cricut machines opens up a world of possibilities for your crafting projects, from custom signs and wall art to large-scale apparel designs. While the process may seem intimidating at first, with the right preparation and techniques, you can achieve fantastic results. Start by preparing your image carefully, choosing the right software, and following the necessary steps to ensure accurate cuts. Don’t forget to test your settings and work in sections if needed. By being mindful of common challenges and applying tips for better results, you’ll be able to confidently tackle any large project on your Cricut machine and bring your creative ideas to life.

 admin
admin


