LightBurn is a powerful software used for laser engraving and cutting. One of its useful features is the ability to crop images, which can help you focus on specific areas of your design. Cropping images allows you to remove unwanted parts, resize the image to fit your project, and achieve more precise results. Whether you’re working on engraving a logo, photo, or graphic, cropping can help optimize your image for laser cutting, ensuring you get the best results.
Why You Might Need to Crop Images in LightBurn
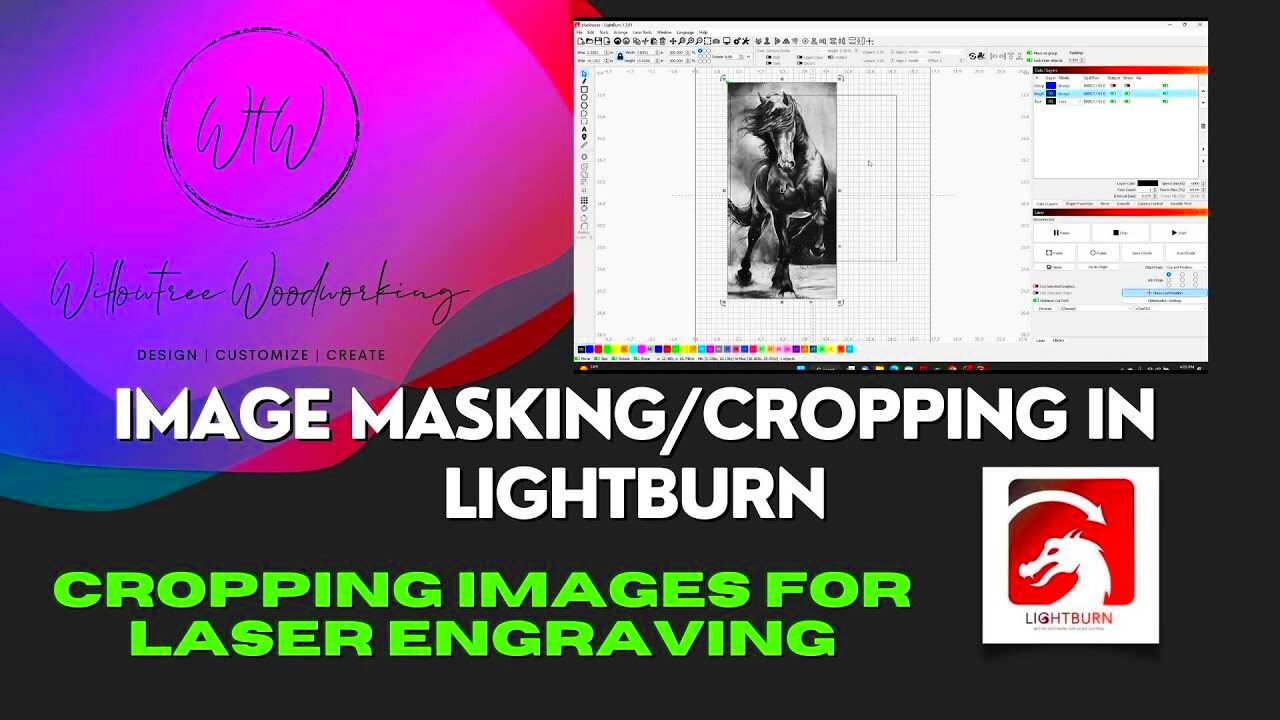
There are several reasons why you might need to crop images in LightBurn. Here are a few of the most common scenarios:
- Fitting the Image to a Specific Size: If your image is too large for the laser cutting area, cropping helps you resize it to fit.
- Removing Unwanted Parts: Sometimes, images contain unnecessary background or elements that are not part of your design. Cropping lets you eliminate these parts.
- Highlighting Key Features: If your image has a focal point, cropping can help you emphasize that area and remove distractions.
- Improving Quality: Cropping can help you get rid of pixelated edges or low-quality areas of an image, making your design sharper and cleaner.
By cropping your images in LightBurn, you can ensure your designs look more polished and professional, especially for laser engraving and cutting projects.
Also Read This: how to export freeform as image
Preparing Your Image for Cropping in LightBurn
Before you start cropping, it’s important to prepare your image correctly to avoid any issues later. Here are some steps to ensure your image is ready for cropping in LightBurn:
- Check Image Resolution: Ensure your image has a high resolution, especially if you're working with detailed designs. Low-resolution images may appear blurry after cropping.
- Import Image into LightBurn: Open LightBurn, and import your image by selecting File > Import. Ensure the file type is supported (e.g., JPEG, PNG, BMP).
- Position the Image: Once imported, move the image to the appropriate area on your workspace, ensuring it fits the project dimensions before cropping.
- Set the Correct Dimensions: If you already know the size you want for the cropped image, set the exact dimensions in LightBurn’s settings to guide your cropping.
Taking these steps will help you avoid mistakes and ensure that your image is in the best condition for cropping and further processing in LightBurn.
Also Read This: A Comprehensive Guide on Becoming a Getty Images Photographer
Steps to Crop an Image in LightBurn
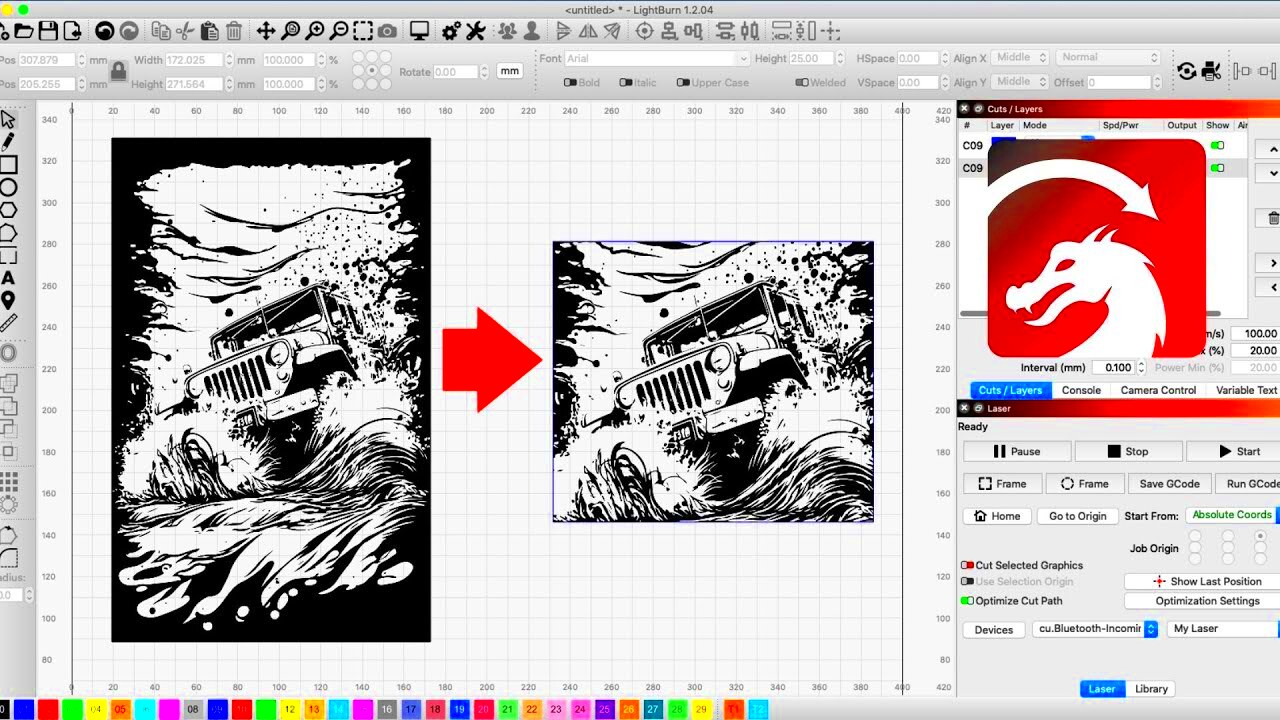
Cropping an image in LightBurn is a simple and straightforward process. Just follow these easy steps to get started:
- Import the Image: First, open LightBurn and import the image you want to crop by clicking File > Import. Choose the image from your computer and click Open.
- Select the Image: Once the image appears in your workspace, click on it to select it. You’ll see a bounding box appear around the image, which indicates that it’s ready for editing.
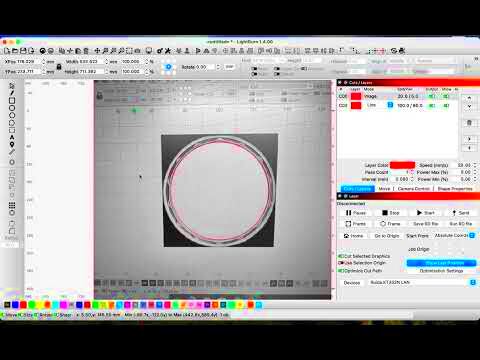
- Activate the Crop Tool: To crop, click on the Tools menu, and select Crop from the dropdown. You’ll see a cropping window or frame appear over your image.
- Adjust the Crop Frame: Resize the crop frame by dragging the corner handles or the sides to cover the area you want to keep. Any part of the image outside of the crop frame will be removed.
- Apply the Crop: Once you’re satisfied with the crop area, click the Apply button. The cropped image will now be ready for further adjustments or use in your project.
These steps make it easy to remove unnecessary parts of your image, leaving only the portion you want to use in your laser cutting or engraving project.
Also Read This: Does Getty Images Accept AI-Generated Images? Exploring the Submission Criteria
Adjusting the Cropped Area in LightBurn
After cropping your image in LightBurn, you may need to make additional adjustments to get the perfect result. Here’s how you can fine-tune your cropped area:
- Resize the Image: If you need to adjust the size of the cropped area, click on the image, and drag the corner handles to resize it while maintaining the aspect ratio. Hold down the Shift key to keep the image’s proportions intact.
- Move the Cropped Area: You can also move the entire cropped image by selecting it and dragging it to a new location within the workspace. This is useful if you want to center the image or position it precisely on your laser bed.
- Rotate the Image: To rotate the cropped image, click on it and drag the rotation handle that appears above the image. You can rotate the image in small increments to get it positioned exactly how you want.
- Use the “Align” Tool: If you need the cropped image to align with other elements in your workspace, use the Align tool under the Tools menu. This can help center your image or line it up with other objects easily.
Making these adjustments ensures that the cropped image fits perfectly within your project and looks great once processed through the laser cutter or engraver.
Also Read This: How to Resize an Image in Your Gmail Signature
Saving and Exporting Cropped Images in LightBurn
Once you’ve cropped and adjusted your image in LightBurn, it’s time to save and export it for use in your project. Follow these steps to save and export your cropped image:
- Save Your Work in LightBurn: First, it’s always a good idea to save your project within LightBurn. Go to File > Save As, and choose a location on your computer to store your project file. This allows you to make further edits later if needed.
- Export the Cropped Image: To export the cropped image, go to File > Export, and choose the format you want to use. Common formats include PNG, JPEG, and BMP, depending on what your laser cutter supports.
- Select Export Settings: Choose the resolution and other settings you need for your exported image. For laser cutting or engraving, ensure the resolution is high enough for clear results.
- Choose the Export Location: Select a folder where you want to save the exported image, and name the file appropriately. Then click Save.
By following these steps, you’ll ensure your cropped image is saved in the right format and ready for use in your laser engraving or cutting project.
Also Read This: How Getty Images Work Understanding Licensing, Pricing, and Contributor Benefits
Common Issues While Cropping Images in LightBurn
While cropping images in LightBurn is a straightforward task, there are a few common issues that users may encounter. Understanding these problems can help you troubleshoot and resolve them quickly. Here are some of the most frequent challenges:
- Image Quality Loss: When cropping an image, especially if you’re resizing or enlarging, there can be a loss of quality. To avoid this, always start with a high-resolution image. Low-resolution images may become pixelated or blurry once cropped.
- Incorrect Aspect Ratio: Sometimes, cropping the image may change its aspect ratio unintentionally, leading to distortion. Make sure to hold down the Shift key while resizing to maintain the correct proportions.
- Misaligned Cropped Area: If the cropped area isn’t aligned properly, it can throw off your project’s design. Use LightBurn’s alignment tools to ensure everything is positioned exactly as you want it.
- Unwanted Background Removal: Cropping might sometimes remove important elements from the image, such as a subtle background that complements the design. Double-check your crop area to avoid cutting out anything important.
- Not Saving the Cropped Version: Forgetting to save your cropped image as a new file can lead to overwriting the original image. Always save a copy of the cropped version in a different location or under a different name to keep your original intact.
By being aware of these common issues, you can prevent them and ensure smooth image cropping in LightBurn every time.
Also Read This: How to Add Photos to Your Board in iStock: A Step-by-Step Tutorial
FAQ
Here are some frequently asked questions related to cropping images in LightBurn:
- Can I crop an image in LightBurn without losing quality? Yes, if you start with a high-resolution image and avoid excessive resizing. It's best to crop in small increments to preserve image quality.
- How do I undo a crop in LightBurn? To undo a crop, simply press Ctrl + Z (Windows) or Cmd + Z (Mac) to revert to the previous version of the image.
- Can I crop a vector image in LightBurn? No, LightBurn’s crop tool is specifically for raster images. To modify a vector image, you’ll need to use vector editing tools.
- Why is my cropped image blurry after saving? If the image is blurry after cropping, it’s likely because of low resolution. Ensure your image is high-resolution before cropping, and avoid resizing it larger than its original size.
- How can I crop multiple images at once in LightBurn? Unfortunately, LightBurn doesn’t support batch cropping. You’ll need to crop images individually, but you can save time by using the same crop settings for each image.
Conclusion
Cropping images in LightBurn is an essential skill for anyone working with laser cutting or engraving projects. It helps you focus on the important parts of your image, improve design accuracy, and save valuable space in your workspace. By following the steps outlined above and being mindful of potential issues, you can easily crop your images and get the best results. Always make sure to prepare your images correctly, adjust them as needed, and save your work to avoid mistakes. With these tips, you’ll be able to crop images with confidence and enhance your LightBurn projects.
 admin
admin


