In Filmora, the use of images cropping is a good way to improve your films even if it looks easy. Cropping can make a big difference if you want to put more emphasis on a certain subject or change its general composition. The advantages of cropping will be discussed in this article and then we will take you through simple steps that can help you in achieving the right dimension for your video projects.
Why Cropping is Important for Your Videos
Cropping is more than just removing unwanted image parts; it can change perception of your content by audience. The significance of cropping lies in the following points:
- Focus Attention: Cropping helps direct the viewer’s gaze to the main subject of your video.
- Improve Composition: A well-cropped image can enhance the overall balance and aesthetics of your video.
- Remove Distractions: Eliminate any unnecessary elements that might divert attention from your message.
- Fit Different Aspect Ratios: Adjusting your image allows it to fit various platforms and screens better.
To sum up, it is possible for crop to be used in making your video more interactive and attractive enough for keeping the audience glued till the end.
Also Read This: How to Convert Slides into Digital Images
Steps to Crop Images in Filmora
Google Images is an effective platform for which we can crop pictures within seconds. Hence we only need to do the following:
- Import Your Media: Start by opening Filmora and importing the video or image you want to crop.
- Drag to Timeline: Place the media on the timeline where you can easily edit it.
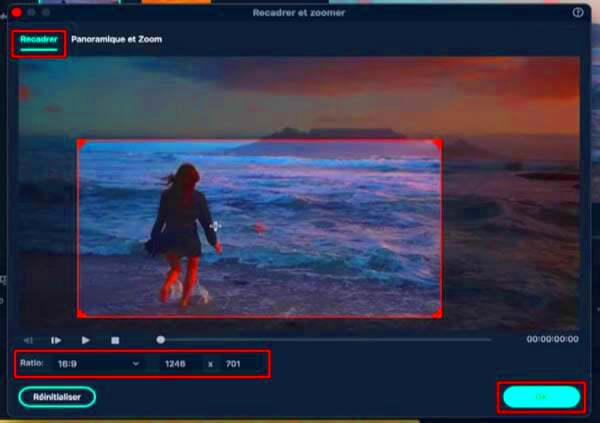
- Select the Crop Tool: Click on the image or video in the timeline, then find the crop tool in the toolbar.
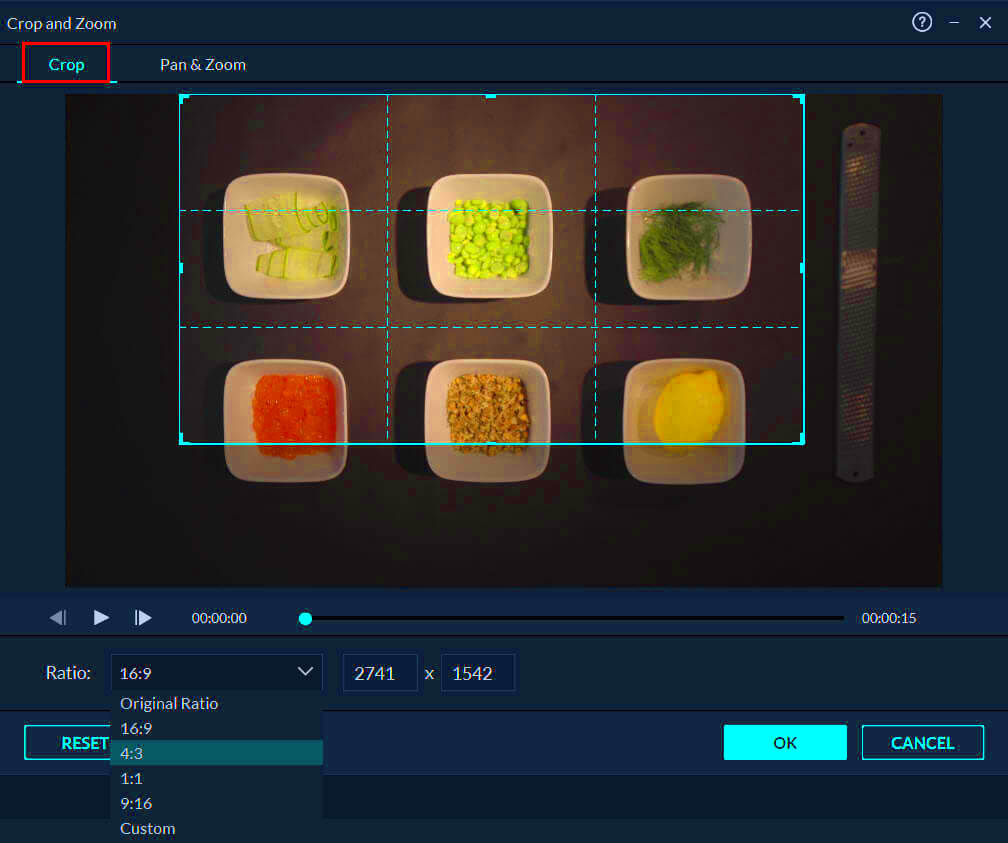
- Adjust the Crop Area: A cropping frame will appear. Drag the corners to select the area you want to keep. You can also adjust the aspect ratio if needed.
- Preview the Changes: Use the preview window to see how your cropped image will look in the video.
- Apply the Crop: Once satisfied, click “OK” to apply the changes.
That is it! You have managed to trim down your picture in Filmora. Do not forget, spending enough time for a good cropping will really improve the value of your films.
Also Read This: Understanding the Correct Dimensions for Your Dailymotion Channel Banner Image
Adjusting Aspect Ratios While Cropping
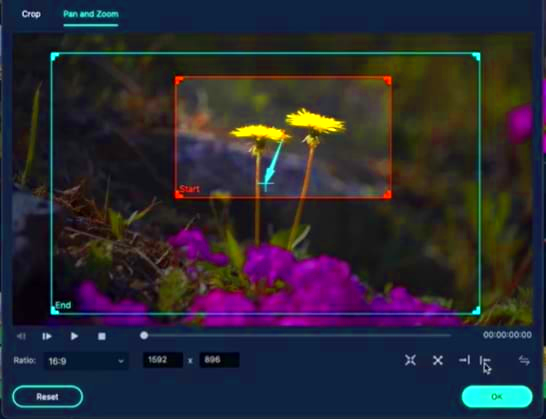
When utilizing Filmora for cropping images, the secret is comprehending aspect ratios in order to make videos appealing. This is with regard to how width relates to height for a particular image whereby various sites have certain ratios that they prefer. So why does it matter and how do you adjust them properly?
The following are just a few of the normal aspect ratios you might come across:
- 16:9: This is the standard for most widescreen videos, perfect for YouTube and TV.
- 4:3: Often used for traditional TV and some online videos, this ratio has a more square appearance.
- 1:1: A perfect square, great for Instagram posts and certain social media platforms.
- 9:16: This vertical format is ideal for stories on platforms like Instagram and Snapchat.
In Filmora, this is how to adjust the aspect ratio:
- Select the crop tool after clicking on your media.
- Look for the aspect ratio options in the cropping settings.
- Choose the desired ratio or enter custom dimensions.
Always, if you want to conserve visual integrity and have your audience enjoying the best experience, make sure that you match the aspect ratio of your platform!
Also Read This: How to Credit Adobe Stock Images
Using the Crop Tool Effectively
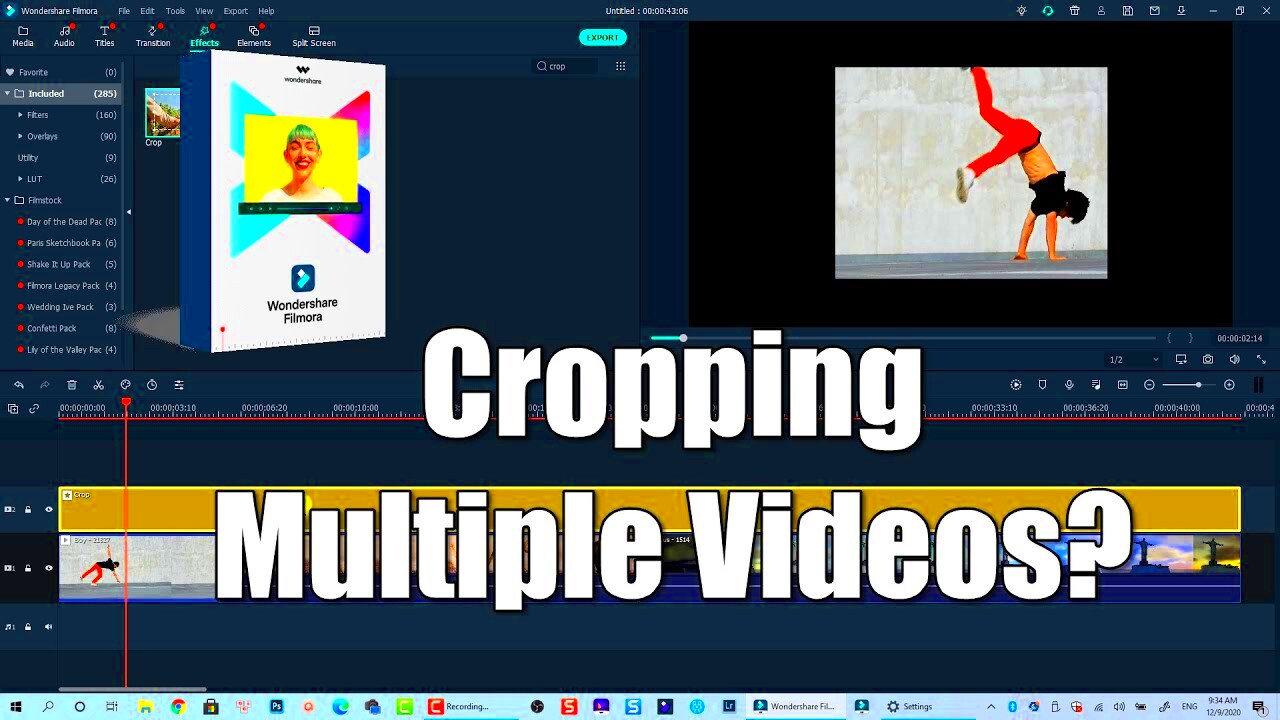
The use of crop tool in Filmora is great for improving video pictures. When used well this can minimize the amount of time spent on editing before presenting in an improved manner. Below are some tricks that can help you take advantage of it.
The right way to use the crop tool is as follows:
- Start with a Clear Objective: Know what you want to achieve with your cropping. Are you focusing on a subject or removing distractions?
- Utilize the Grid Lines: When you activate the crop tool, grid lines will help you align elements. Use the rule of thirds to create balance.
- Adjust and Preview: Don’t hesitate to adjust the crop area multiple times. Preview your changes to ensure it looks right before finalizing.
- Consider Background Elements: Sometimes, background elements can enhance your subject. Make sure you’re not cutting out important details.
You’ll surely master the art of cropping an image like a pro by following these tips!
Also Read This: Registering and Contributing on iStock Made Easy
Common Mistakes to Avoid When Cropping
On the surface cropping may appear easy; however, there are several traps which could potentially ruin all your labor. In order to produce more admirable videos, it is important to understand what these blunders entail. Herein are some of the most prevalent slip-ups.
- Over-Cropping: Cutting too much can lose vital context and detail. Always keep the focus on your main subject.
- Ignoring Aspect Ratios: Failing to adjust aspect ratios for specific platforms can lead to awkward framing and cut-off images.
- Not Using the Preview: Skipping the preview can lead to surprises in your final product. Always check how your changes look in real-time.
- Cutting Off Faces: When cropping people, ensure their faces are fully visible. Cutting off facial features can look unprofessional.
- Neglecting Composition: Always think about composition. A well-composed crop can elevate your video significantly.
Not making these common mistakes will result in adding quality to your videos and holding the attention of your viewers!
Also Read This: What Is a Good Retention Rate on YouTube and Tips for Keeping Viewers Engaged
Tips for Enhancing Cropped Images
After cropping images, you can enhance them in a number of ways. To make sure your cropped images look great in the videos, you need to read these tips. Some awesome techniques are discussed below.
Here are some tips on improving your cropped photos:
- Adjust Brightness and Contrast: Fine-tuning the brightness and contrast can make your images pop. A well-lit image draws viewers in.
- Apply Filters Wisely: Filmora offers various filters that can enhance the mood of your video. Use them thoughtfully to complement your cropped image.
- Sharpen the Image: Adding a bit of sharpness can bring out details, making your subject stand out more clearly.
- Use Color Grading: Adjust the color tones to create a cohesive look throughout your video. This can tie your images together seamlessly.
- Incorporate Text and Graphics: Adding text or graphic overlays can provide context and enhance the storytelling aspect of your video.
There are various ways by which you can improve your cropped pictures and also produce more interesting video clips that will bring in more viewers to your page!
Also Read This: Where to Find the Best Image Processing Labs in the USA
Frequently Asked Questions
Are there any questions you have about cropping photographs in Filmora? You are not solitary in this! Below are some usual inquiries from a lot of users and their simple answers.
- Can I undo a crop? Yes! If you change your mind, you can easily undo the crop by selecting the original image or using the undo function.
- What if I crop too much? If you realize you’ve cropped too much, you can always adjust the crop area again or revert to the original image.
- Are there shortcuts for cropping? Filmora has keyboard shortcuts that can make cropping quicker. Check the help section for specific commands!
- Can I crop videos as well as images? Absolutely! The cropping tool works for both images and video clips, allowing you to adjust your media as needed.
- What format should I save my cropped images? For the best quality, save your images in a high-resolution format like PNG or JPEG.
If there are further questions you may have, Filmora’s support channels or community forums can also be checked out!
Conclusion on Cropping Images in Filmora
Using Filmora to crop images is an art which can elevate your video projects to the next level. Managing the angle of your subject matter, scaling ratios and employing tricks of the trade will allow you to present your audience with beautiful visual stories with much impact.
Keep in mind:
- Be intentional about your cropping choices.
- Avoid common mistakes to maintain the quality of your images.
- Experiment with enhancements to elevate your visuals.
As you practice, you will feel more comfortable to use the crop tool and eventually make interesting video clips that can narrate your story efficiently. Enjoy editing!
 admin
admin


